Super Easy to make Zero Waste Makeup Remover Pads
As an Amazon Associate I earn from qualifying purchases
It is increasingly important that we all do everything we can to protect our planet. Lots of small acts make a big difference. One easy way is to make yourself some reusable makeup remover pads. These are made square and using scraps of fabric or old towels / robes so they are also zero waste. All that means is that you use everything in your projects and throw nothing away.
I have been feeling inspired to make some of these for ages after I saw them on Pinterest. A couple of them particularly inspired me so I saved them from A rose Tinted World and Beginner Sewing Projects. But I finally got round to it when I replaced my toweling robe. I am on a mission to see how many items I can make out of it and how little will actually go to waste.
I am also using up the leftover fabric from when I made my Origami bag so more waste saved!
At the bottom of the instructions you will see great ways to present your makeup remover pads including a free printable.
Julie | Sum of their Stories
Gail | Purple Hues and Me
Julie | Treasures Made From Yarn
T’onna | Sew Crafty Crochet
Niki | Life as a LEO Wife
Mel | Decor Craft Design
Christine | Christine’s Crafts
Vicky | Vicky Myers Creations
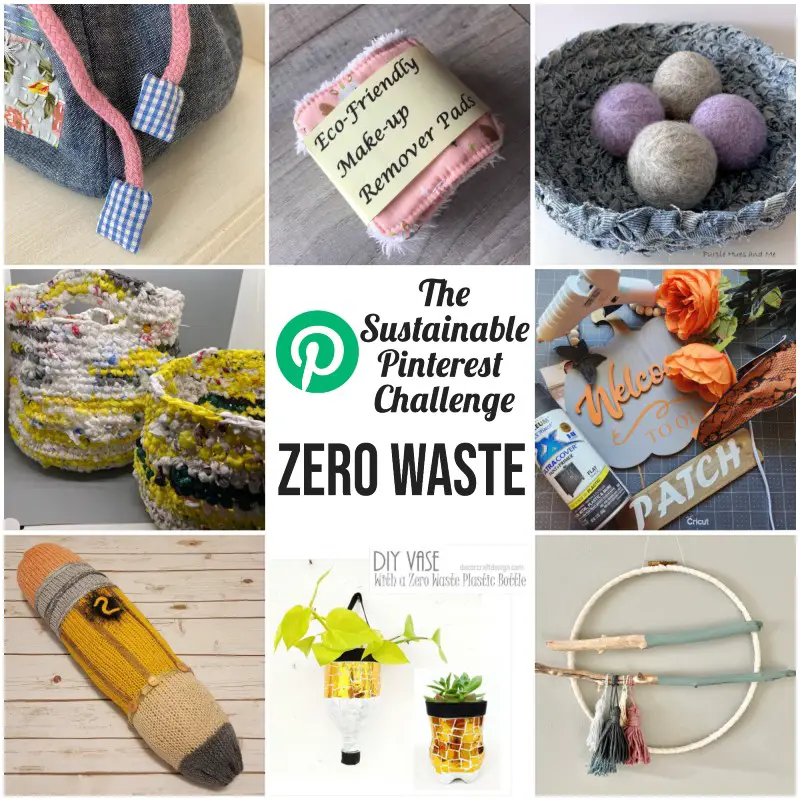
This tutorial is part of a whole team of great creative people who all have fabulous zero waste ideas for you this month. When you get to the bottom of the tutorial you will find all their great ideas and links to the tutorials.
You will need:
- Cotton fabric (scraps will do)
- Toweling fabric
- Thread
- Scissor and ruler (or cutting wheel and self healing mat)
- Basic Sewing Supplies
- Sewing Machine – not essential but speeds things up a lot!
Video Tutorial
This video is also available on my YouTube channel.
Cut Out the Squares
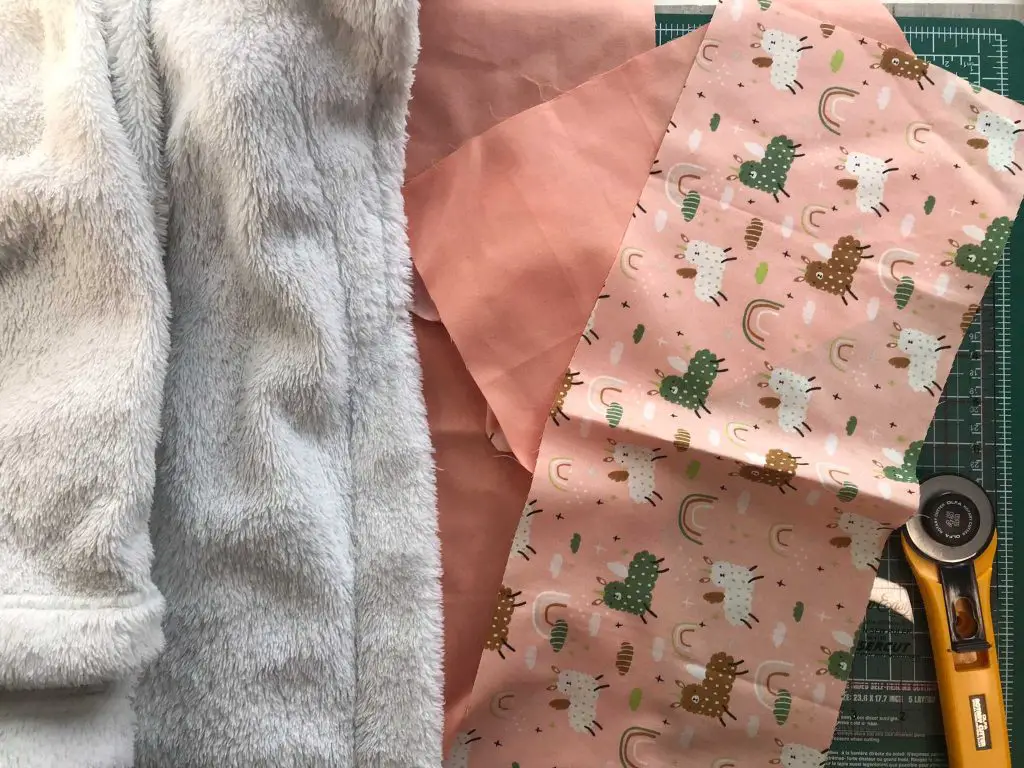
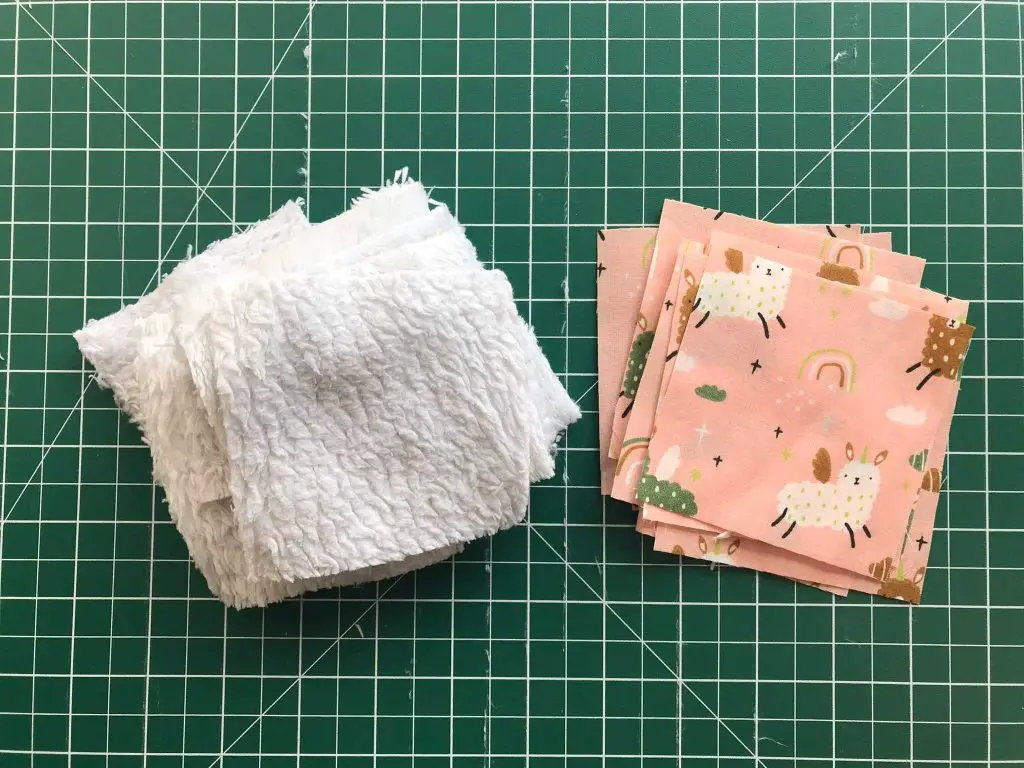
For each makeup remover pad you will need one square of cotton fabric and one square of toweling fabric. You can make these any size you like but I cut mine out 3.5″ square. You can also make as many as you like. I made 10 because that was how many I could get out of my llama fabric. However I would suggest that 7 or 14 would be a good number.
Beware: the toweling will produce lots of tiny bits of fluff that will spread all over the place when you cut it. You just have to accept it and clear them all up at the end!
Sew your Makeup Remover Pads
Basically, you are going to make a whole batch of these. I suggest that you do each step with all of them at once so it becomes like a production line.
Take one cotton fabric square and one toweling square and place them together with right sides facing. Pin or clip them together. Repeat this with all the other squares.
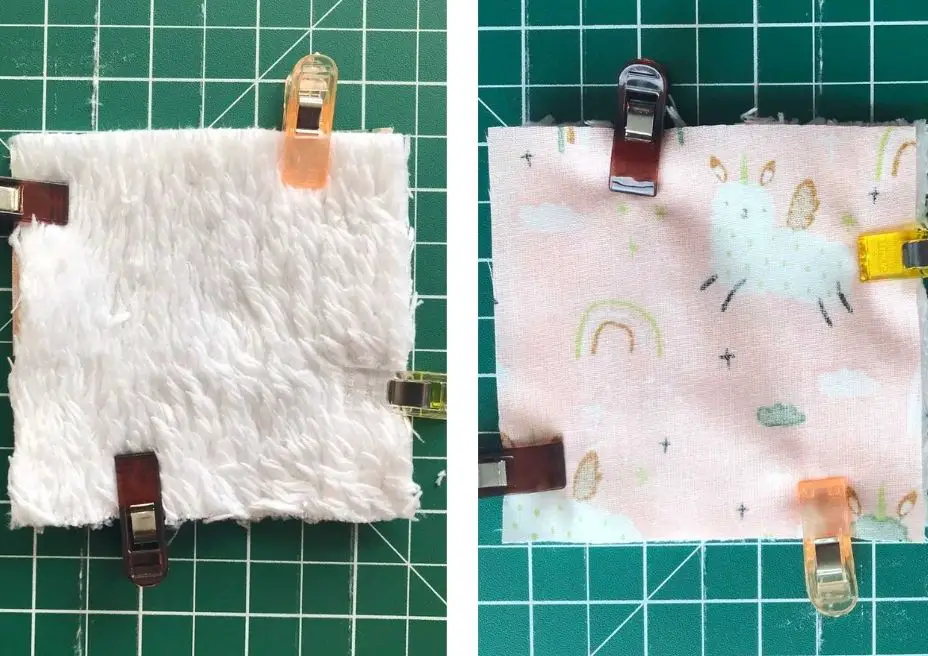
Sew around the squares leaving a 1/4″ seam allowance all the way round. NOTE: Make sure you leave a gap so that you can turn the squares out to the right side. I suggest leaving a couple of inches.
Once they are sewn clip the corners off the squares to reduce the bulk. Be careful not to get too close to the stitches; you do not want a hole in your seam.
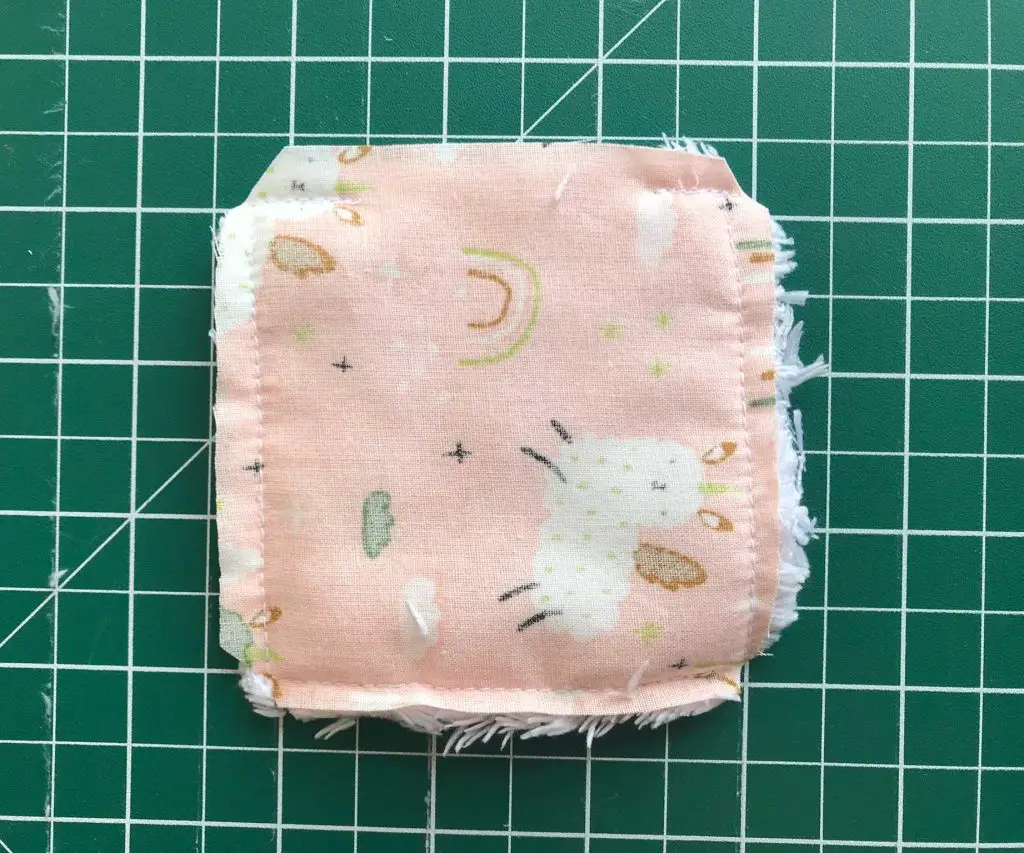
Turn all of the makeup remover pads out to the right side. Poke something that is not sharp into the corners to make sure they turn out properly. A chopstick is really good for this.
Turn in the raw edges on your turning hole and pin or clip in place. Then sew a row of top stitching around the whole square. This will make a nice feature and close up the hole that you left. If you like you can add more rows of topstitching or use a fancy stitch on your sewing machine. Get creative!
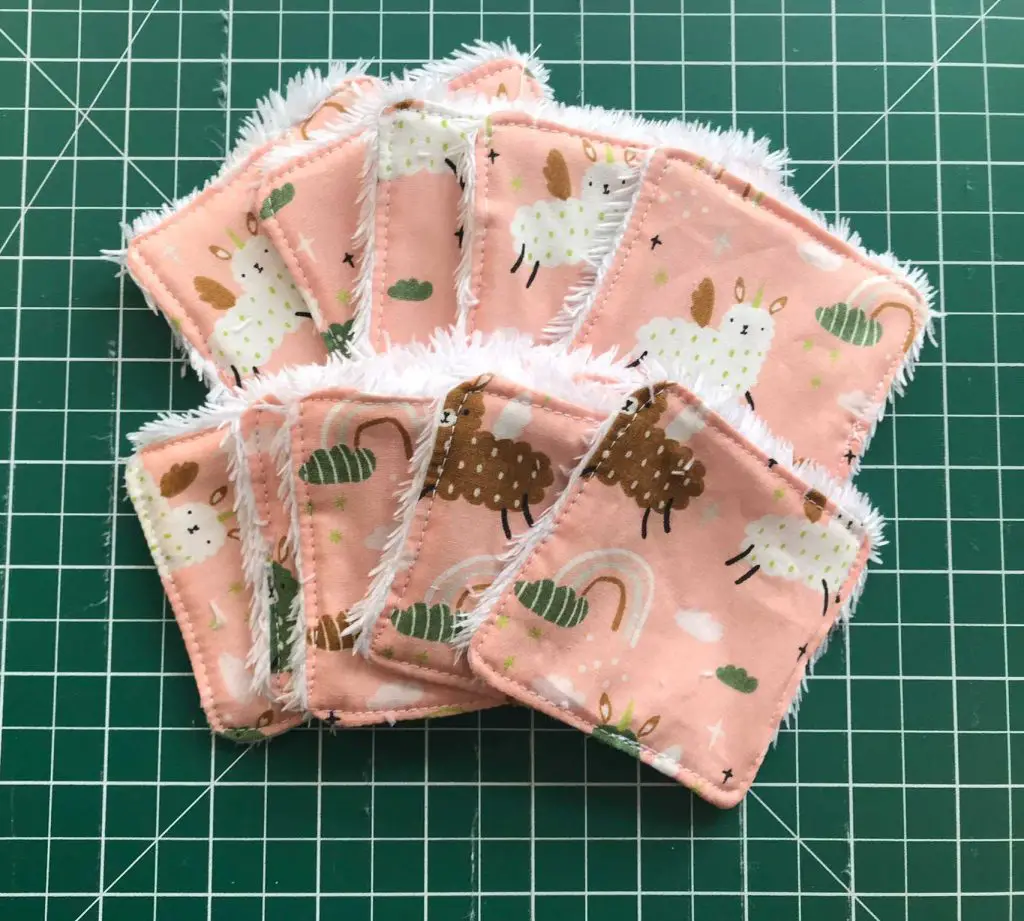
Congratulations! You have now completed your zero waste reusable makeup remover pads. I am sure that you will find them incredibly useful and you can feel great about doing your bit to improve your eco credentials.
Caring for your Reusable Makeup Remover Pads
Your makeup remover pads should last you a long time. Simply wash them after each use. I recommend placing them in a laundry bag designed to place underwear in to wash them in your washing machine. This is mainly because otherwise you will lose them inside all the rest of the washing.
Presentation Ideas
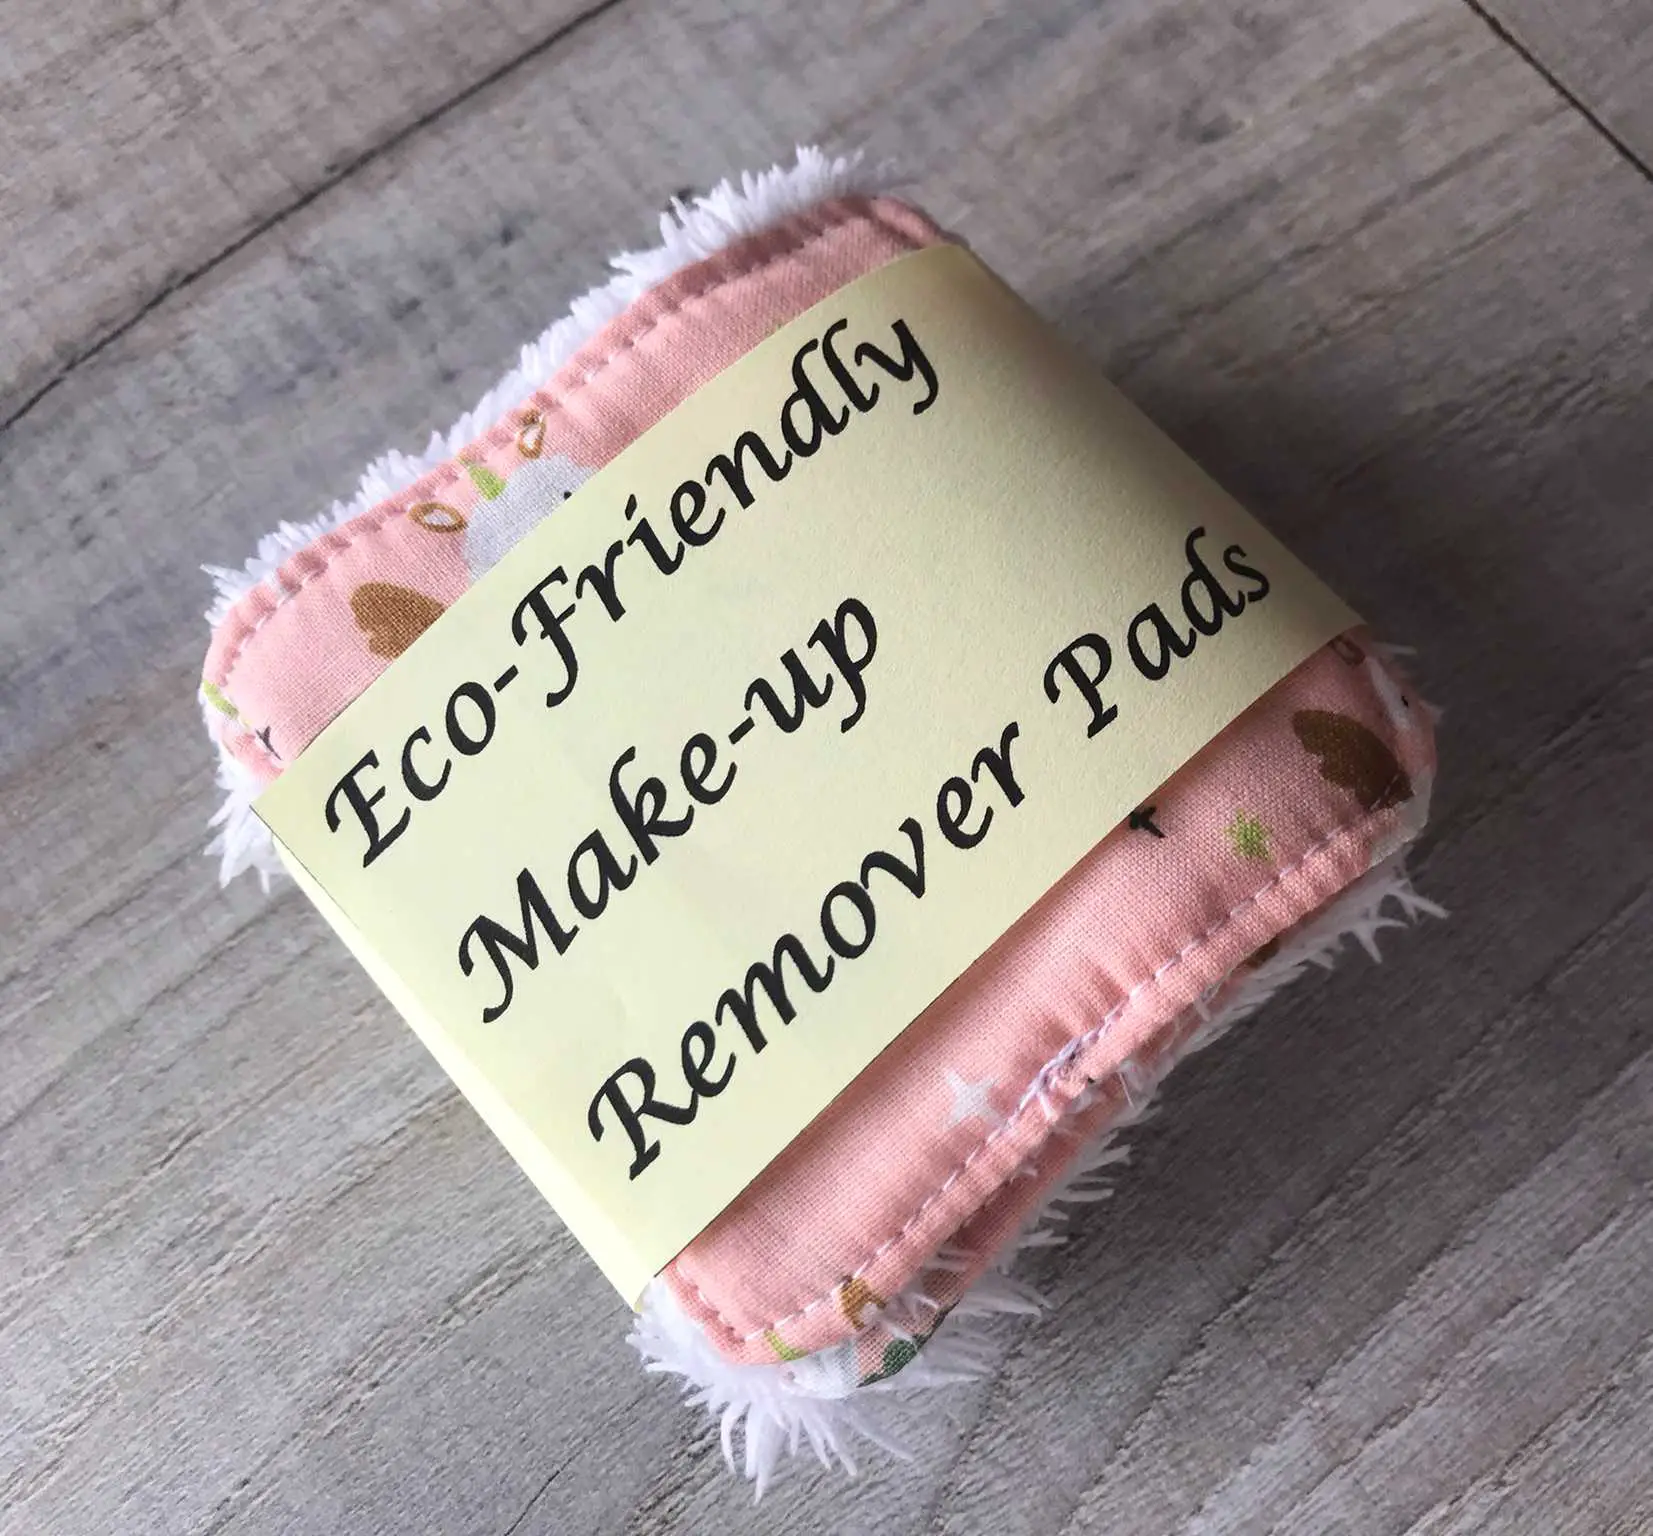
I have 2 suggestions for presenting your wipes after you have made them. If you are gifting or selling them how about wrapping a few inside a label like this one. You could design your own or feel free to download this label that I used.
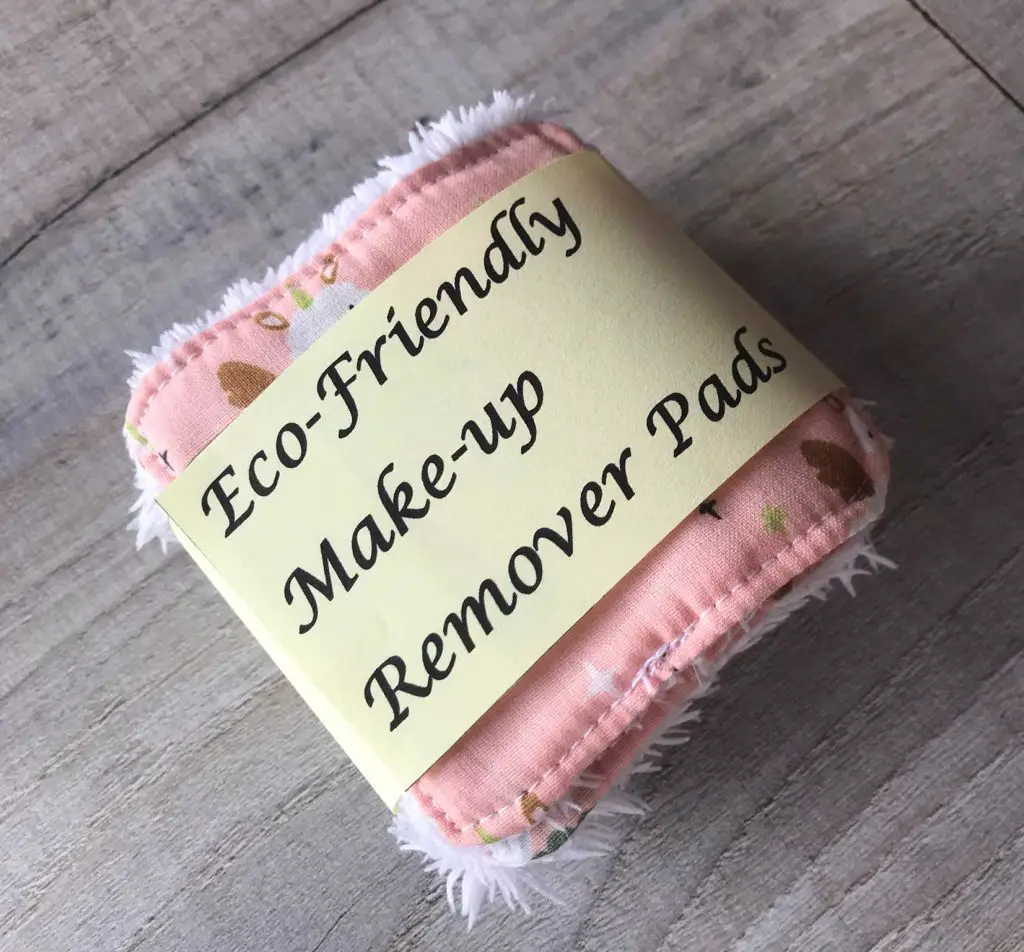
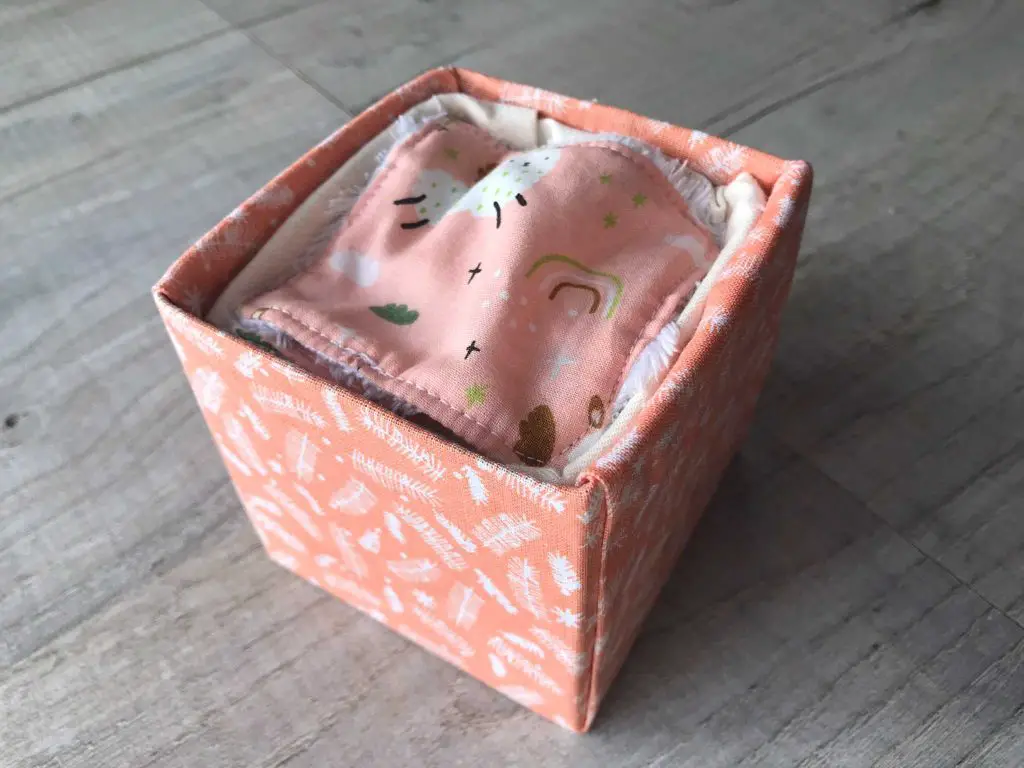
Whether you are gifting them or keeping them yourself a box is a great idea for storage. I used an old box that an ornament came in and covered it in fabric to make a stylish storage box. If you would like to make one yourself check out my tutorial for a fabric covered box.
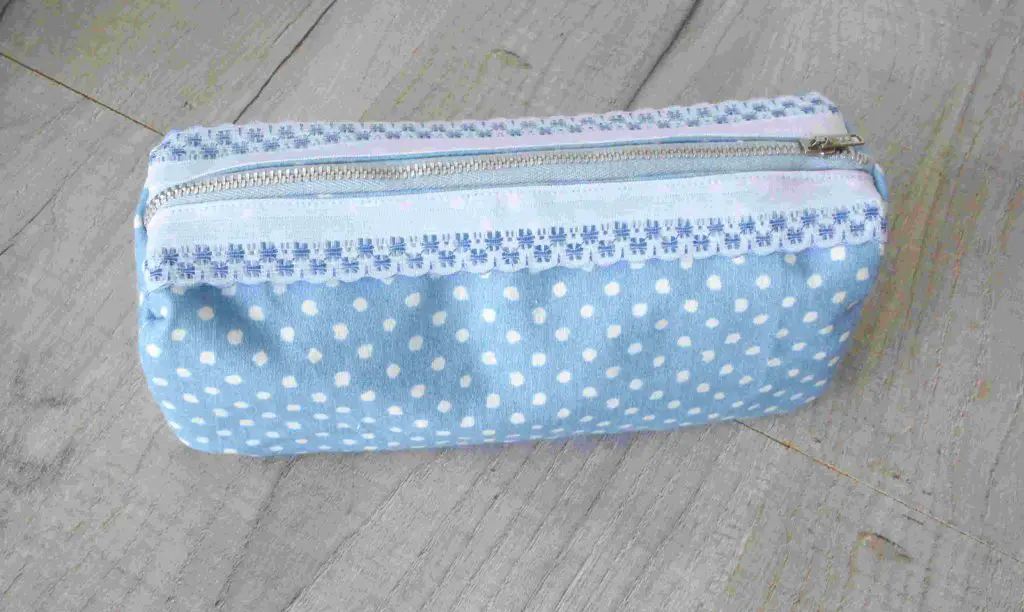
Or how about making a matching makeup bag like this one? It is not difficult and you do not need a pattern.
Zero Waste Projects
As promised, here are all the other great projects for you to try on your journey to zero waste crafting!
You might want to also check out some more projects that use up scraps to create beautiful items:
