How to Make a Cute Denim Apron from Old Jeans (Sew and No-Sew Versions)!
As an Amazon Associate I earn from qualifying purchases
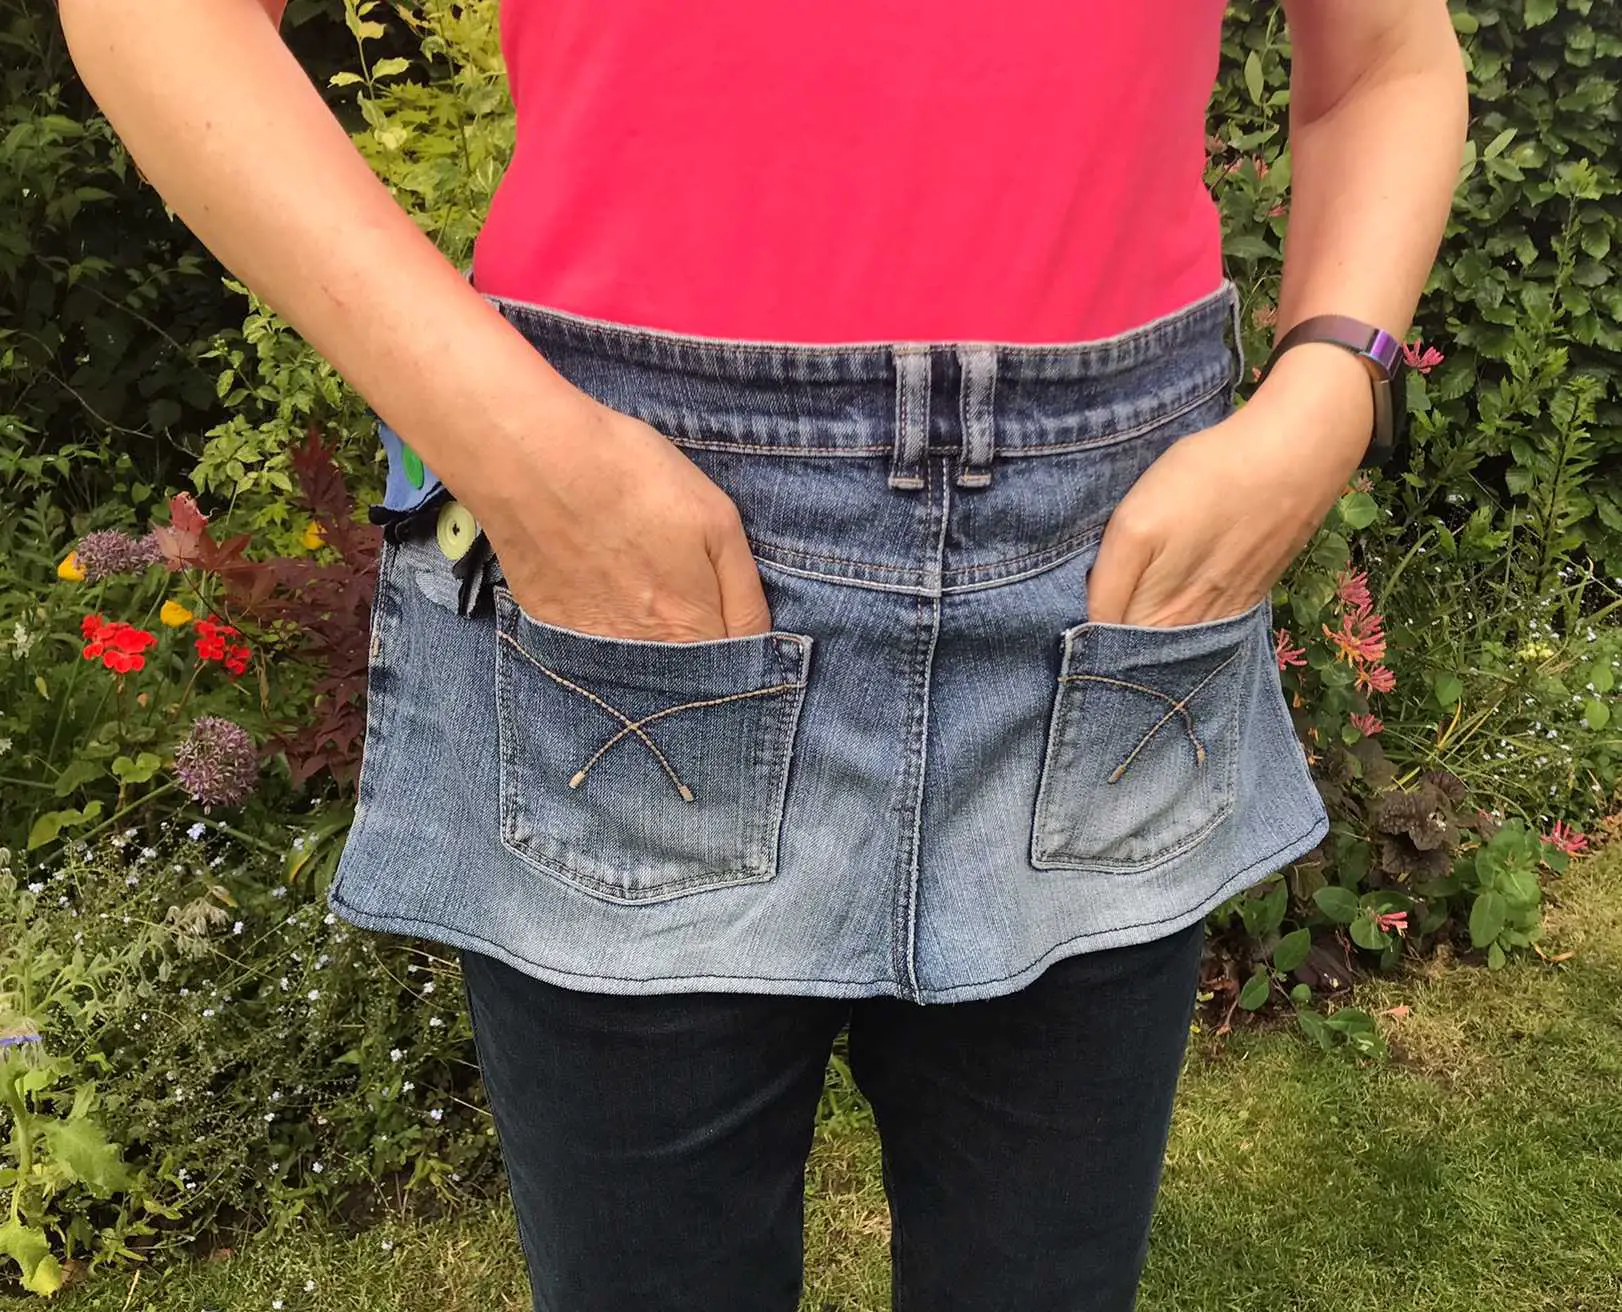
This cute denim apron is so quick and easy to make and it upcycles an old pair of jeans so costs nothing to make. You can customise it for your own application adding any details you like to make it prettier and / or more practical.
Who would have thought that belt loops were perfect for hanging tools from when attached a different way? So, read on and get creating your latest apron.
If you like watching tutorials then scroll down to the full video tutorial below.
This page contains affiliate links meaning I earn a small commission if you use those links at no cost to you. I only recommend brands I use and trust.
You Will Need:
- Old jeans (preferably that fit you so you do not have to adjust the waistband)
- Sewing Supplies or Multi-purpose / fabric glue
- Good Quality Scissors

Cut Your Denim Apron Out
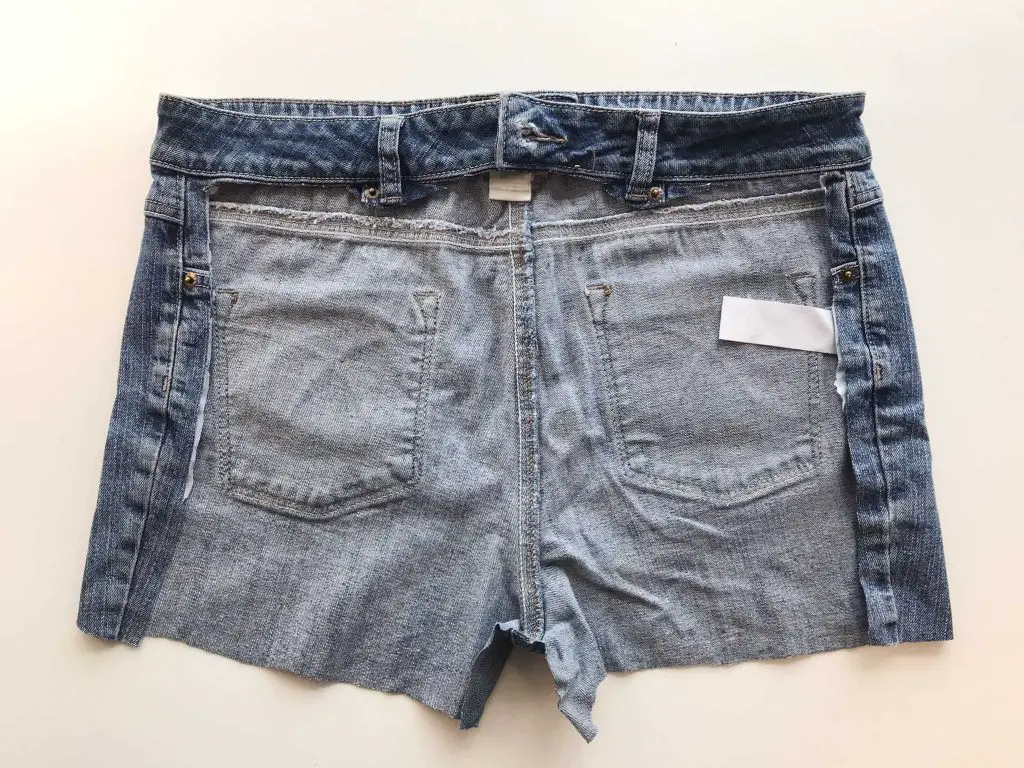
To start with lay your jeans out flat on a flat surface with the buttons and zip fastened. Make sure the waistband is flat so that the back is lying exactly on top of the front. Yes, your jeans are face down.
Cut both legs off the jeans directly below the crotch. Do not worry too much about the edge that you get as you will tidy it up soon.

READ ALL OF THIS INSTRUCTION BEFORE STARTING TO CUT! You are going to cut off the front of the jeans leaving the waistband and belt loops in place. Be very careful as some areas will be very thick and you will need to avoid any metal fittings such as rivets.
Sew Version
Cut up the sides of the jeans about 0.5″ from the side seam. This will allow you to sew a small neatening seam. Cut off any pockets and labels that you encounter too.
Once you reach the waistband cut along the edge of the waistband leaving it intact but no extra allowance. When you reach a belt loop cut around it leaving it on the jeans and then cut along the waistband to make it loose.
No-Sew Version
Cut your jeans exactly as the no-sew version but do not leave a seam allowance. Cut against the side seams. They will fray slightly giving a shabby chic finish.
Both Versions
Cut the front piece off completely at the crotch. You now have your basic apron shape.
Completely remove the belt loops from the waistband using a seam ripper or small scissors. Then remove the spare denim from the other end of each loop. You can now attach these to the apron later to act as hangers for your tools.
Turn your apron over so that you are looking at the right side (back of jeans) and cut up one side of the back seam approximately 3″. You will then be able to lie the edges down on top of each other to lie flat. Cut as far as you need to for a flat surface. It is a bit of trial and error.
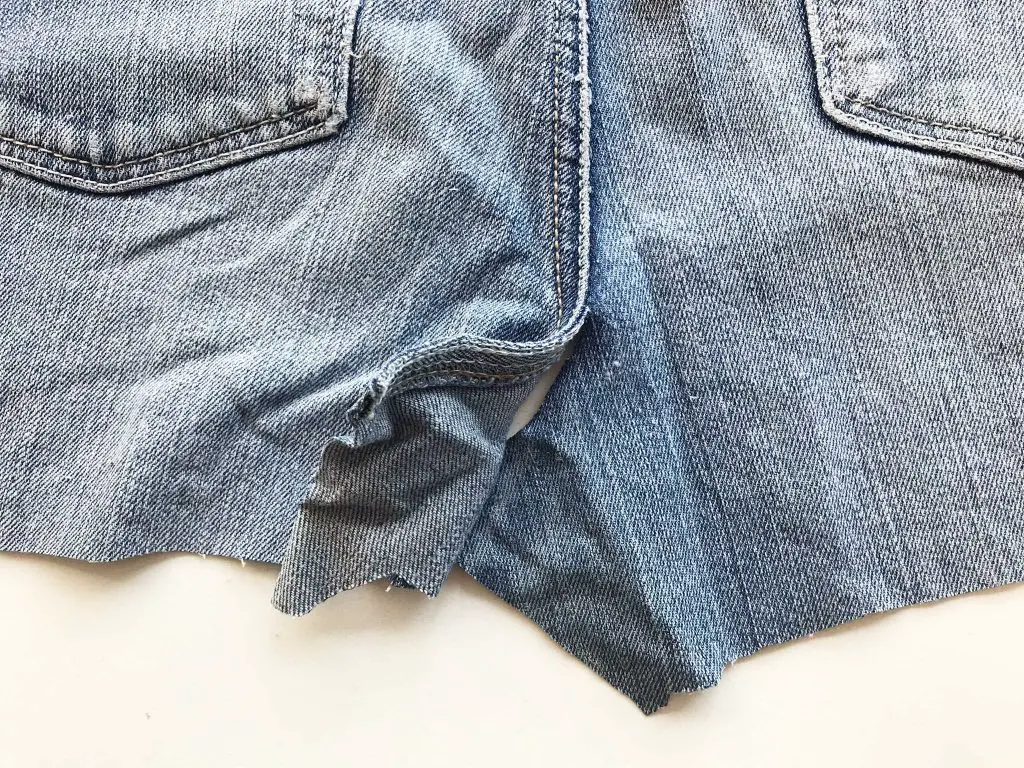
Now lie one edge over the other so that it is flat and either glue or sew it in place.
Next level off the bottom of the apron. Measure down from the waistband at either side of the apron the distance you require and mark them. The measurement is your choice but you do want them to be the same. Then use a large ruler to draw a line across and then cut across to make a straight bottom to your apron.
You now have a shabby chic apron that you can use! However if you want a more finished product then read on.
Sew the Seams – Sewn Version
Snip along the seam allowance at the waistband edge and remove any bulk such as bits of pockets so that you can make a flat seam. Fold the seam allowance that you left on the sides onto the wrong side of the apron and pin or clip in place. Be careful of metal fixings. You will need to sew around them or stop and start again after them.
Turn up a hem along the bottom of your apron to, approximately 0.5″, and clip or pin it. Then, sew all 3 seams carefully. I recommend using needles designed for sewing denim if you are using a machine. Avoid any metal fixings. If any areas are too thick to sew then work up to them and start again after them.
Glue the Seams
If you prefer you can add in the seams but glue them. You could even just add the bottom seam and leave the sides shabby chic. It is up to you. If you do glue any seams you will then have to wait for them to dry.
Completing your Denim Apron
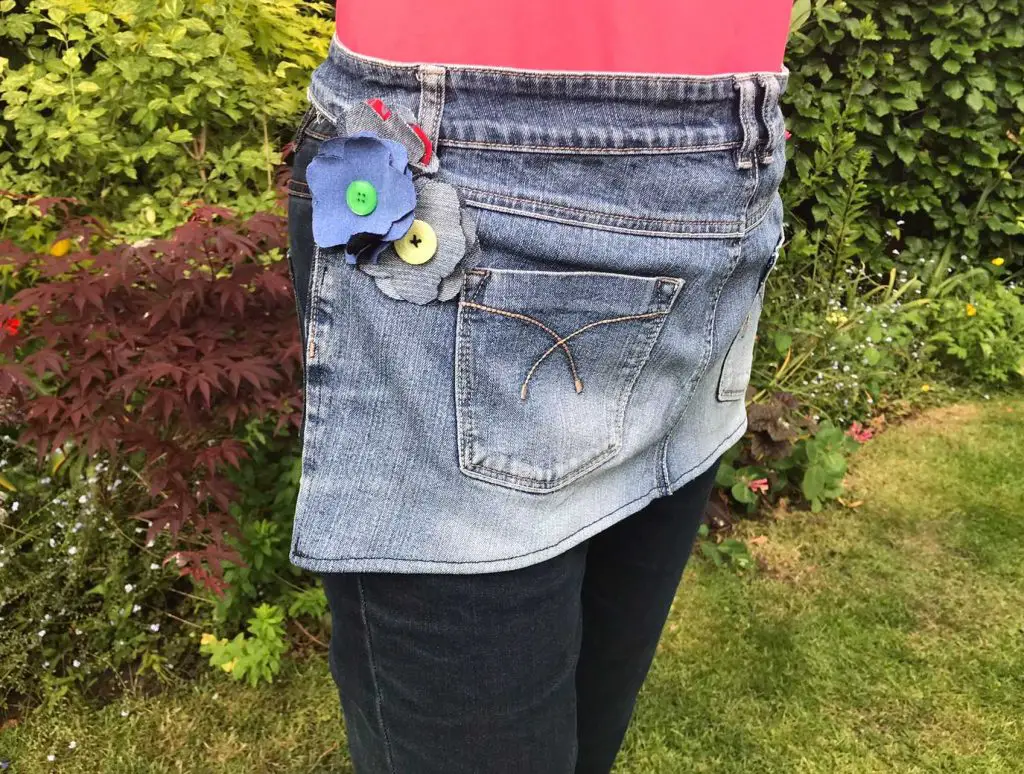
Your apron is now complete and you can use it but why stop there? How about sewing the belt loops onto the apron at either side of the pockets so that you can hang your tools through them?
Or what about decorating it with some buttons, badges, etc. If you want to add some shabby chic flowers like mine then take a look at the shabby chic flower tutorial. You can even make them from the legs of the jeans that you used for the denim apron.
Or how about a decorative embroidered patch? Particularly useful if you have a small hole or tear to cover.
Denim Apron Video Tutorial
And then …
Now consider what you want to create wearing your apron. Perhaps some crafts such as:
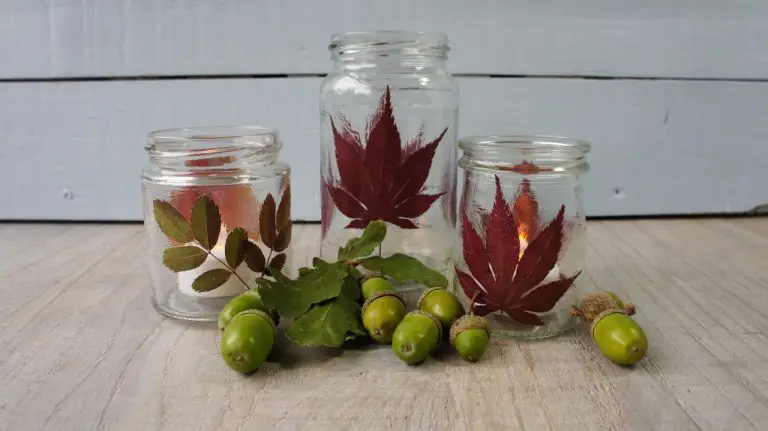
Decoupage
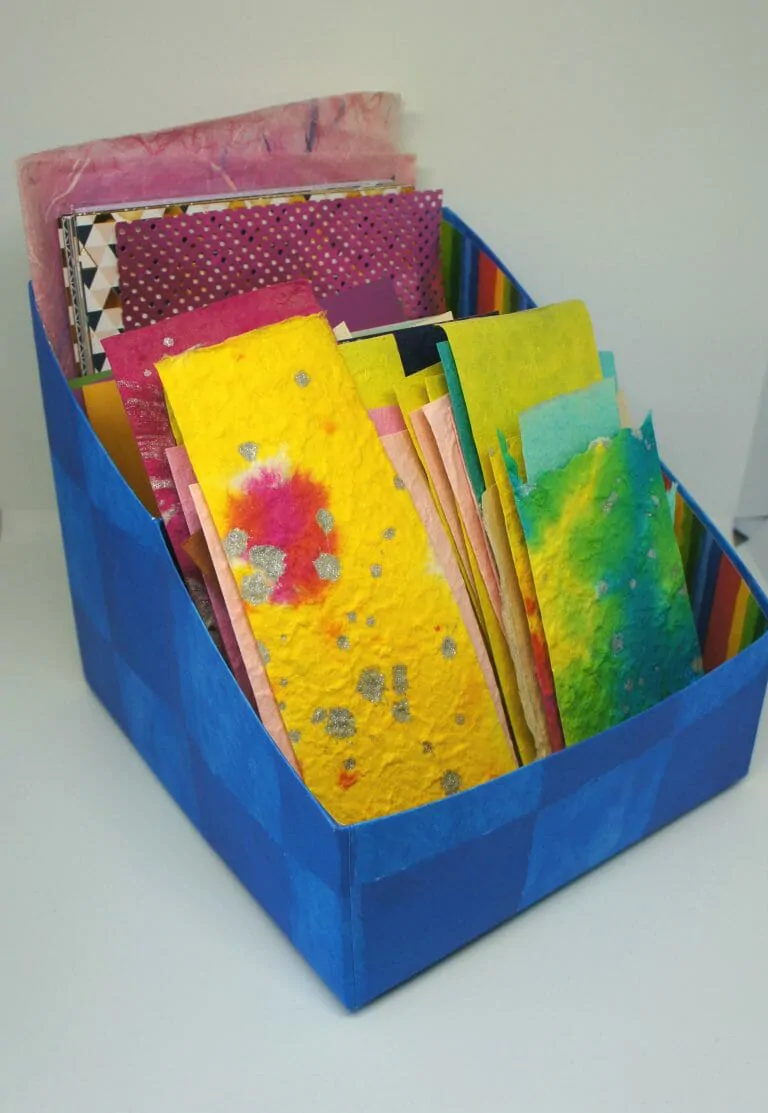
Abstract Geometric Art
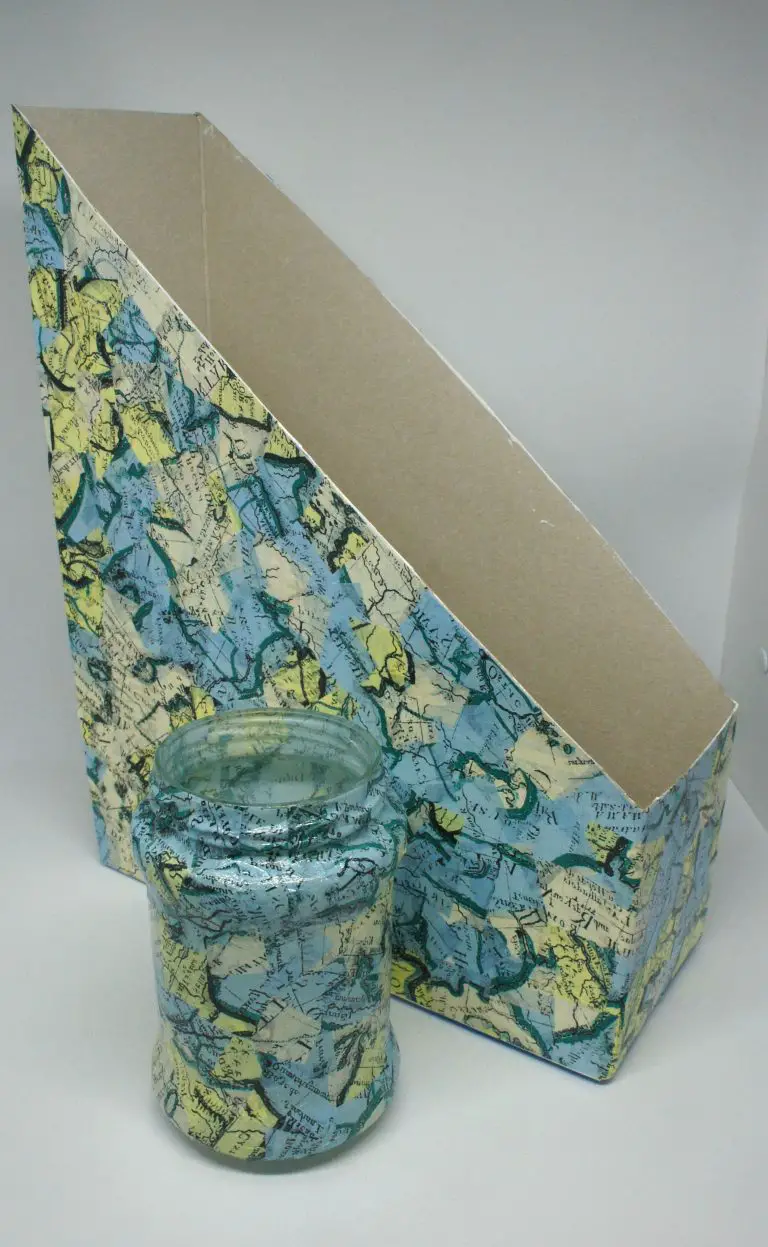
Upcycle an old Tin Can into Storage
Garden Gazing Globes
Whatever you are up to let us know in the comments below what you use your apron for. Inspire others!