How to Make Fabric Covered Boxes
As an Amazon Associate I earn from qualifying purchases
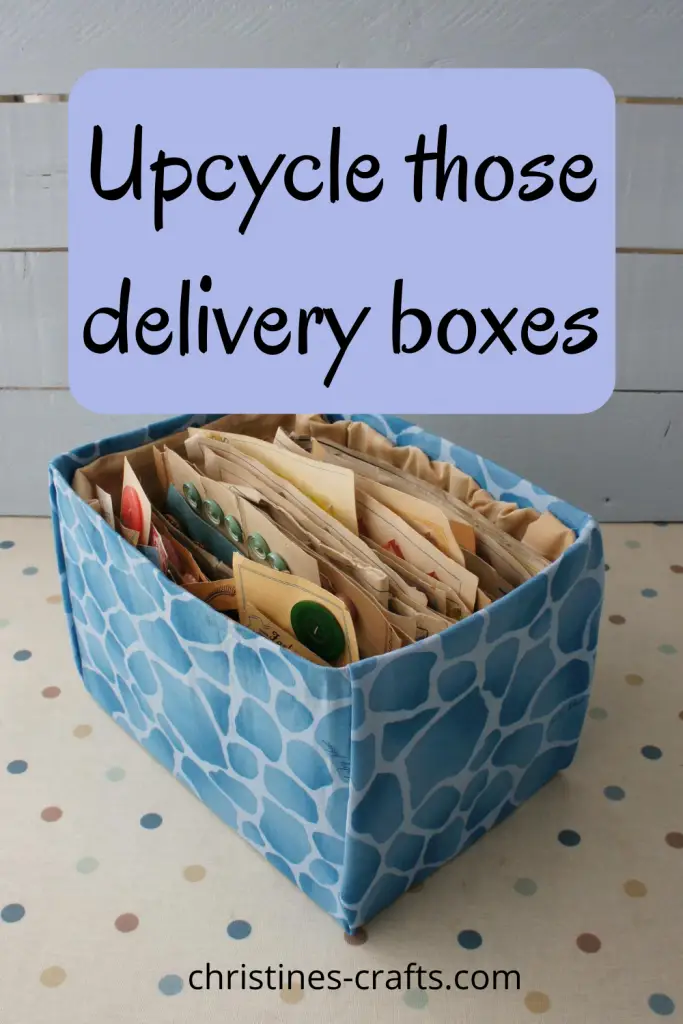
Fabric covered boxes can complement any room. There is no doubt that pretty boxes make your storage look so much nicer. However all storage boxes come at a price and perhaps you have everything at home to make your own for virtually nothing. Certainly we have had more items delivered during the pandemic than ever before so we have accumulated a few boxes. I have started turning them into pretty storage.
If you find after moving you have lots of moving boxes of all sizes then I recommend the recent article we were quoted in: 10 Ways to Get Rid of Moving Boxes. Some fabulous ideas here!
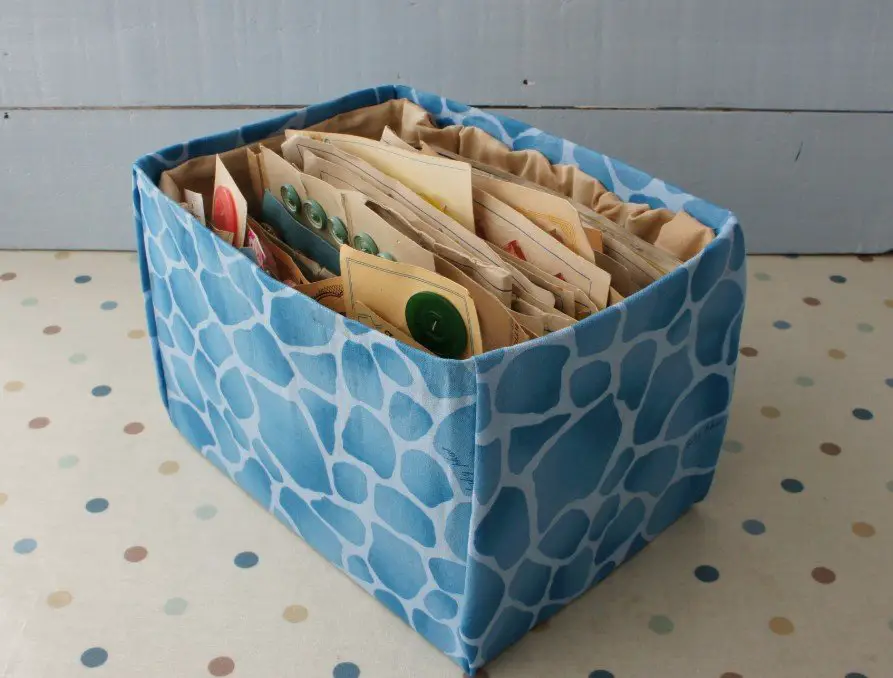
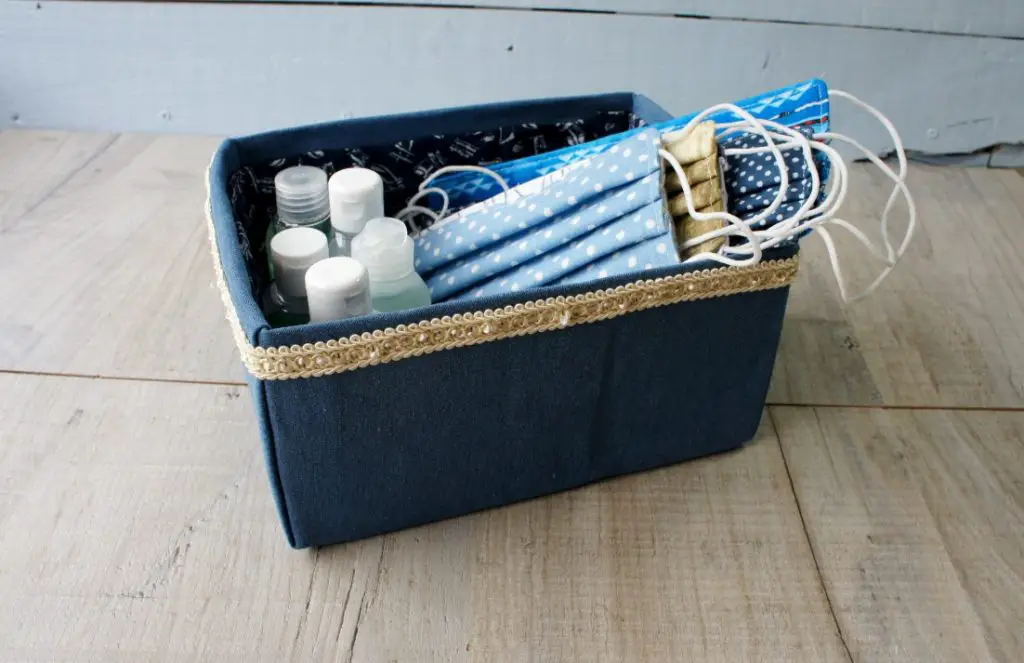
The box I am going to show you today is fully lined and now lives by our front door. It holds face masks, hand gel and wipes so that they are always available as we go out.
These are made a really simple way and there is absolutely no sewing, just cut and stick! A small one is a great way to store and / or gift some handmade make up wipes that I show you how to make here.
If you would like something really special for your sewing supplies then check out this etui box (or exploding sewing box). Great fun to make and fabulous to own.
If you like watching something being done then watch the video shown below where I made a box to store some vintage buttons in. If you prefer written instructions then continue down the page for step by step instructions.
This page contains affiliate links meaning I earn a small commission if you use those links at no cost to you. I only recommend brands I use and trust.
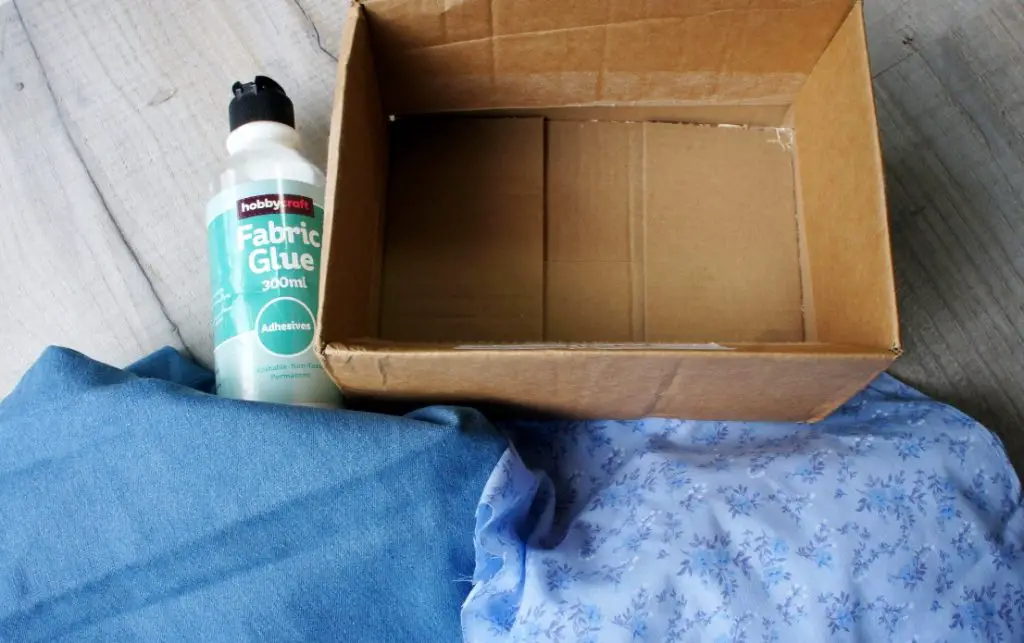
You will need:
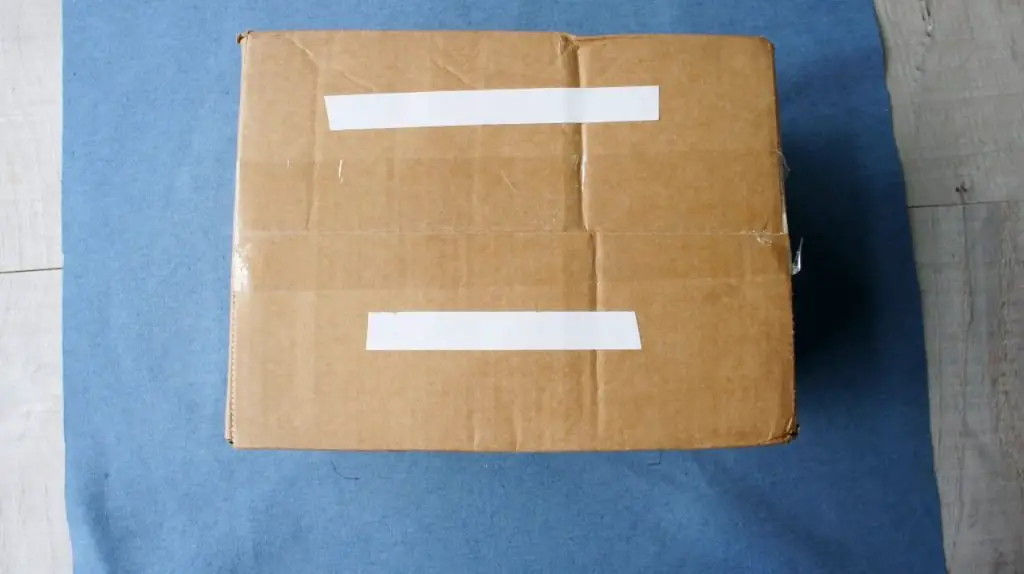
A cardboard box the size you want
Two pieces of fabric larger than your box
Glue (I used fabric glue but I have also used spray adhesive on others)
Storage Boxes Video Tutorial
This video is also available on my YouTube channel.
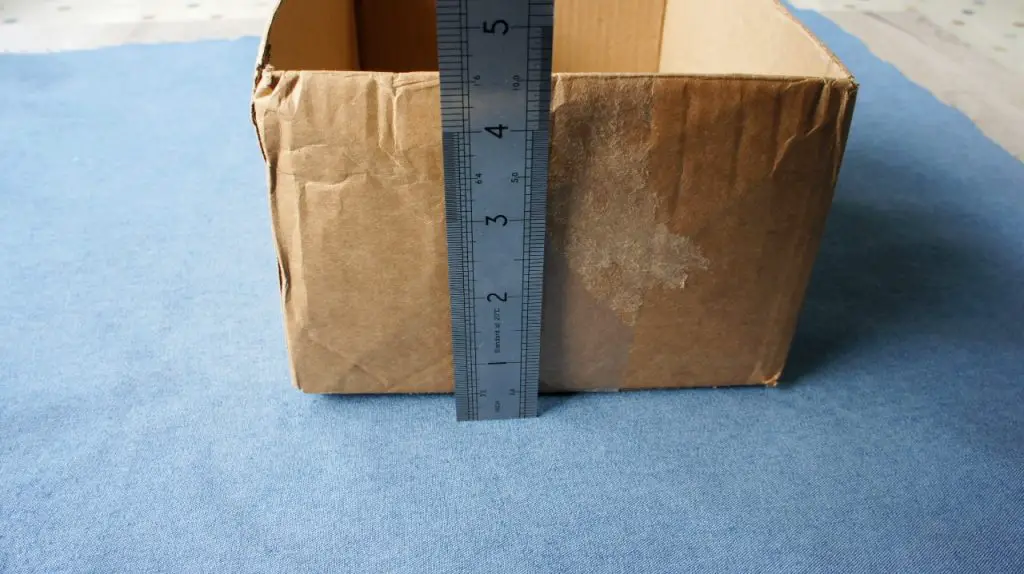
Step 1: Cut out your fabric
There are several ways to do this but I recommend simply measuring the height of your box. Mine was 4.5″ (11.5cm).
Then use this measurement to mark out a rectangle on your fabric. Place your box onto your chosen fabric and measure the height of your box plus 1 inch (2.5cm) away from the box. . In my case this was 5.5″ (14cm). Do this on all 4 sides. Draw the rectangle you get. You can use any pen as it will never be seen.
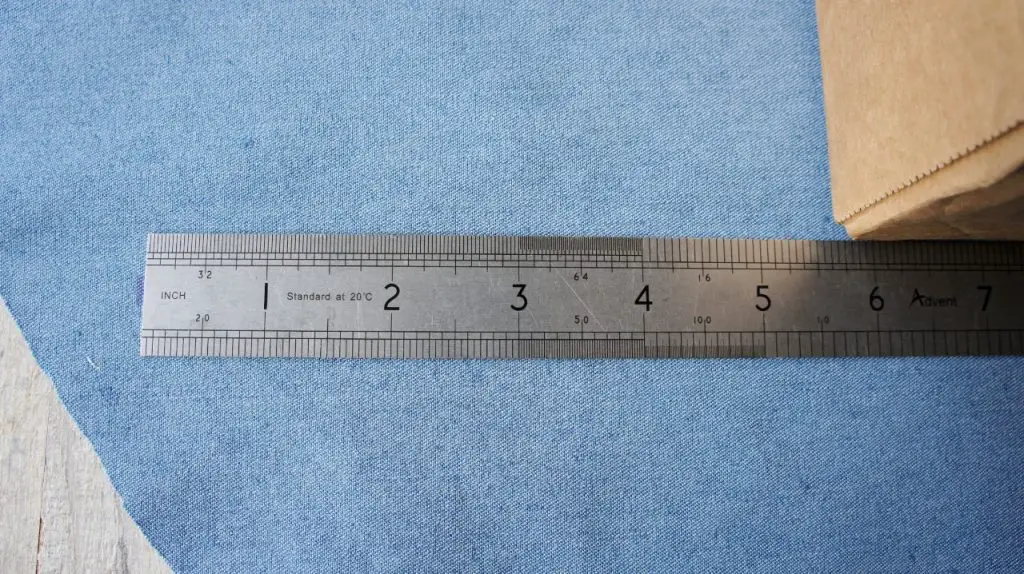
Once you have drawn your rectangle cut it out.
Now cut an identical piece of fabric out of your lining fabric. Put it to one side for now.
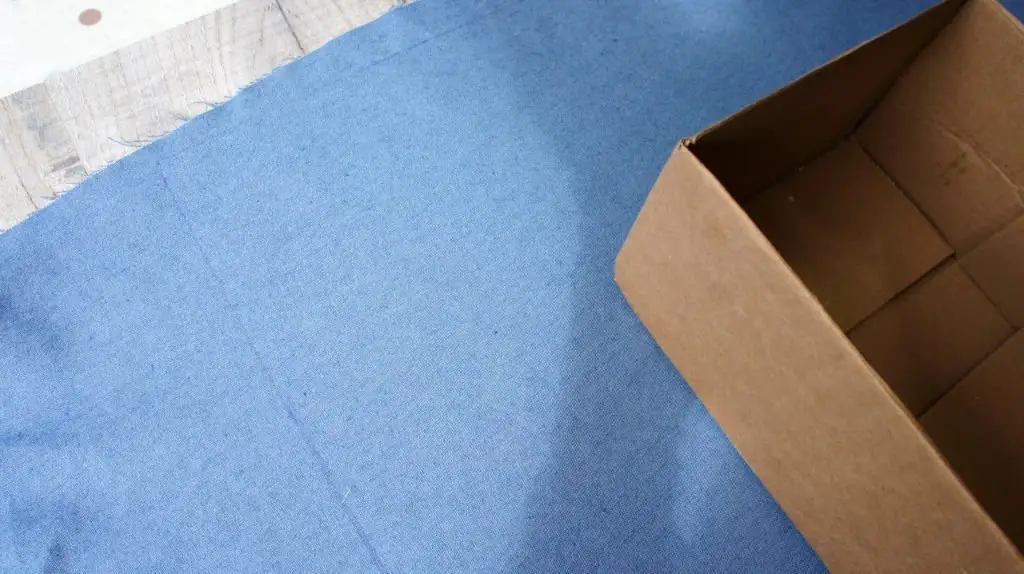
Take your fabric for the outside of your box and place the box back into the centre of it. Make sure your fabric is right side facing down. You can stick the box down or, as I have done, use double sided tape to hold it in place while you work. The photo shows you the tape. Then turn it over and stick it down.
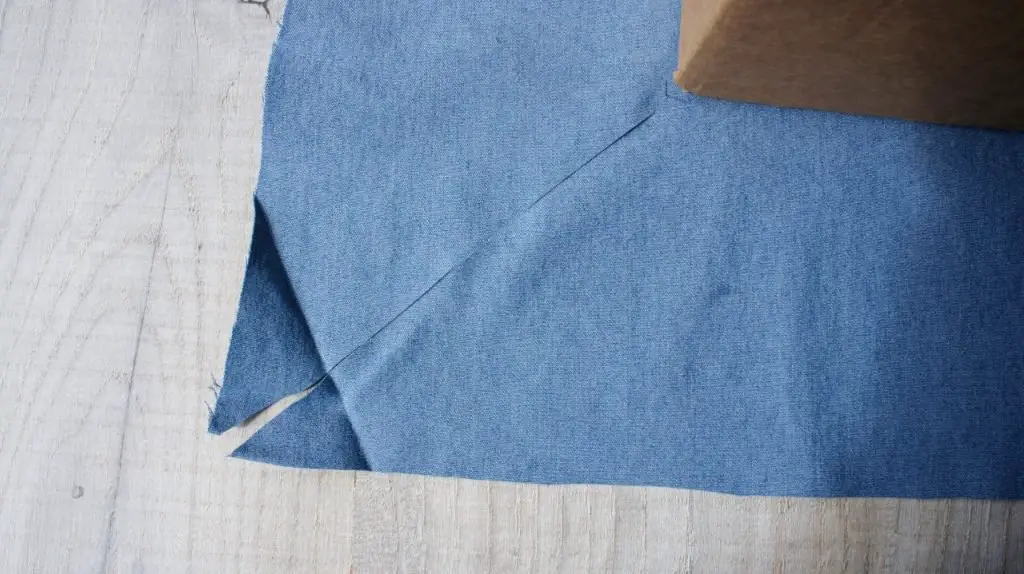
Now cut in from each corner of the fabric towards the corresponding corner of the box. Do not go quite as far as the box. Leave about 0.25″ (0.5cm) uncut.
Step 2: Attach outer fabric to box
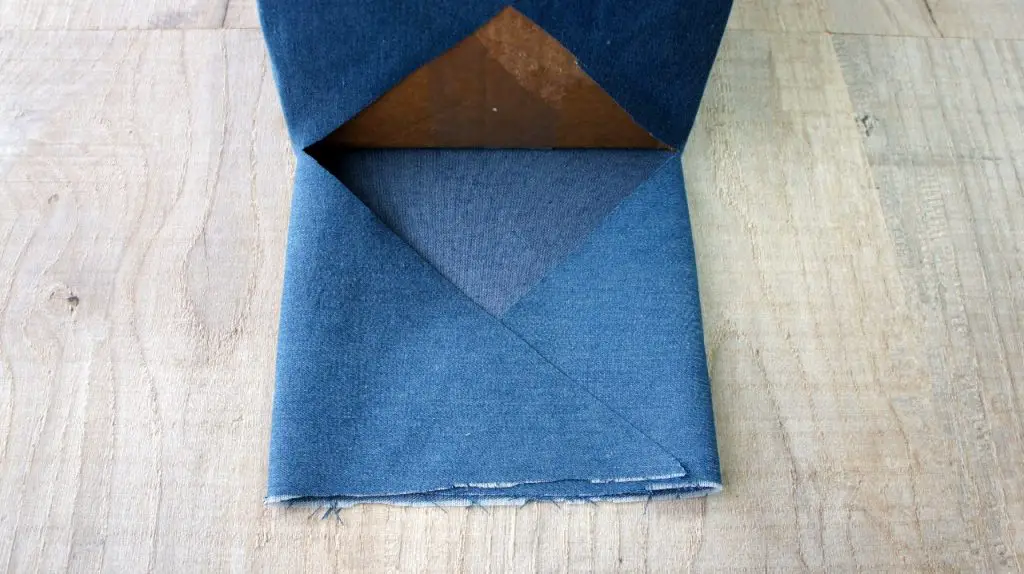
Apply glue (whichever one you are using) to one of the longer sides. Apply the glue to the fabric. Fold the fabric up and press it onto the side of the box. Fold the extra fabric over the top of the box and press it down inside the box. Note that the triangles at the ends of your piece will fold up the shorter sides of the box. Ensure all the surfaces are smooth.
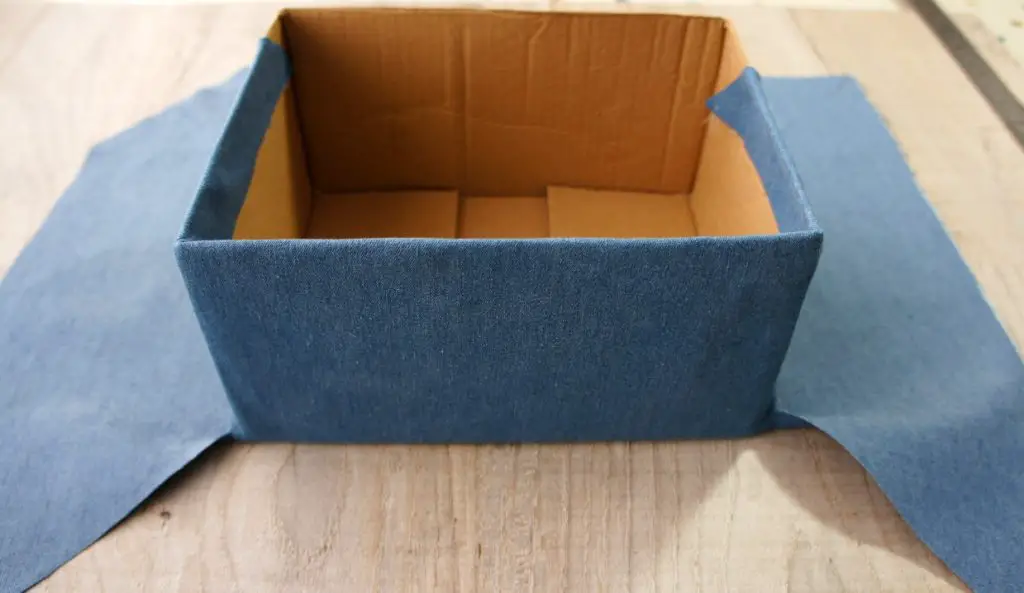
Repeat for the other long side.
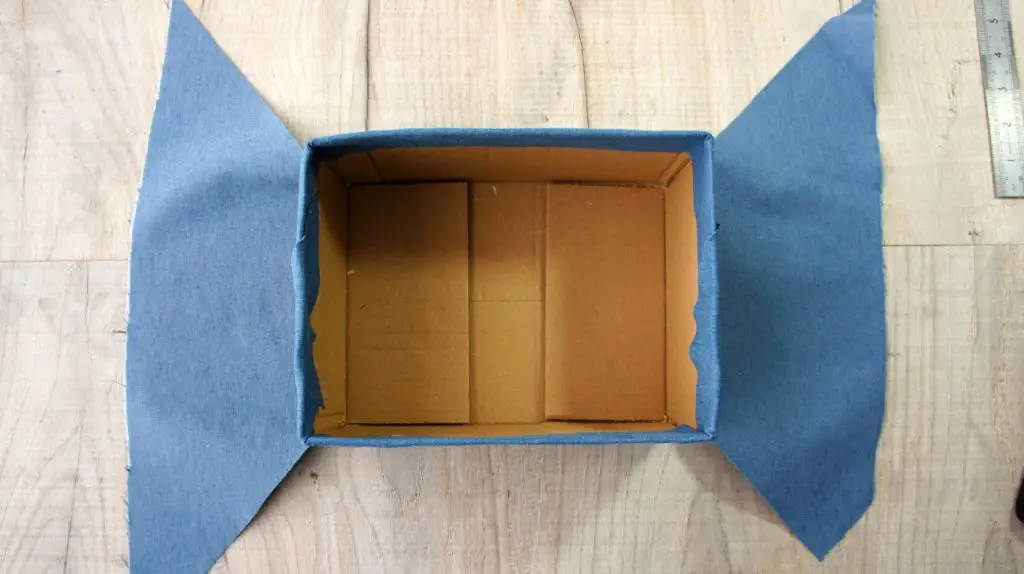
Working on one end of the box apply glue to the triangle shape at either side of the short sides of fabric and fold them onto the main rectangle. This will result in a rectangle shape of fabric that will fold up and fit perfectly to the end of the box.
Now apply glue to this piece of fabric and fold it up onto the box. Ensure that it is smooth and glue the extra fabric into the box. Make sure that you have glue to the edges of the fabric so that it glues right to the edge but not so much that it squeezes out and shows.
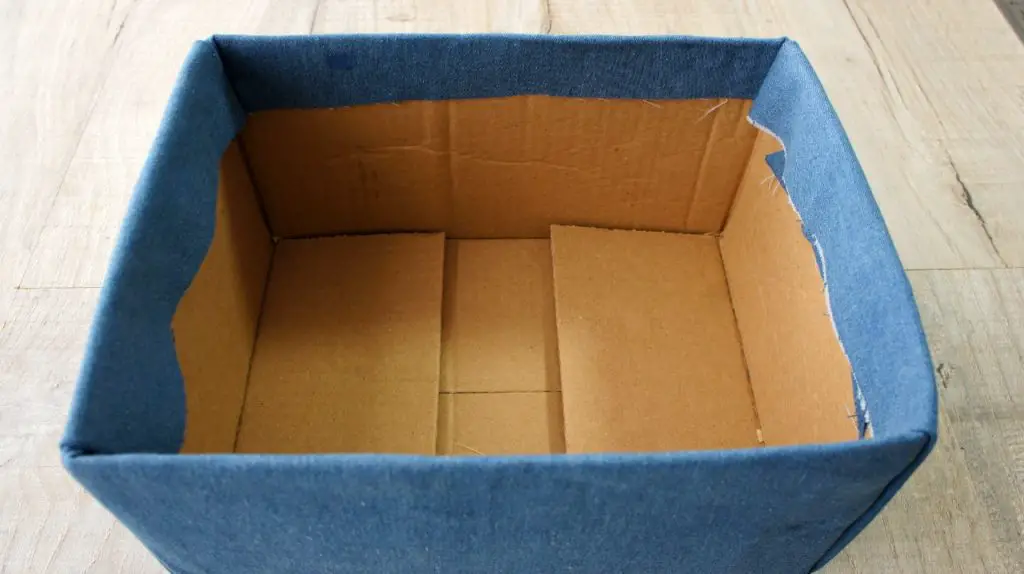
You can now consider this complete if you like but I chose to line mine. It is much prettier, don’t you think?
Step 3: Line the box with fabric
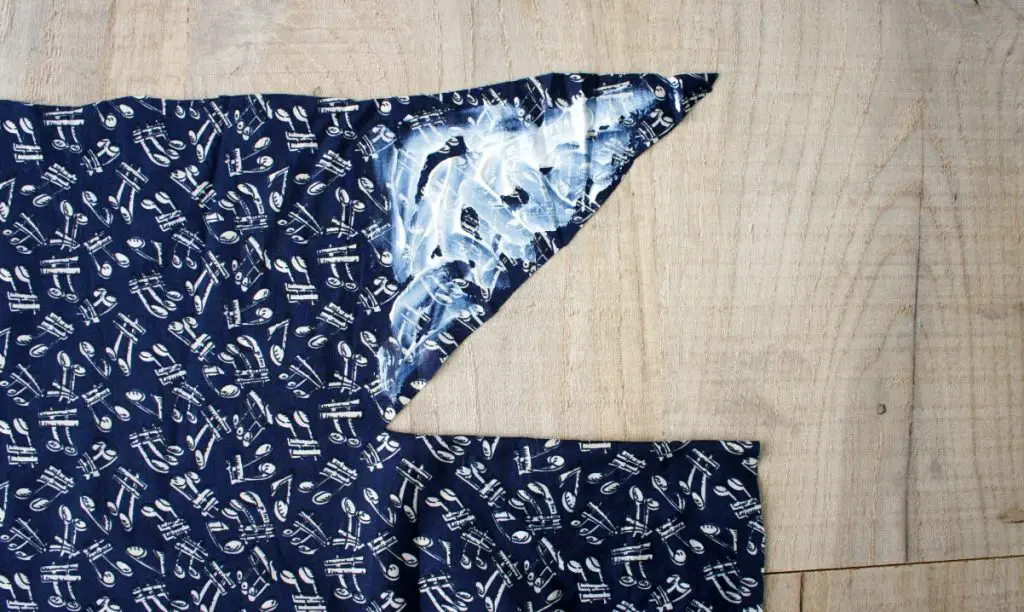
Take your rectangle of lining fabric and place your box in the centre of it. Snip in from the corners of the fabric to the corners of the box as you did for the outer fabric.
Now remove the box. Apply glue to the triangle on either end of one of the short sides and then glue it across the main rectangle as you did for the outer fabric.
Repeat for the other end.
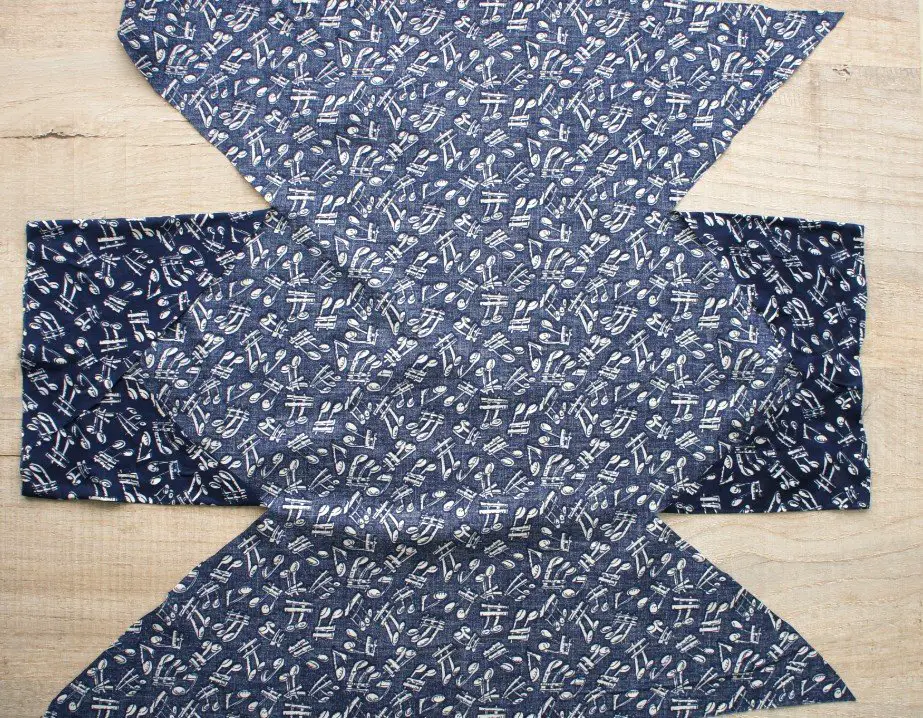
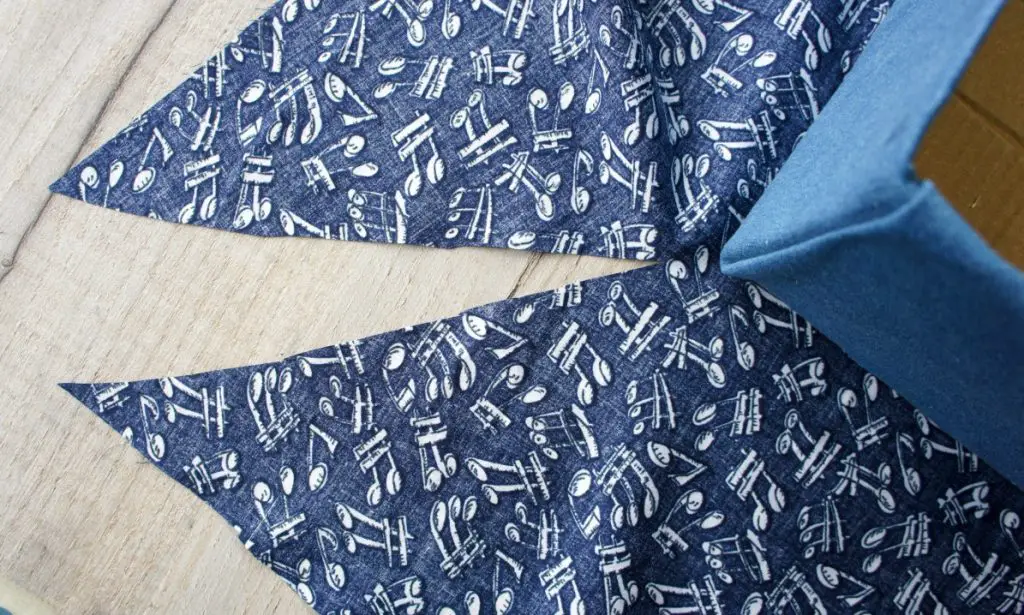
Turn the whole lining piece over. Apply glue to the triangle shape at one end of one long side. Note you are now applying glue to the right side of the fabric.
Now glue that triangle to the wrong side of the short end. You will start to form a box shape and it is tricky! Repeat for the other side that will glue to the same short end. This is an attempt to show you what it will look like but it is tricky to photograph.
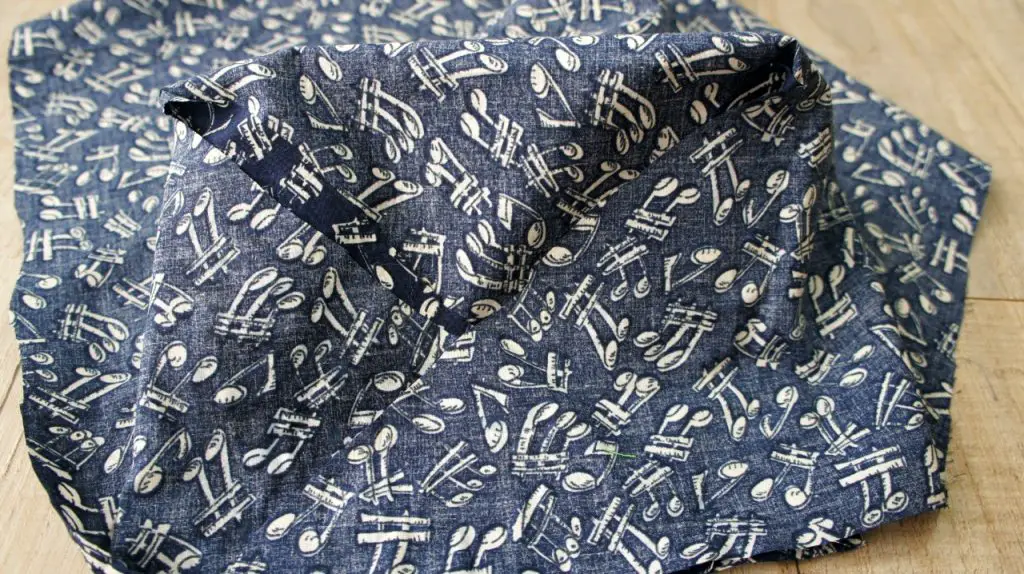
Repeat for the other end and you will form a complete box shape ready to go into your box.
Place your lining inside the box so that the right side is showing. It should stick up above the box.
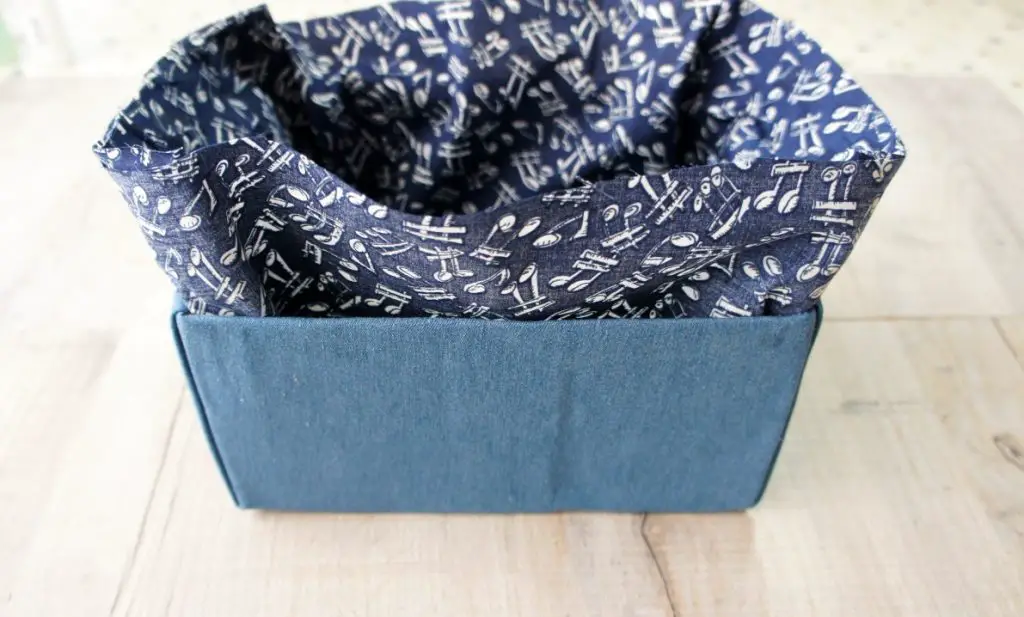
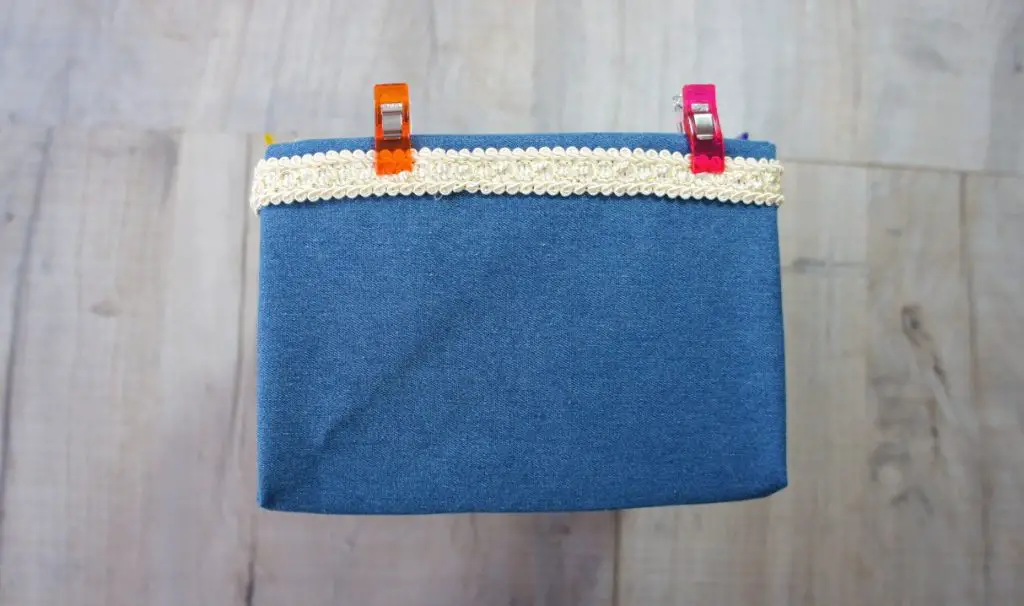
Fold down the top edge of your lining so that it covers the raw edge of your outer fabric inside the box. Make sure you are happy with it and that your lining sits nicely inside the box. Then glue it in place. If necessary clamp the fabric onto the box using clothespins or clips.
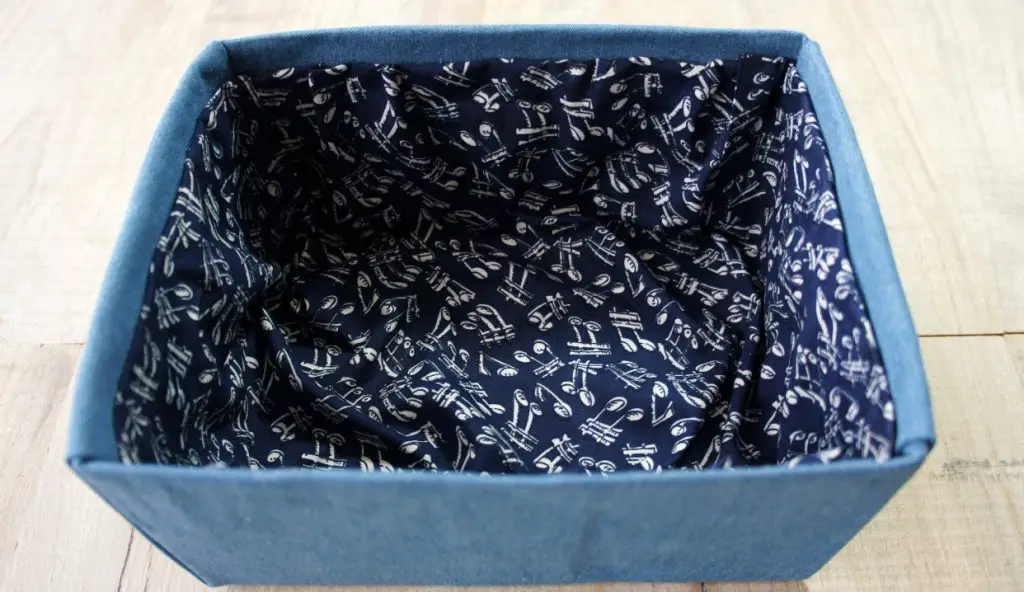
Well done, you now have a finished fabric covered box to store whatever you like!
Step 4: Optional Decoration
You can also decorate your box however you see fit, I simply added a trim around the box using the fabric glue and I think it is very effective. I glued it on and held it in place using clips until it dried.
Summary
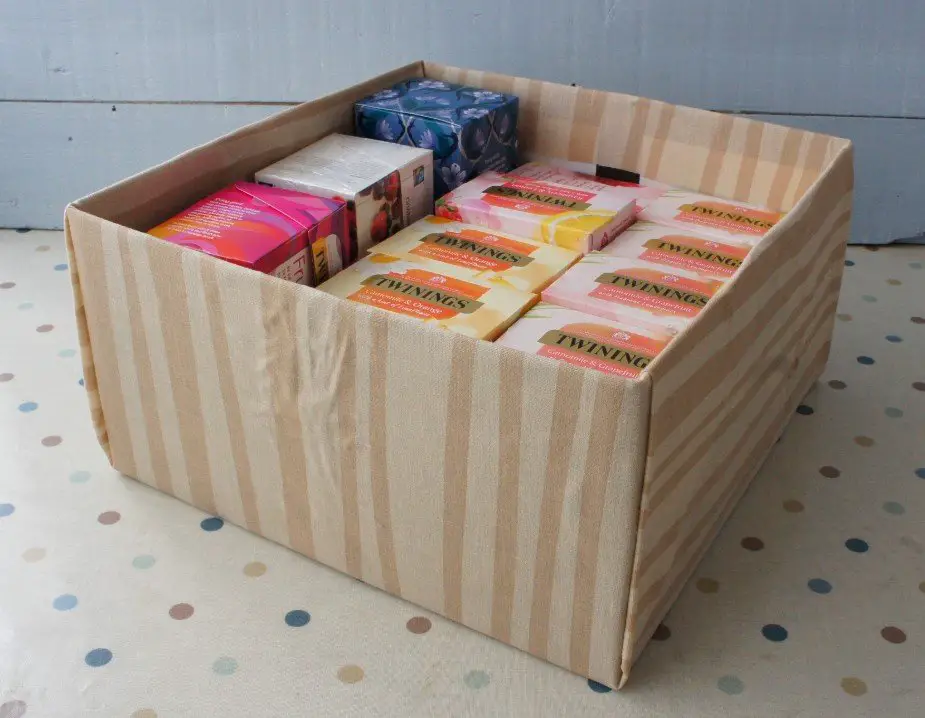
I have really enjoyed making these fabric covered boxes and I now have this one by my front door but I also have one to hold my recently acquired vintage button collection and one to hold my fruit teas that I buy online in bulk.
I think these fabric covered boxes are also great for gift boxes as you can use any cardboard boxes and fabric you already have. Make that gift really special!
I love upcycling and I think these are a great example of making your home prettier while upcyling using what you already have. If you also enjoy upcycling then take a look at a few of my other tutorials:
- Upcycle an old t-shirt into fabulous flowers
- Make a yarn bowl from an old wooden bowl
- Re-cover a lampshade
- Stylish magazine holder from an old cereal box
- Stylish storage from a shoebox and takeaway containers
If you like these boxes remember to pin this article on Pinterest so that you can find it later.