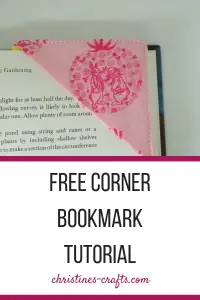
How to Make a Fabric Corner Bookmark
As an Amazon Associate I earn from qualifying purchases
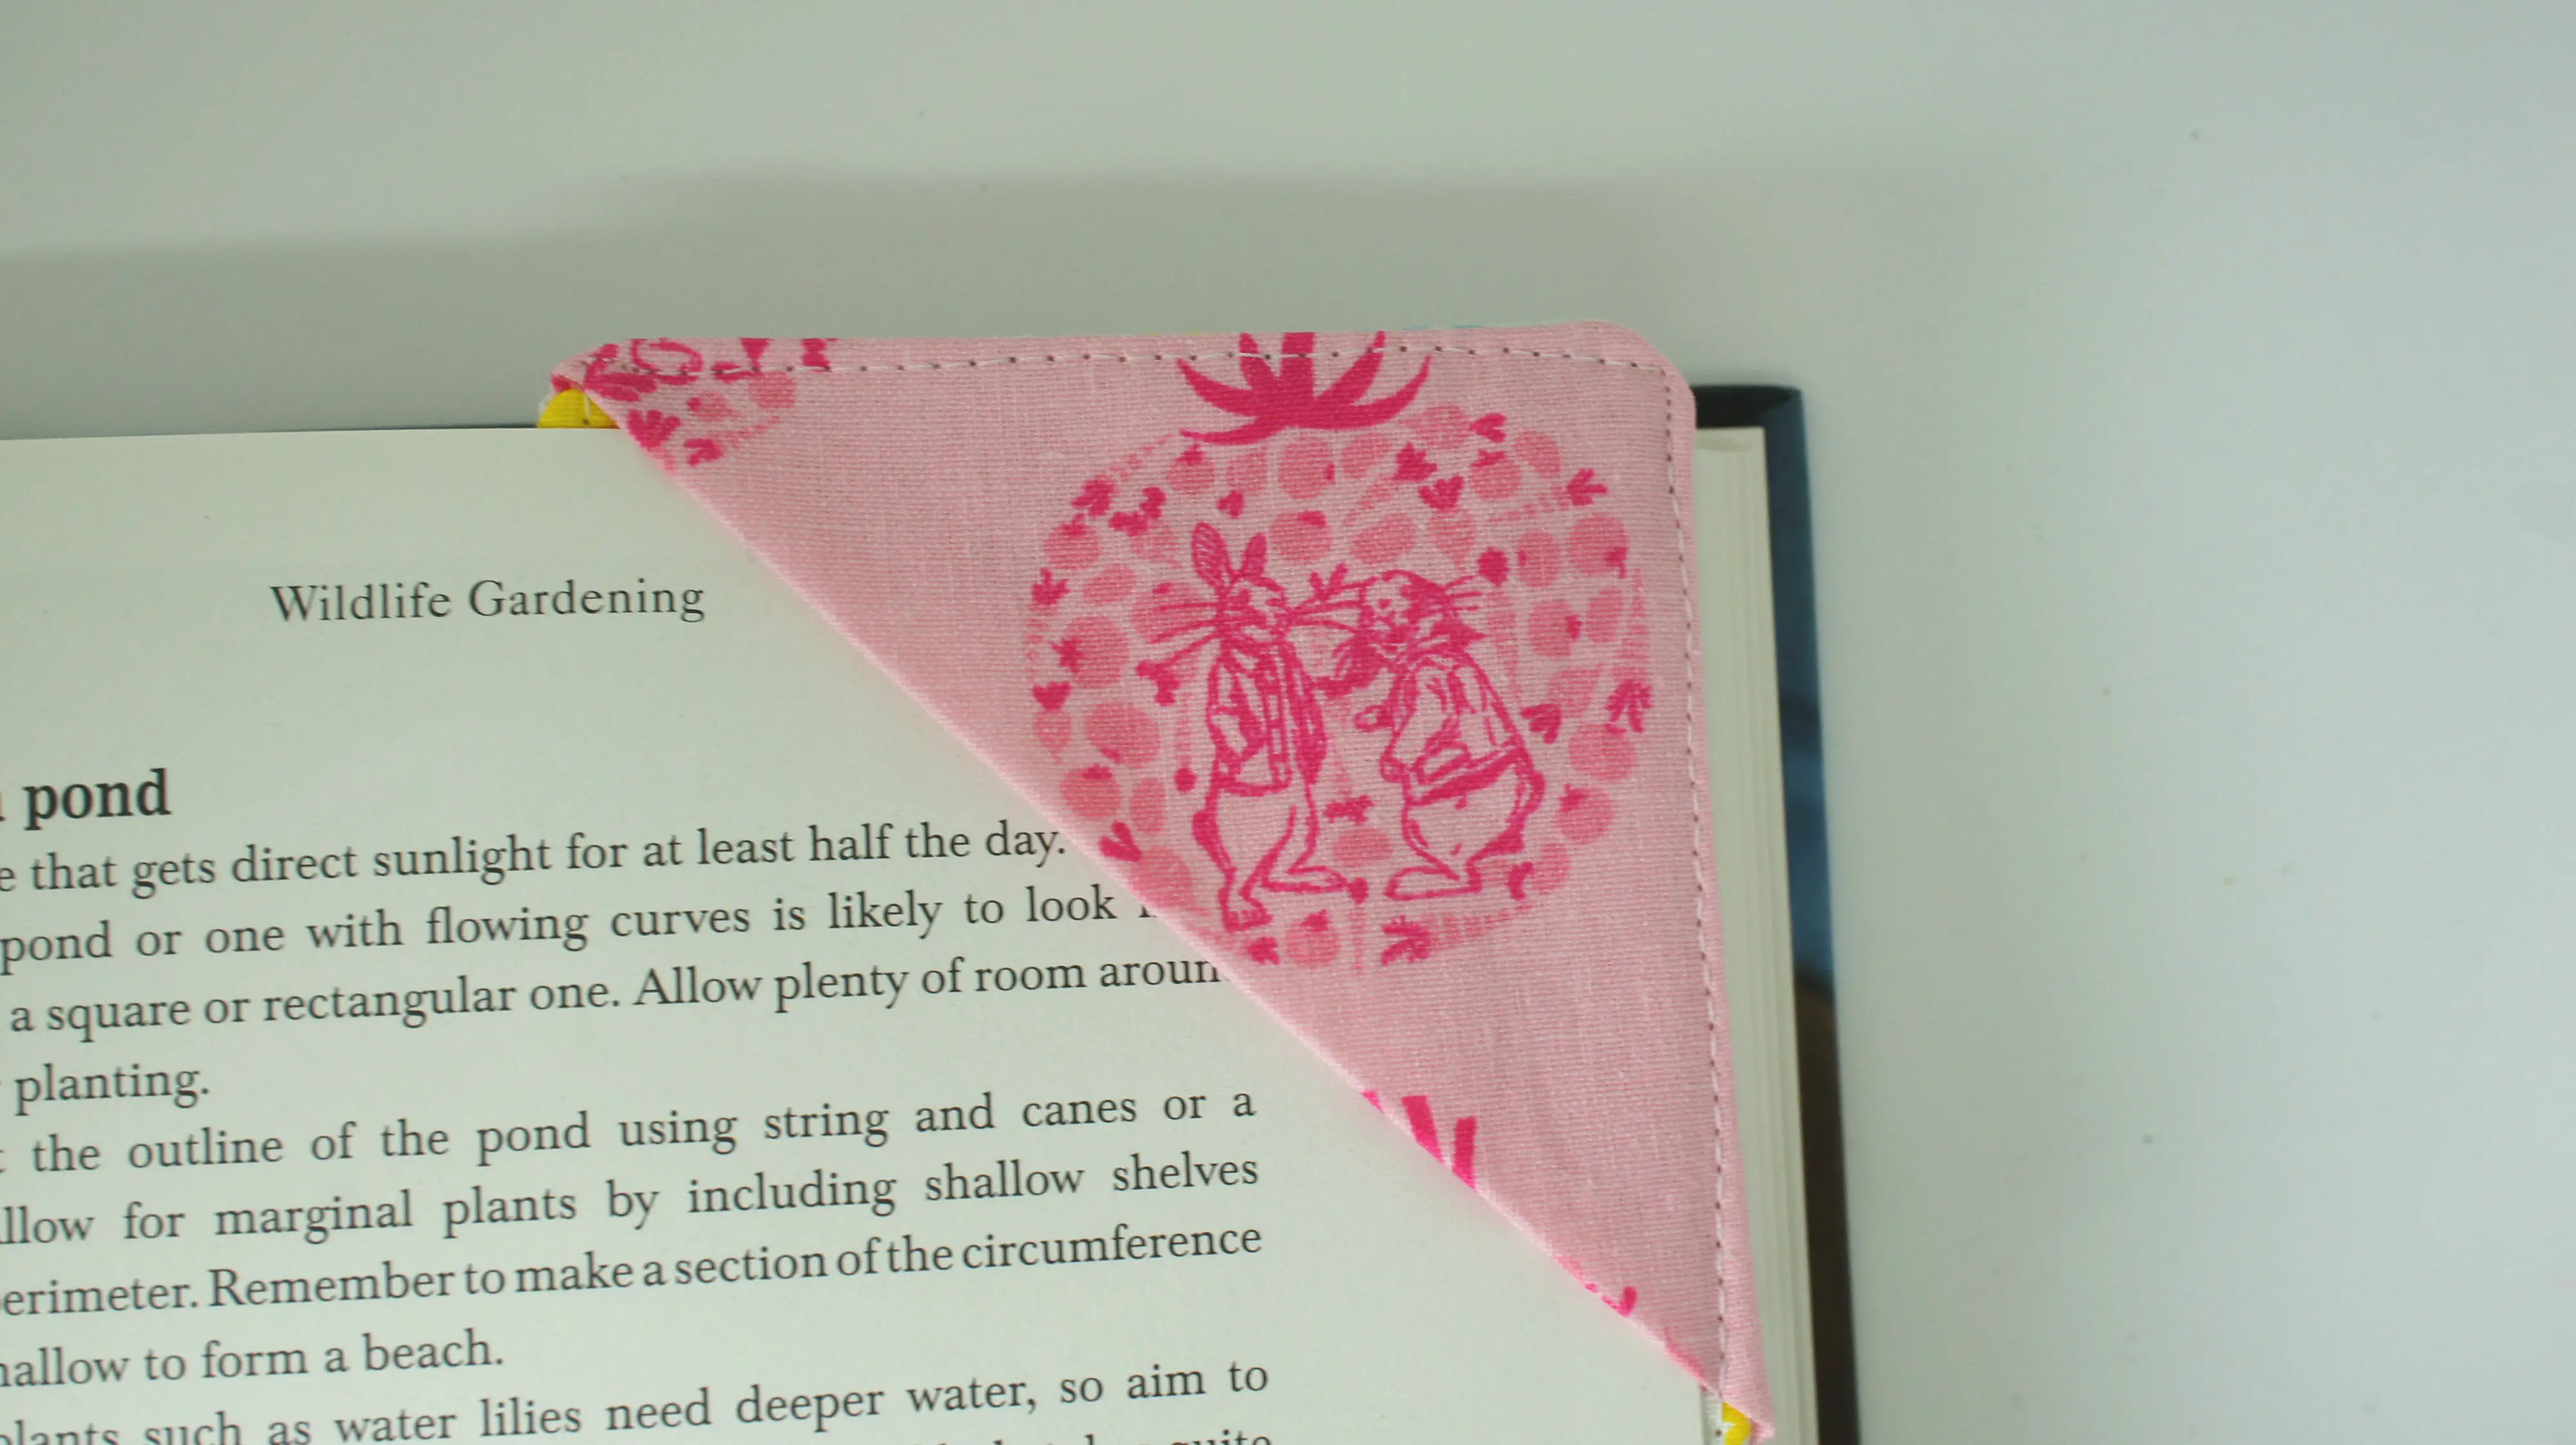
This tutorial will show you exactly how to make a quick fabric corner bookmark, or corner book marker. These are great for using up fabric scraps and make lovely gifts. They are great to give with a book or gift card to make the gift extra special. You could even use themed fabric to match the book! It will only take you about 15 minutes to make one so what are you waiting for?
This page contains affiliate links meaning I earn a small commission if you use those links at no cost to you. I only recommend brands I use and trust.

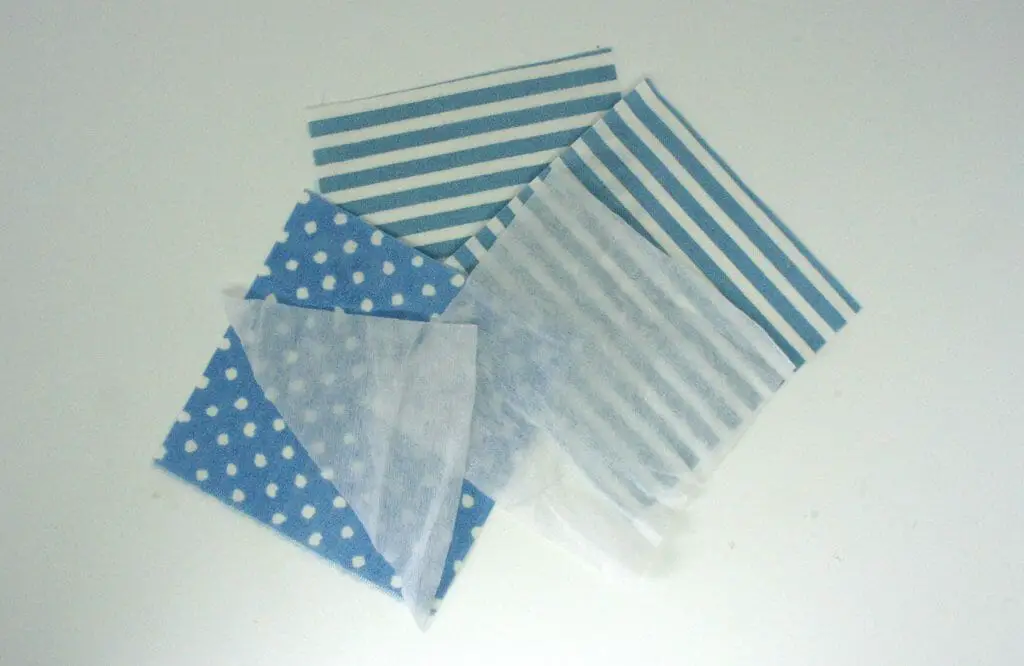
You will need:
Basic sewing supplies
Iron and ironing board
Three squares of fabric 10cm x 10cm (4″ x 4″). Great craft for fat quarters like these from Amazon.
I chose to have the triangle in a different fabric on the bookmark so I had 1 square of that fabric and 1 of the other.
2 squares of iron-on interfacing 10cm x 10cm (4″ x 4″)
If you like to watch a craft being done then scroll down to the bottom of this tutorial and watch me making one of these.
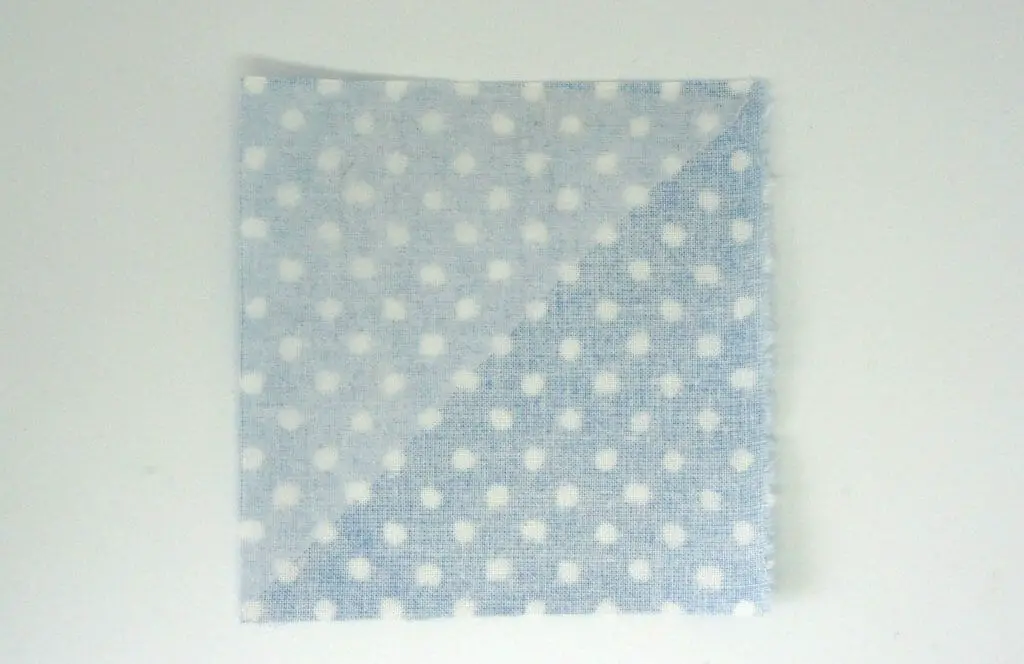
Step 1: Attach Interfacing
Cut one square of interfacing into 2 equal triangles. The easiest way is to fold it in half diagonally and cut along the fold. You will only use one of these. Save the other for your next bookmark!
Iron this triangle of interfacing to the back of the fabric square that you are going to use for the front triangle of your bookmark.
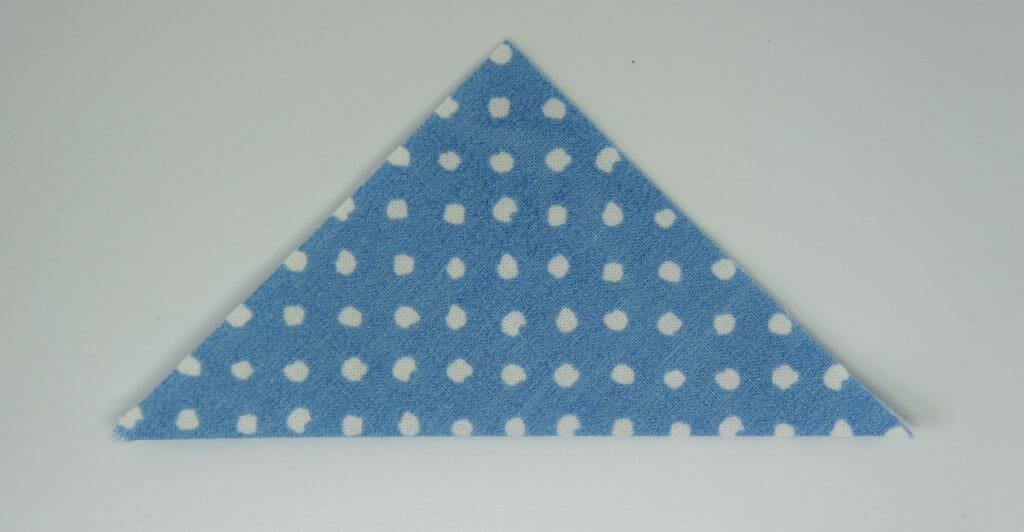
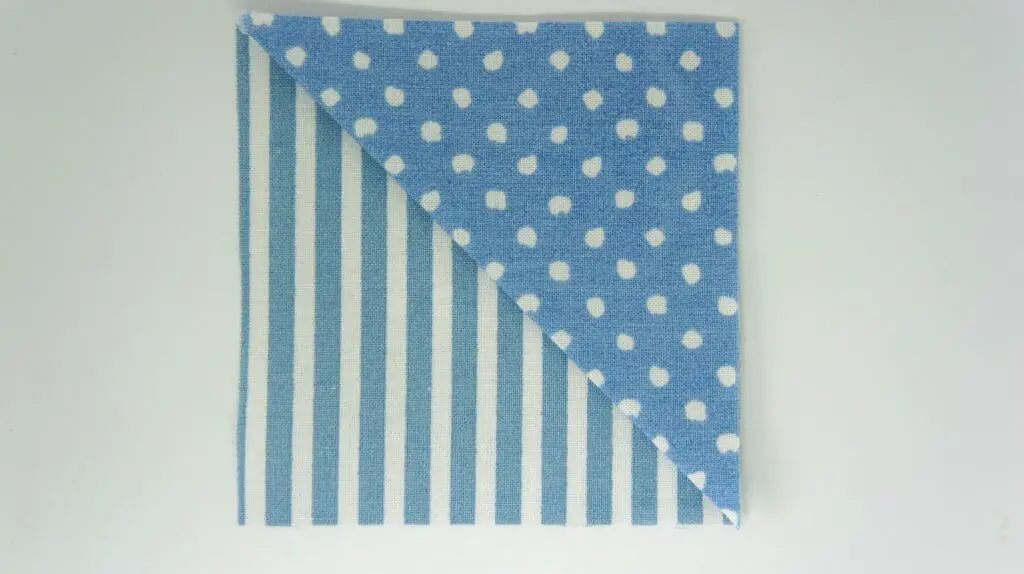
Now fold this along the edge of the interfacing to form the triangle. Right sides of fabric should be showing. Press.
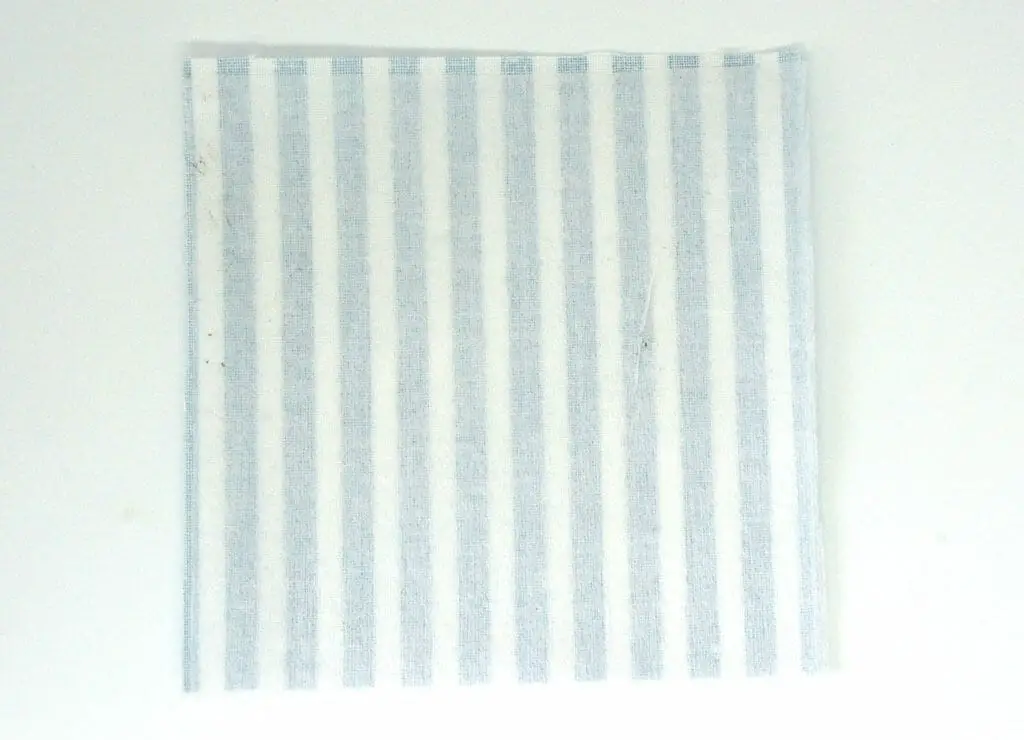
Iron the square piece of interfacing onto the back of one of the other squares of fabric.
Step 2: Assemble and sew the bookmark
Now place the square of fabric that you attached the interfacing to on the table, face up. Place the triangle of fabric on top in the correct place to form the bookmark.
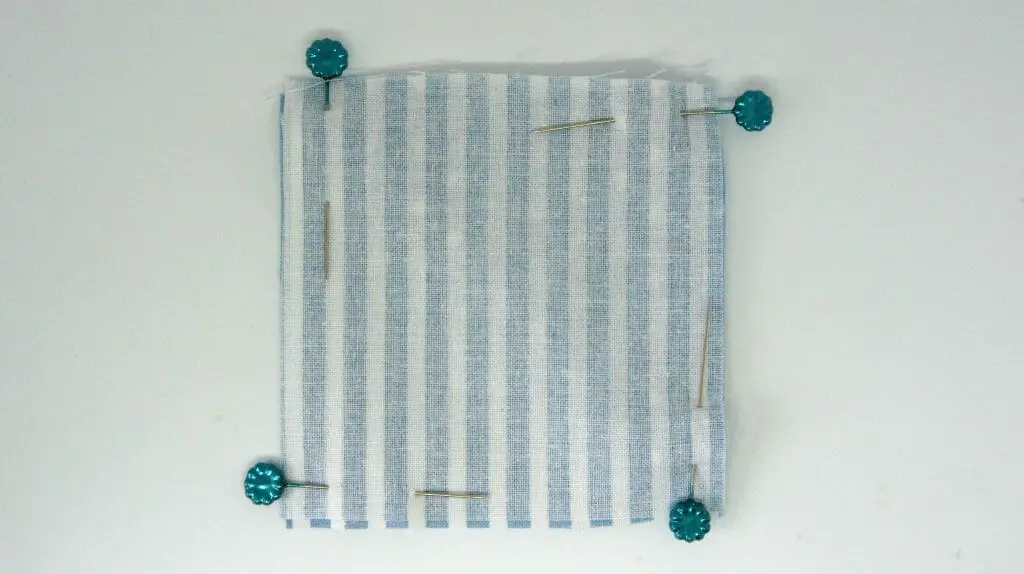
Place the remaining square of fabric on top, face down. Now pin the three items together ready to sew around them.
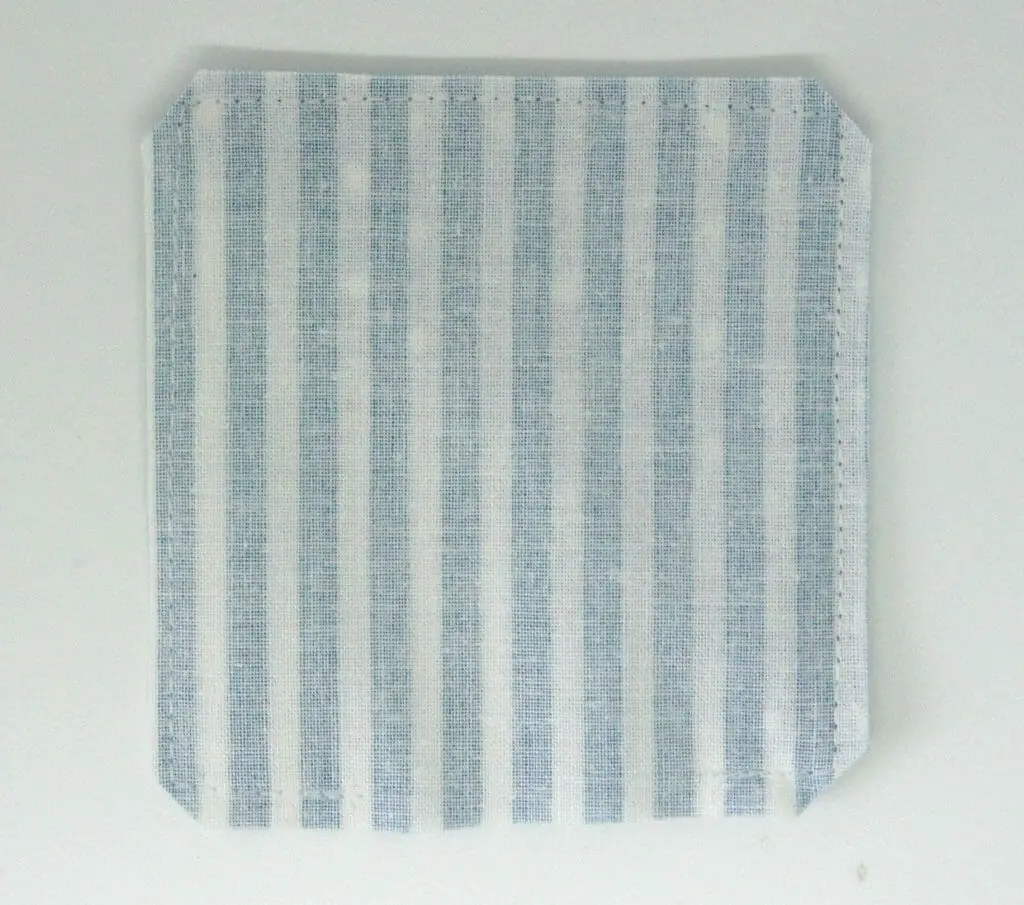
Now sew around the square approximately 0.5cm (1/8″) from the edge leaving a gap along the bottom large enough to turn the bookmark out through.
Step 3: Turn out and finish
Clip the corners of the bookmark and trim the seam allowances down if necessary.
Turn the bookmark out and press making sure that you turn in the hem at the bottom.
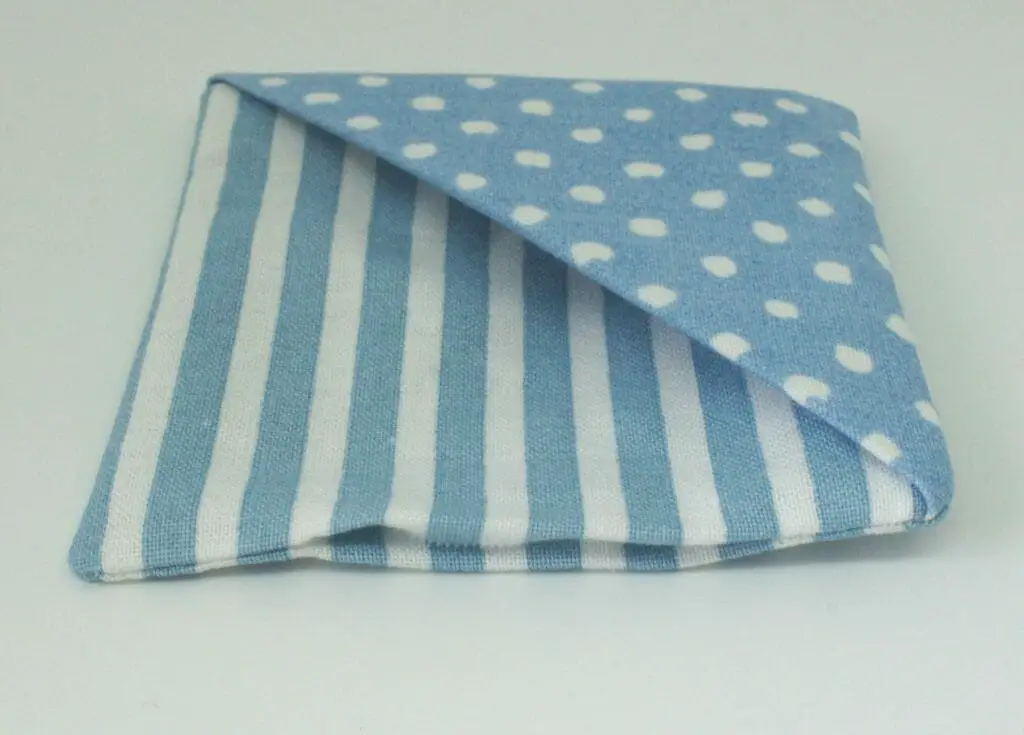
Sew around the bookmark close to the edge. This will make it look smart and also close up the open seam. Your fabric corner bookmark is now completed.
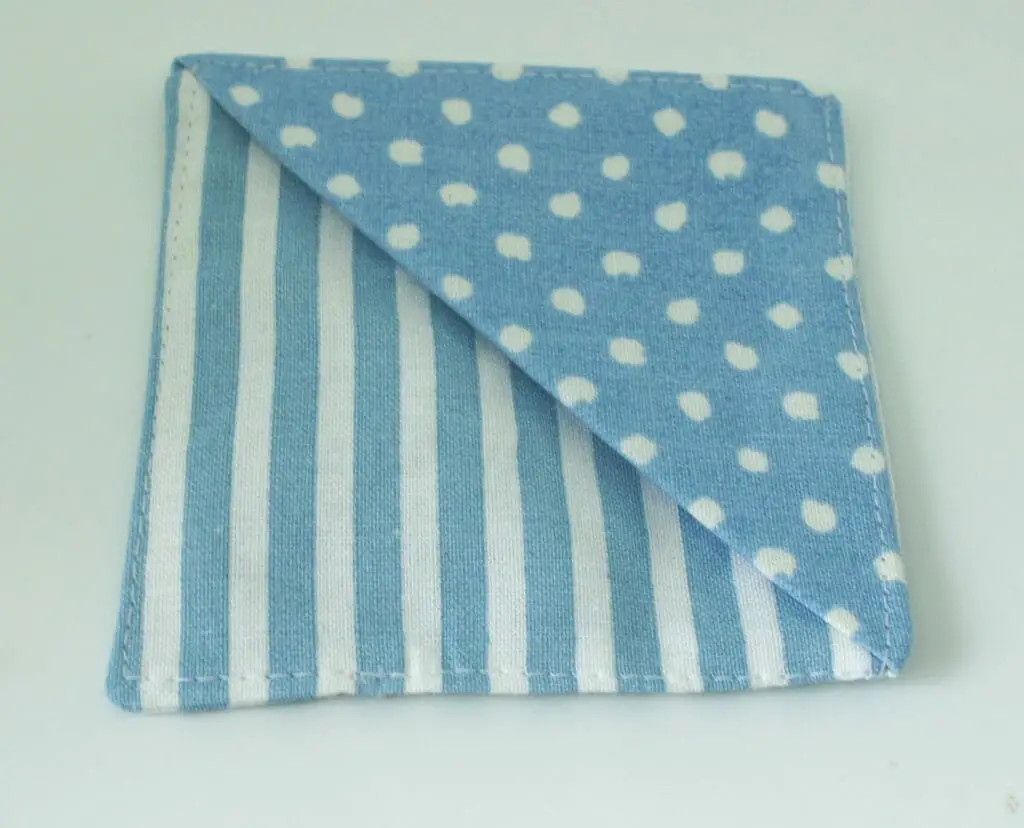
I have made a few of these as they are so quick and easy to make.

Key things that I learned making these are:
You must make sure everything is square to get a good finish
If you want a picture on the front triangle you must be careful how you cut out your fabric square
You can vary the size as you wish (one of mine is deliberately smaller)
If you like sewing then check out some of my other sewing tutorials:
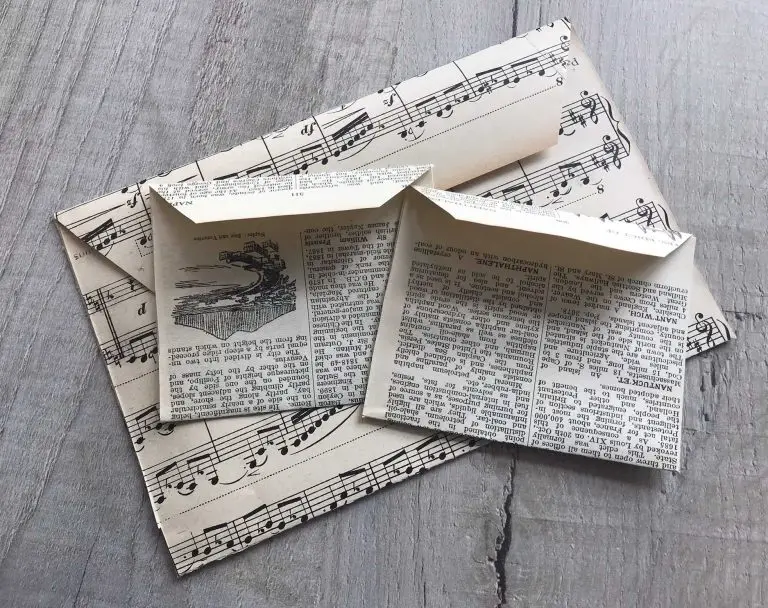
- How to make a teabag wallet
- Make a simple skirt (no pattern needed)
- Patchwork bag to make
- Lavender ‘Teabag’ Sachets to make (including printable labels)
- Make your own doorstop
- Cute Hanging Cone Baskets
Please let me know below what you think of these or if you make your own. Any suggestions for future tutorials also welcome.
If you want more inspiration you can follow me on Pinterest as Christine’s Crafts and Instagram as christinescraftsuk.
Remember to pin this on Pinterest for later.