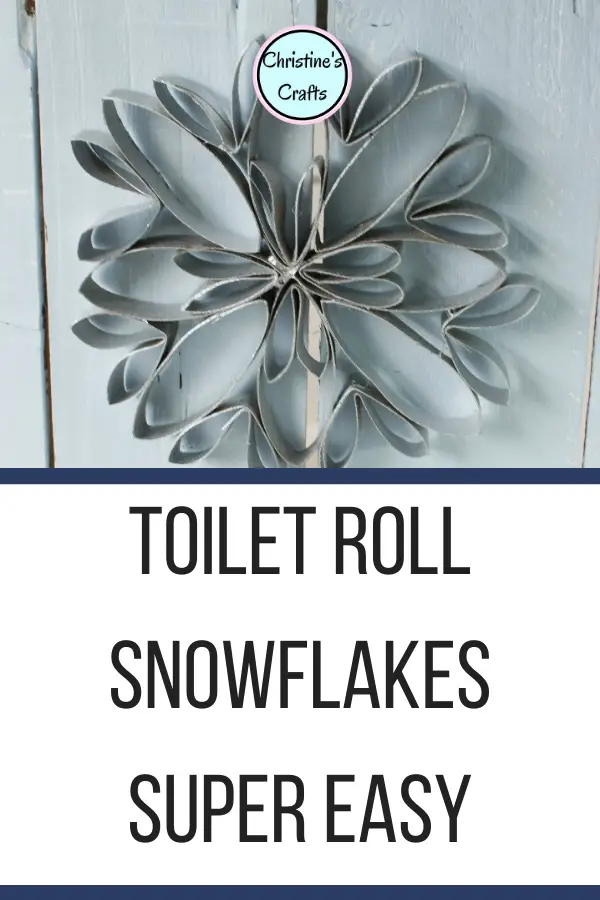
Toilet Paper Roll Snowflakes for Christmas
As an Amazon Associate I earn from qualifying purchases
Toilet paper roll snowflakes are so easy to make and great for involving the kids. Make loads of them to really decorate your home and it still won’t cost very much. They are great Christmas decorations on a budget.
One of the greatest free resources we have in our homes for crafting are toilet paper rolls. We can also use kitchen paper rolls to give us a variety in length and sometimes diameter. We have all used them from pre-school right through to now (whatever your age). They are so versatile and freely available.
In this tutorial we will use them to make a pretty snowflake to hang up at Christmas. This tutorial will show you the basic technique and then you can copy it or let your creativity run wild. Design many different snowflakes just like in nature.
This page contains affiliate links meaning I earn a small commission if you use those links at no cost to you. I only recommend brands I use and trust.
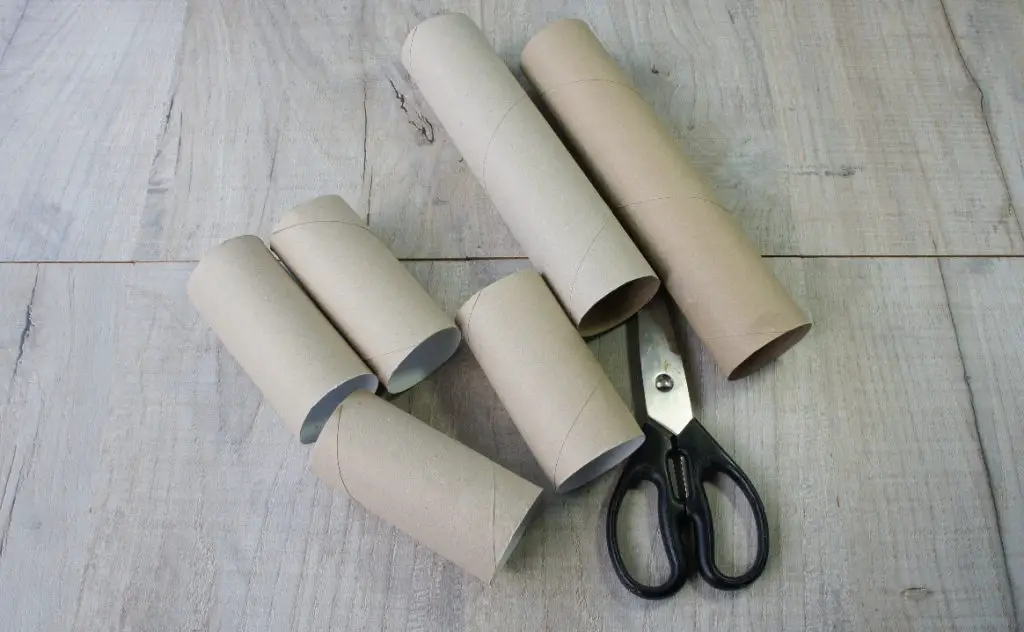
You will need:
Toilet paper rolls (or kitchen paper rolls) – any size
Ruler
Glue (I used hot melt glue but any craft glue should work)
Paint, glitter, etc to decorate it
Thread or ribbon to hang it up
If you like watching a craft project to see what to do then take a look at this video of me making a toilet paper roll snowflake. If you prefer written instructions then keep reading.
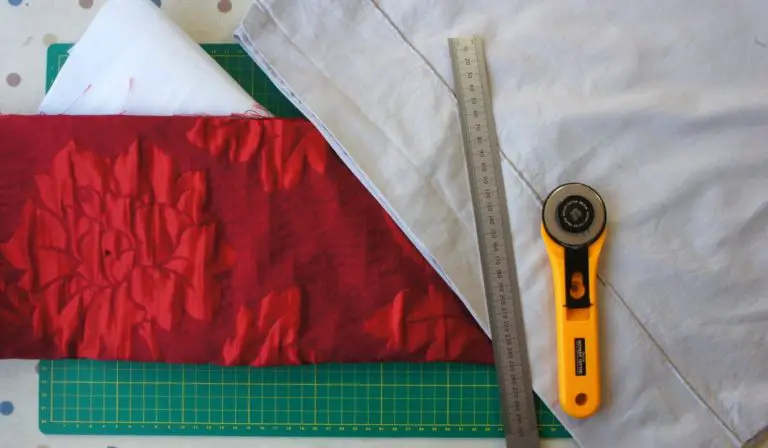
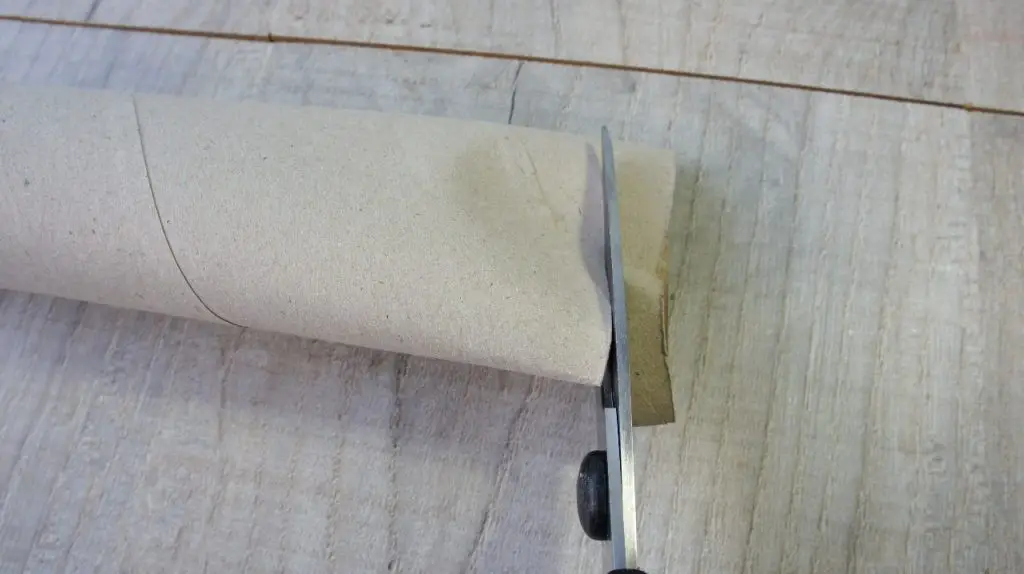
Cut the toilet paper rolls to size
Lay one of your tubes on the table on its side. Measure along it however deep you want your snowflake. Mine are 1.5cm (approximately 0.5″). Repeat the measurement all the way along the roll.
Rotate the roll and repeat so that you have 2 marks at each length. You can now join up these marks to make a cutting line or simply cut using the 2 marks as a guide. You will squash the roll but do not worry about this.
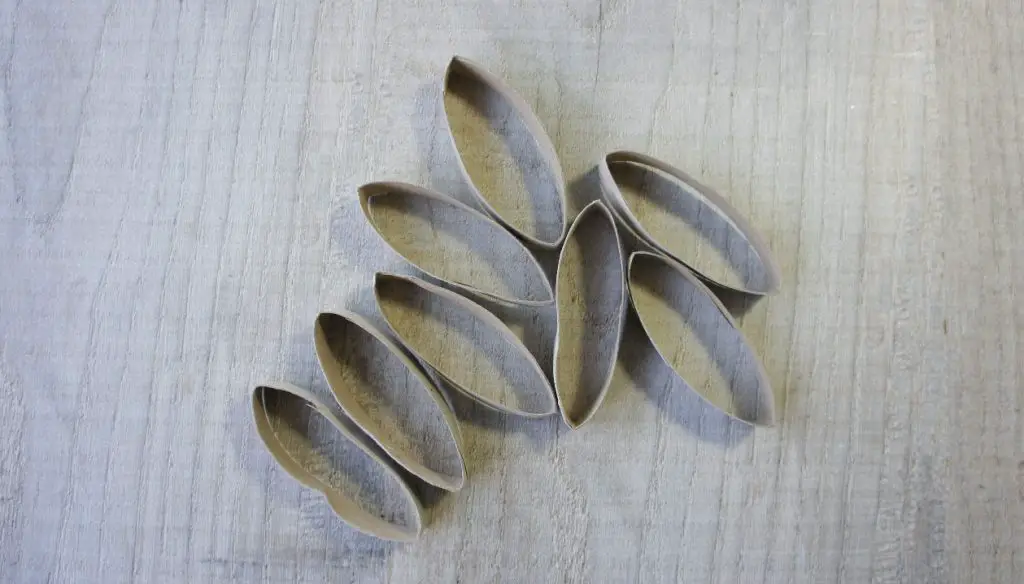
Repeat this with all the marks you made, forming slices of the cardboard roll.
Repeat with as many rolls as you like depending on the size of snowflake you want to make. I used 3 cardboard rolls.
These are the slices that you will make.
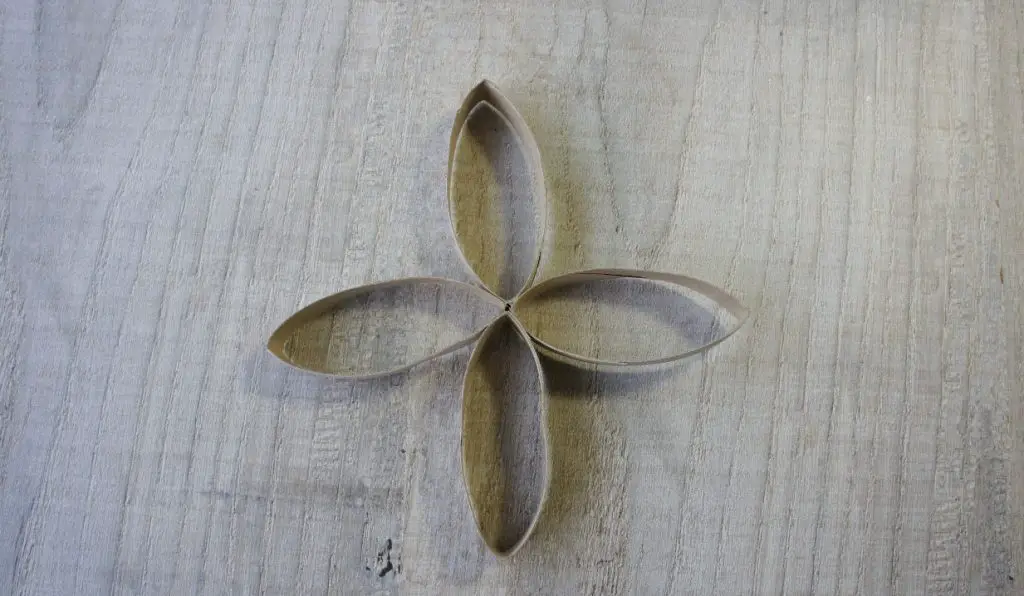
Build your toilet paper roll Snowflake
Now is the time to start designing your snowflake. I will show you exactly how I built mine. If you have watched the video you will notice that this one is a little bit more complicated.
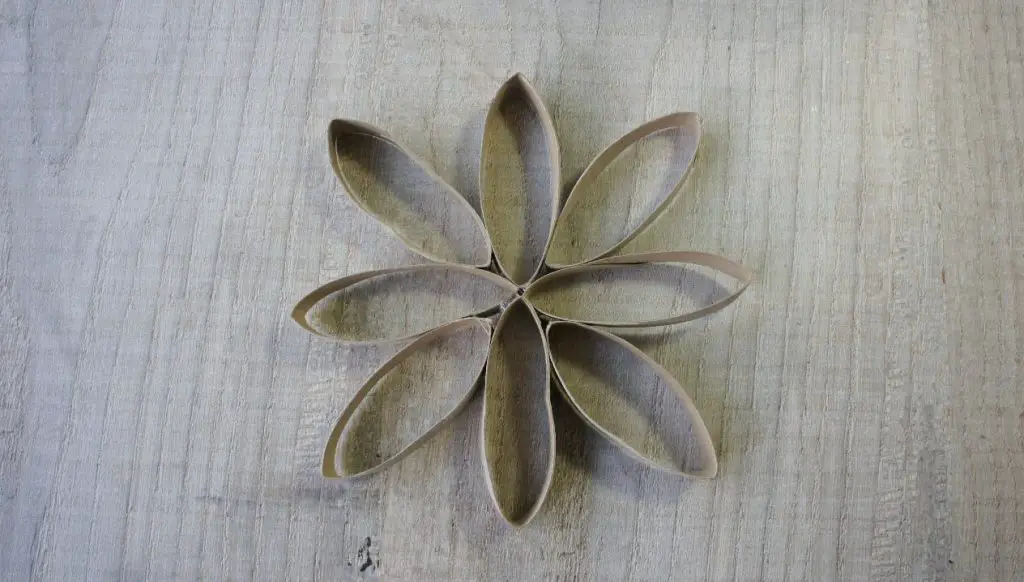
Firstly arrange four slices in a cross shape and glue them together. This is the centre of your snowflake.
Now add in 4 more slices in the spaces between the first four. Glue them in place.
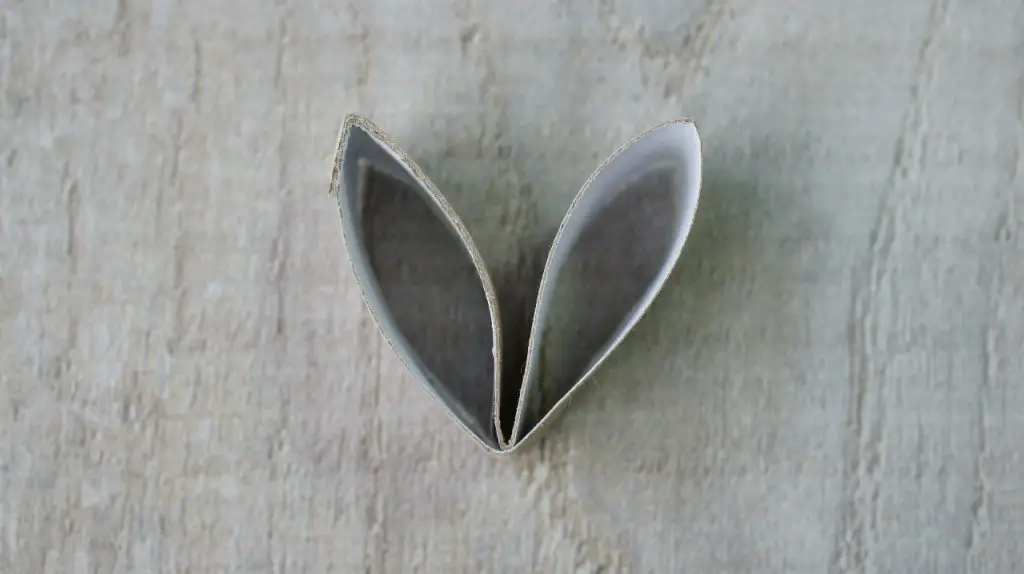
To add detail to your snowflake take a slice and fold it in half.
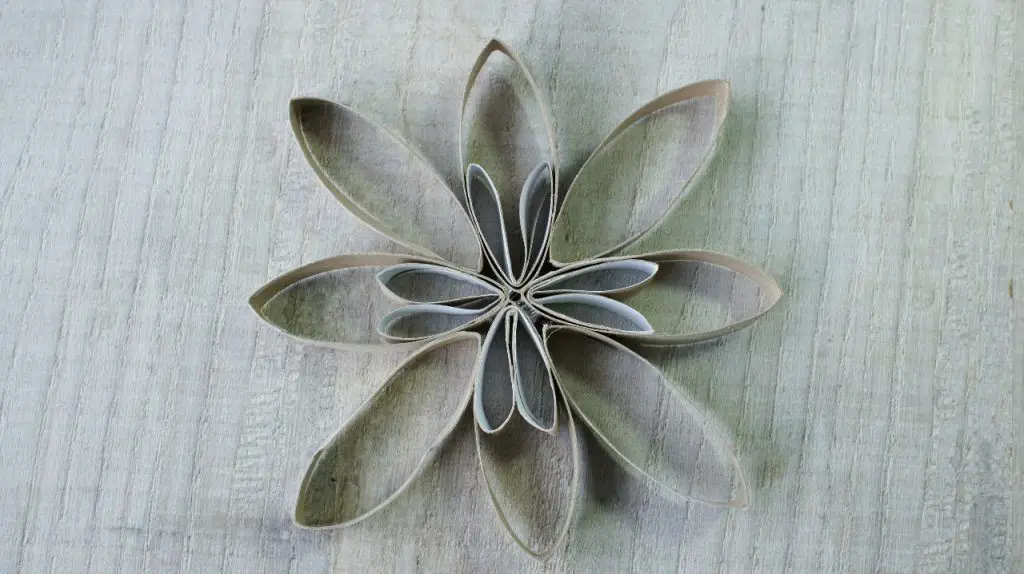
Now add those to four of the slices in your snowflake. This will make some nice centre detail.
Fold some more slices and add them to the outside of the snowflake.
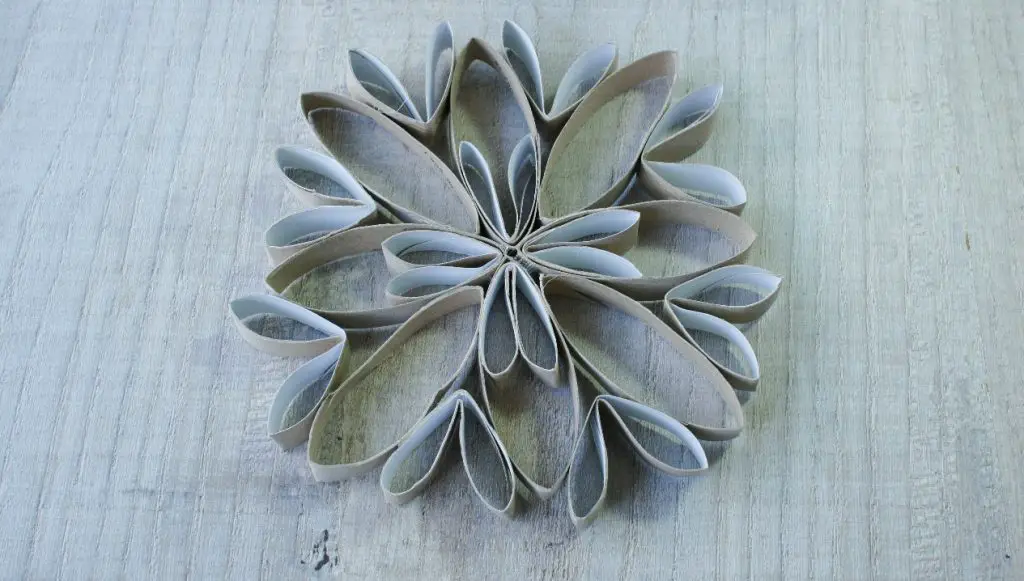
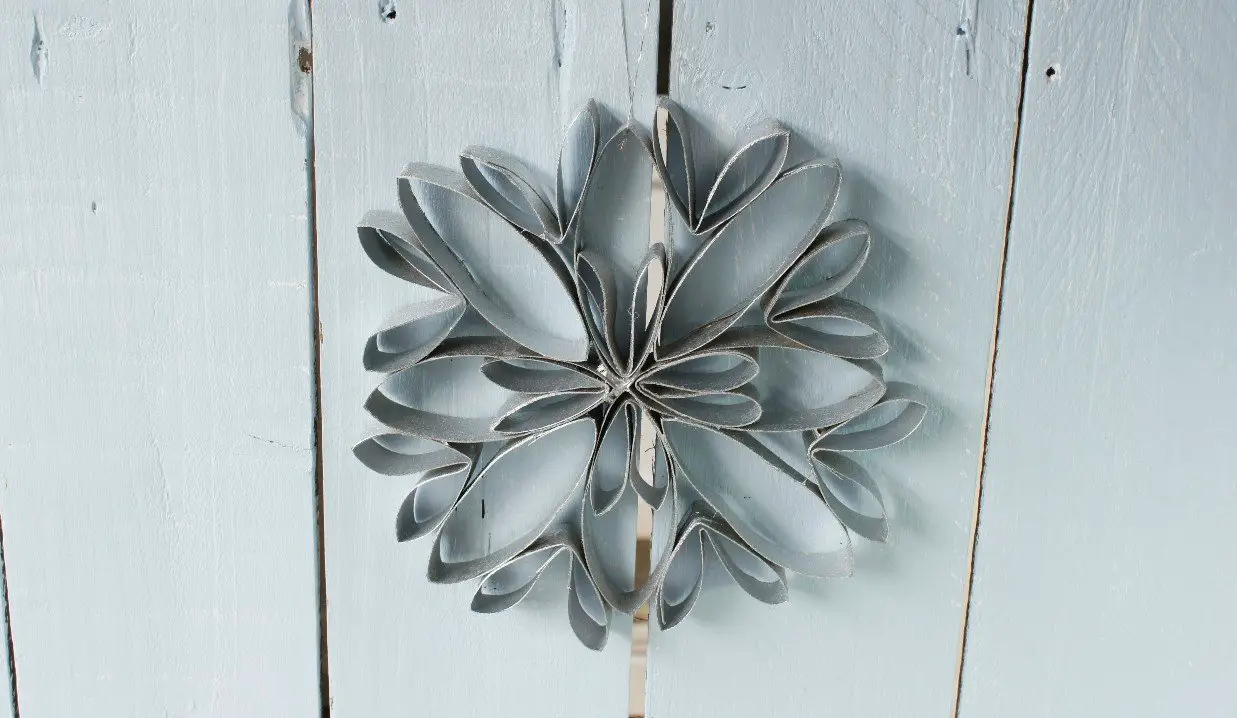
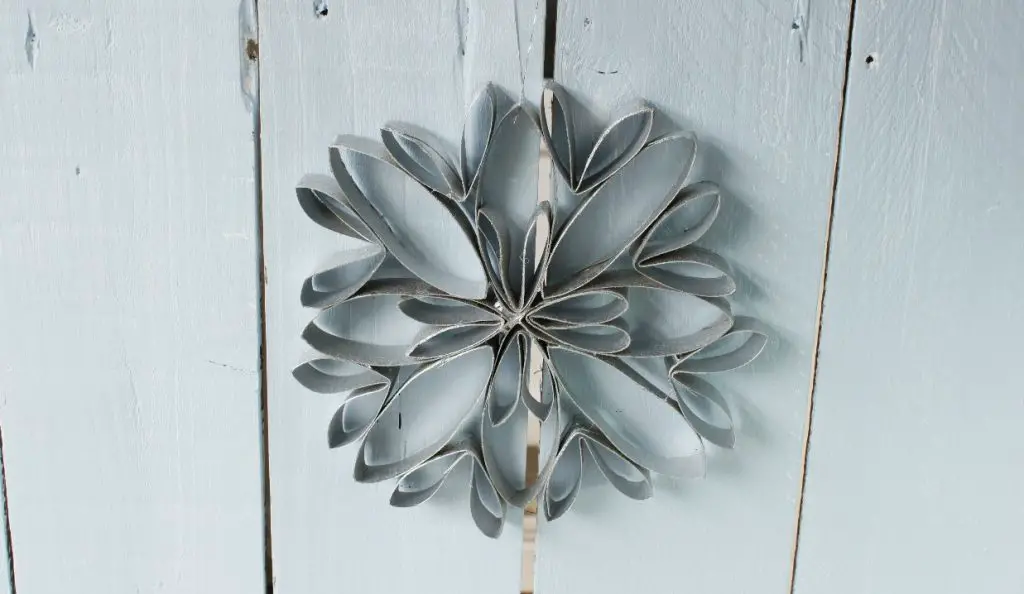
That is the snowflake completed and ready to decorate. I spray painted mine silver. They do look fantastic with glitter on them but it is very unpopular in my house so I tend to spray paint silver or gold to get that shiny effect.
Get Creative with your Snowflakes
So you have seen 2 different designs that I have made, one in the video and one in these instructions. You can replicate these or get creative and make lots of different toilet paper roll snowflakes.
If you get kids making these you will get many different designs and colours!
So enjoy your snowflakes and make some more Christmas decorations on a budget using these tutorials:
To make sure you see all my new tutorials as soon as they arrive and lots of free resources in my resource library sign up to my newsletter today using the form on this page.