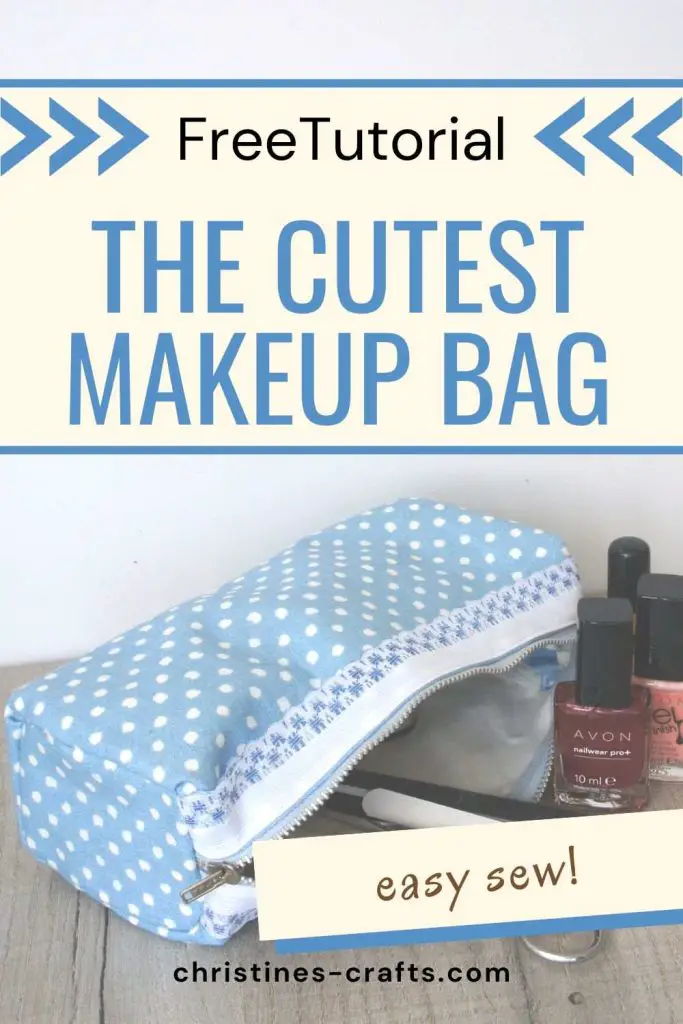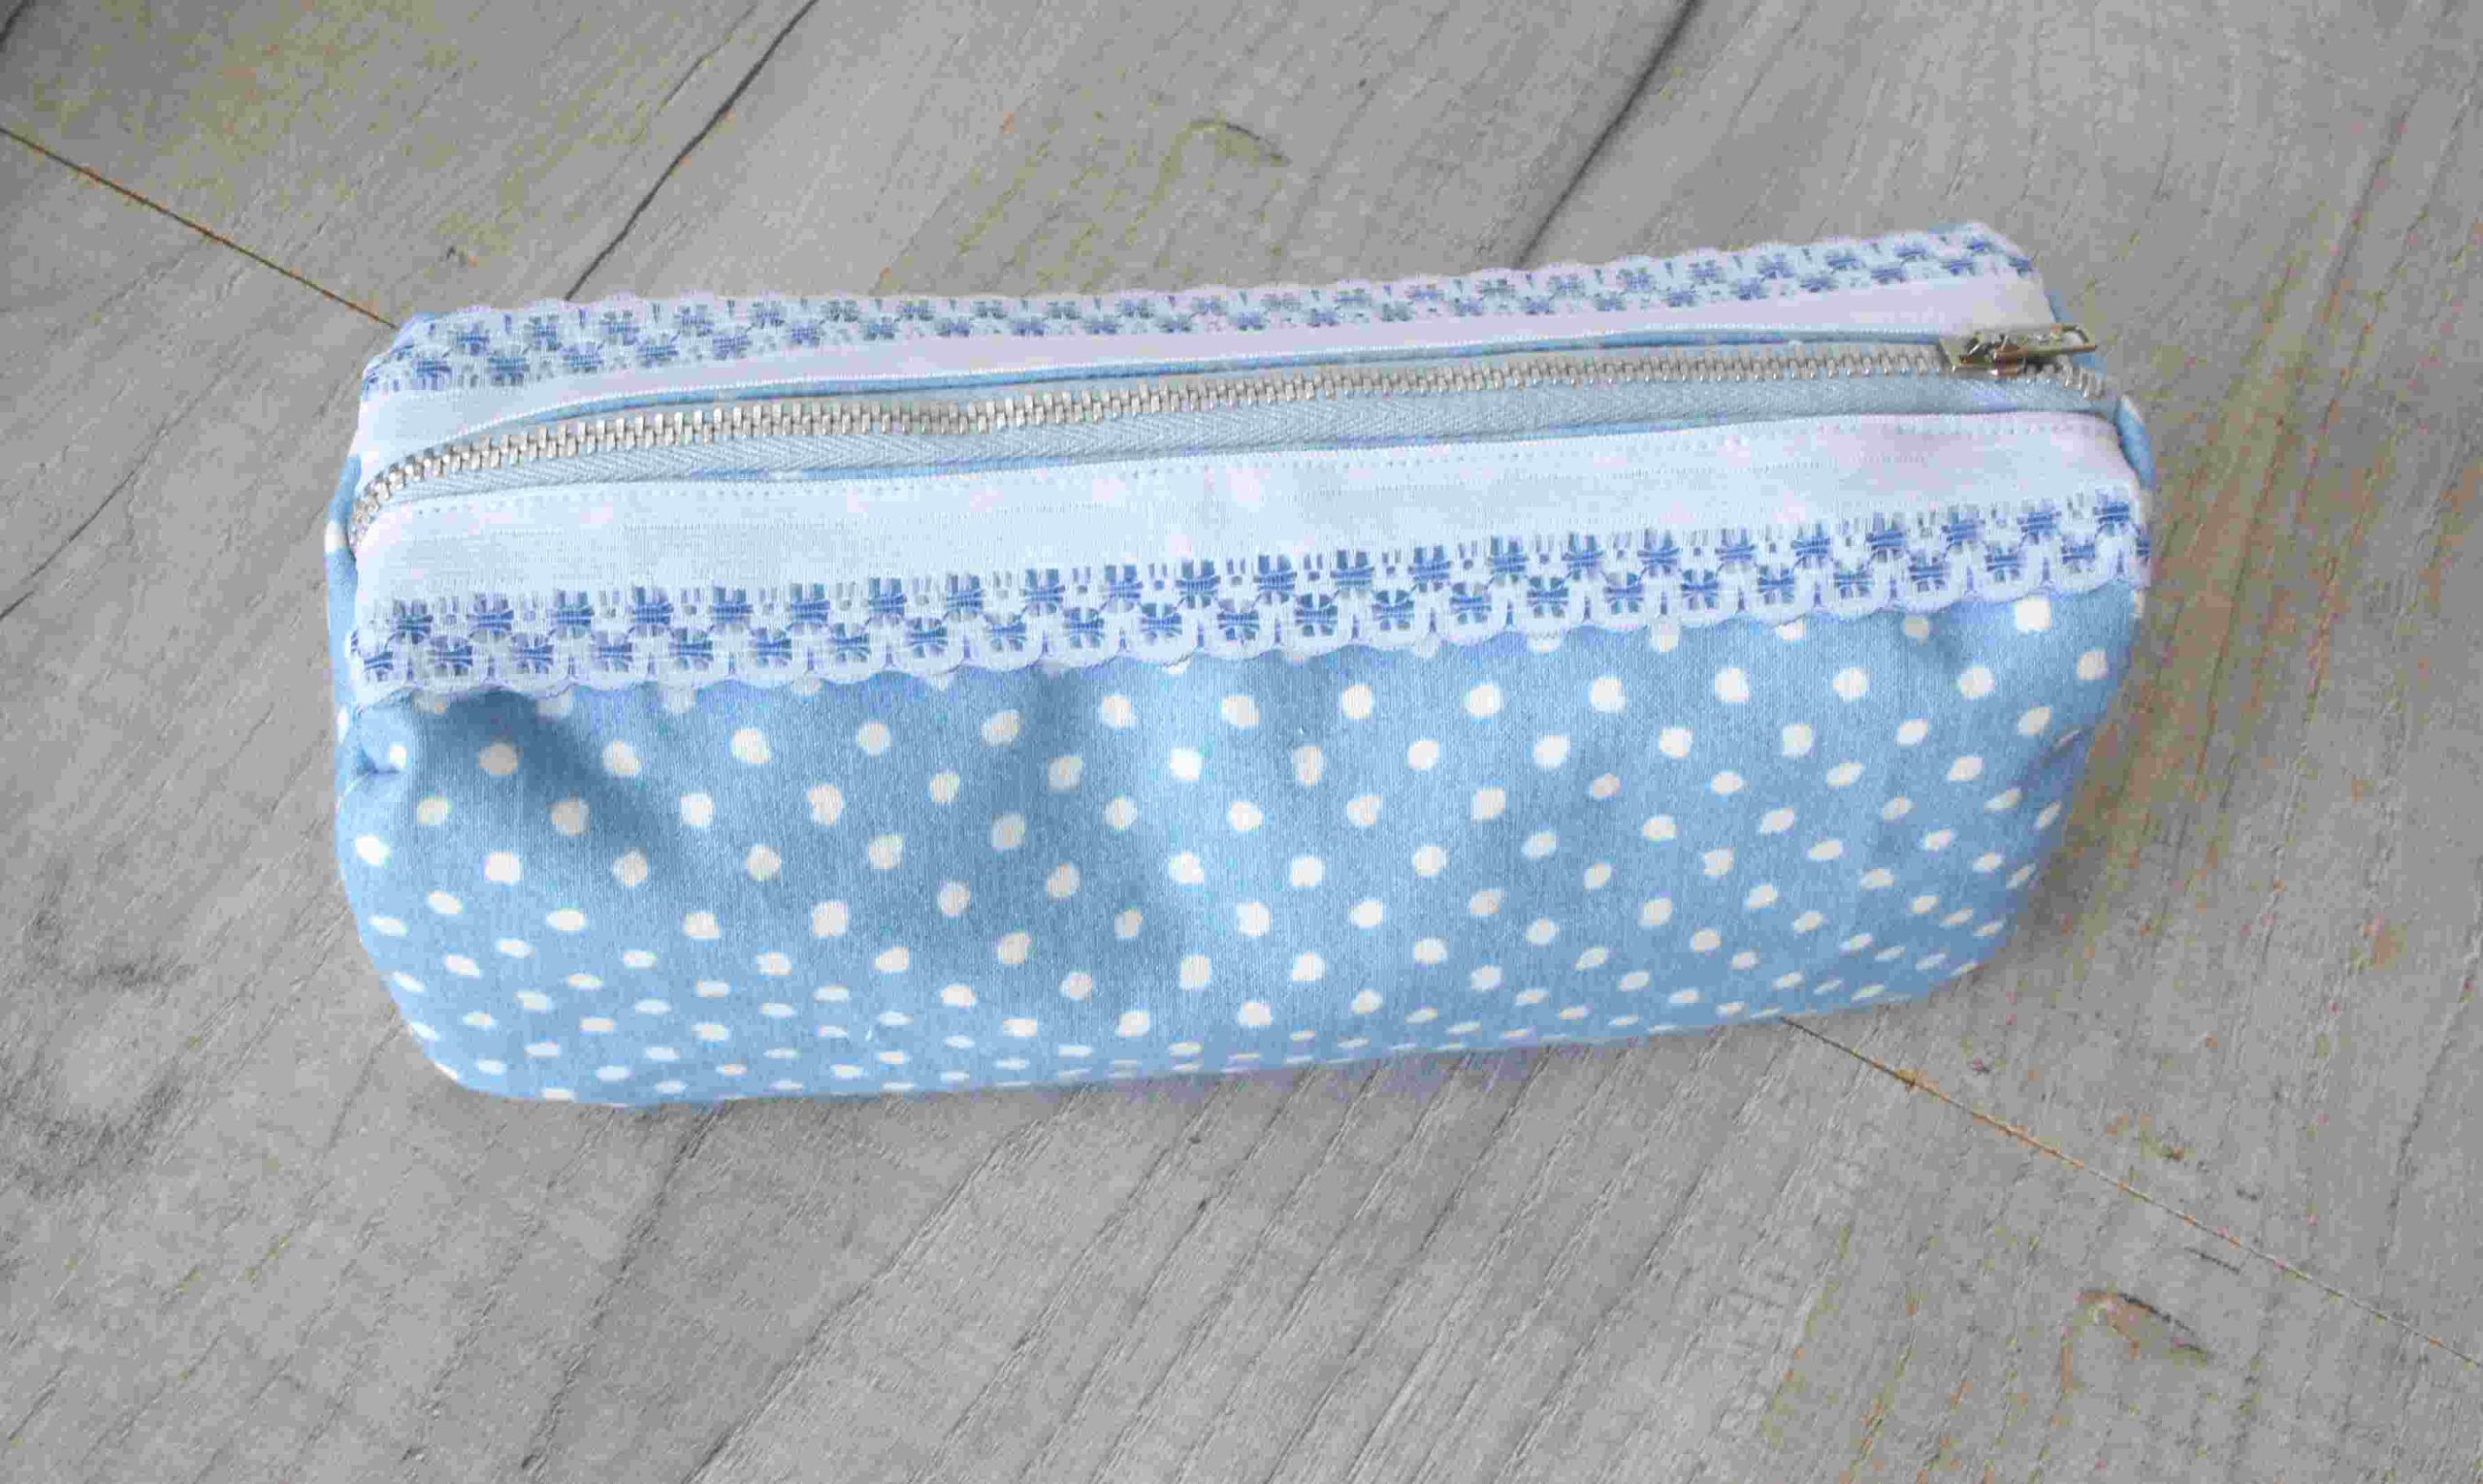
How to Easily Sew the Cutest Makeup Bag Today with no Pattern
As an Amazon Associate I earn from qualifying purchases
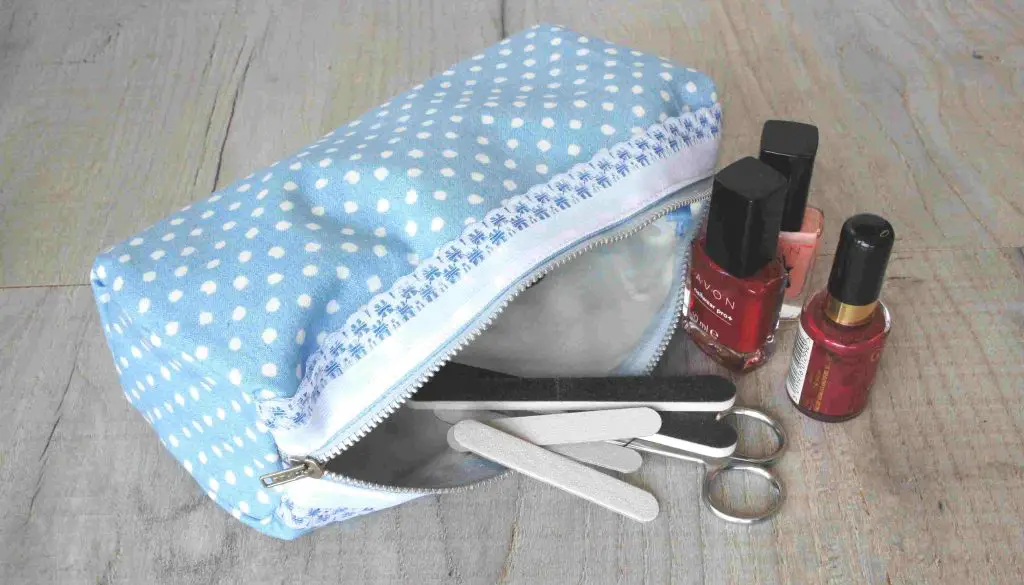
Have you ever wondered how to make a makeup bag that is just so cute but not too difficult? Do you want to line it too? Are you looking for a makeup bag sewing pattern? Well how about sewing this cute makeup / cosmetic bag today. You do not need much fabric and is actually a great project for using up scraps from other projects.
It is a great little DIY makeup bag that is really useful for travelling or even holding your nail equipment. Great project for beginners to sew and I also make them for gifts and they are always well received.
So let’s get started.
This page contains affiliate links meaning I earn a little commission if you use those links at no cost to you. I only recommend brands I use and trust.
You will need:
- Printed cotton 12″ square
- Lining – plastic or otherwise (I actually used some leftover blackout lining fabric) – 12″ square
- 8″ zip (or longer)
- Decorative ribbon, broderie anglaise, etc – OPTIONAL
- Matching Thread
- Sewing Supplies


Video Tutorial
This video is also available to view on my YouTube channel.
Cut out your Fabric Pieces
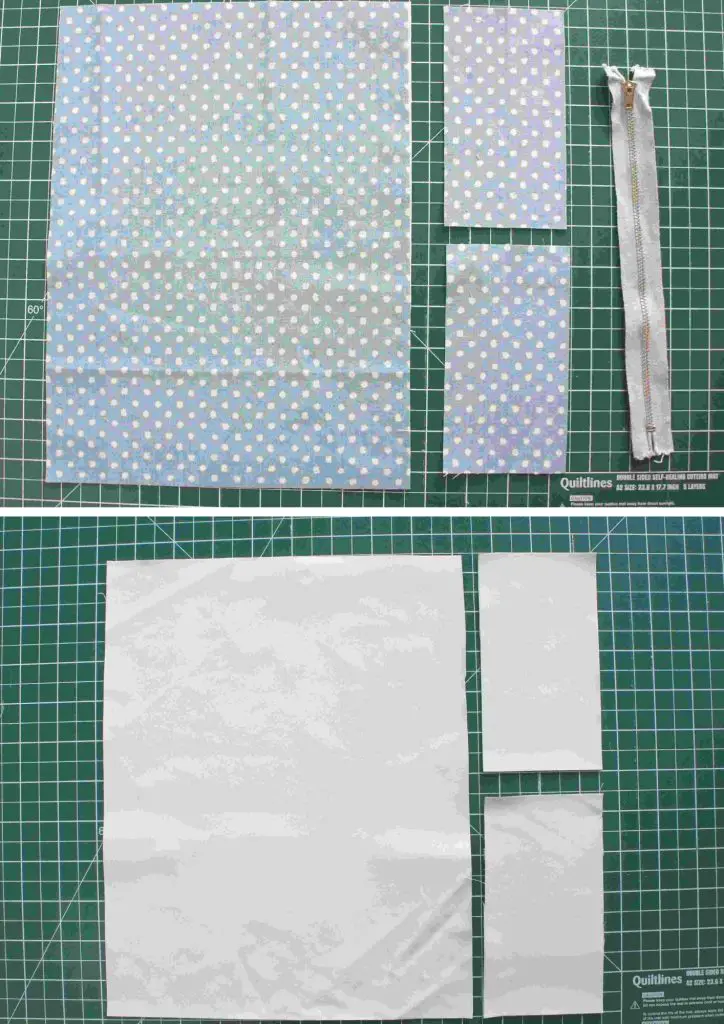
You do not need any pattern for this makeup bag. Simply cut out the following rectangles and you are ready to sew!
Printed cotton fabric – 1 piece 12″ by 9″ and 2 pieces 5.5″ by 3″
Lining Fabric – 1 piece 11.5″ by 9″ and 2 pieces 5.5″ by 3″
NOTE: if you have a pattern that has a right and a wrong way up it will be upside down on one side of the bag as we wrap the fabric around. However you do need to make sure your end pieces are the right way. So, the pieces will be 5.5″ tall and 3″ wide!
Sew your Makeup Bag
Make the Large Body Piece
Take the large piece of printed cotton and the large piece of lining fabric. Place them together with wrong sides facing each other. Place the printed cotton piece face down and the lining piece on top of it face up. Make sure the lining piece is central on the printed cotton so that there is an equal amount of printed cotton fabric showing at either end of the lining piece. Pin or clip the two pieces together. Then sew around them close to the edge of the lining fabric.
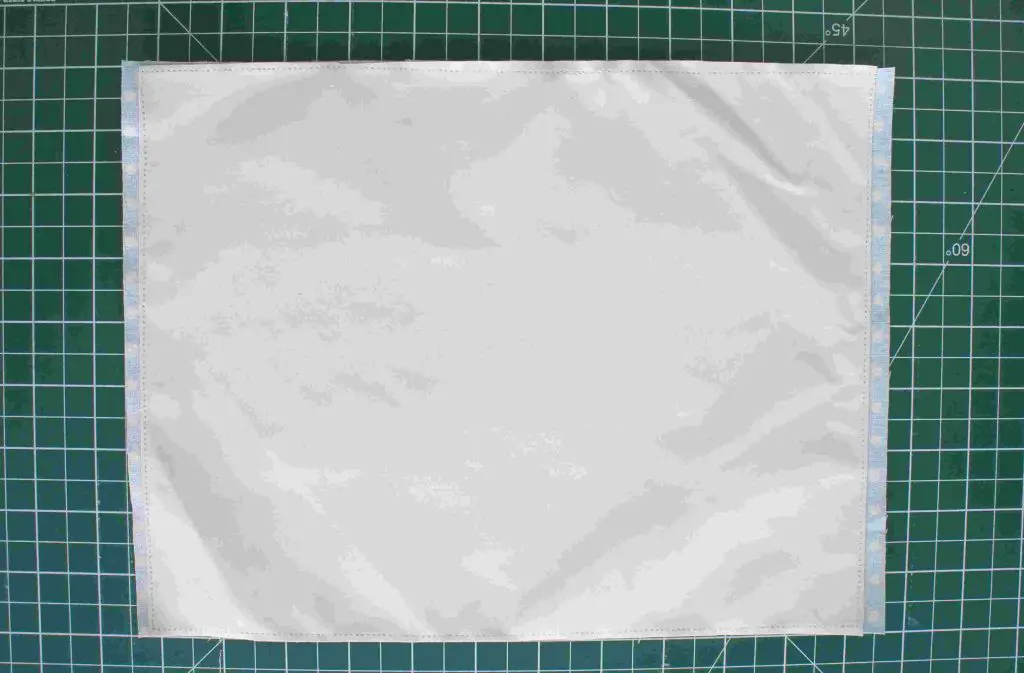
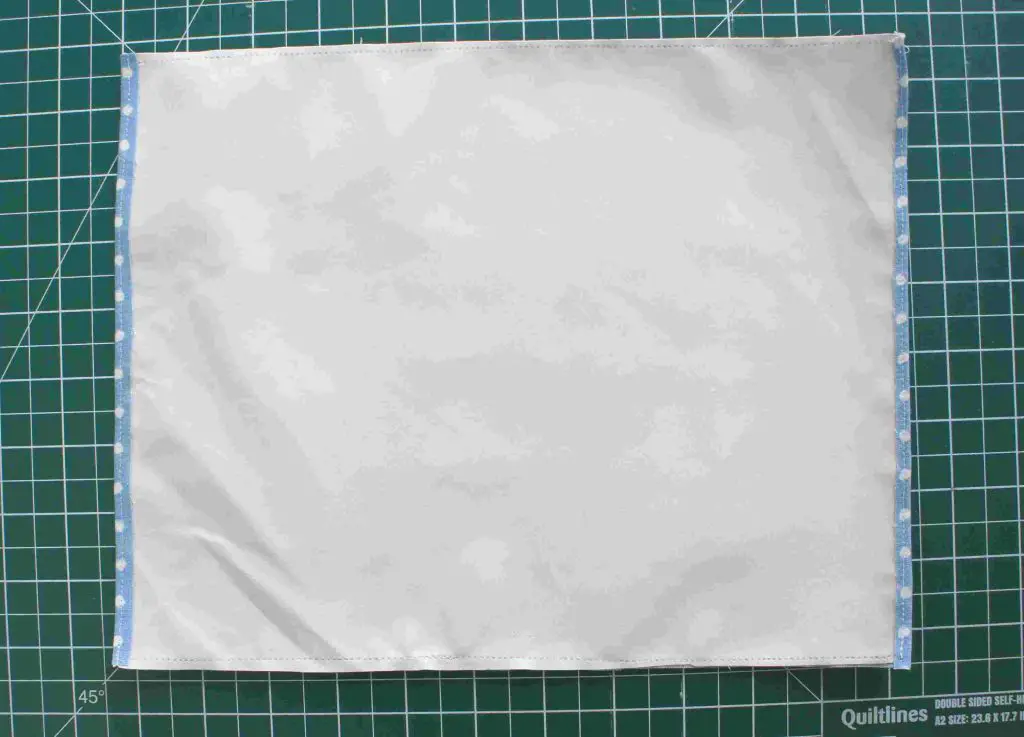
Fold each side of the cotton fabric in over the lining to form a neat folded edge. This is the reason why the lining piece is smaller than the printed cotton fabric piece. Pin and then sew them both in place
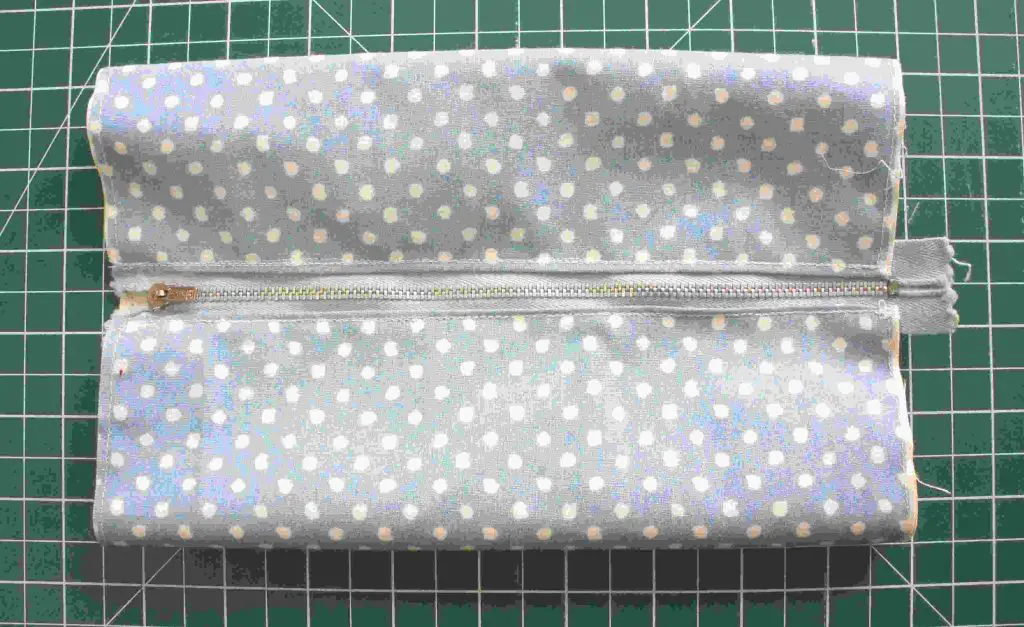
Sew in the Zip
Take one side of your main fabric piece (one of the sides that you hemmed) and place it on top of the front of your zip along one side. The zip should be right side up and so should your fabric. Pin it in place. If your zip is longer than 8″ do not worry you can cut the excess off later. You want it to look nice but do not get your fabric too close to the zip teeth or it may catch when you use it.
Sew along where you have pinned. It helps if you have a zipper foot on your machine. It is also a good idea to move the zip pull out of the way as you sew along so that it does not get in the way.
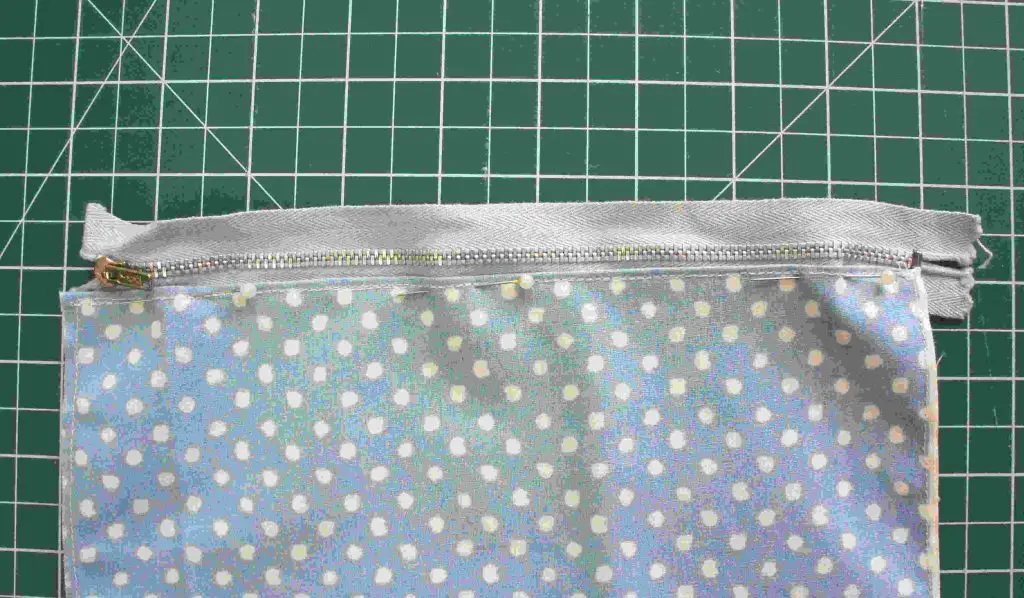
Then repeat the process on the other side of the zip using the other end of the main fabric piece. This will be trickier on the machine as you have made a tube of fabric. If possible, open up the zip and stitch most of it and then close the zip just to finish off the stitching.
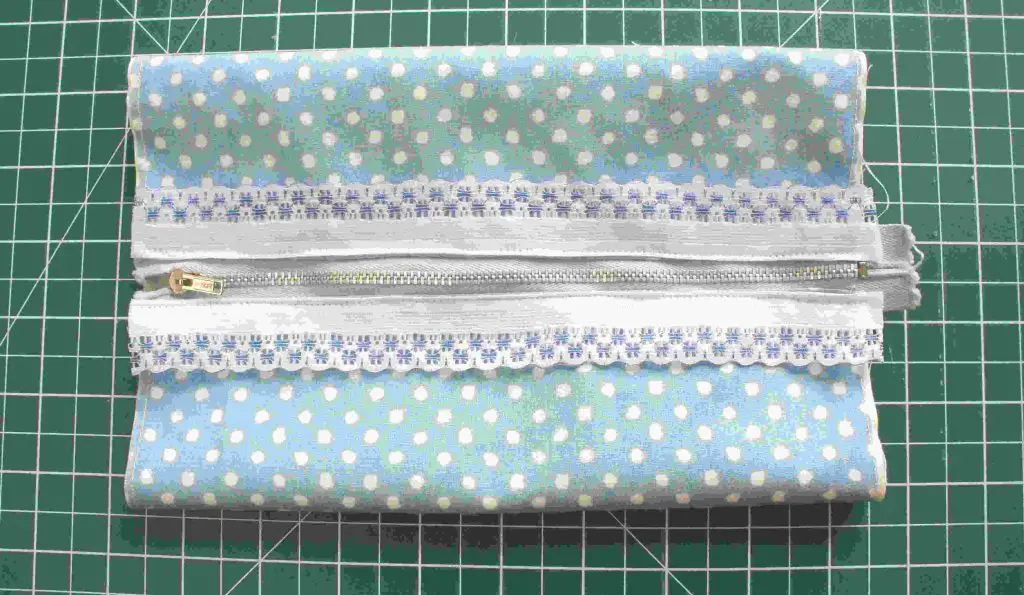
Optional Frill
If you want to add a frill or ribbon then now is the time to do it. Simply place it alongside the zip on top of the fabric and pin in place. I recommend keeping it on top of the fabric as you do not want it to catch in your zip during use. You can even leave some fabric showing between the frill and the zip if you prefer.
Make up your end pieces
Take each of your end pieces (printed cotton fabric and lining) and turn a small hem (0.25″ approximately). Pin and sew them in place.
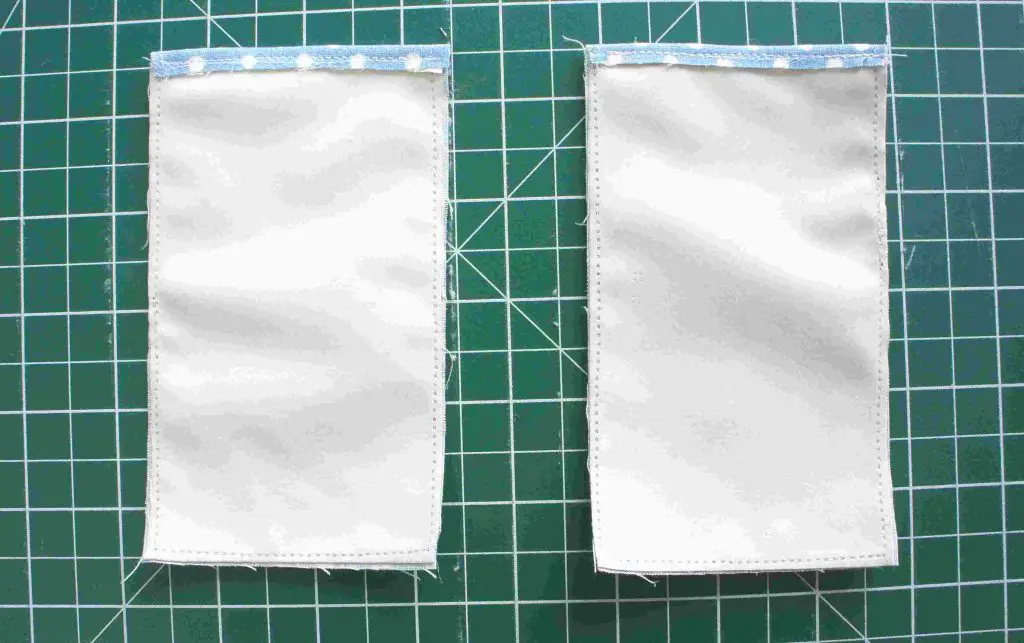
As you did for your main fabric piece place each printed cotton fabric end piece face down and then place the lining pieces on top of them face up. The wrong sides should be together. Pin and then sew them together close to the edge.
You should end up with 2 end pieces that are neat and tidy with one short end neatly hemmed.
Build your Makeup Bag
All that is left to do is to sew your end panels into the tube you made earlier. Turn your tube inside out. Close the zip and just sew a few stitches on the end of the zip beyond the zip pull. This will just hold the zip together while the zip is open. Then open the zip. It is vital that the zip is open when you sew the ends or you will not be able to turn it out the right way.
Take one of you end pieces and with right sides together you are going to pin it to the end of the tube. Start at the bottom of the zip. Fold the tube in half to mark the centre of the bottom of the bag. Fold the end piece in half to mark the centre of the bottom of that. Pin them together.
Then slowly pin or clip around the end piece securing it to the tube. You will find the end piece is larger than the end of the tube. This is fine as it acts as a stiffening layer inside your makeup bag. Simply pin around the tube.
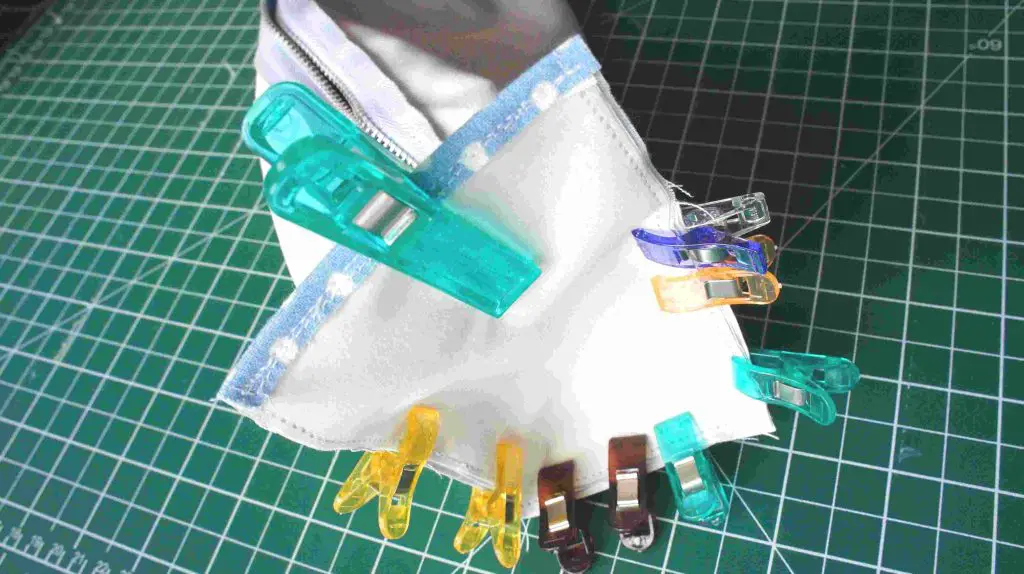
Repeat for the other end.
BEFORE YOU SEW! Check that the zip is open or you will not be able to turn your makeup bag the right way out. As you sew near to the zip I recommend turning your machine by hand. It is easy to catch the zip and it will break your needle. If you are turning it by hand you have time to stop!
Now sew along the seams you have pinned. You will need to work slowly and carefully making sure to pull everything out of the way as you work. You can turn at each of the corners by putting the needle into the fabric, lifting the foot and turning through ninety degrees.
You have a Makeup Bag
Congratulations you have a make up bag! I hope that you enjoyed making it and will let me know in the comments below how it went.
If you are looking for some more great projects then how about making some reusable makeup remover pads. They are super quick and easy to make and will help with your drive to be more sustainable.
You can also make a fully lined drawstring bag for all your other bits and pieces. These have been very popular over on YouTube as they really are so easy and sweet.
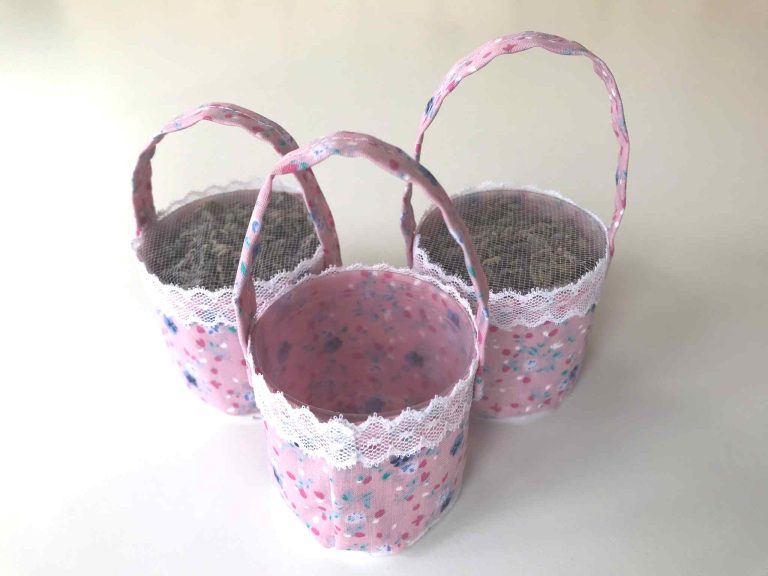
Or how about some cute hanging cones that you can fill with sweets or small gifts for any occasion. Also great for hanging in your home and storing small items in!
Whatever you decide to sew next I hope that you enjoy it and keep sewing!