How to Easily Change Magazine pages into Stylish Parcel Bows in Minutes
As an Amazon Associate I earn from qualifying purchases
So, we all know that we can recycle those old magazines but what about upcycling them into fabulous parcel bows? Whatever your package it will look so much more special with a handcrafted bow on it. Plus, these do not take long to make so you can easily make one as you wrap your parcel.
These really are the ultimate upcycling project on a budget. Great magazine papercraft DIY project! All you will add to your magazine page is some double sided tape and some staples so let’s get started on your DIY gift bows.
If you like to watch a craft project being done then scroll down to the video instructions.
This page contains affiliate links meaning I earn a small commission if you use those links at no cost to you. I only recommend brands I use and trust.
You will need:
- Old Magazine Page (preferably mainly one colour on one side)
- Scissors
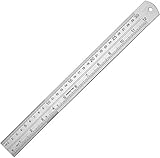
- Ruler
- Pencil
- Stapler
- Double-sided tape

Parcel Bows Video Tutorial
This video is also available on my YouTube channel.
Cut up your Magazine Page
Your first task is to choose your magazine page. I recommend one that has mainly one colour on one side to give your bow an overall colour. However, you can choose whatever you like. How about some old sheet music or an old book? The choice is yours! This is where you can make the bow really personal to the gift or the person receiving it.
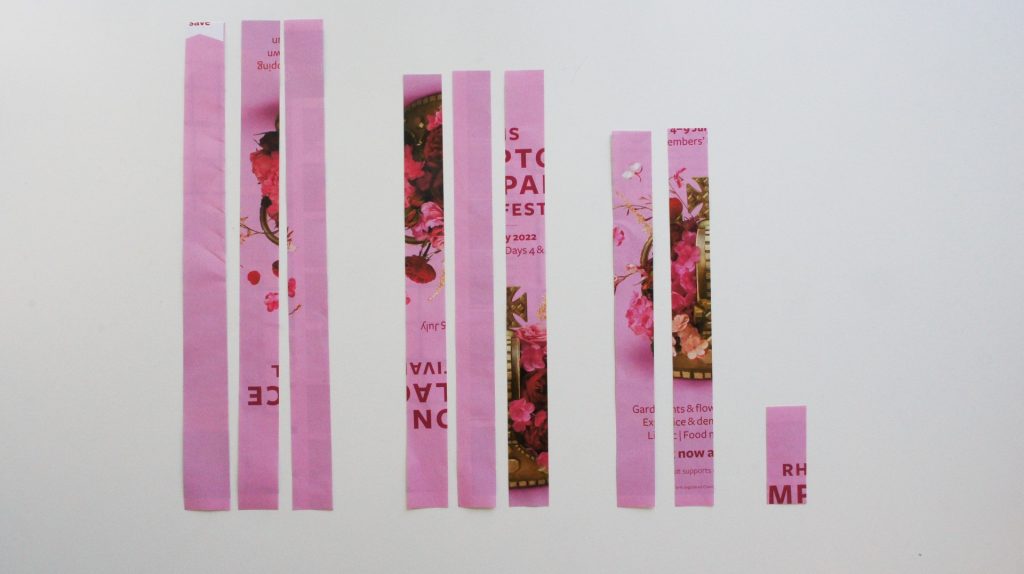
Take your page and mark it in strips that are 3/4″ wide. Make these strips along the length of the page (as long as possible). Cut them out.
Then cut them down in length so that you have the following lengths:
- 3 strips 10″ long
- 3 strips 9″ long
- 2 strips 8″ long
- 1 strip 2″ long
These strips will make a bow that is approximately 3 1/2 ” across.
If you would like a larger or smaller bow then you can try increasing or decreasing the size of the strips. You may need to play around with the width of the strips as well as the length. That is all part of the fun!
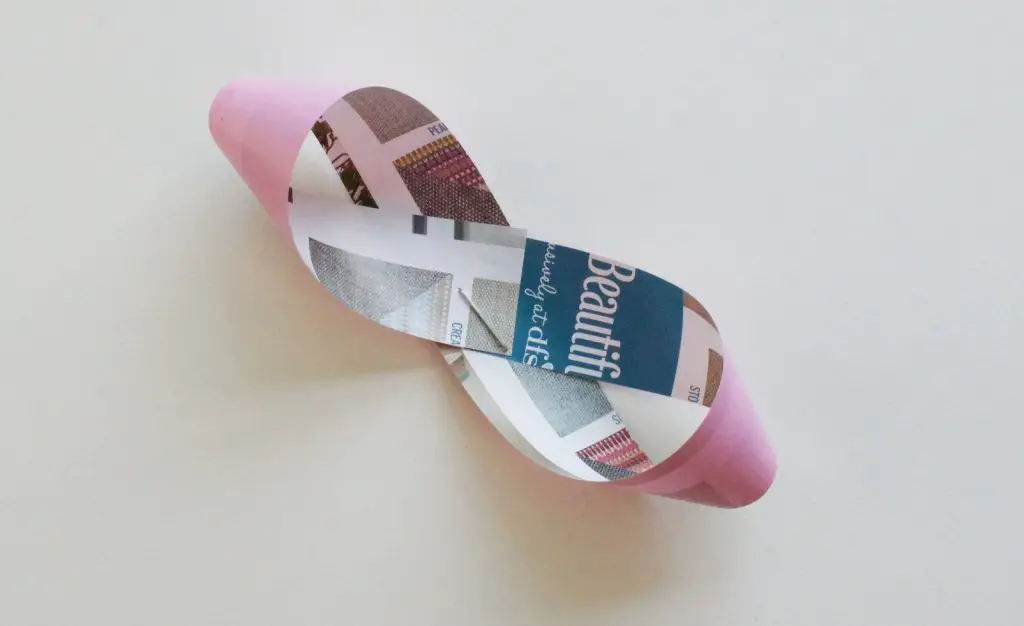
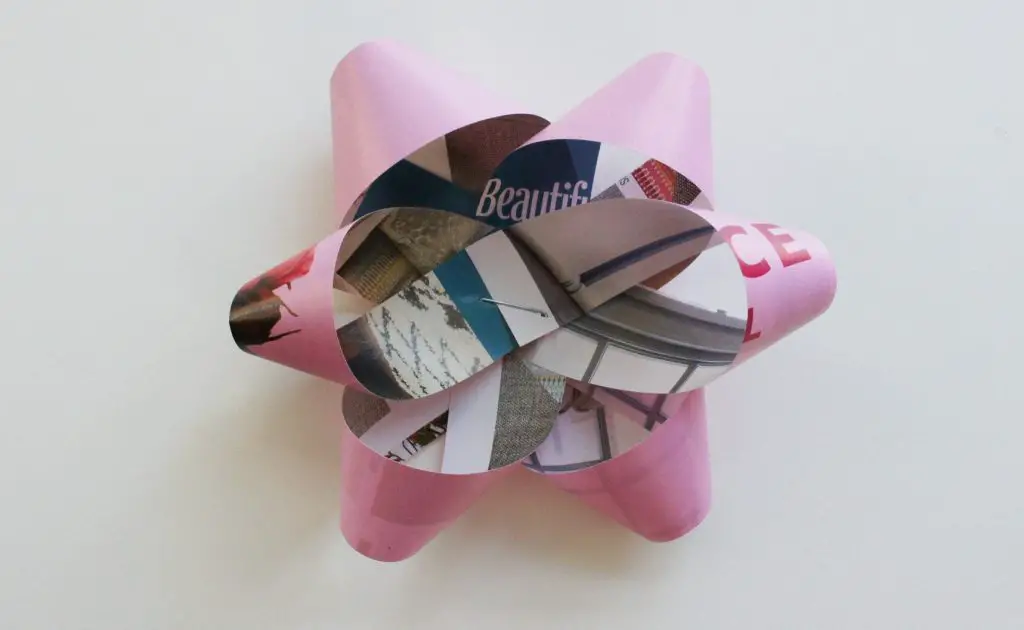
Make your Parcel Bow Twists
In turn, take each of the strips (except for the 2″ strip) and twist them so that they look like the picture. You can secure them in place using staples, double-sided tape or glue. I used staples for speed and ease!
At first this may seem a little fiddly but after a couple you will find your way and they will become easy to repeat!
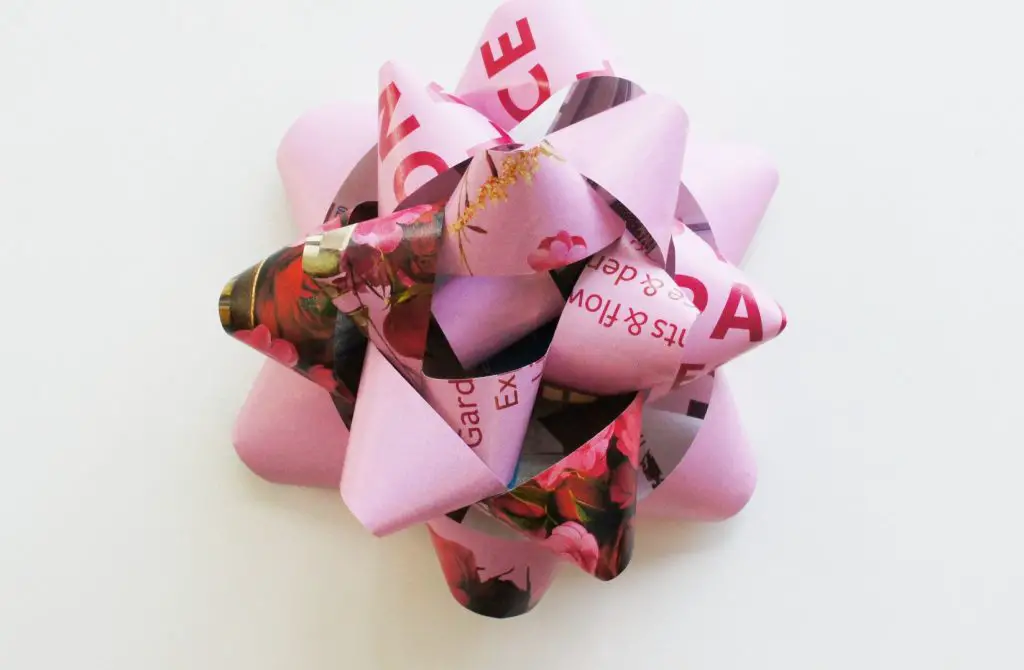
Construct your Parcel Bow
Take one of the largest twists and place a piece of double-sided tape on the back in the centre. Remove the protective paper and then place this twist on top of one of the other largest twists.
Alternatively attached the tape to the front of a loop and then affix the next loop on top of it. The choice is yours – you may find one way less fiddly than the other and it makes no difference in the end.
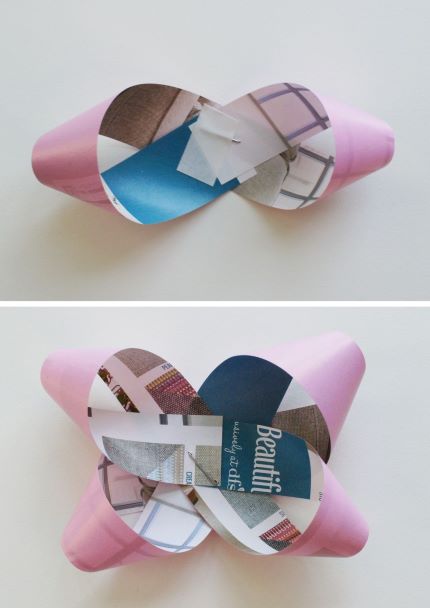
Repeat with the last remaining large twist. You now have your first layer of your parcel bow.
Repeat this whole process with the next size down twists, adding them to the layer that you have already done.

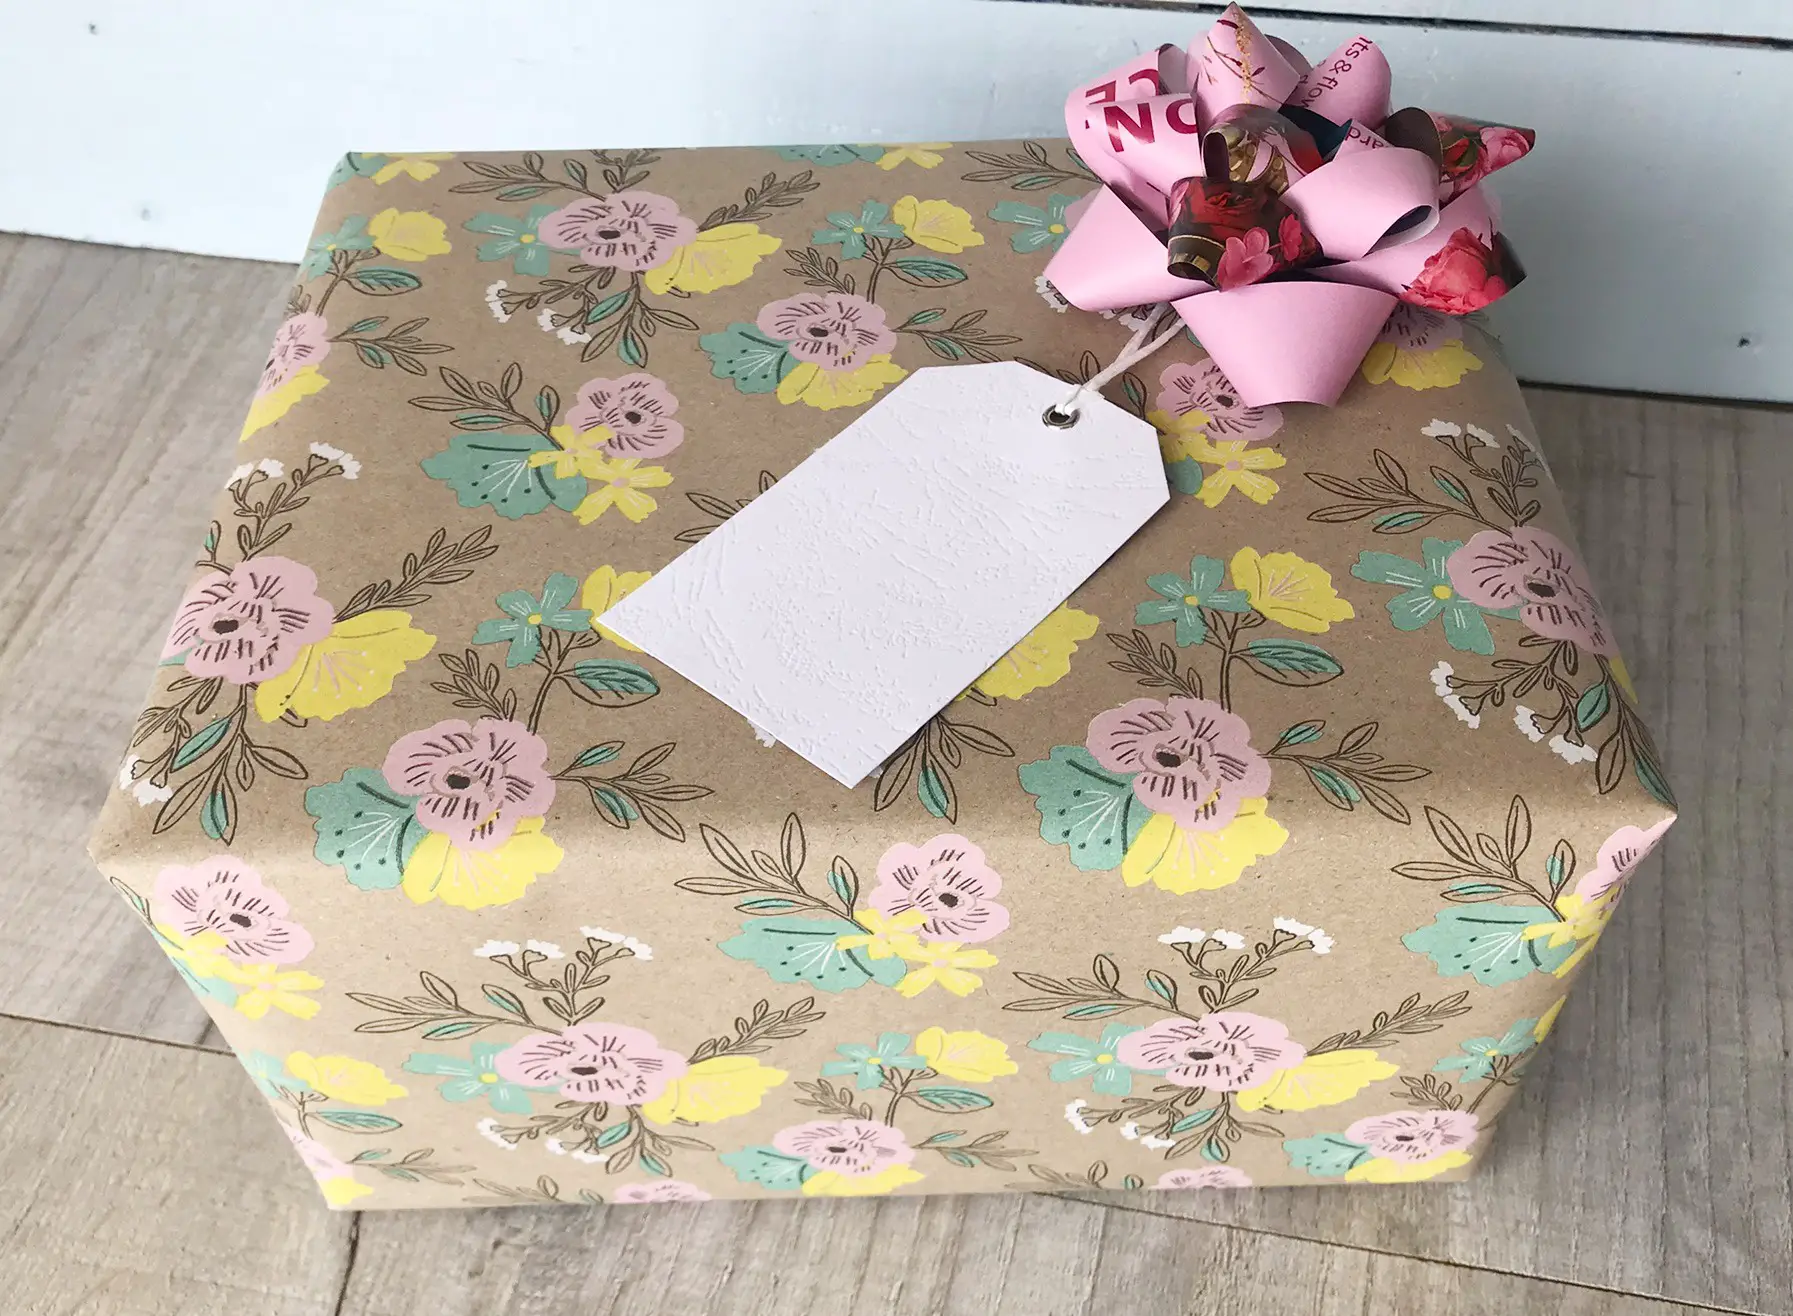
Repeat for the final 2 twists and you should have a bow. All that is left to do is add a centre. Take the small 2″ strip, place a piece of double-sided tape on one end and roll it into a cylinder. Apply some double-sided tape to the outside of it and press it into the centre of your bow.
You are now finished – congratulations!
And now …
All that is left for you to do is to add your bow to your parcel. Simply add another piece of double-sided tape to the back of your bow and then fix it to your parcel.
If you are looking for some more great paper crafts then why not try:
- An iris paper folding card
- DIY Paper gift bags
- Any Occasion Card in Minutes
- Gorgeous flowers from old magazines
- Easy Confetti Cones
- Hand made seed paper
- Cute Origami envelope with no glue or tape
- DIY Junk Journal
Enjoy making your parcel bows and seeing people’s delight when they receive your parcel. If you want even more great ideas sign up to the regular newsletter and get a free ‘Crafts for the Home’ e-book!