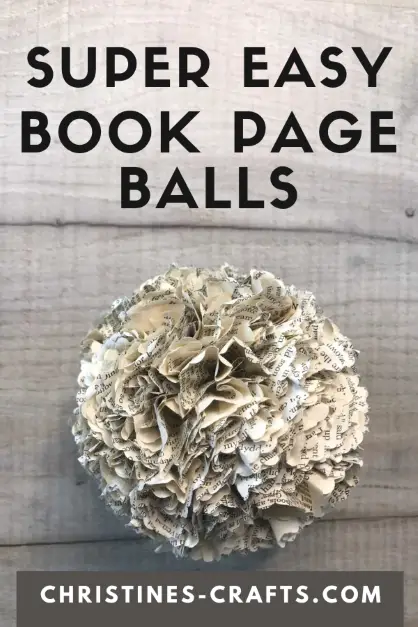
How to Make Book Page Balls
As an Amazon Associate I earn from qualifying purchases
Use up old book pages to make these adorable book page balls. They make great book page decorations in a bowl or placed on top of a surface such as a candlestick or upturned wine glass. They are super easy and you can actually use any paper, I just love book pages crafts!
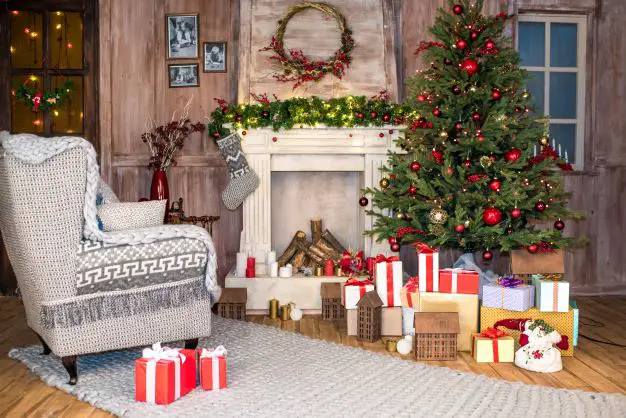
A great use for them is to make indoor topiary trees. They are so cute and look great on a mantelpiece or hearth.
You can make them any size, you just need a light ball for the centre. The sizes here are just the ones that I made. They are a good size for a table decoration to add to your book page decor.
While you do fold the paper these are not book page Origami so if you are looking for some Origami ideas for your book Pages then check out all my Origami tutorials.
If you like to watch a craft video then scroll down to watch my video instructions.
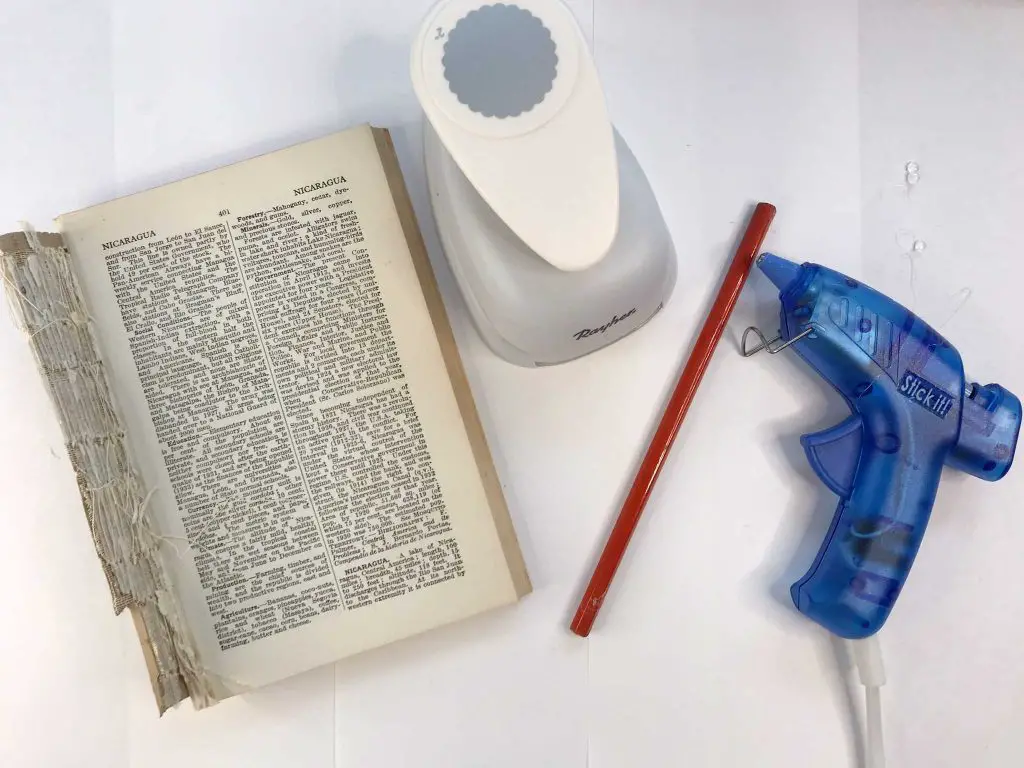
You will need:
- Old book pages (or similar paper)
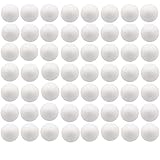
- Polystyrene ball (or ping ping ball or similar). Any size but mine is 2″
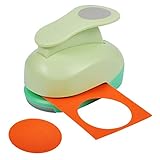
- Hole Punch (or a lot of patience) – mine is 2″ with a scalloped edge
- Unsharpened Pencil
- Hot melt glue & gun (or cool melt gun and glue)

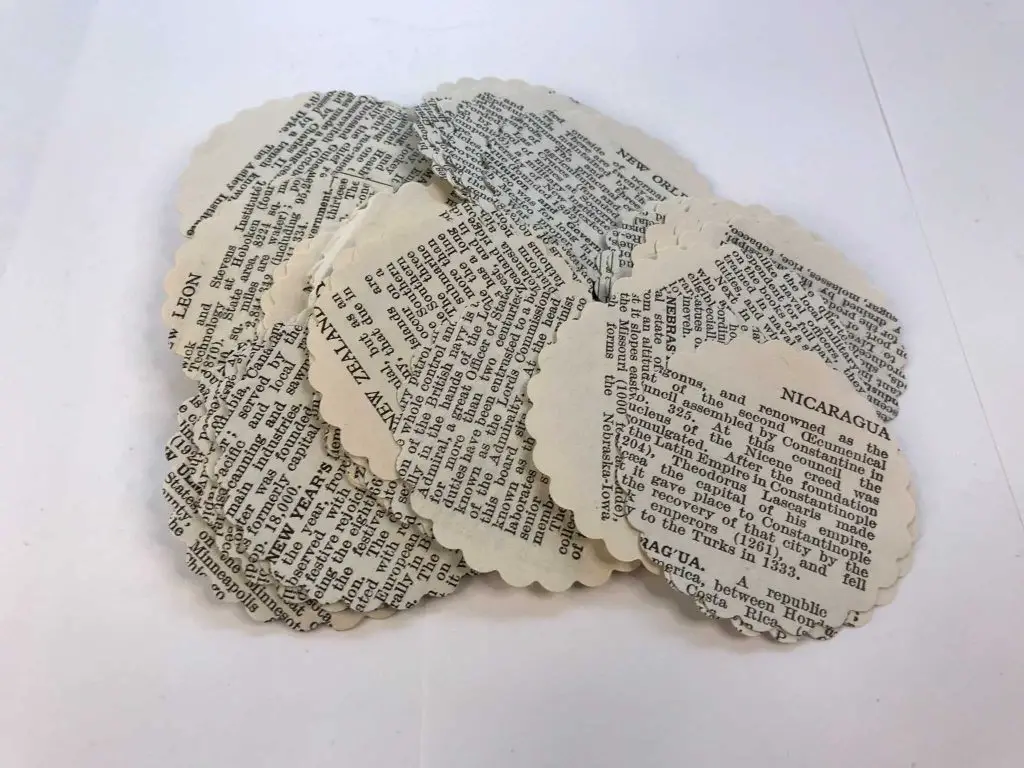
Prepare your Paper Circles
Your first task is to punch out all your paper circles. How many is complete guess work so I recommend making a large pile and then starting your ball. You can make more as you go but you do not want to be stopping every few minutes to make more.
If you do not have a punch then it is a long job of cutting out loads of circles. You can do it this way but be warned it will take a long time.
Make your Book Page Ball
Set up your hot melt glue gun making sure you are working on a surface that you don’t mind dripping glue onto. I work on some sheets of scrap paper.
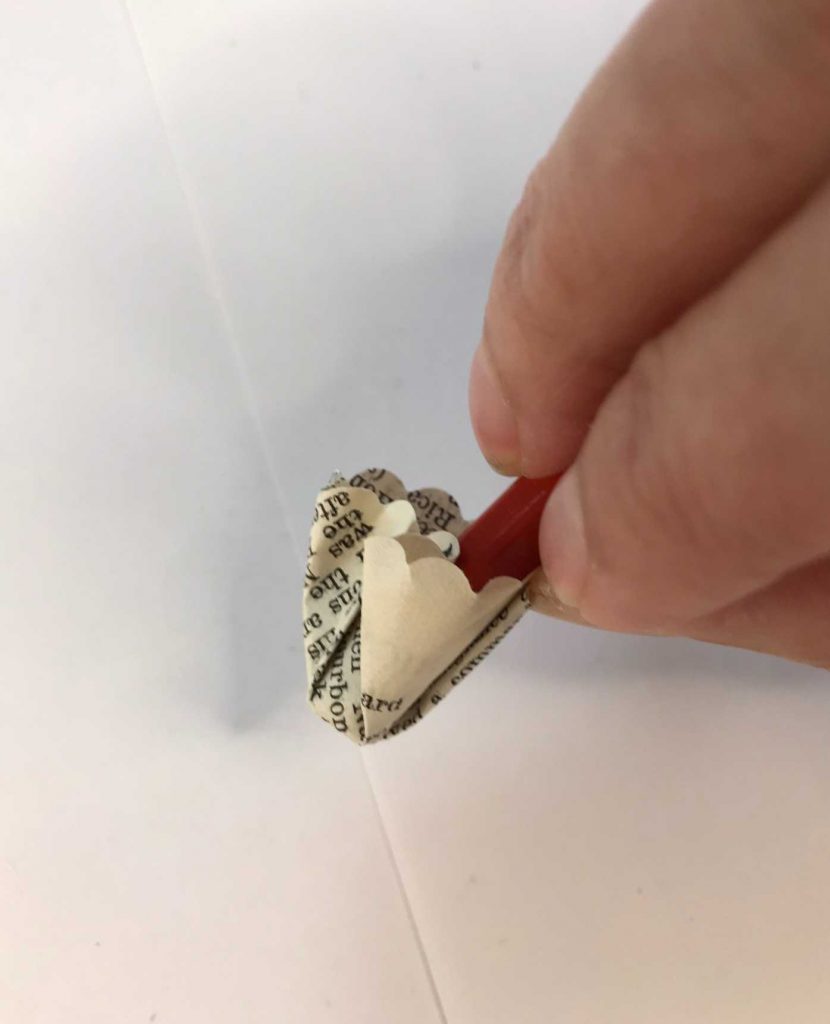
Take one circle of paper and wrap it around one end of your pencil so that the pencil is in the centre of the circle. It is important that the pencil is unsharpened so that you get a flat area to glue to the ball.
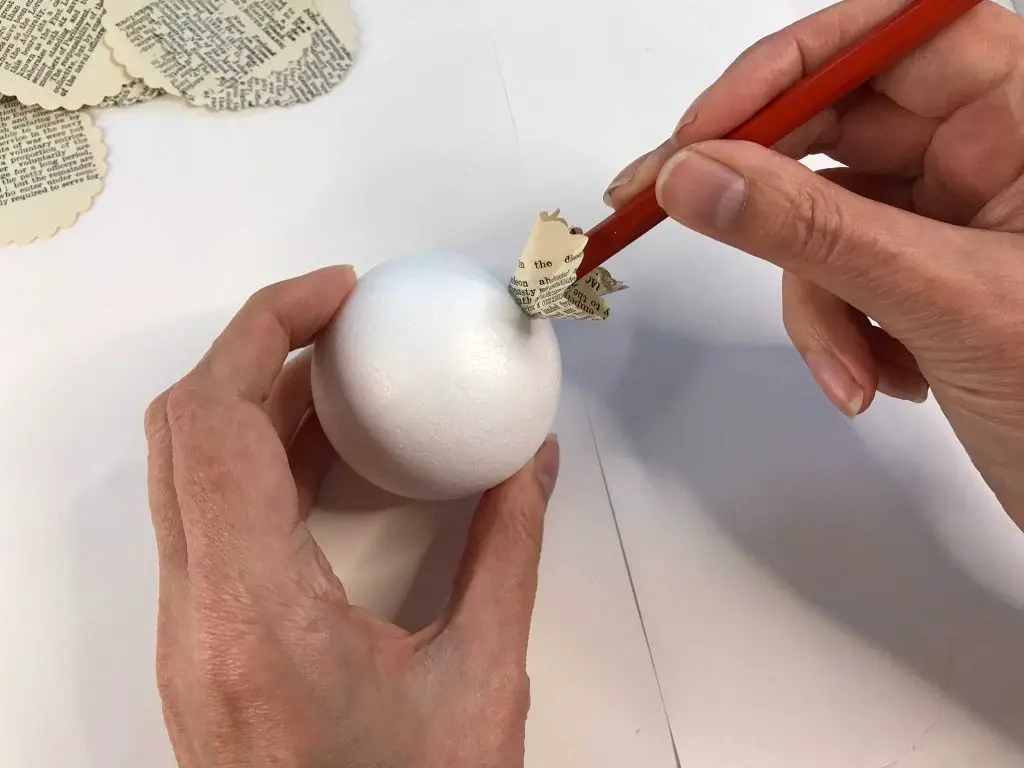
Add some glue to the end of the circle and press it onto the ball. When you remove the pencil it should stay there. This is the first of many! Simply repeat this process over and over again.
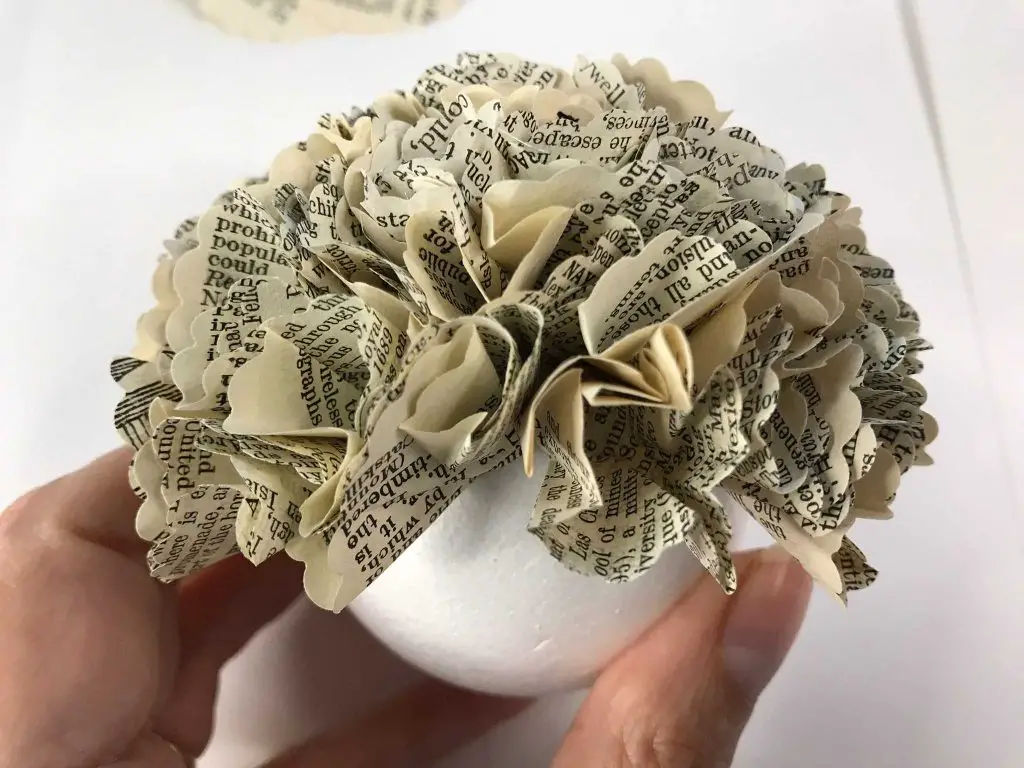
It is up to you how close you push the circles together. The closer they are the more compact they are and therefore the stronger the completed ball is. However, it takes a long time so just make sure the ball is covered if you are in a rush.
If you want to make a topiary tree then do not cover the whole ball until you have added your ‘stem’. I added it part way through so that I could complete most of the ball without the stick in the way but you could add it first if you prefer. Full instructions are in the video below.
Book Page Balls Video Instructions
In this video you will see how to make the ball and how to make the topiary tree.
This video is also available on my YouTube channel.
And then …
Once you have covered the whole ball (and removed any glue strings (or is it only me that gets those?) you are finished and can make as many as you like for your display. If you want to make the topiary tree then follow the instructions at the end of the video above.
If you are looking for more book page crafts then check out:
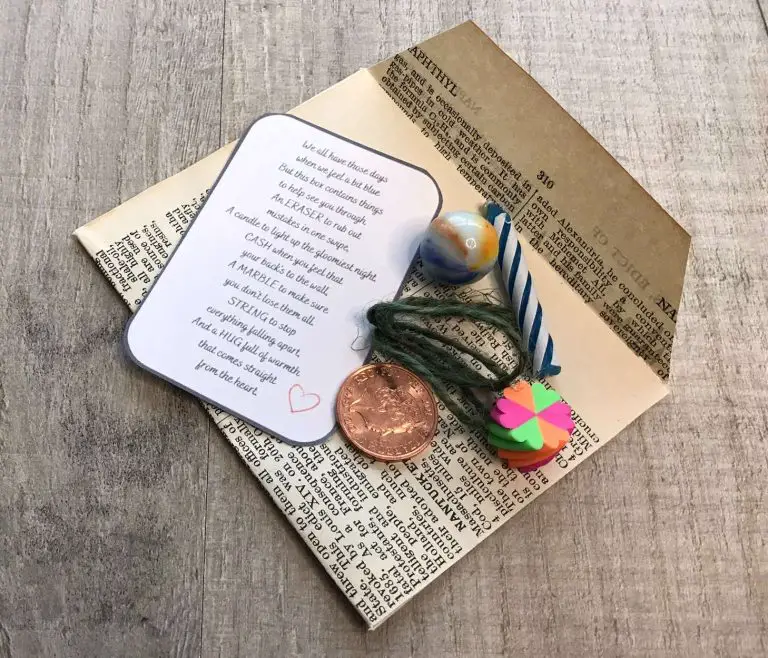
- Cute Envelopes
- Folded Book Angel
- Folded Book Christmas Tree
- Honeycomb Paper Decorations
- Origami Butterflies
Let me know in the comments below how your book page balls work out and how you display yours.