How to Easily Sew an Origami Bag Pouch from 2 Fabric Squares
As an Amazon Associate I earn from qualifying purchases
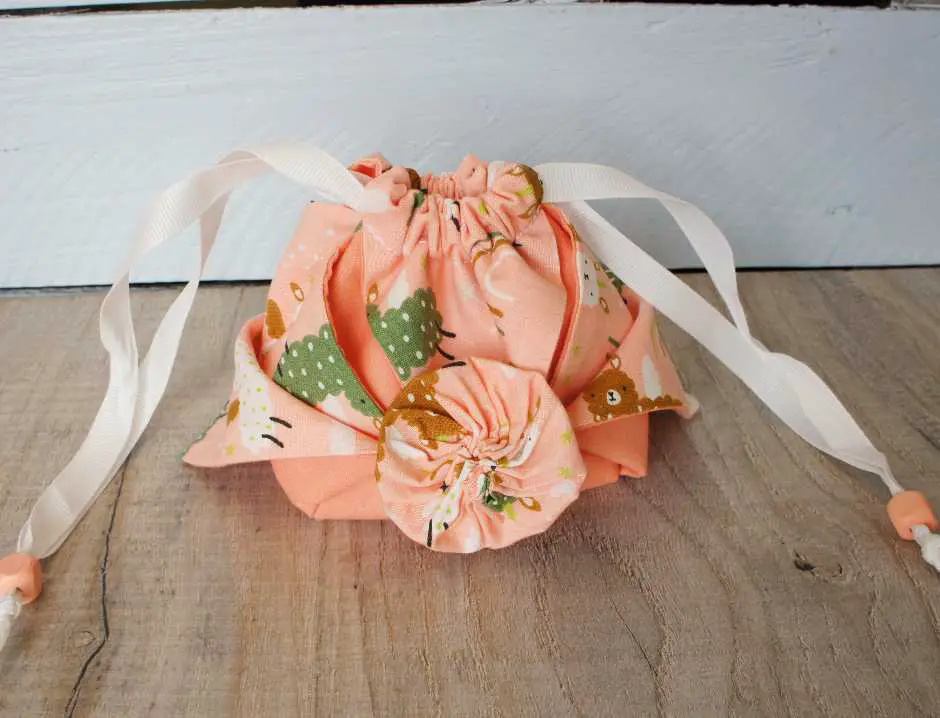
These cute Origami bag pouches look so detailed and tricky but actually their secret is that they are not difficult at all. You could scale them up or down to make the size you want and you could use them as the most adorable gift bags!
This Origami bag tutorial uses a sewing machine and I do recommend using one but you could always do all the sewing by hand if you wanted or needed to. You do not need a pattern at all. So, let’s get started!
If you like to watch a video tutorial then you can see me make an Origami bag.
If you would like a downloadable version of this tutorial for a very small cost then please visit my shop.
This page contains affiliate links meaning I earn a little commission if you use those links at no cost to you. I only recommend brands I use and trust.
You will need:
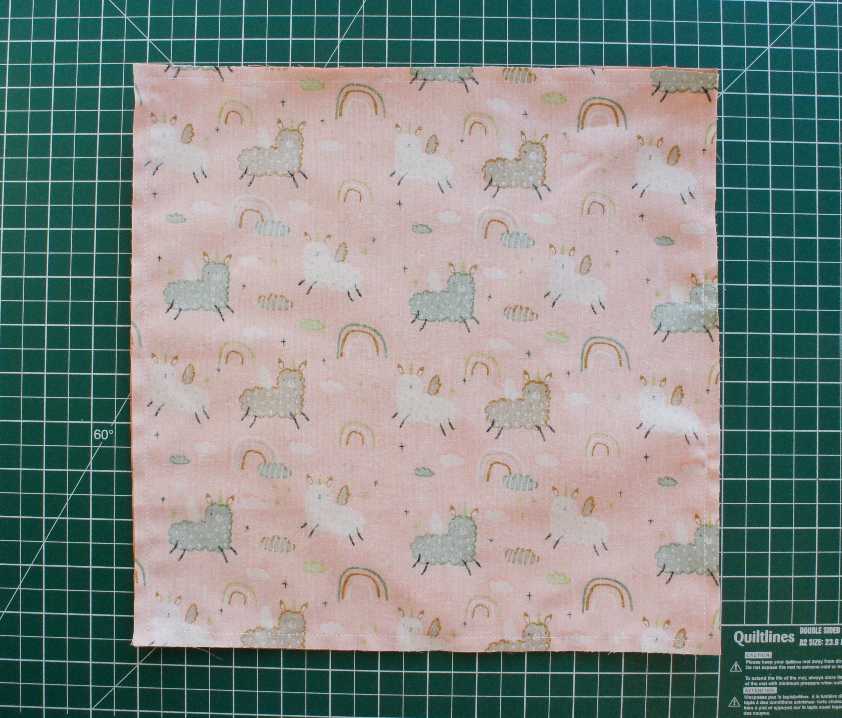
- 2 squares of different fabrics 12″ by 12″
- 36″ of Ribbon/Cord for drawstring
- 2 Buttons or Beads for drawstring. Make sure that you can get your ribbon or cord through your buttons or beads!
- Sewing Supplies


DIY Origami Pouch Video Tutorial
This video is also available to view on my YouTube channel.
Sew your squares together
Place your 2 fabric squares together so that the right sides are facing each other. Pin or clip them together around the outside. Then sew around the square using a 0.5″ seam allowance. Leave a gap for turning your squares the right side out. I recommend 3 to 4 inches.
Clip the corners of the squares before turning it out to the right side. This reduces bulk so that you can get crisp corners.
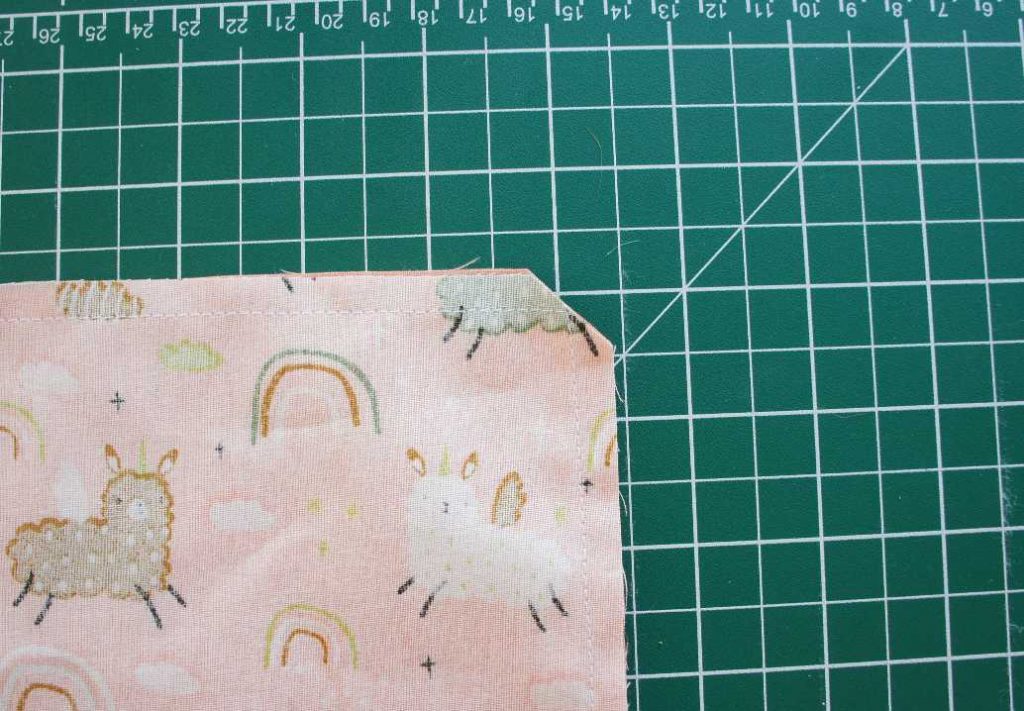
Turn the square out to the right side and press. If you have trouble getting crisp corners try using something like a chopstick to carefully poke the corners out. Also make sure that your opening presses in line with the seam.
Sew your opening closed by hand using a slip stitch (ladder stitch) so that you cannot see the stitches.
Now you have made your square and are ready to start the Origami!
Form your Drawstring Channel
Place your square of fabric down on the table so that the side you want to see the most of on the finished bag is face down. For me that is the llama print!
Select 2 corners that are diagonally opposite each other. Mark (with a pin) 4″ from the corner on each side for each corner. Then fold the corner up to those pins as shown for each corner. Pin them in place!

Before you sew it in place you need to measure your ribbon or cord to ensure it will fit through the casing you will make. My ribbon is 3/8″ wide and I made the casing 5/8″ wide.
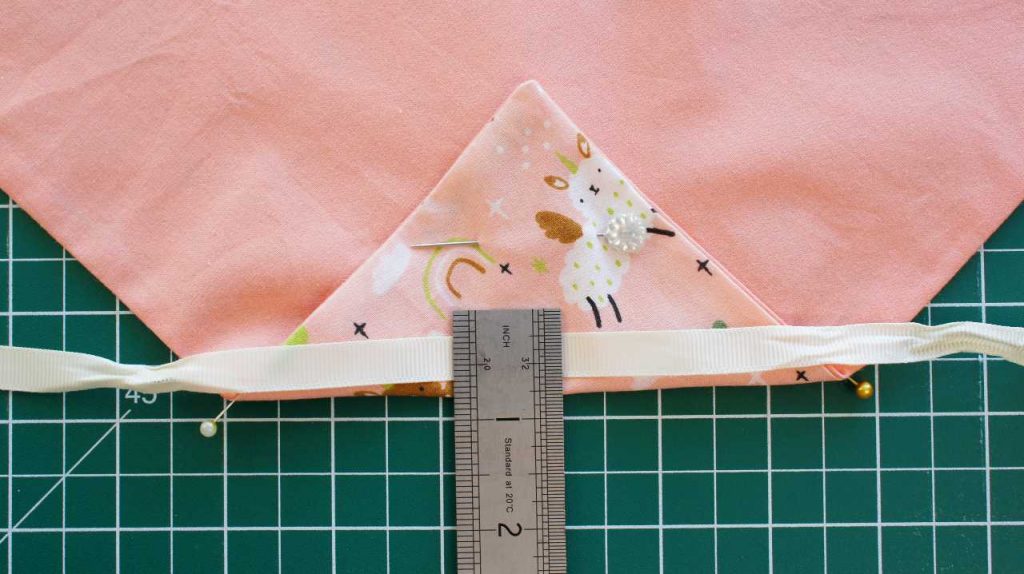
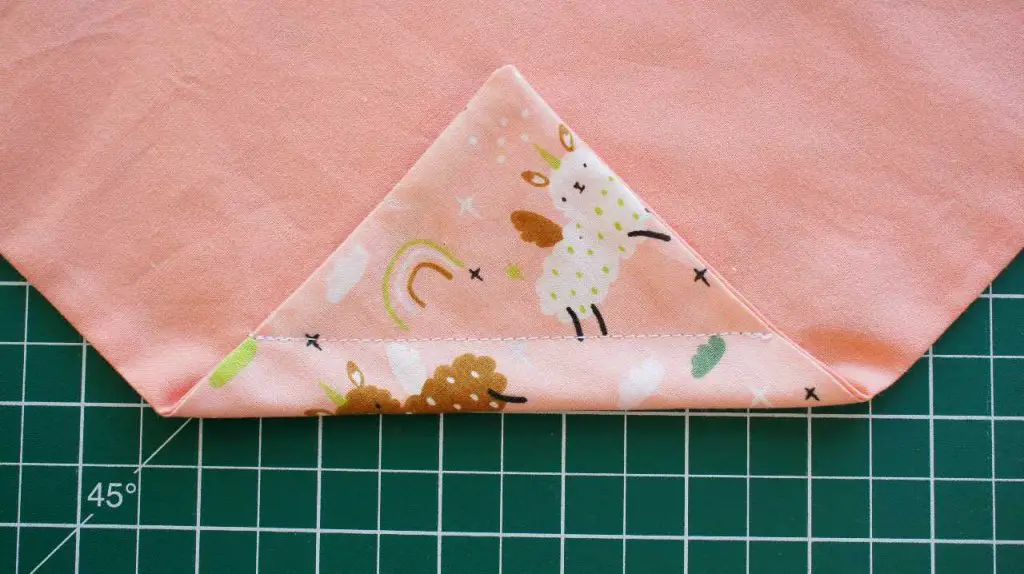
Sew the triangles down your chosen distance from the fold. This forms your casing and your ribbon / cord must fit easily through it.
Create the Origami bag
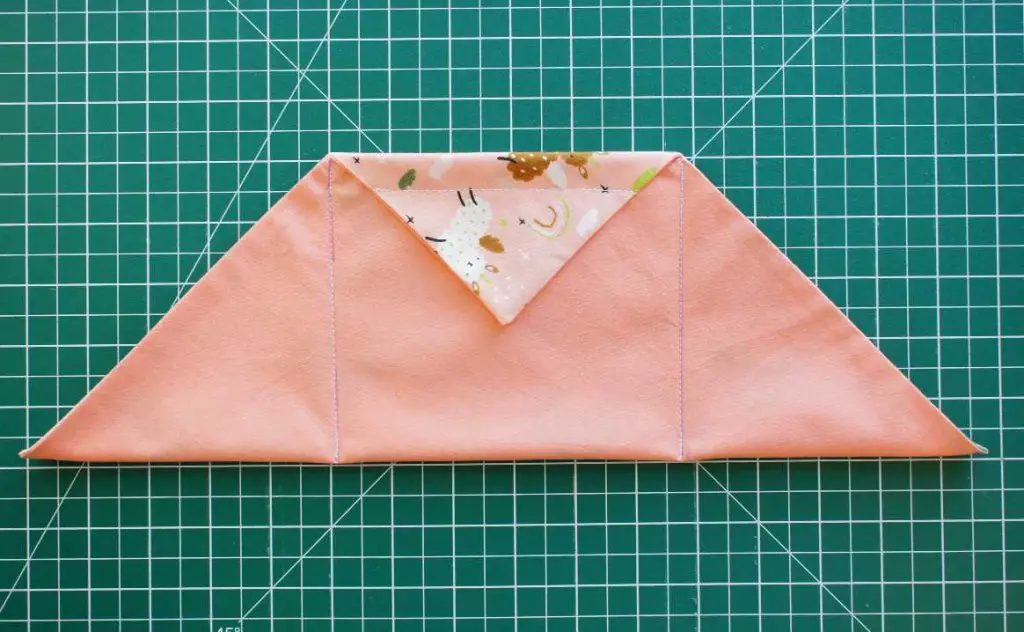
Turn the whole thing over and fold it in half so that the 2 triangles you made line up. Pin in place. Draw a line straight down from either end of the triangle on the top down to the fold. Sew along both of these lines to form the actual pouch of the bag.
Form the Origami Pockets
Now comes some more Origami folding. Take the right hand point and fold it across the bag that you made. Then open it back to form a square as shown in the picture below.
Then fold the top down so that you can see your printed fabric (my llamas!).
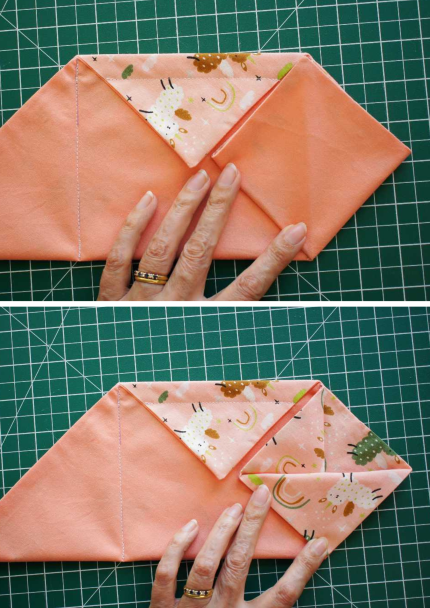
Pin the ‘pocket’ to the front of the bag and then fold the other side around the back of the bag and pin it there. Be careful not to pin through the actual bag.
Repeat this whole process for the other side of the bag until it looks like this.
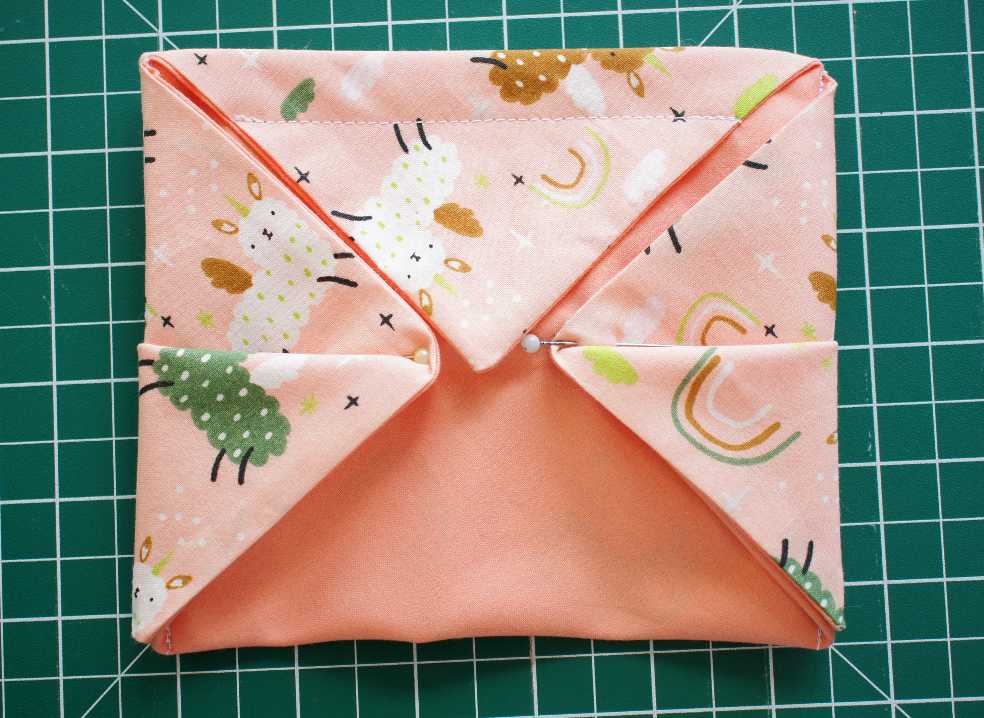
Secure the pockets in place by stitching them down invisibly where you can see the pins on my picture. DO NOT sew through the whole bag and not be able to open it. I recommend placing your hand inside the bag as you sew. But be careful not to stab yourself with the needle.
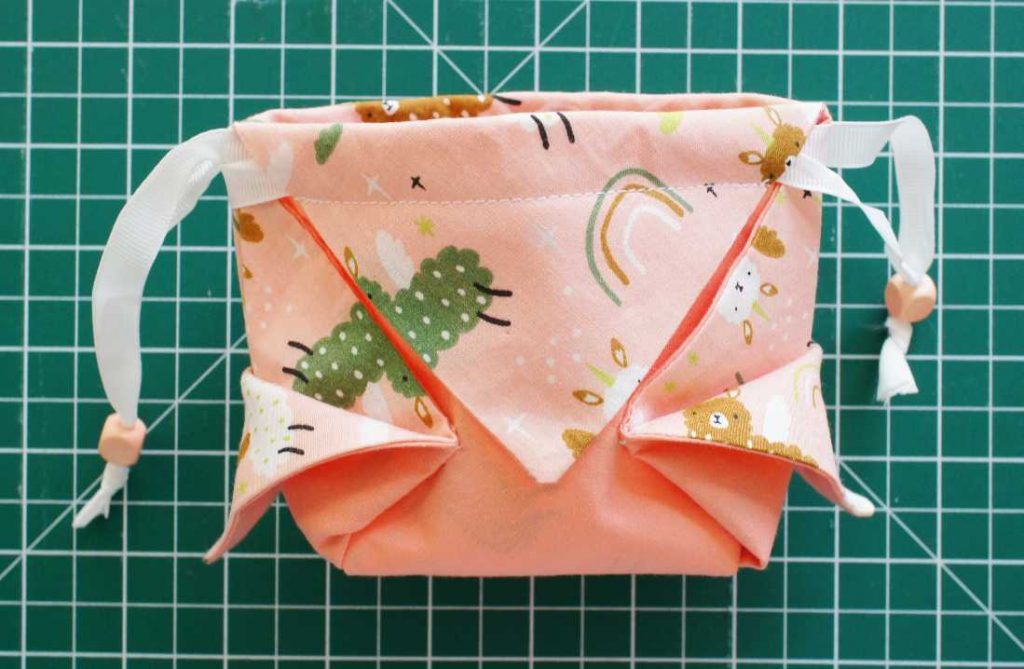
You should now have 2 Origami pockets.
Give your pouch a box bottom
Now turn the whole bag inside out and pull the points of your pocket up so that you do not accidentally catch them into your sewing.
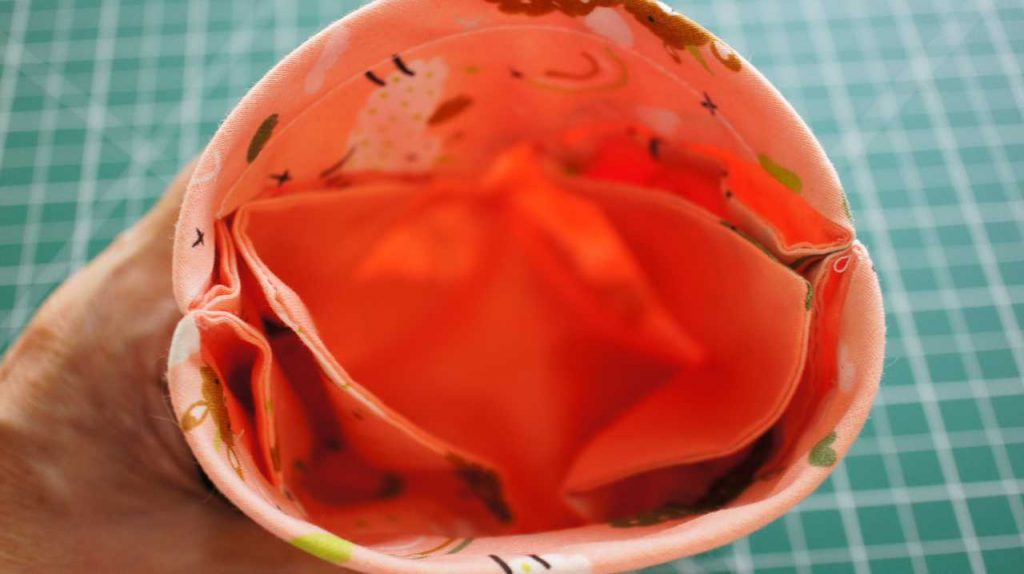
Place the bag down flat so that the points at the bottom of the bag match up as shown below. Make sure your pocket points stay turned up out of the way.
Mark a line 1″ down from the point on each point, pin and then sew along them separately to form the box shape at the bottom of the pouch.
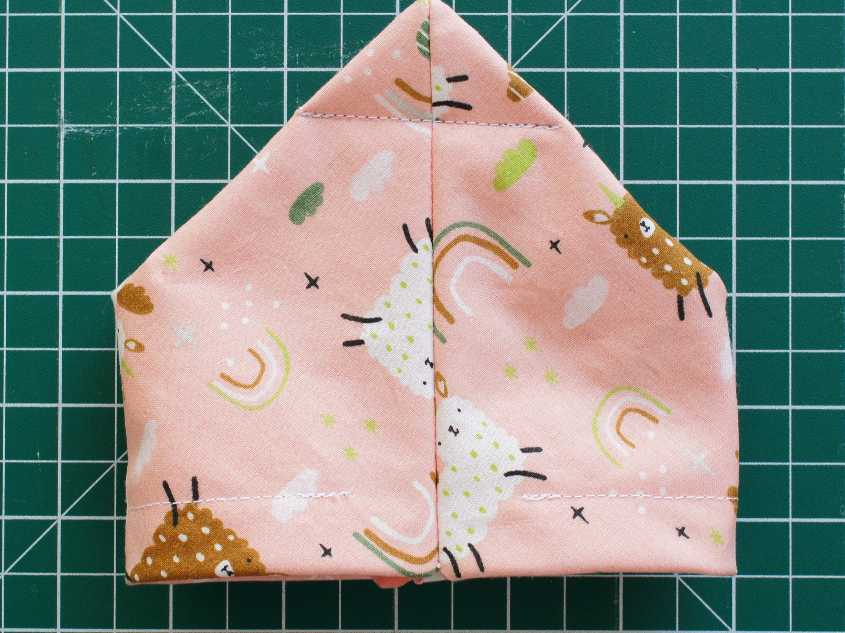
Then turn the bag the right way out and adjust the points from the pocket so that your bag looks pretty!
If you wanted to you could catch the points into the seams that you just sewed. This would give a different effect as the points that stick out would be caught in the seam. To achieve this simply leave the points folded down inside the bag and make sure to catch them in your seam.
Add the Drawstring
All you need to do now is add in the drawstring. You need 2 lengths of your chosen ribbon. Feed one length in from one side and take it all the way around the top of your bag to where it went in.
My top tip is to put a small safety pin through the end of the ribbon and use that to pull it through your casings.
Repeat with the other drawstring from the opposite side of the bag.
Thread your ribbons through your bead or button and knot them together so that they are secure and will not come back through.
I use a needle with a large eye to get mine through the button or bead.
Congratulations you have completed your origami bag pouch!
Remember that if you would like a downloadable version of this tutorial without the ads for a small cost you can visit my shop.
And now …
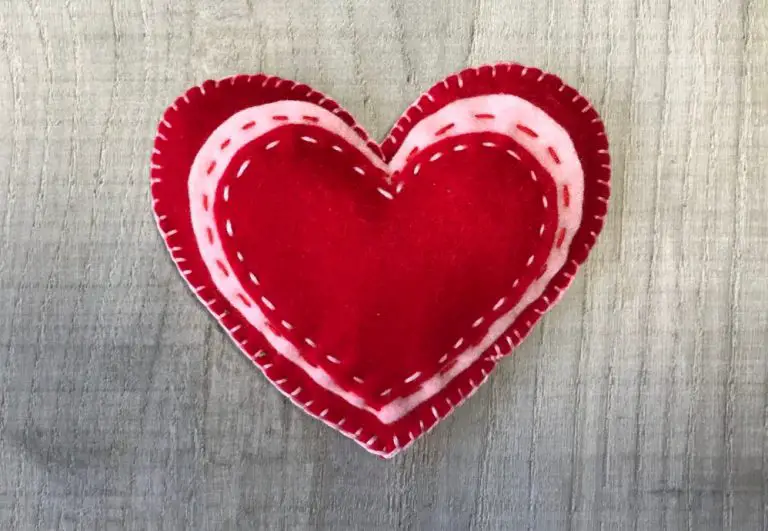
You will see that I have decorated mine and you can too. You can add any buttons, flowers, beads, etc that you like. This is where you really get to personalise it. If you want some ideas check out:
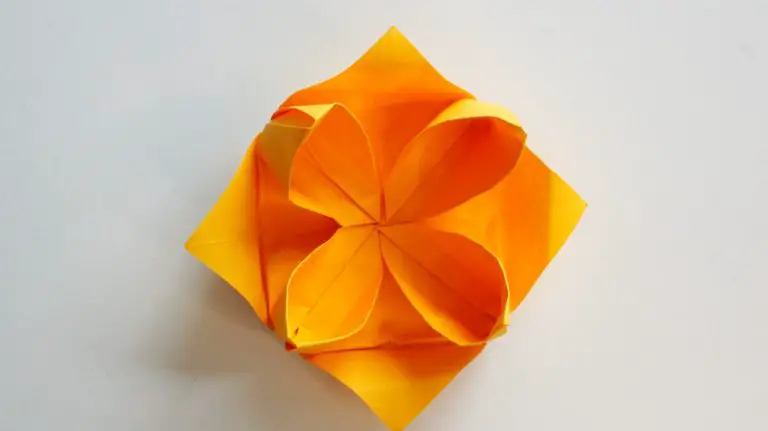
- Yoyo Flowers like I used on mine
- Shabby Chic Denim Flowers from old Jeans
- Tried and Tested Fabric Flower Tutorials
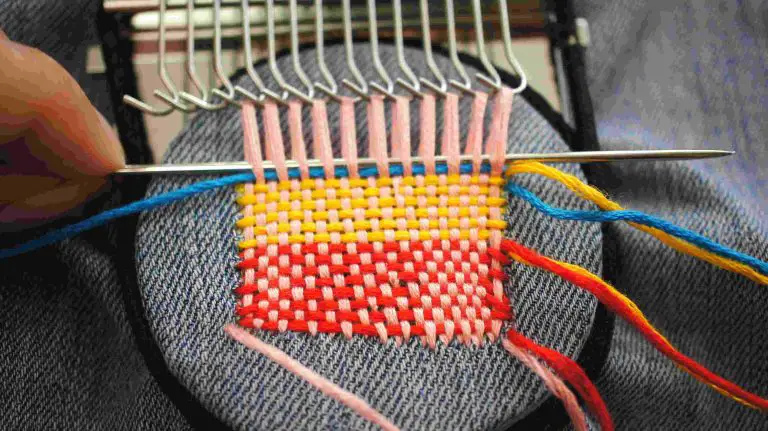
- Dorset buttons made from embroidery thread
If you are looking for Easter treat bags then check out my Easter bunny ears treat bags. They are just so cute!
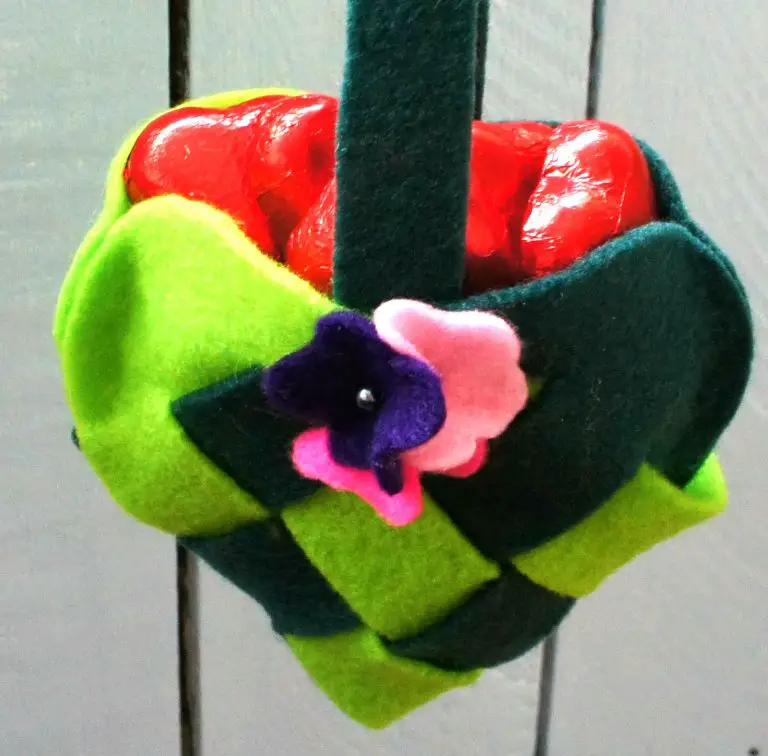
Or how about some cute hanging cone baskets that you can gift at any time full of sweets or small gifts? You can also make them to hang in your home as storage baskets.
Enjoy sewing your own Origami Bag Pouches and do please let me know in the comments below if you have any great ideas for additional decorations.