Junk Journal – How to easily make yours today
As an Amazon Associate I earn from qualifying purchases
Junk journals have been around for a long time. But you may have many questions about them if you are new to them. I must confess that I am relatively new to junk journaling but love how creative it is. You can literally use any paper you like and combine them into a beautiful journal.
So, I am going to start by answering some of your questions about junk journals and then I will show you exactly how I made mine with step by step instructions. Plus, there is also a video tutorial showing you all the steps.
This page contains affiliate links meaning I earn a small commission if you use those links at no cost to you. I only recommend brands I use and trust.
Frequently Asked Questions about Junk Journals
What is a junk journal?
Basically a junk journal is a collection of papers, often recycled or found, that is combined together and used to record memories, thoughts, events, etc. Some people will refer to it as their junk diary.
It allows you to be incredibly creative when assembling your junk journal before you even start to use it!
Why is it called a junk journal?
A junk journal is made up from lots of different papers. The idea is that you use paper that would otherwise have gone in the bin. Hence, it is called a junk journal. However you can use any paper you like, it does not have to all be old paper. If you do a lot of papercrafts you probably already have a massive haul of suitable papers.
What should I write in a junk journal?
You can use your junk journal for whatever you like but some ideas are:
- Record the main points of your day, attaching receipts, tickets, momentos, etc
- Record your thoughts and feelings
- Add a creative writing prompt each day and spend half an hour writing
- Write about the best part of your day
- Write about something your child did today
- Record something your pet did
- Add a photograph a day to record your life with few words
- Or whatever else you would like to journal about
Remember that this journal is personal to you so you can use it however you like. Junk journals are intended to be used and worked on so they do not have to be perfect. In fact, their rough and ready nature is their appeal.
Video Tutorial for a Junk Journal
If you prefer to watch the steps then enjoy this video tutorial, also available from my YouTube channel.
How to Make a Junk Journal
Supplies you will need
- Old hardback book
- Any paper you would like to include
- Ribbon, string, twine or large rubber band for binding
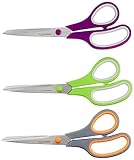
- Scissors
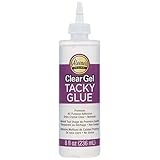
- Glue
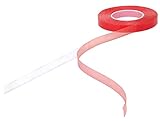
- Double sided tape (optional)
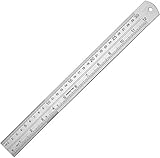
- Ruler

Prepare the Outer Cover
The first step is to remove the pages from the book that you are using. It is a hardback book so that your journal has some structure. The easiest way to remove the pages all together is using a knife but do be careful. You can also use your scissors to achieve this.
It is important that the whole cover including the spine remains intact.
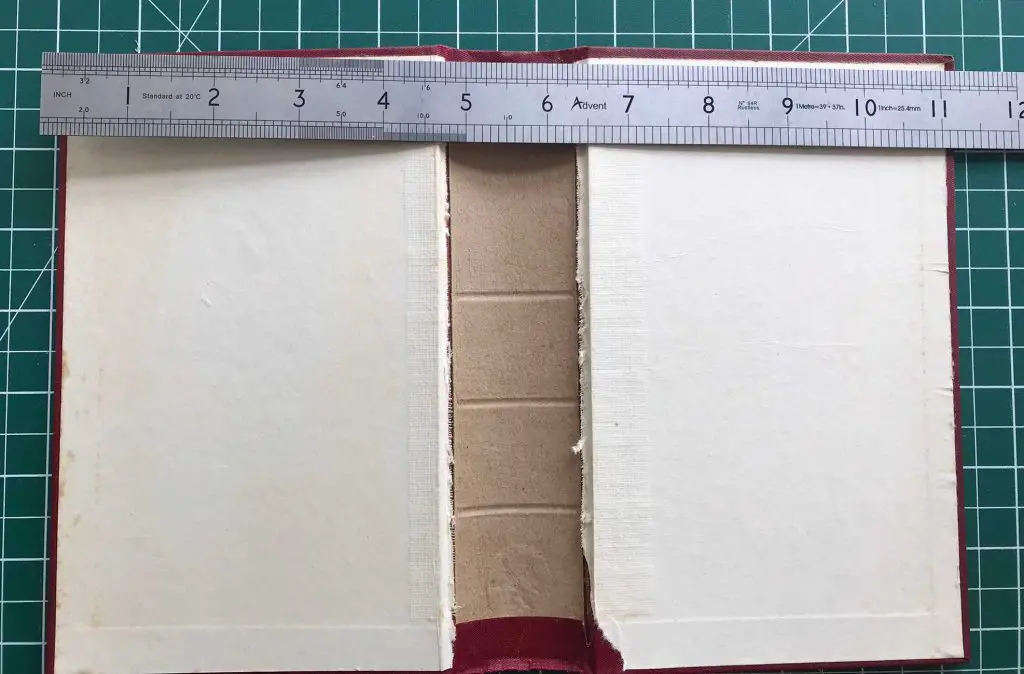
Once the pages are removed measure the width and height of the cover and cut a piece of paper to cover it. Do not worry if your measurements are not quite right first time. You can always cut it down a bit more. It is hard to measure across the spine.
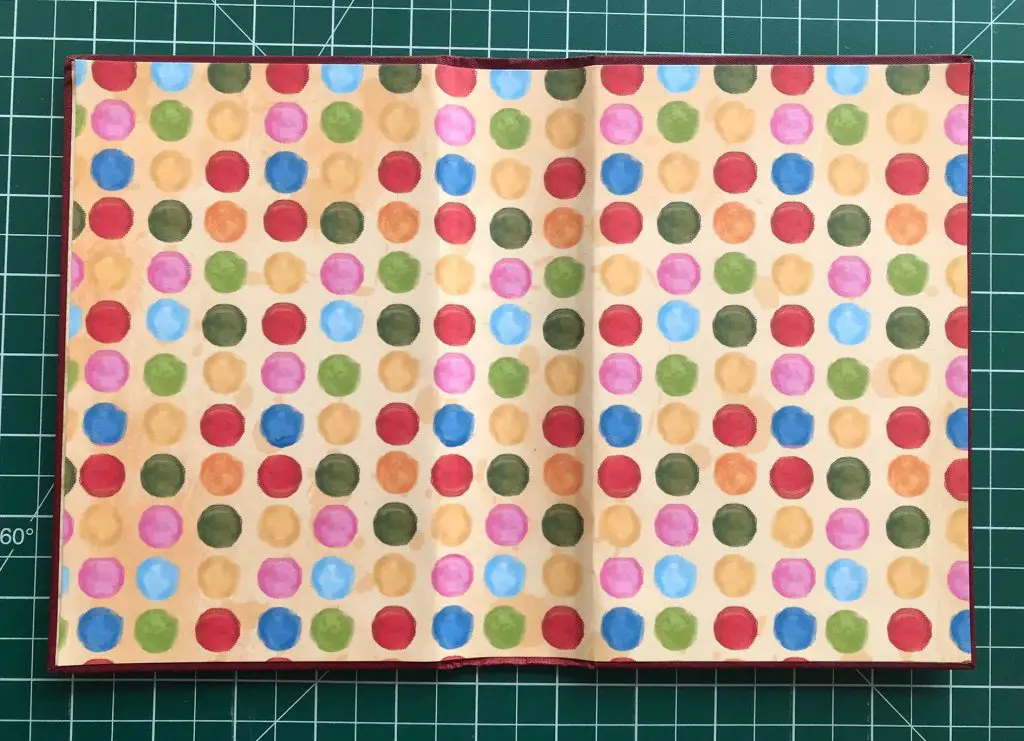
Try your paper on the cover and once you are happy glue it in place. This will cover all the old paper to make a pretty inside to your journal. I used glue over the whole page so that it does not ‘bubble up’ as the cover is bent and straightened.
Leave a weight, such as a heavy book, on top of the cover while the glue dries.
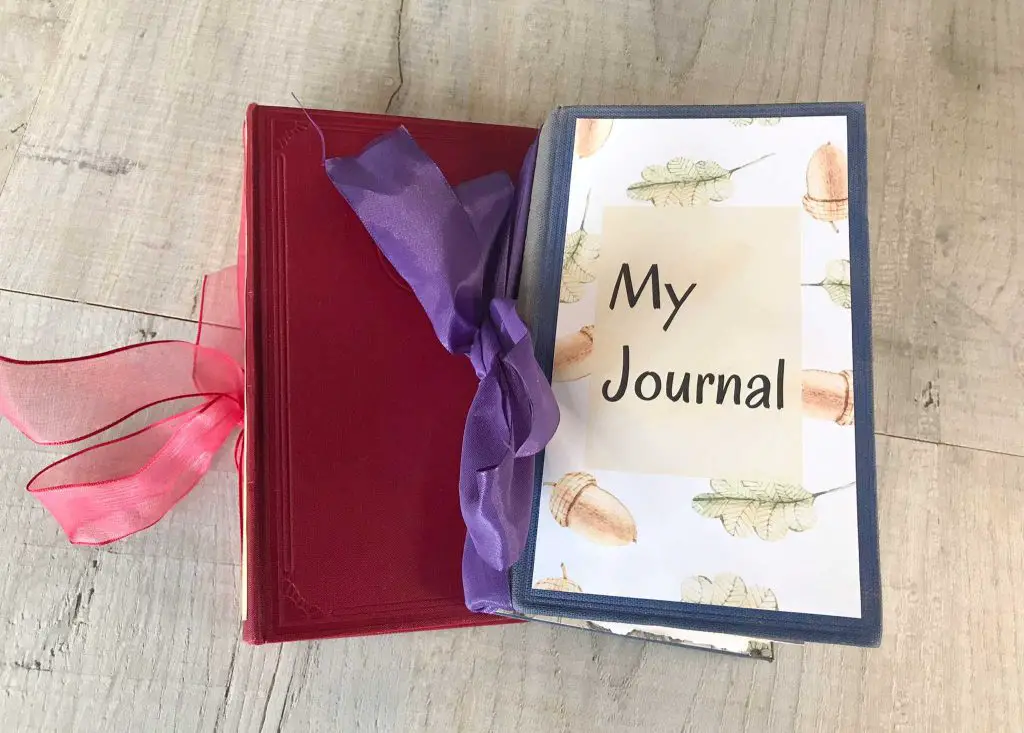
Once the glue dries it is time to cover the outside of the journal. This is where you can get really creative and add as much or as little as you like. In this book, I love the cover so I simply added a decoration to the spine. On this other junk journal I added a front and back cover too.
You can add as much or as little as you like. I used double sided tape to attach these as they would not be subject to bending. If you use one item to ‘wrap’ the book I suggest using glue.
Create your pages
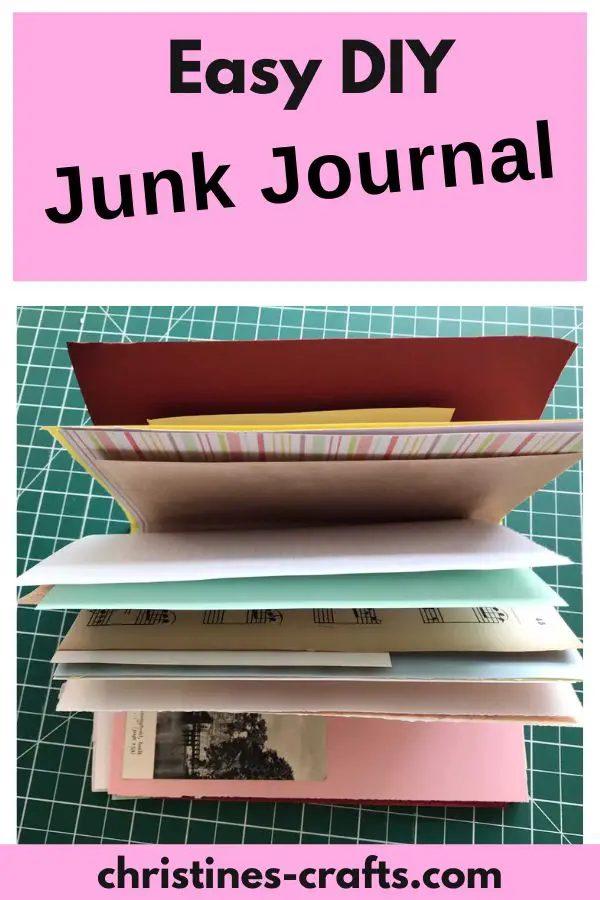
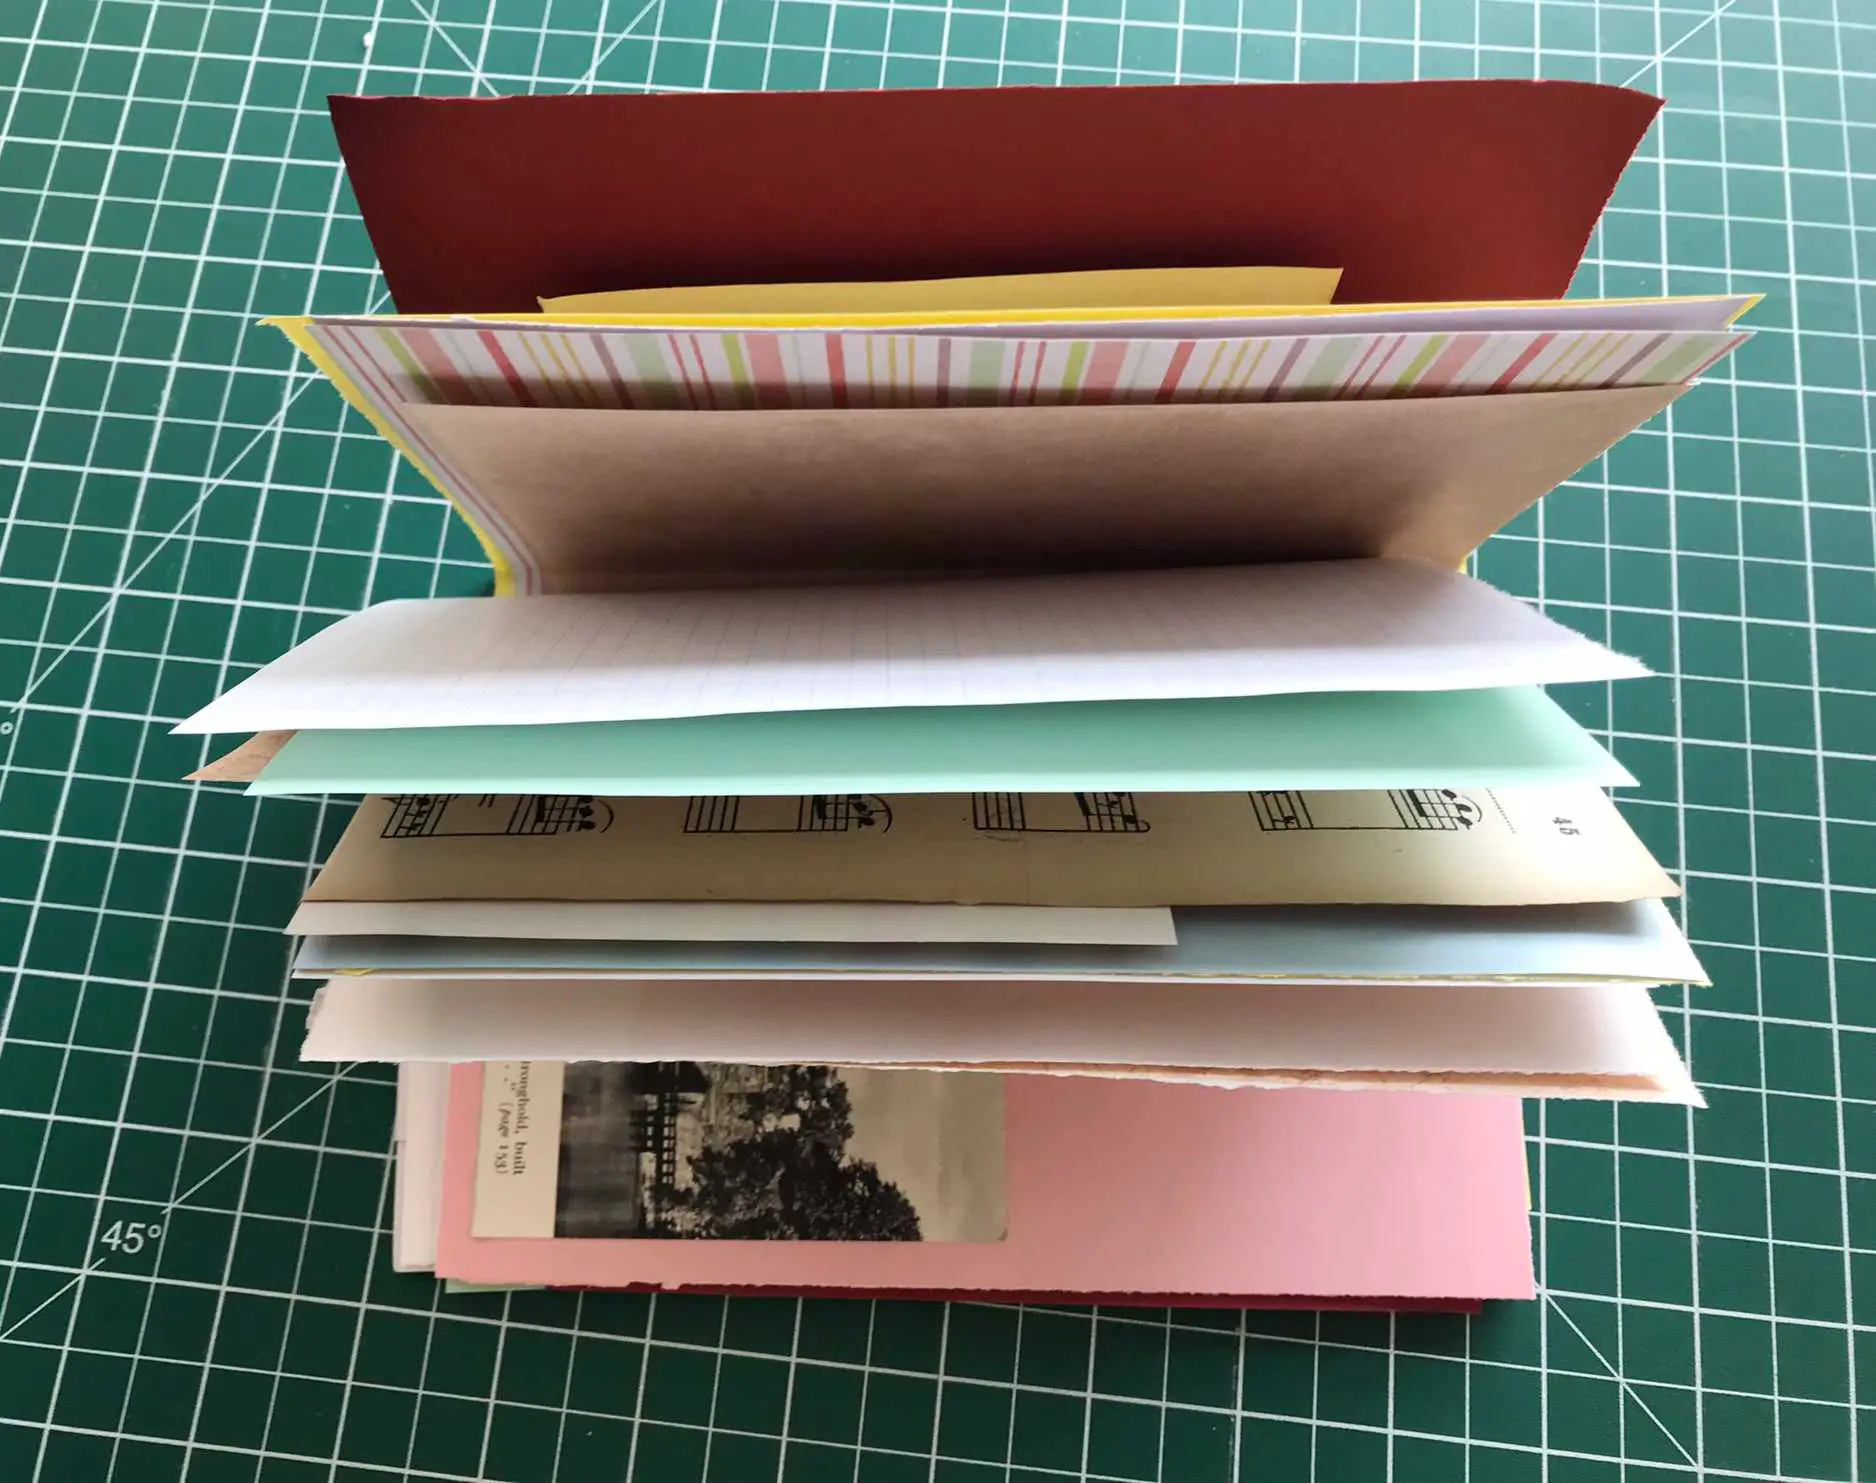
Junk journals are created using ‘signatures’. These are groups of pages made from folding your papers in half. In this journal I am making one signature to keep it simple (especially the binding).
Take one of your pieces of paper and cut it so that when you fold it in half and place it into your cover it does not stick out around the edges. This is the maximum size that you want any of your pages to be.
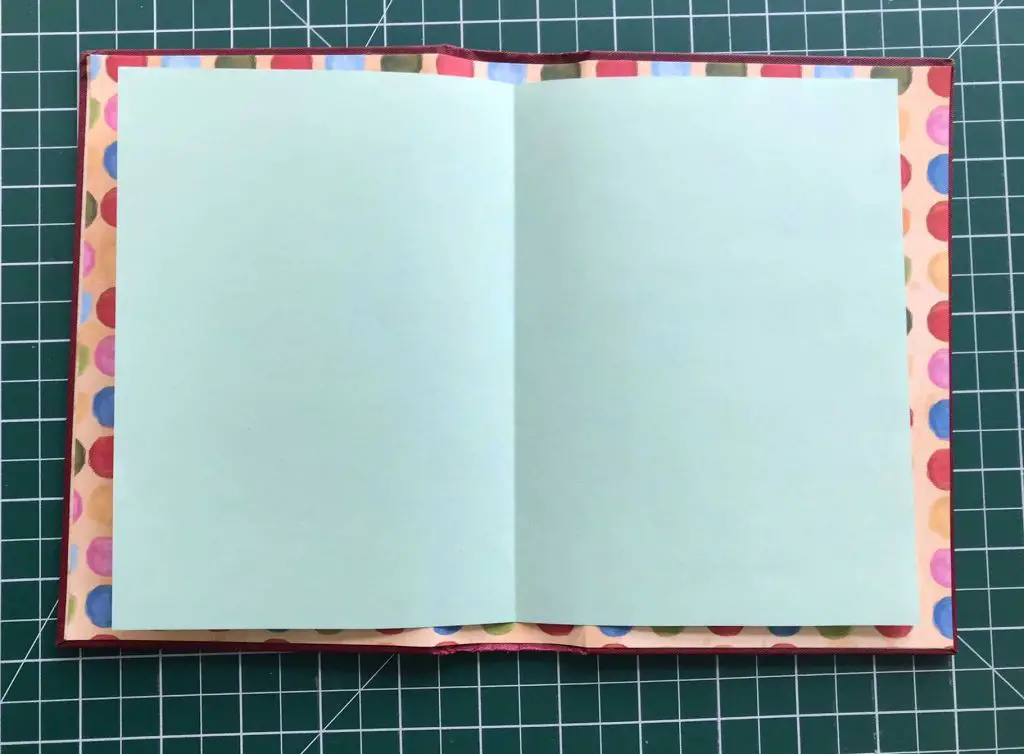
Now make loads of these folded pages. They can be any size you like. You are using up paper scraps so do not be afraid to have smaller pages. Some great papers to use are scrapbook papers, copier paper, graph paper, old music scores, book pages, handmade paper, etc. Use whatever you can find.
It can also be nice to cut your paper down using the ruler edge and tearing the paper. This gives a lovely scruffy finish to the page that matches the junk journal vibe.
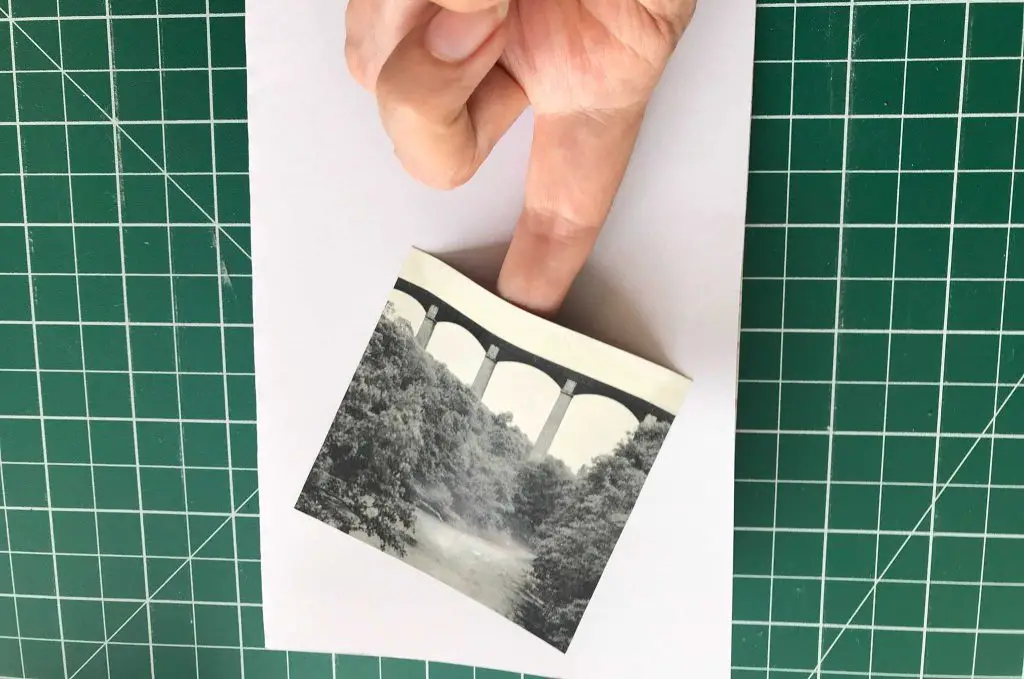
It is also a great idea to add ‘pockets’ to some pages to slide tickets, etc into later. I have used a picture out of the book but you could use anything including folding the page edge to form a pocket. Simply use double sided tape or a thin layer of glue around 3 sides and leave one side open.
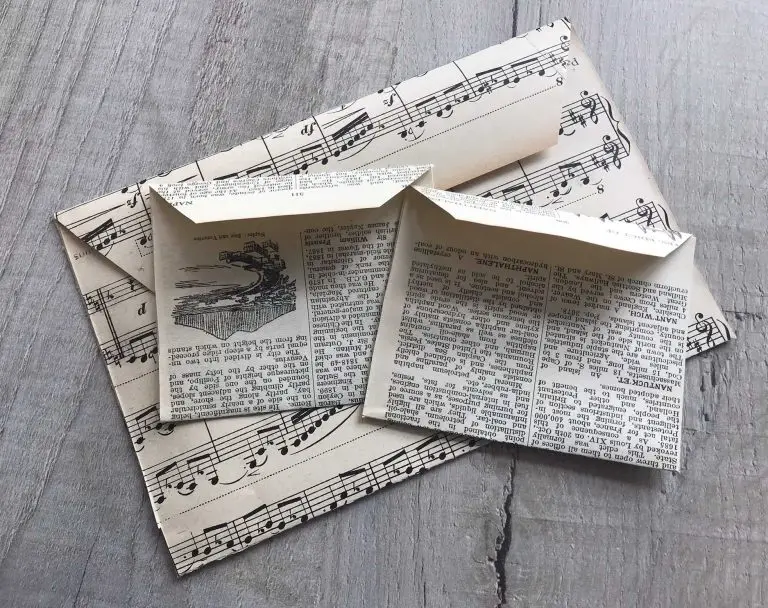
You could also make cute envelopes out of some of the book pages. Full tutorial here.
Bind and finish your Junk Journal
Once you have enough pages (you decide how many is enough) it is time to bind your journal. I have used the simplest binding there is. It is quick, easy, inexpensive and you can undo it at any time to add more pages (or remove some). However it does mean that the pages are not fully secure so you will need to treat it with care.
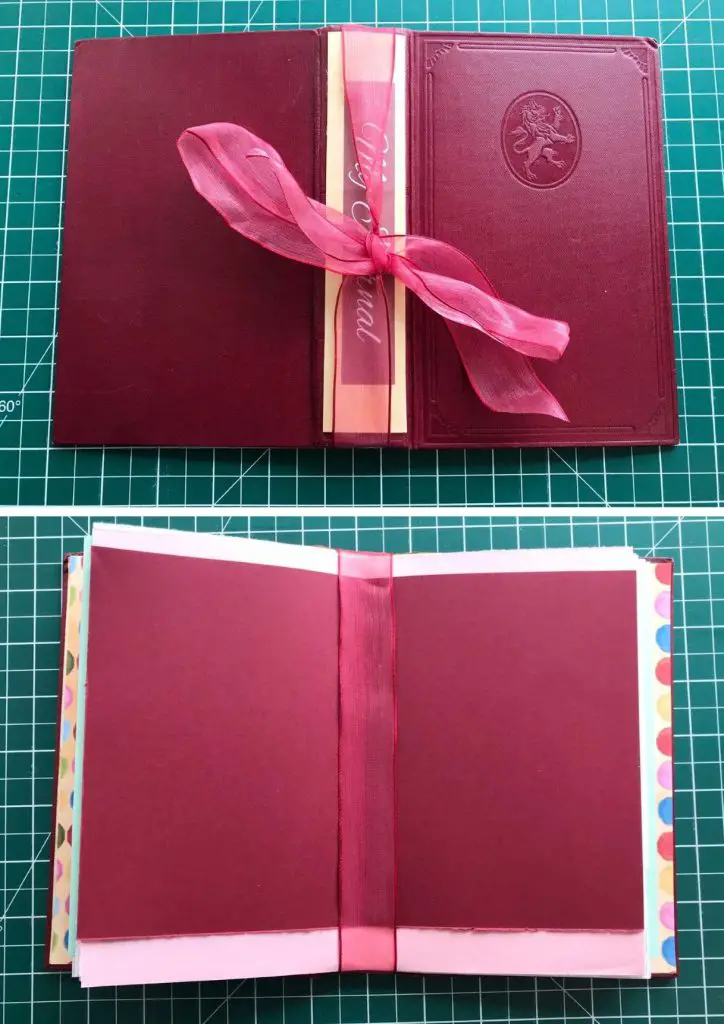
Place all your pages inside each other and inside the cover that you made earlier. Place your ribbon (or whatever you are using) along the centre of the spine so that the ends are on the outside of the cover. Tie a bow or knot it securely. Check the pages and adjust them and the ribbon as much as you like.
Congratulations you have completed your junk journal. I say completed but really you are just beginning – now you can journal with it and enjoy your creativity every day.
So now what?
Now you can create as many junk journals as you like and enjoy journaling in them in your own style. How about making one as a gift for a special friend. You could use papers and embellishments that are personal to them.
If you are looking for some more great craft ideas then how about trying:
- DIY art Journal from Scratch
- Stylish Bows for Wrapping parcels
- Iris Paper Folding Art and Cards
- Cute Origami Envelopes
- 3 Minute Origami Butterfly
- Book Page Envelopes
If you are looking for some more inspiration then check out my Pinterest account where I curate a massive selection of crafts from around the world. You can use this image to pin this tutorial to your board so that you can find it later.