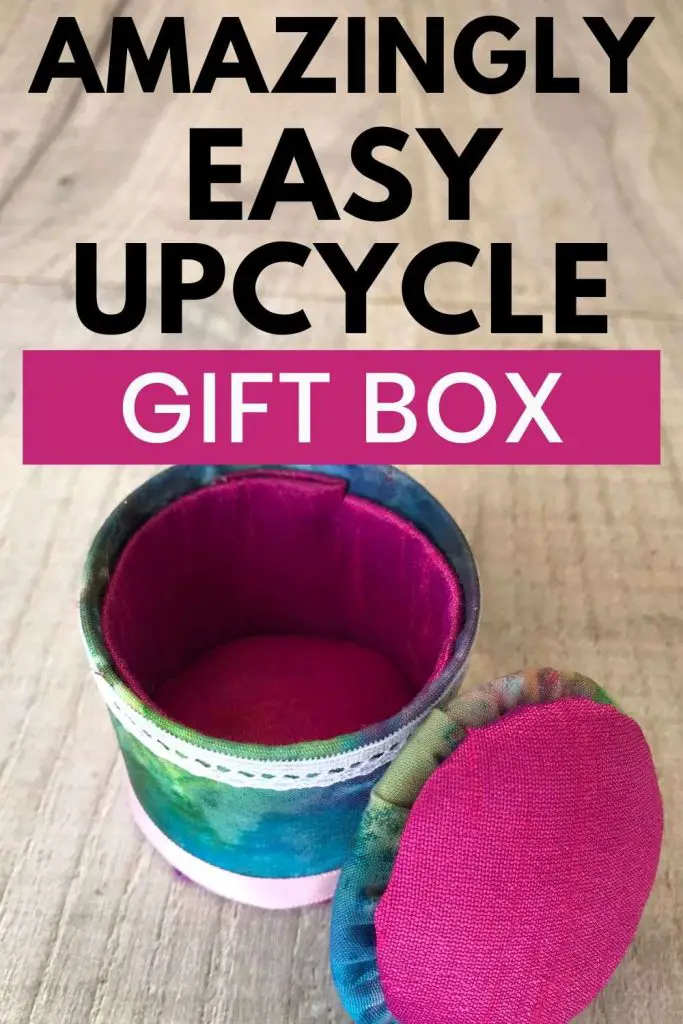
Upcycle an old Aerosol Lid into a Fabulous Gift Box Today
As an Amazon Associate I earn from qualifying purchases
Upcycling is a great way of crafting on a budget. After all you have most of the items lying around at home or in the trash ready to upcycle. Upcycling projects are so much fun, have fabulous results and help improve our sustainability. Junk projects can be quite stylish!
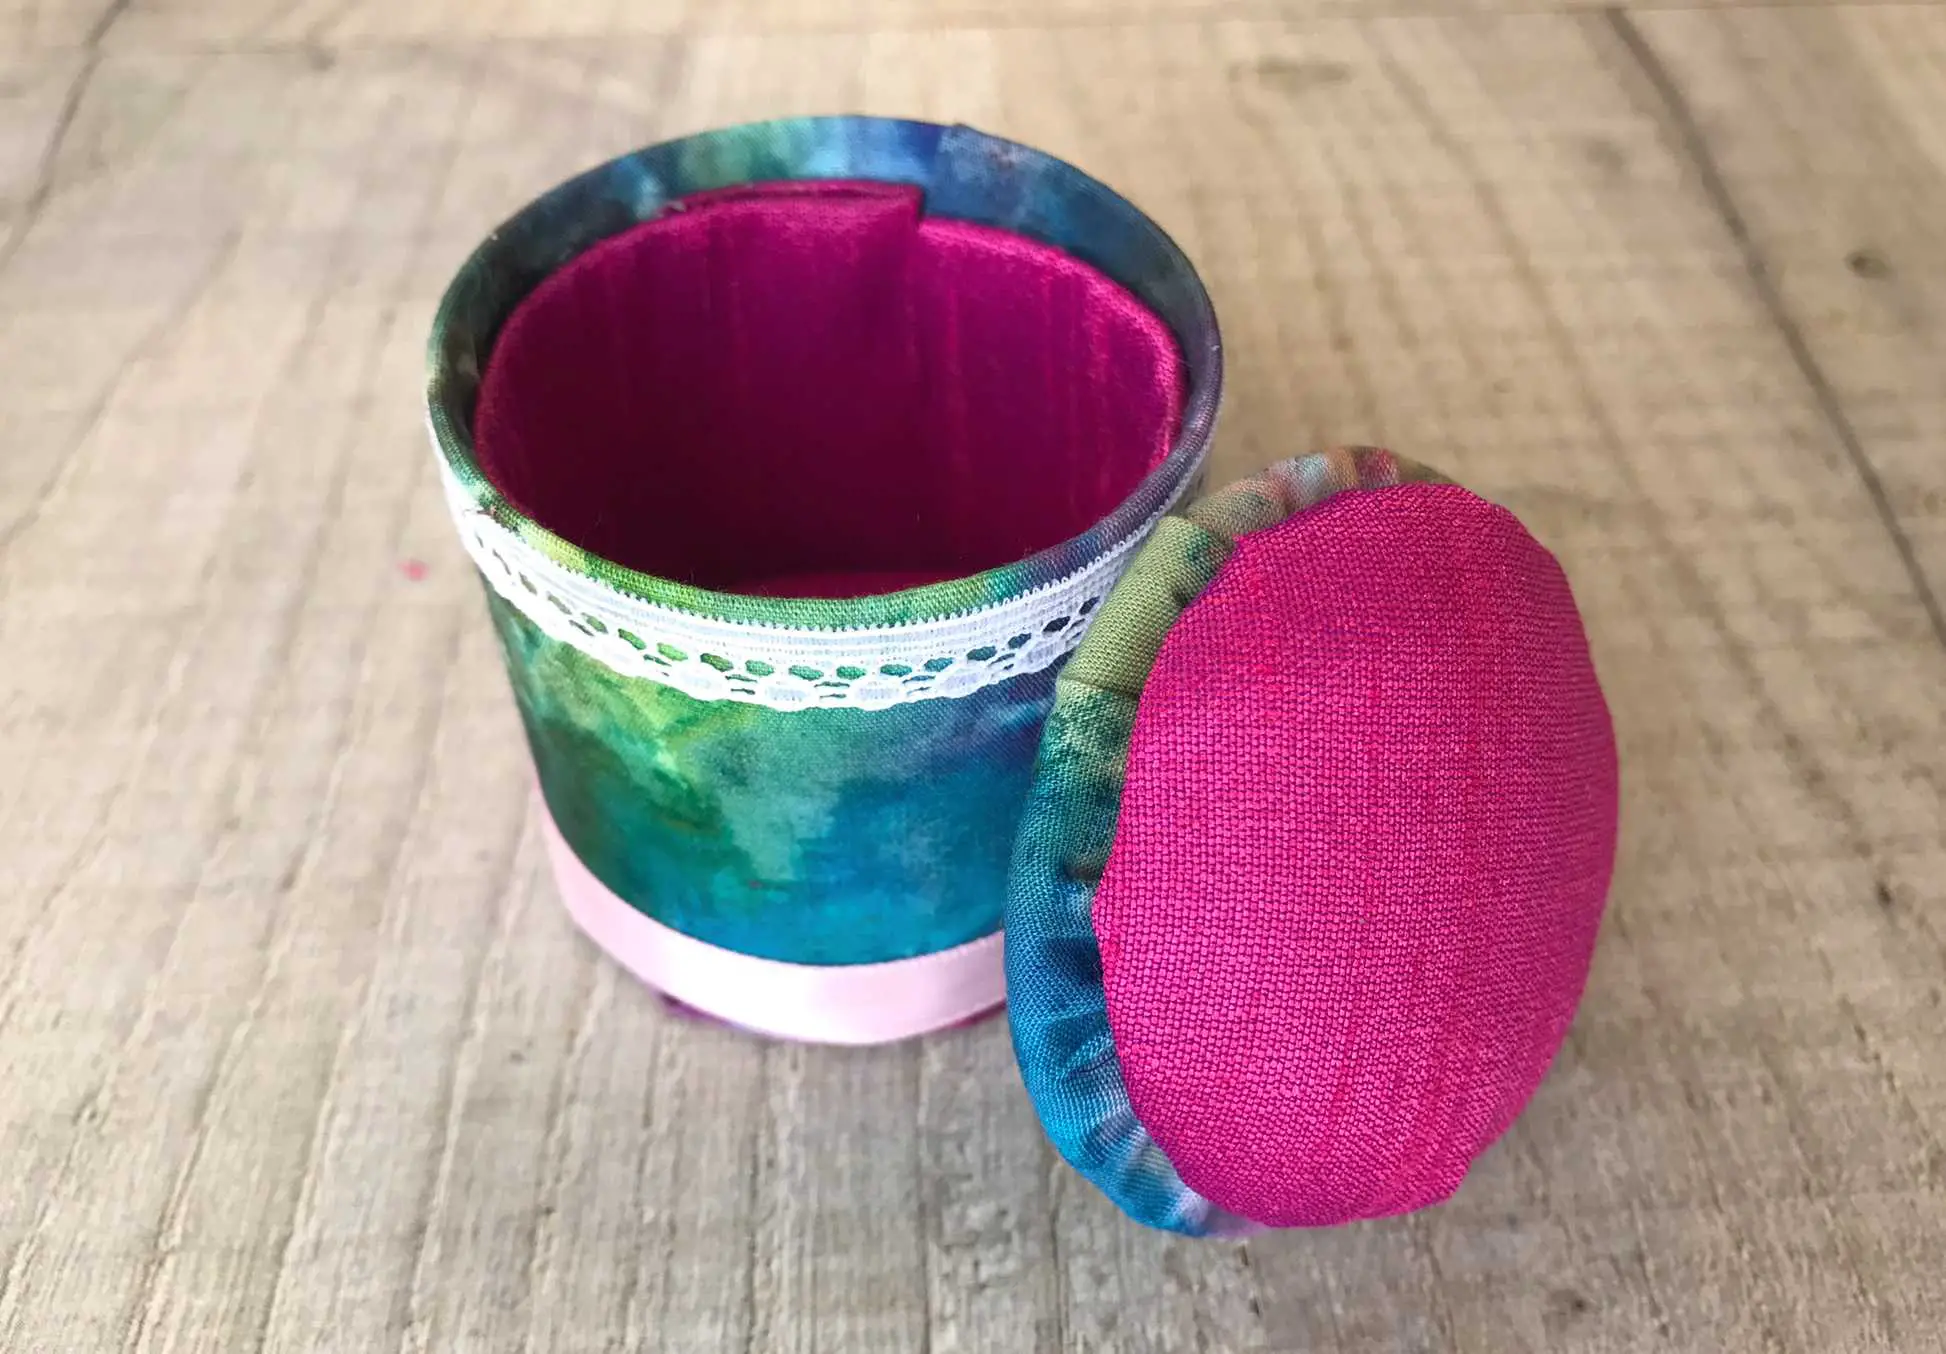
So let’s get started and make a fabulous gift box suitable for the finest jewellery. I mean, who wouldn’t want to receive a box like this (and cherish it). My mum has kept one I made for her for over 30 years on her dressing table!
If you think a basket made from an aerosol lid might suit you too then take a look at my tutorial for one of those too!
This page contains affiliate links meaning I earn a little commission if you use those links at no cost to you. I only recommend brands I use and trust.
You will need:
- Aerosol lid – any size but must have a flat top / bottom
- Small piece of main fabric (cottons work really well)
- Small piece of lining fabric
- Thick card
- Thin card
- Toy filling, wadding or scraps of fabric
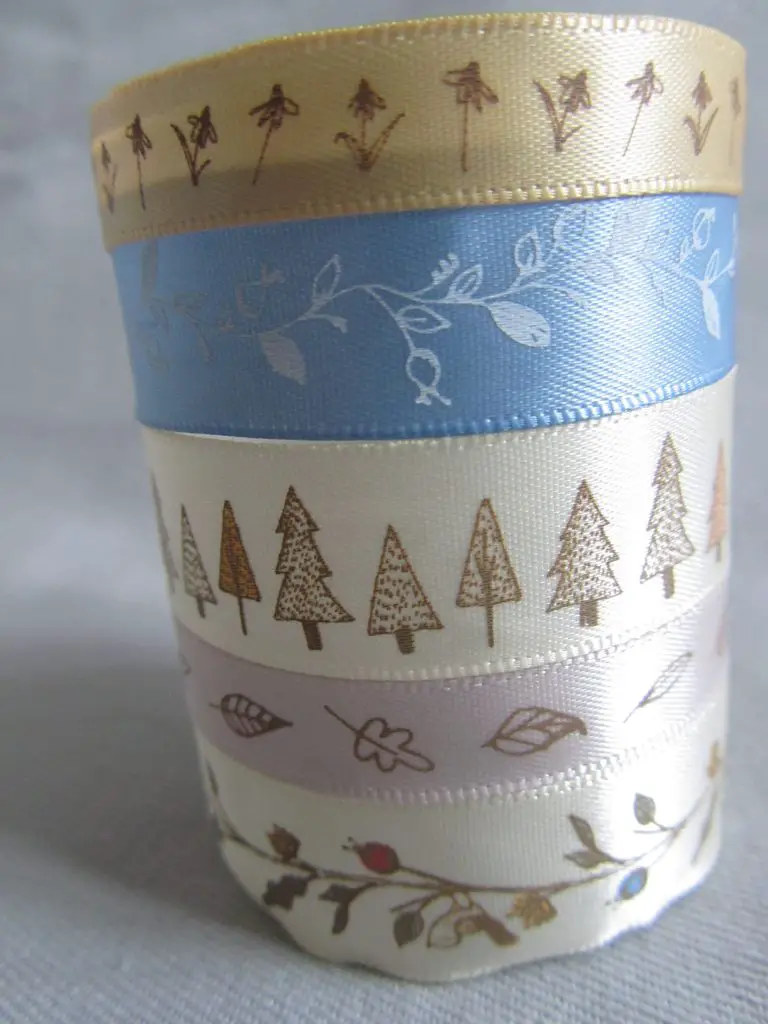
- Ribbon / trim (if you want to add some)
- Glue – I used multi-purpose


Video Tutorial
This video is available on my YouTube channel.
Cut out all your Cardboard Pieces
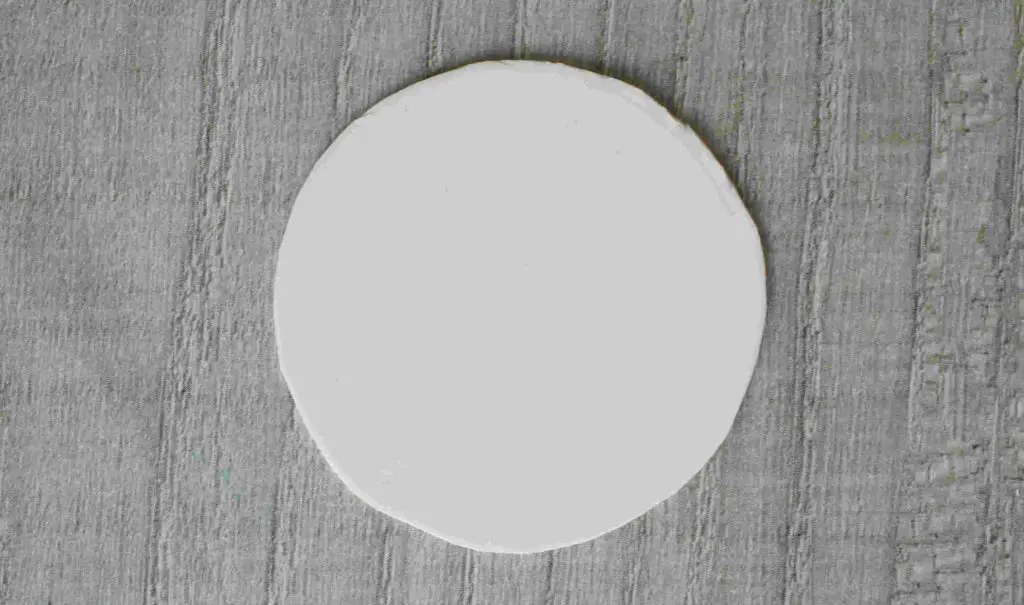
The first task is to cut out your cardboard shapes. Starting with your thick cardboard, simply draw around your aerosol lid and cut out that circle exactly along the line. This will form your lid!
From the thin cardboard (which should easily bend if you try to bend it) cut 3 circles. Draw around your aerosol lid 3 times. Cut one of them out perfectly on the line and cut the other two approximately 1/8″ inside the line. Check that one of these smaller circles fits inside your lid.
Then measure around your lid and note down the size (mine is 6.5″) and measure how tall it is (mine is 1.75″). Cut out a rectangle of the thin card that is exactly that distance around your lid but 0.25″ less tall. You will trim it later!
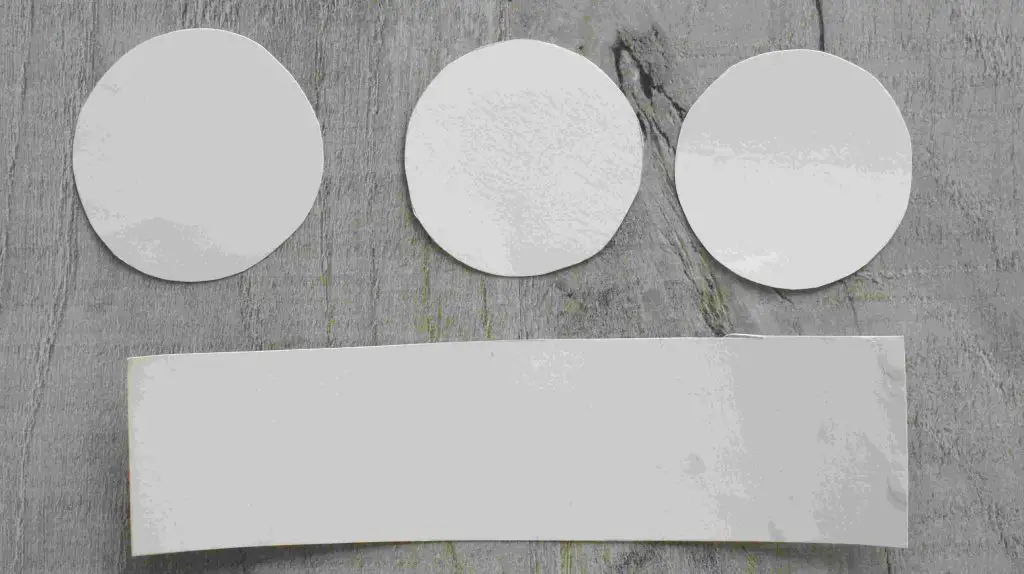
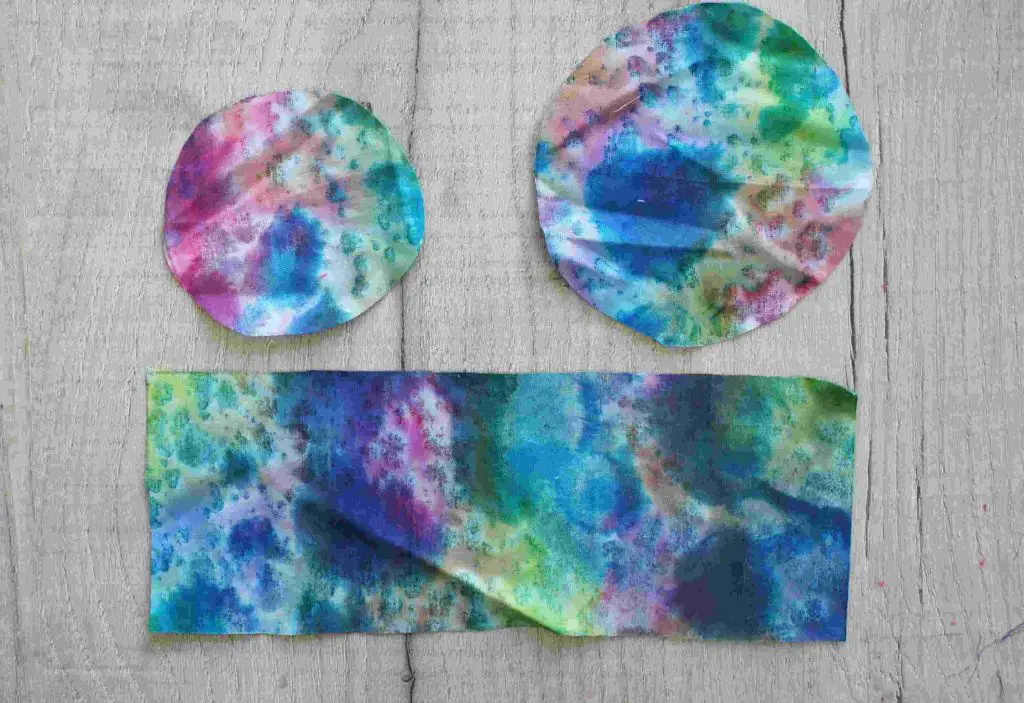
Cut out your Fabric Pieces
Firstly, from your main fabric that will be the one you see on the outside of your gift box cut the following:
- 1 rectangle that is the distance round your lid + 1″ by the height of your lid +1″
- 1 circle that is the size of your aerosol lid + 0.5″ all the way round
- 1 circle that is the size of your aerosol lid + 0.25″ all the way round
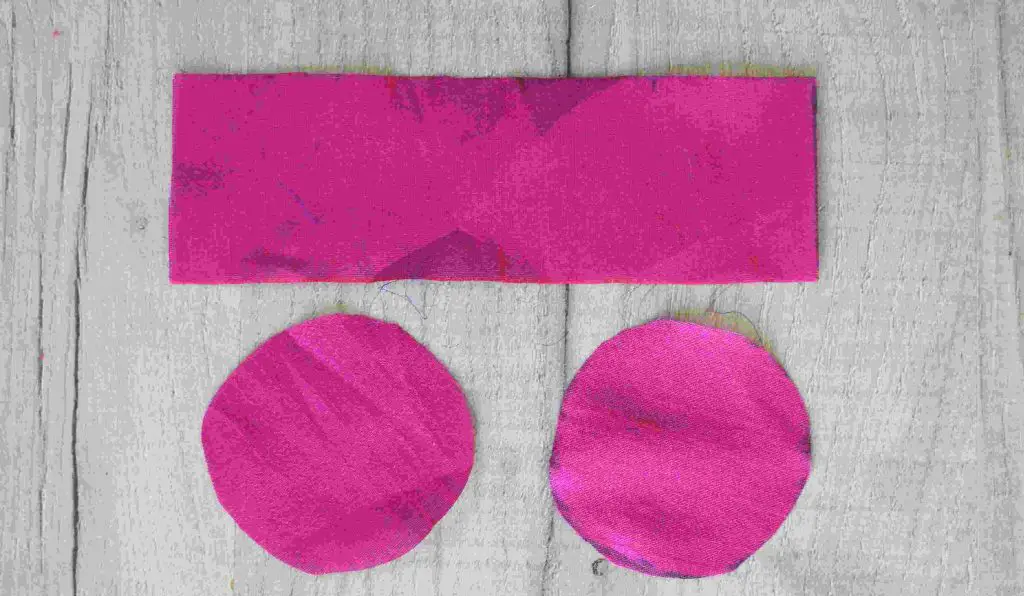
From your lining fabric, cut the following:
- 1 rectangle that is the size of your rectangle of thin card plus 1″ on each dimension
- 2 circles the same size as the small circles of thin card + 0.5″ all the way round.
Prepare Gift Box Sections
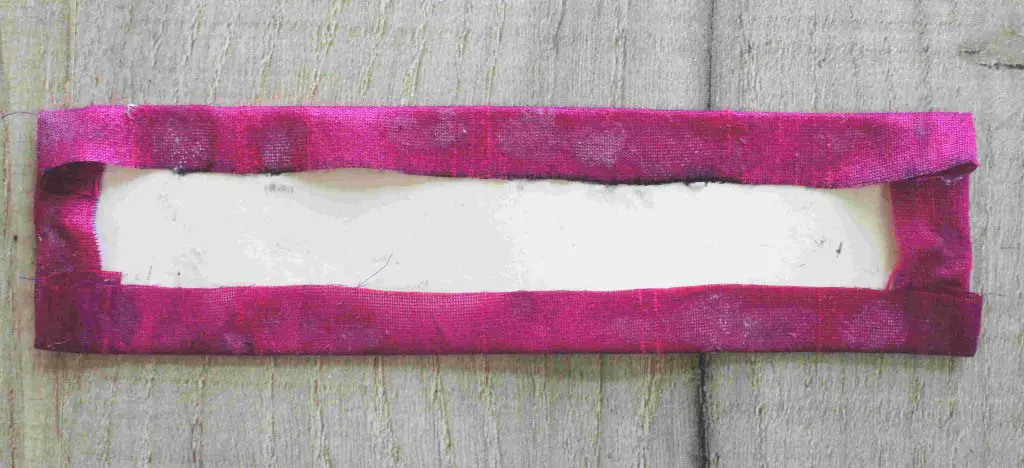
Take your rectangle of main fabric. Apply glue to the wrong side making sure that you get glue near to the edges. Then place your aerosol lid onto the centre of the rectangle. You want approximately 0.5″ on top and below the lid. Then wrap one side of the rectangle around the lid. When you reach the end of the fabric fold a small amount under so that you do not have a raw edge.
Repeat this with the other side. Make sure that you turn under the right amount so that your folded edges meet but do not overlap.
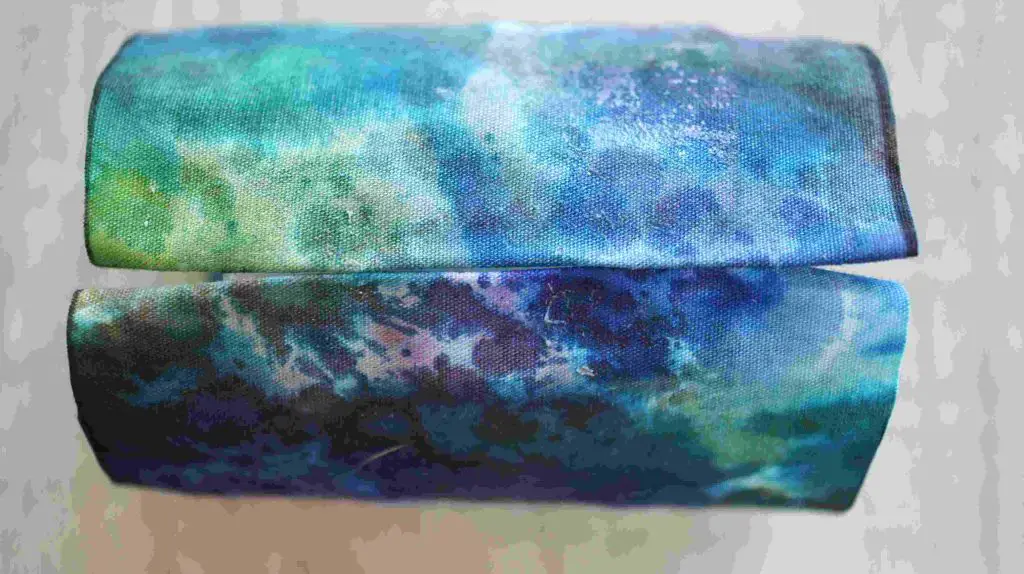
Then fold over the spare fabric at the top and bottom of the lid. If there is not enough glue to secure it then simply add a little more.
Take the smaller of the two circles that you cut out of main fabric and glue that to its corresponding thin card circle (not the large one). Simply apply glue to the fabric that is around the circle of card and fold it over the card.
Then move onto one of your lining pieces. Take the thin card rectangle that you cut out and place it inside the ‘lid’. I am now going to start calling this the gift box to avoid confusion! If the ends overlap (they will!) then trim one end down until the two ends just meet.
Then place it onto the wrong side of your corresponding lining piece and glue it in place by wrapping the excess fabric around onto the card.
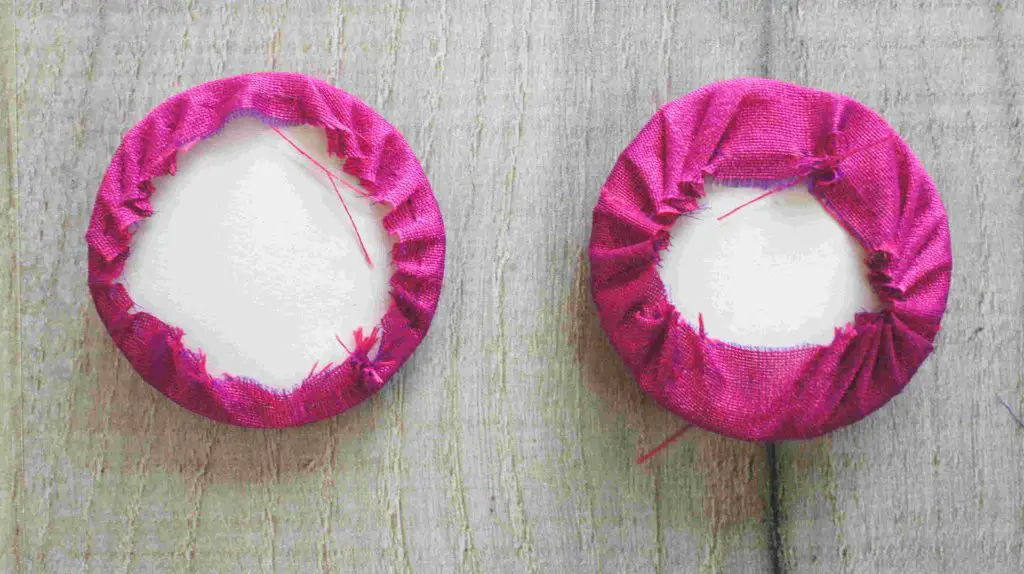
Next you move onto sewing the padded pieces. Don’t worry it is incredibly simple. Take your large main fabric circle and run a small running stitch around the outside edge. Place a small amount of stuffing and your thick cardboard circle onto it. Draw up your thread to hold the fabric onto the stuffing and card.
Check you are happy with the amount of stuffing and add more or take some away if you need to. Then fasten off your thread and you have made your first lid piece.

Repeat this process with the two lining pieces and their circles of card.
Assemble your Upcycled Gift Box
Make your Lid
Complete your lid by taking the large main fabric circle piece that you attached to the thick card and one of the lining fabric circles that you made. Apply glue to the back of the lining piece, making sure it will reach to the edge.
Place the lining piece on top of the main piece in the centre and hold it in place until the glue dries. I recommend placing it under a heavy book!

Your lid is now complete unless you want to add some embellishments such as a button or bow.
Make your gift box
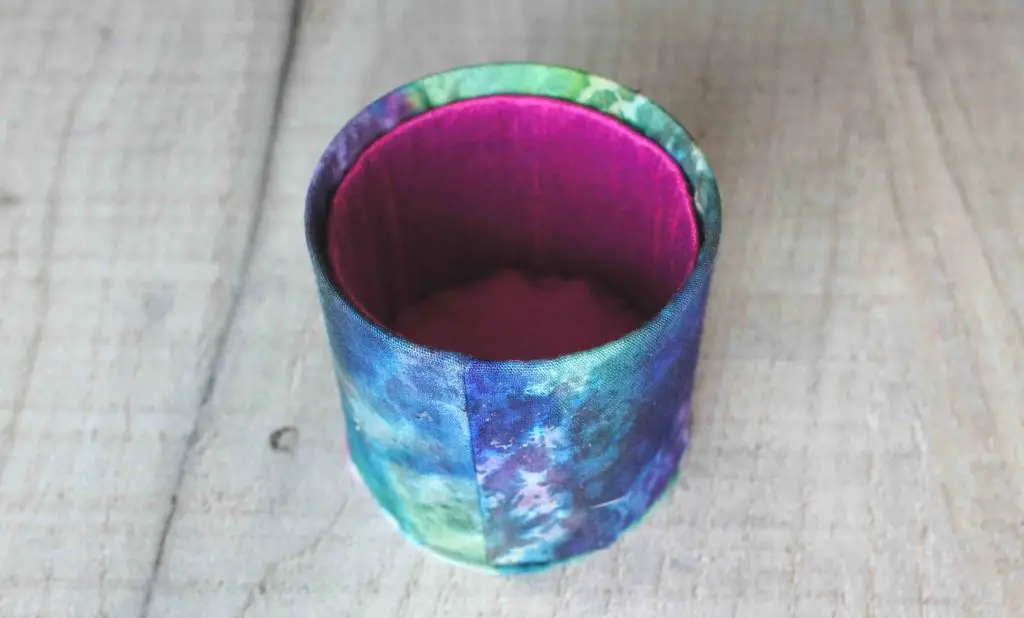
Take your gift box and the card circle covered in main fabric. Apply glue to the card circle and glue it to the bottom of the gift box. This will complete the bottom of the box.
Now take your rectangle of lining and cover the wrong side with glue. Press the lining into the gift box so that it pushes up against the box and the two ends meet. Make sure it is down to the bottom of the box. There should be a gap at the top which is covered with main fabric.
I also try to line up the join with the join in the main fabric on the outside. You don’t have to but I think it looks better!
You should have one circle of lining left and it should be the one that fits down to the bottom of the box. Apply glue to the wrong side of it and press it firmly down into the bottom of the box.
And finally …
You now have a completed gift box but I do recommend adding some embellishments. A ribbon (or similar) around the bottom just helps to hide the join between the box and its base. Beyond that it is up to you to get creative!
I hope that you will enjoy making your own little upcycled projects including this gift box. If you are looking for some more upcycling ideas then how about upcycling old books in various projects such as book page roses or cute envelopes?
You could even make your own earrings to gift in the box you have made. They are really quick and easy.
If sewing is more your thing then how about a whole set of makeup remover wipes or perhaps a mobile phone stand to save your aching arm on all those video calls.
You will find loads of great ideas on this site so please be my guest and have a look around. If you have anything to add please add your comment below. I reply to them all!