19 Spooky and Fun Halloween Craft Ideas for Kids 2024
As an Amazon Associate I earn from qualifying purchases
From apple bobbing to pumpkin carving and trick-or-treating to telling tales, there’s nothing better than celebrating the spooky season. To save money and get your kids all revved up, why not get together and create some super cool yet eerily frightening decorations?
Here are a mixture of Halloween craft ideas for kids of all ages and there is sure to be something for you. I have added 10 new ones to the original list for 2024 so enjoy!
Stay tuned as we look at 19 fun Halloween craft ideas that anyone can do using minimal supplies…
1. Paper garlands
Paper garlands are a classic DIY decoration and are so easy to make. Because they are so lightweight, you can hang them up all around the house worry-free. This craft is perfect for kids of all ages, but make sure you help the younger ones when it comes to using scissors. You will need:
- Black, orange or green paper
- Scissors
- A pencil
- String or twine
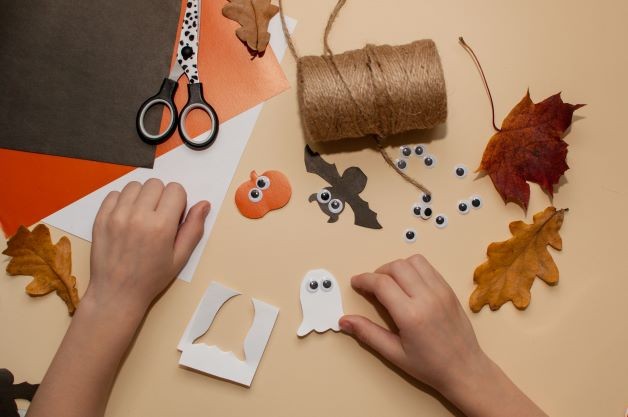
First of all, decide on what designs you want to use for the garlands. Choose from pumpkins, ghosts, spiders, and zombie heads – or let your kids design their own monsters. Use a pencil to create a simple-to-cut-out template and repeat the design to create as many as you need. Cut them all out carefully, decorate them as you like, then connect them with string or twine. Easy peasy!
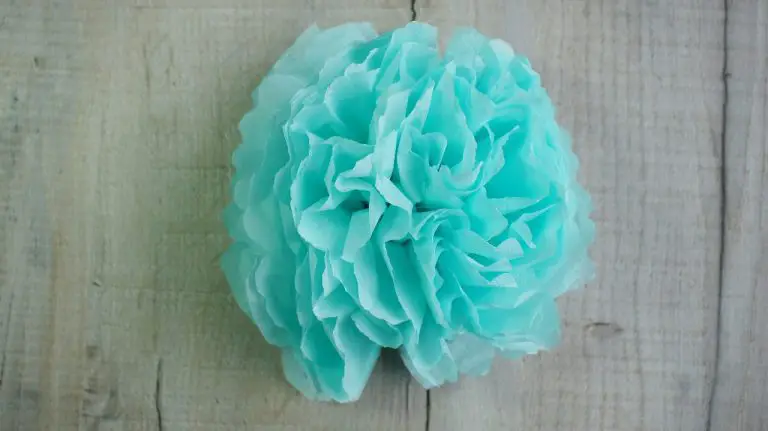
If you fancy creating some garlands that are a little more sophisticated and can double as autumnal decor for your home, check out this quick guide to creating tissue paper flowers – just opt for seasonal colours instead.
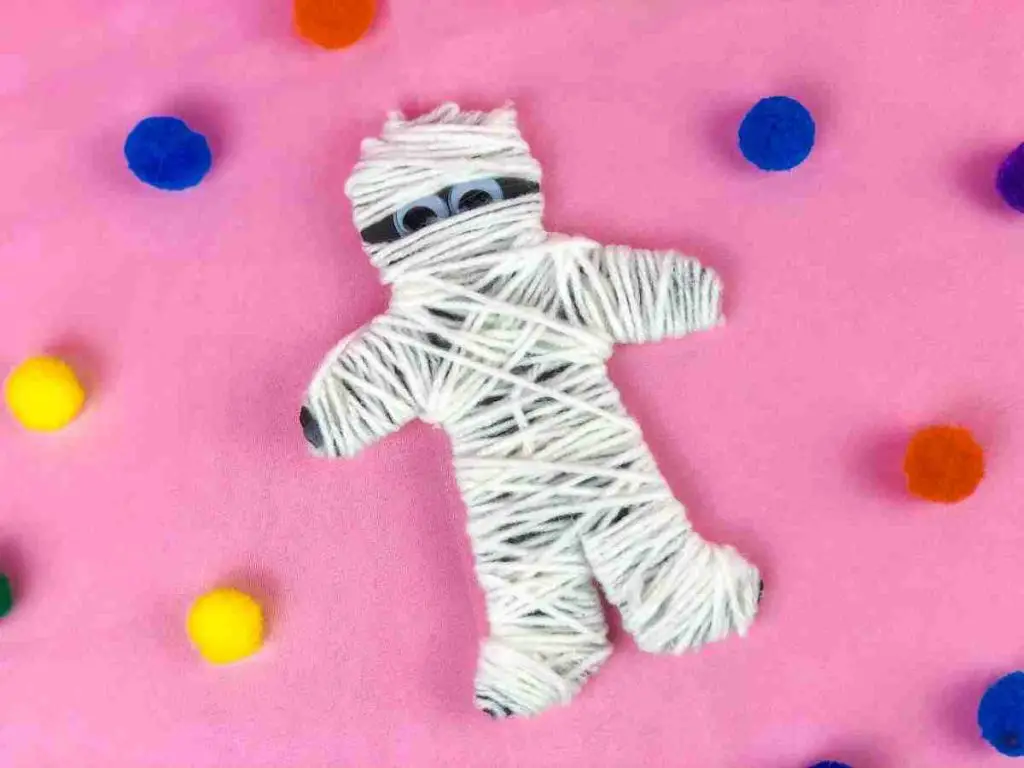
2. Super Easy Mummies!
These are easy to make in minutes so this is a cute project to make after school or after dinner, during classroom parties or for home schooling.
Great for many ages as you could do the cutting out for a very young child. Plus, they are not too scary! All the details including full instructions and a ‘mummy’ template are available at ‘Two kids and a coupon‘.
3. Sock puppets
Not only are sock puppets a super easy and fun craft, but they can also help to ignite your child’s imagination as they create characters – and they could even host a spooky puppet show. To create yours and exchange some spooky tales, you will need:
- Clean old or odd socks
- Coloured card or yarn
- Scissors
- Glue
Any type of glue will work for this, but a hot glue gun is best – just ensure you do the hot glueing for your youngsters. As an alternative, you could also sew it all together, but again, it’s probably best to help the little ones out for safety.
Start by cutting out pieces of card or yarn to create features for your sock puppet characters, such as fangs, eyes, ears and hair. Let their imagination run wild and help them bring it all to life.
Decide that they are happy with their creations and glue everything on. Let the glue dry and then create magic with your puppets.
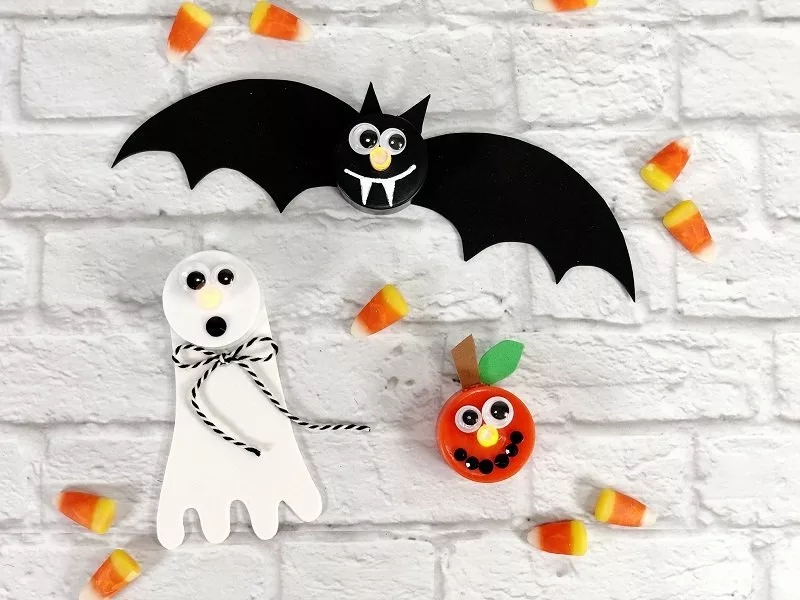
4. Dollar Tree Halloween Votives
How about taking a few simple supplies and making them over into a cute Jack-O-Lantern, Bat, and Ghost to light the way to Halloween! You may well already have these simple supplies.
They only take about 15 minutes and are super easy. Now, this tutorial uses a glue gun but I think they would be great to make with kids They can cut out and design and you, as the adult, can operate the glue gun!
They would look fabulous around a party too! For step by step instructions visit ‘Creatively Beth’.
5. Paper pumpkins
Whilst pumpkin carving is fun, you may soon be left with an increasingly squishy decoration in your living room. Paper pumpkins are a fab alternative, plus they are a lot cheaper (and they don’t come with all the mess). You will need:
- Thick orange & green card
- Scissors
- Glue or stapler
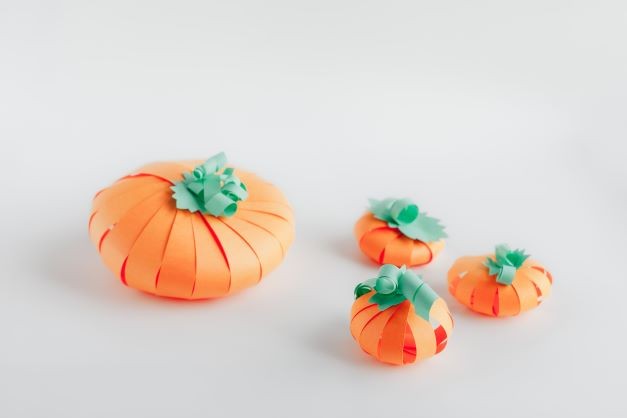
Begin by cutting out 10-20 strips of orange card. For a smaller pumpkin, use fewer strips and make them thinner and shorter. For a larger pumpkin, use tall, thick strips. Once you’ve cut out the strips, lay them on the table in a big starburst shape, with one end of the strips overlapping in the middle.
Next, use glue or staples to fix all the overlapping ends together. Then connect all the top of the strips together too. Finally, using the green card, scrunch a small bit up to form a stem and secure this to the top of the pumpkin. It should naturally create an oval pumpkin shape when standing up.
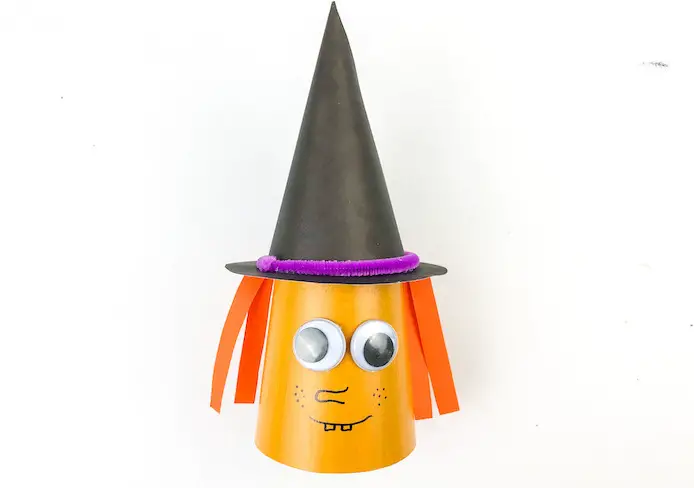
6. Cute Halloween Witches
These Halloween witches are just so cute and really easy to make with supplies you may well already have. This is another craft using a glue gun so again consider the age of the child and support them appropriately.
These would look great dotted around the room at Halloween and make a very inexpensive decor item to bulk up on. For a step by step tutorial visit ‘Thriving in Parenting’.
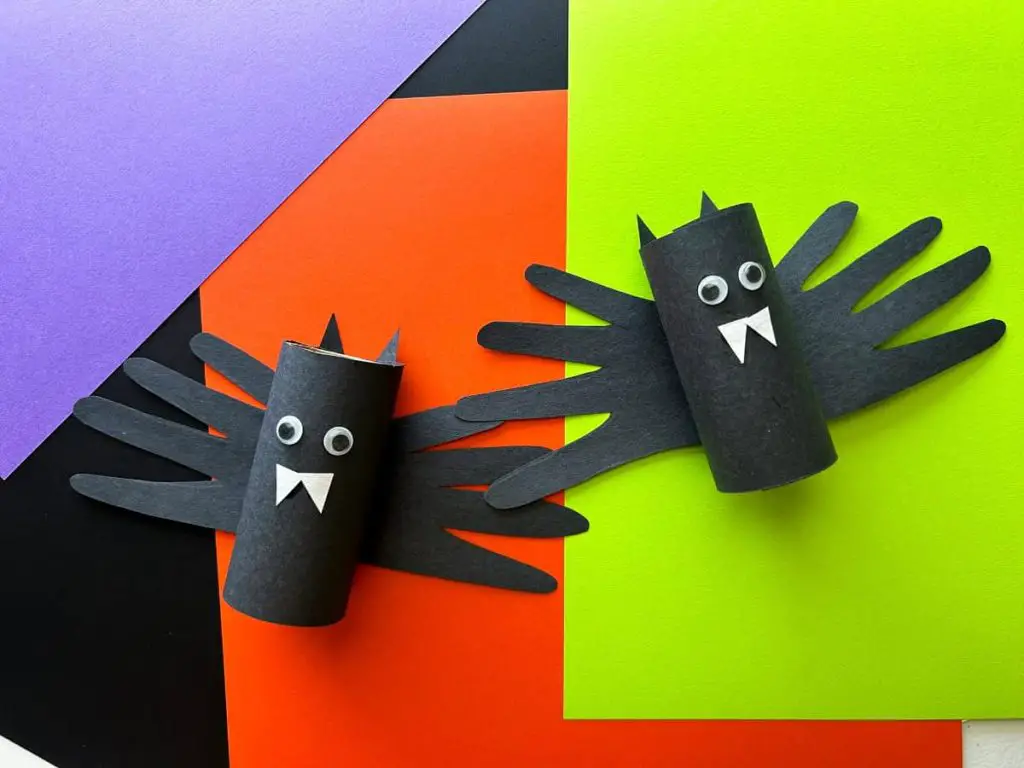
7. Handprint Bat Craft with Toilet Paper Rolls
This bat craft is simple, requires minimal materials, and can be done in an afternoon. Plus, it’s a great way to recycle those empty toilet paper rolls lying around the house.
Kids will love how involved they are in this activity. For a step by step tutorial visit ‘The Mindful Toddler’.
8. Party hats
Party hats might be the easiest thing to make, yet they lend themselves to tonnes of creativity and will help get the spooky party started. You will generally need:
- Pieces of coloured card
- Felt tip pens or markers
- Scissors
- Black elastic
- Sticky tape
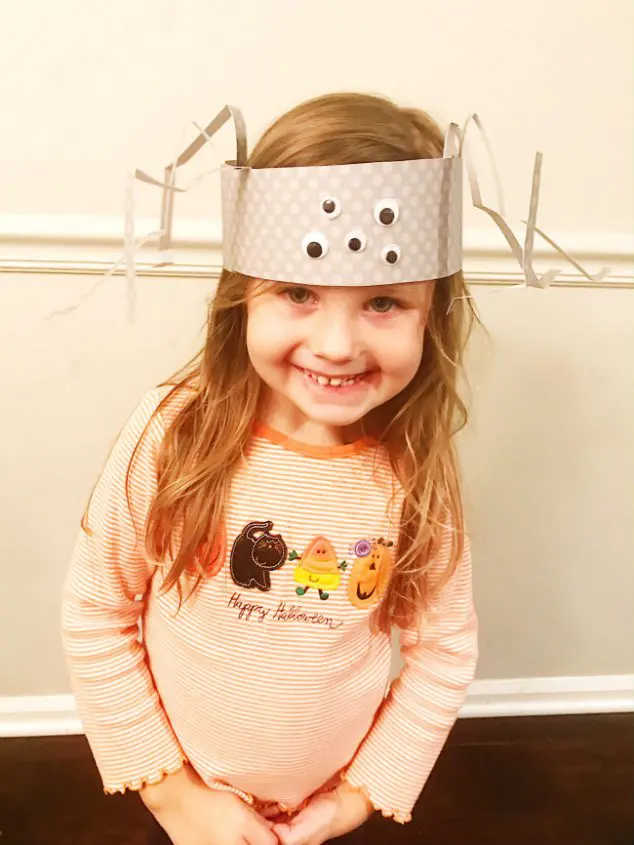
Help your kids to cut out the shape of a cone ready to be decorated. Then use felt tip pens to create spooky designs such as haunting characters or creepy crawlies. When your kids have finished decorating the card, secure the cone shape using sticky tape, and add black elastic to complete the hat.
How about these adorable silly spider hats for young preschool kids? For all the details visit the ‘Family Focus Blog‘.
9. Spooky artwork
There are no rules when it comes to creating Halloween artwork. You could paint a spooky scene complete with ghosts and a haunted house or invent your very own creepy characters. Trick or treat signs are a great option too. You can also simply provide your kids with lots of materials and let their imagination run wild! It’s up to you what you use, but a few ideas include:
- A4 or A3 pieces of paper or card
- Pens, pencils and markers
- Acrylic or watercolour paint
- Stickers, stamps or stencils
- Crayons or chalks
Once your kids have finished creating their masterpieces, you can either hang them up on the fridge, frame them as seasonal decorations, or use the back of the paper to create unique Halloween party invites – you decide!
For more tips on creating artwork in a flash, check out this easy guide to making abstract art – follow the instructions but go for designs that either lean into Halloween or autumn, using vibrant orange paints.
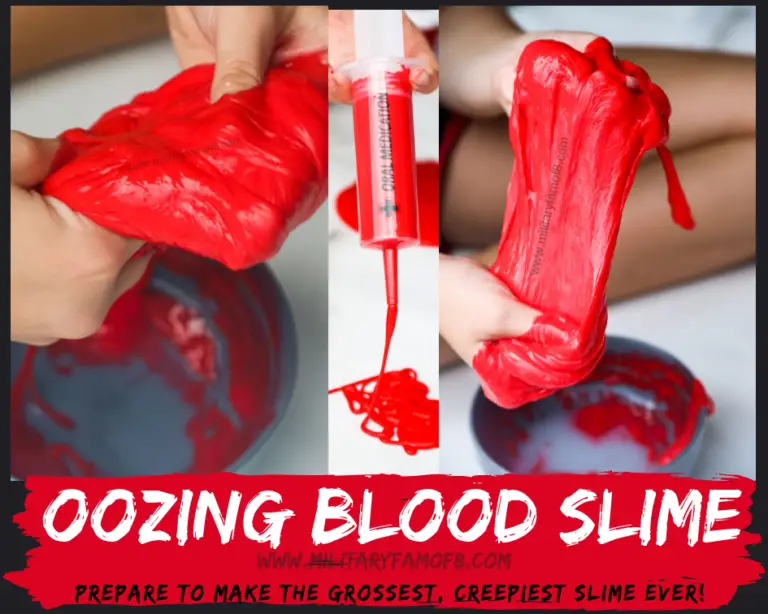
10. Oozing Blood Slime
I know, I know! It sounds revolting but then that is why kids love it! Older kids including teenagers will love this. It is an easy recipe and requires no borax!
All the details including the recipe are available at ‘Adventures of a Military Family of 8′.
11. Salt dough
Salt dough is a fantastic alternative to clay – it’s less messy, easy to use and can be made using just a few household ingredients. The following recipe provides one ball which should be enough for each child but make as much as you like. You will need:
- 1 cup of plain flour
- Half a cup of water
- Half a cup of table salt
- Paint
Before you make your dough, pop the oven on to preheat at its lowest setting, and line a large, shallow tray with baking paper. Mix the flour and salt, then add in the water until the dough comes together as a ball.
Once the dough is ready, you can begin making your decorations. Create shapes either by hand or using Halloween cookie cutters and pop them in the oven once they’re ready. Bake them until solid, it depends on your oven, but at the lowest heat setting, it will take around three hours. Once they are cooled down, it’s time to get painting!
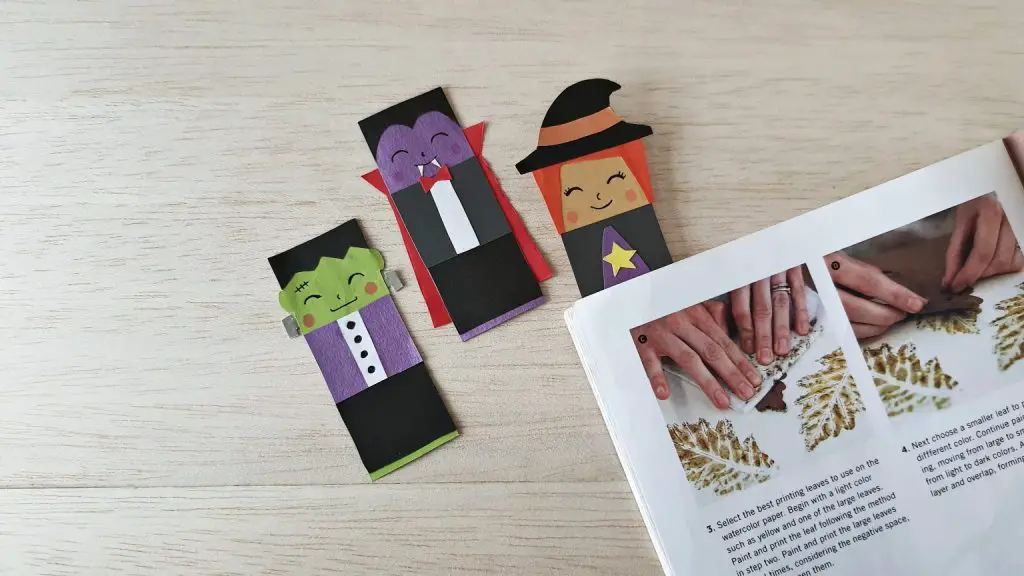
12: Halloween Paper Bookmarks
Do you have a book lover or are you trying to cultivate one? Well, how about making these fabulous Halloween bookmarks to get them in the Halloween mood while encouraging their reading?
Easy to make with supplies you probably already have, these are a surefire winner. Full step by step instructions at ‘Creative Cynchronicity’.
13. Pipe cleaner spiders
Pipe cleaner spiders are so easy and satisfying to make using bendy, fuzzy pipe cleaners, and they are a perfect eerie decoration! All you will need is:
- Black pipe cleaners
- Googly eyes (optional)
- Clear string (optional)
Firstly, use one pipe cleaner to form the spider’s body by bending it into a little black ball. Then use 8 other pipe cleaners to create the legs by securely twisting them into the body. Add a few googly eyes to finish, and if you fancy suspending them from the ceiling, you can also tie some clear string to the centre of the body.
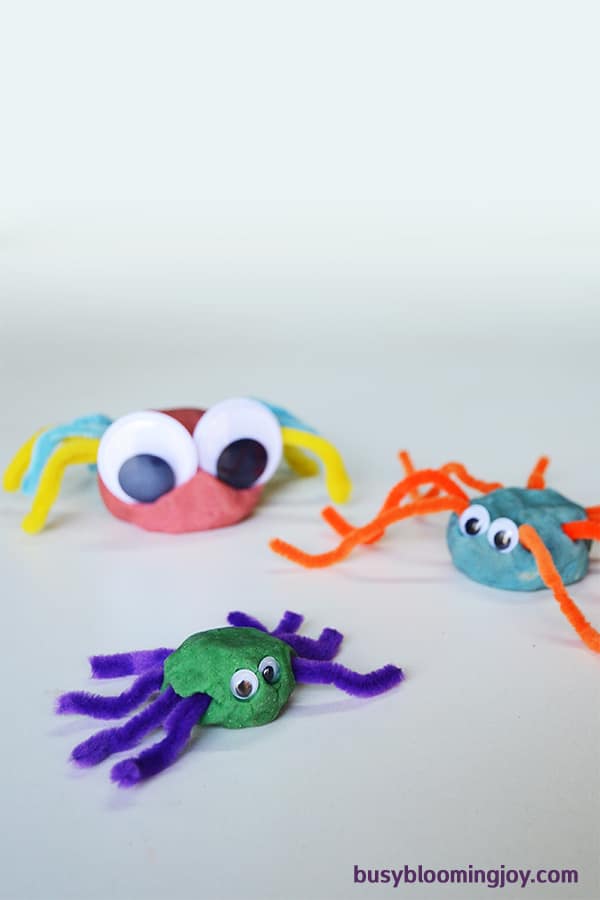
If you have pre-schoolers why not try these alternative spiders that help develop their fine motor skills and that they will love to create. All the details are over at ‘Busy Blooming Joy‘.
14. Halloween crackers
While Christmas crackers are the norm, Halloween crackers are a perfect party gift and can also be a fun addition to a cosy night watching scary films. You can decorate them however you want and use whichever types of sweets and chocolate your children love. If you’d rather avoid sugar highs, you can replace the sweets with small toys instead. You will need:
- Cardboard toilet paper tubes
- Tissue or craft paper
- String or pipe cleaners
- Sweets or small toys
- Marker pens or stickers
Start by placing the toilet paper tube on a sheet of tissue paper and roll it around until it’s completely covered, then secure with some tape. Close one end by twisting the tissue paper, then carefully fill the centre through the other open end with a selection of sweet treats or small toys. Once you’ve filled the cracker, twist and close the open end, then secure both sides using string or pipe cleaners.
Once your crackers are ready, your little ones can create spooky designs to decorate them. You could make little patterns by drawing on spiders with a marker pen or use Halloween stickers to make them extra jazzy.
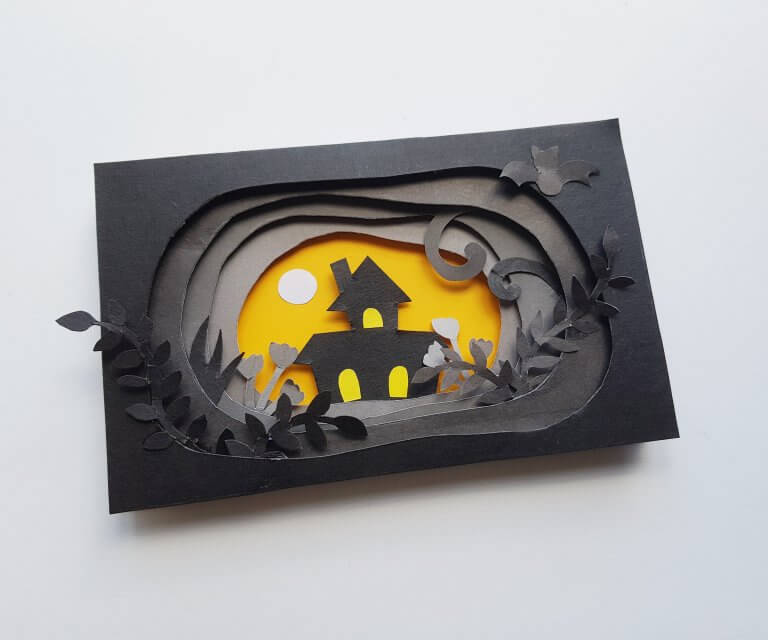
15. 3D Halloween Papercraft
I absolutely love this activity and can imagine adults making these as well as kids. They are incredibly educational too and when you visit the tutorial you will learn all about how to share the learning (if you want to).
As it is a papercraft it is also inexpensive and easy to do in groups. Full instructions and templates at ‘Little bins for little hands’.
16. Spooky Ghost Lights
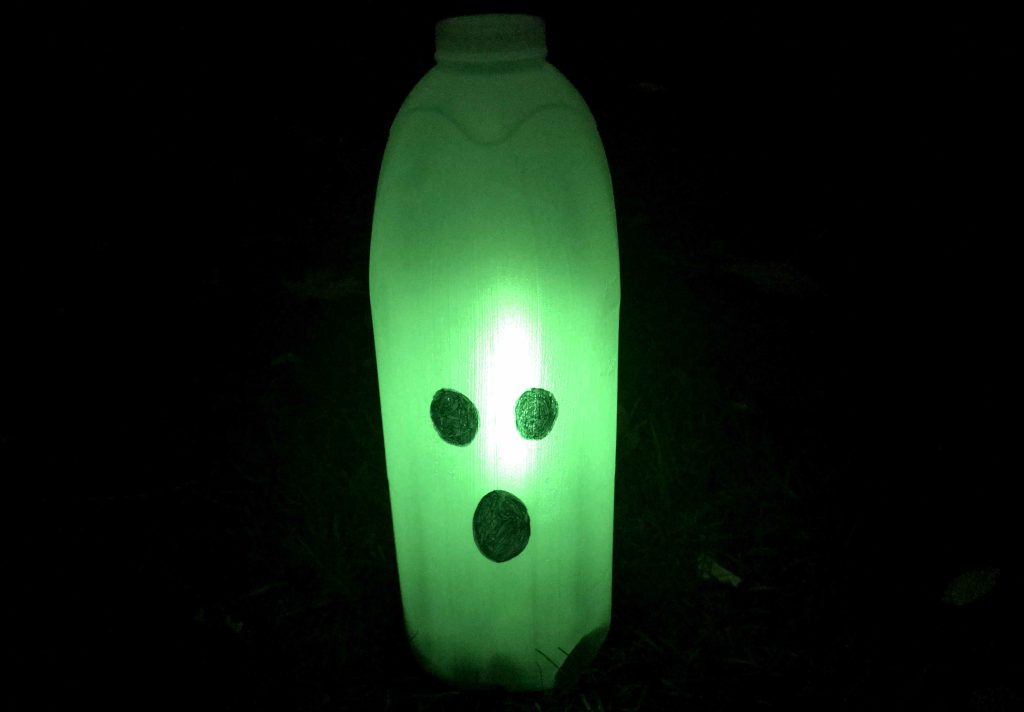
These spooky lights are so easy to make. Simply wash out your milk carton (any size) and draw a face on it with permanent marker pen. Then add some pebbles into the carton to hold it down in case it is windy on 31st October. Add either glow sticks or battery powered lights and away you go.
Super quick and easy and great for kids and adults to make together.
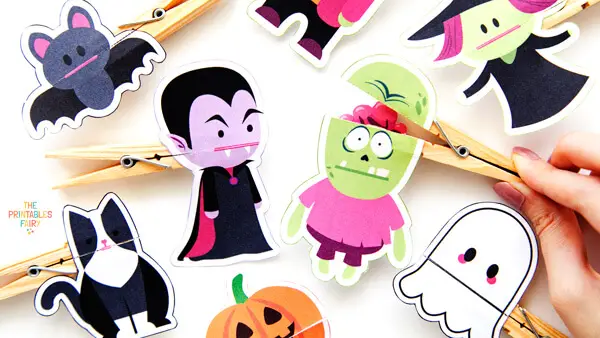
17. Halloween Clothespin Puppets
These are simply adorable and there is such a variety that there is something for every child! There are 8 different puppet designs included in this set: a vampire, a ghost, a witch, a pumpkin, a bat, a zombie, a cat, and Frankenstein. You can pick the one you like the most, or make them all!
Plus, all of the designs come in both full-color and black & white. So you can colour them too if you want to. All the details and printable templates are at ‘The Printables Fairy’.
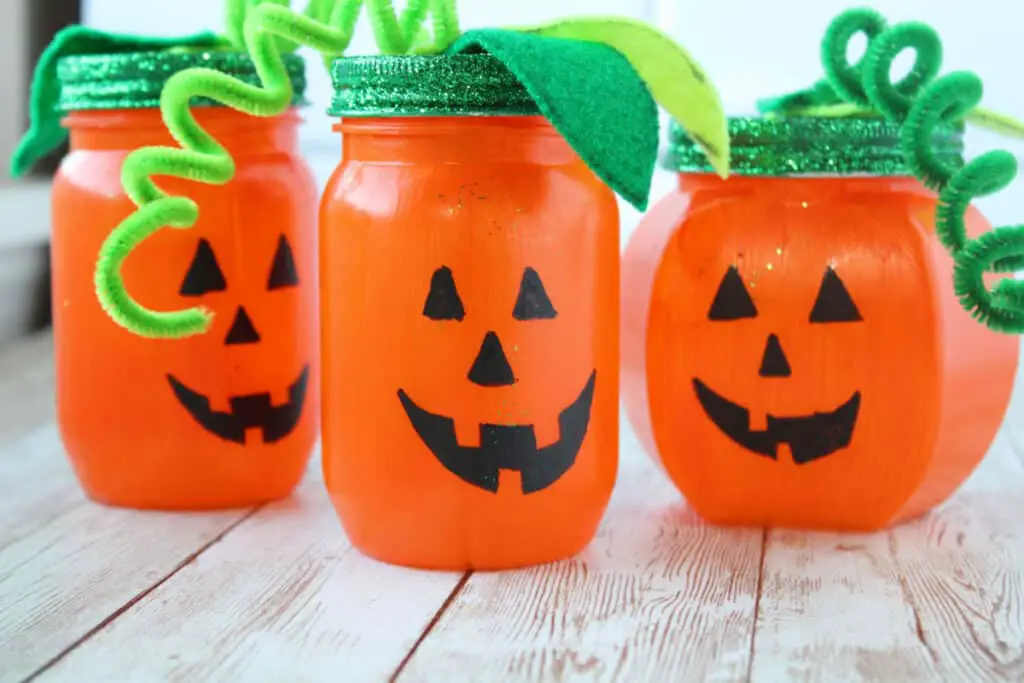
18. Easy Painted Pumpkin Mason Jar
These make fabulous Halloween decor and are great fun to make with kids. I suggest older kids rather than preschoolers. You could use them with lights inside or fill them with goodies for party guests.
You could use any jars so great for using up old jars you have been keeping until you find the right craft! All the details and step by step instructions are available at ‘The Reid Homestead’.
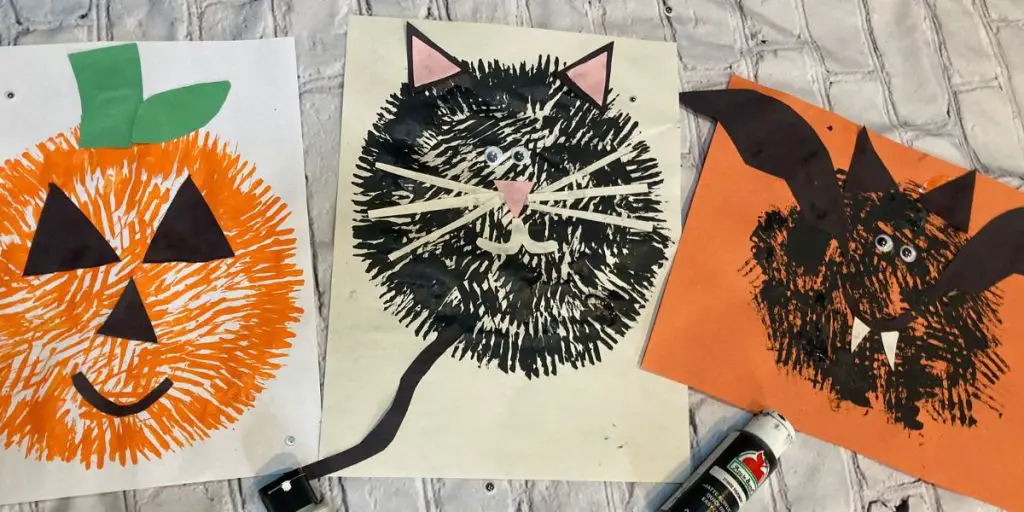
19. 3 Cute Fork Painted Halloween Crafts
These three cute fork painted Halloween crafts use a fork, construction paper, and washable paints to make a black cat, jack-o-lantern, and bat crafts. These are so much fun for kids to make and you don’t need loads of supplies.
All the details and step by step instructions for each design are available at ‘Mama of Minis‘.
So…
Now you have loads of fun, easy Halloween craft ideas for kids to help keep you and the kids entertained this Halloween – question is, which one will you try first?
Let us all know in the comments below!
If you are looking for an adult craft project then check out this Halloween needle felting kit available on Amazon.
Remember to pin this to your Halloween board on Pinterest so that you can find it next year too!
