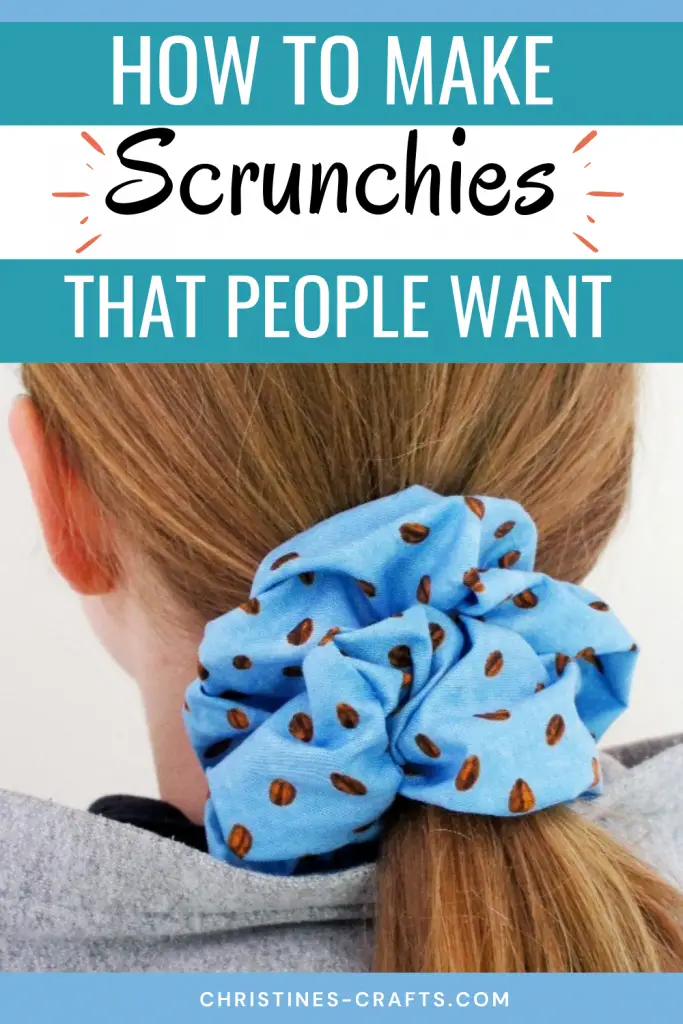
How to Sew Hair Scrunchies – Great DIY Scrap Busting Project
As an Amazon Associate I earn from qualifying purchases
Hair scrunchies have been around for a long time but they are now making a comeback. If you had long hair in the 80s or 90s then you will probably have worn a scrunchie. I wore loads of them! They are fabulously stylish and so easy to make! They can be sewn by hand or on a machine so everyone can make them.
There are so many good reasons why scrunchies should be popular and here are just a few:
- Quick and easy to make yourself
- Very inexpensive
- Great for your hair
- Easily made to match any outfit
- Can be worn on the wrist when not in your hair
- Stylish
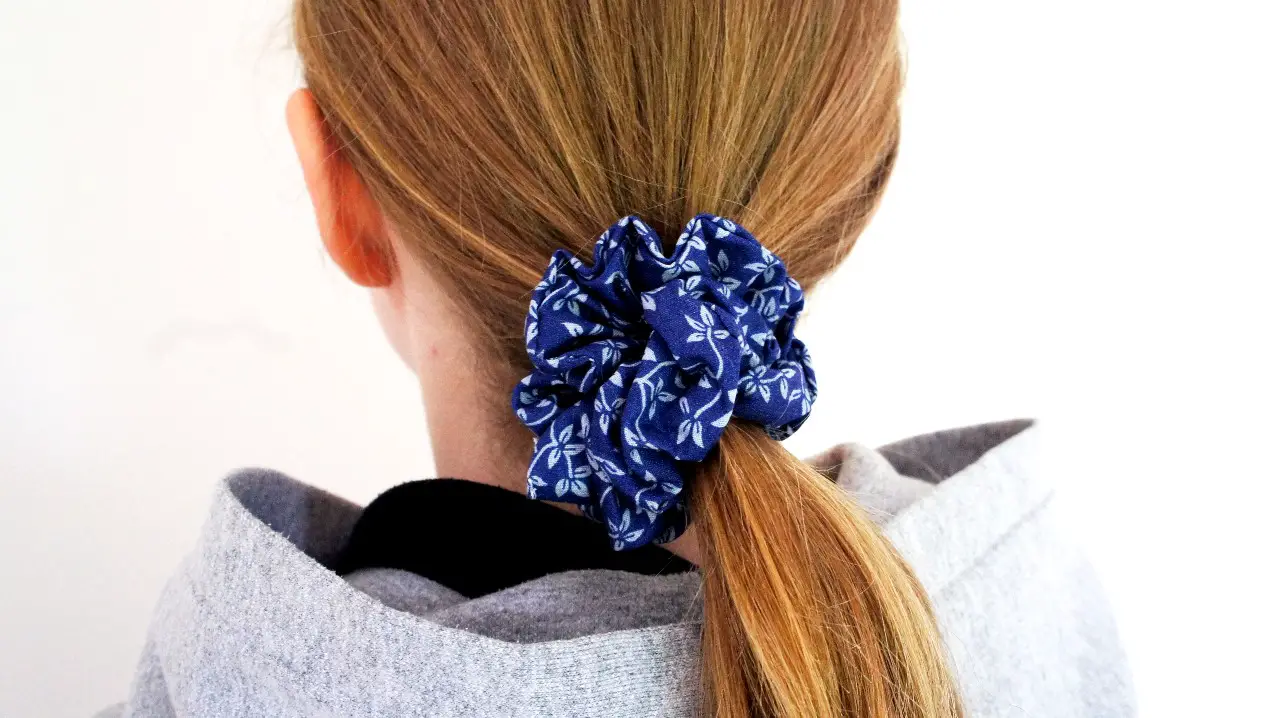
So in this scrunchie sewing tutorial I am going to show you how to make your own stylish scrunchies and get a very professional result. These scrunchies will not fall apart and you will be able to wear them for years. So let’s get started!
What fabric can you use for scrunchies?
Basically, you can use any fabric you like however there are a few bits of advice I would offer. Try to avoid using fabric that is very thick or stiff. If you have an offcut from some clothing you have made then go for it regardless of what it is as it is worth a try.
Cotton works really well for scrunchies as it is not too thick or stiff. It is also very easy to sew. It is what I have used here.
Velvet is an excellent choice for a luxurious finish and is not too difficult to work with. Velvet scrunchies are great for co-ordinating with evening wear
Silky fabrics make great scrunchies but they can be tricky to sew with as they are slippery so probably not a great choice for a beginner.
In summary use what you have that you like but just be aware that some fabrics are easier to use than others.
This page contains affiliate links meaning I earn a little commission if you use those links at no cost to you. I only recommend brands I use and trust.
You will need:
Piece of fabric 22″ by 6″
Piece of 0.5″ wide elastic
Needle & thread or sewing machine


This will make you a scrunchie like mine but I encourage you to play around with the sizes and I will talk about this more at the end of the tutorial.
Video Tutorial
This video is also available on my YouTube channel.
Form a Fabric Tube
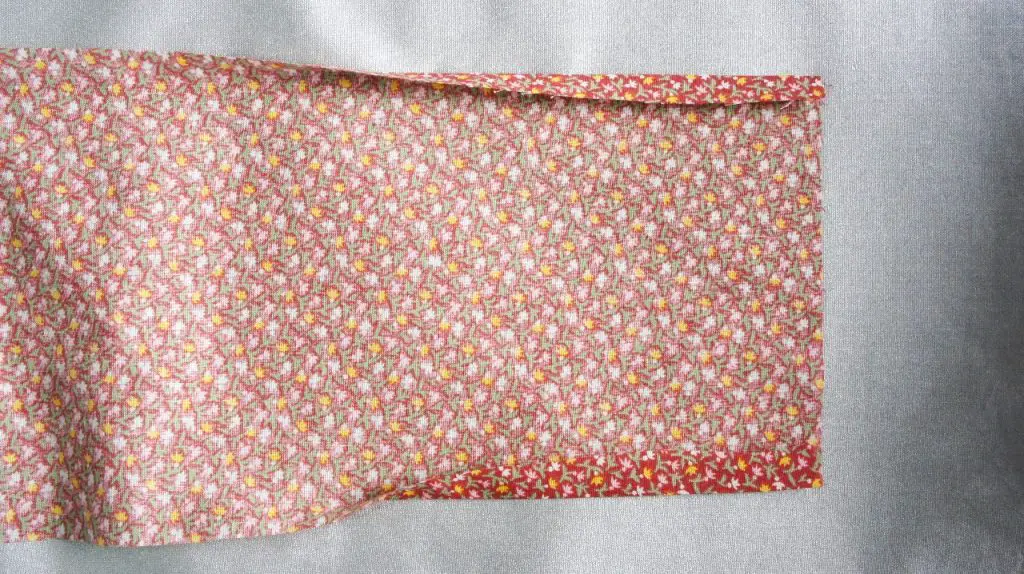
Take your piece of fabric and press a seam allowance of approximately 0.5″ for 2″ along each end of the long sides of the fabric. These are the sections that you are not going to sew and pressing them now will allow you to get an excellent finish later.

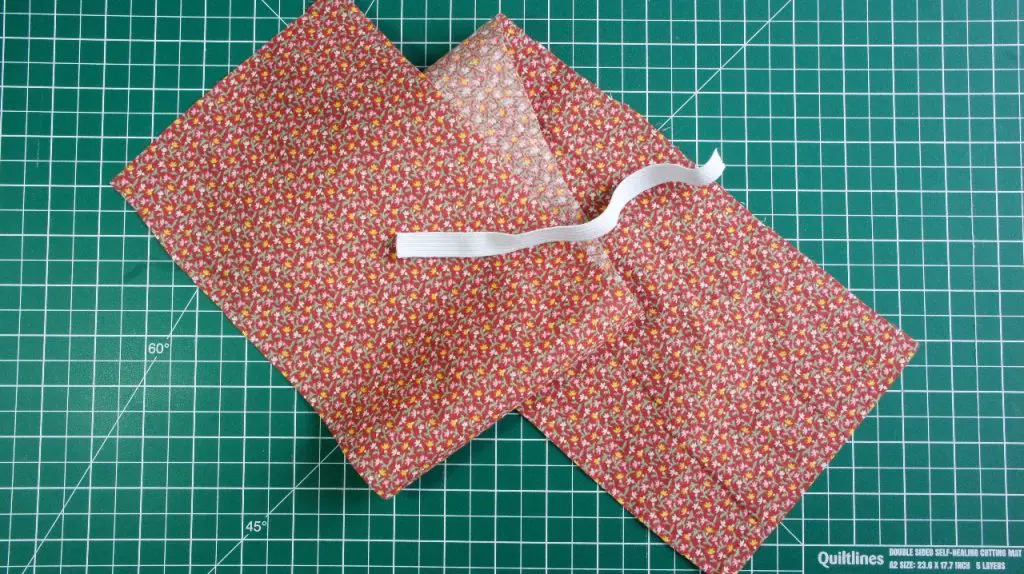
Turn over the fabric so that the right side is facing you. Fold your fabric along it’s length and pin it together. The rright sides of the fabric are facing each other. Use a 0.5″ seam allowance again. Leave the end 2 inches at either end unpinned as you are not going to sew that last 2″ at either end. You will need this hole to feed your elastic through later.

Sew along the seam that you have just pinned. REMEMBER to leave 2″ at either end not sewn!
Turn the tube of fabric that you have made the right way out. It is easier if you attach a safety pin to one end and feed that through the tube. Alternatively you can buy a device to help turn your tube like this one.
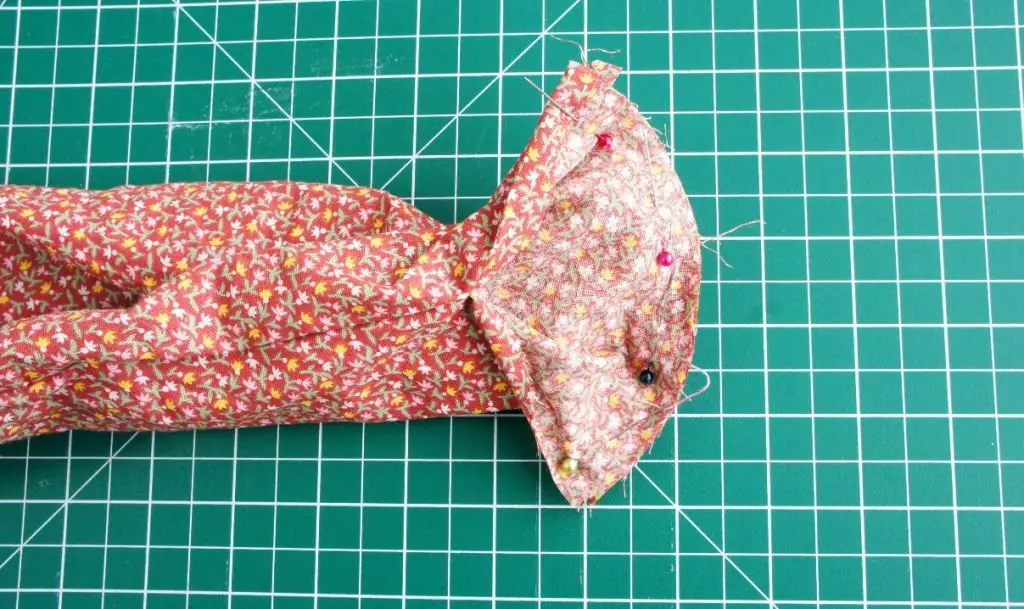
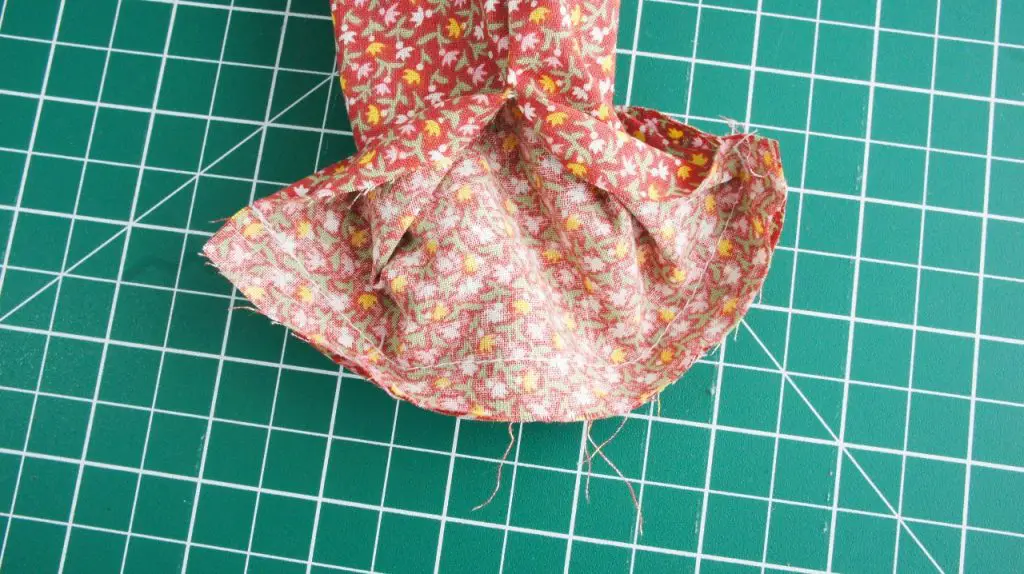
Once you have turned out your tube you need to sew the two ends together. Take the two ends of the tube and place them together right sides facing. Pin and sew them together. Make sure that you have not twisted your tube before you pin and sew them together. You will now form a ring of fabric.
Add the Elastic to Form your Scrunchie
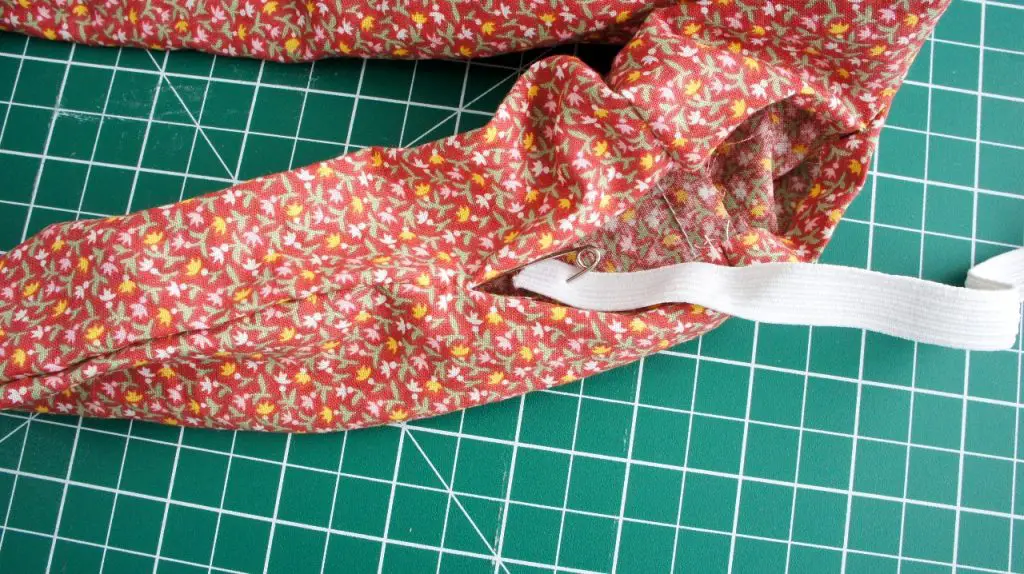
You should now have a tube of fabric that forms a ring with a hole in the long seam. You need to take your elastic and feed it through the tube. The easiest way is to attach a safety pin to one end and feed that through. Make sure that you keep hold of the other end of the elastic!
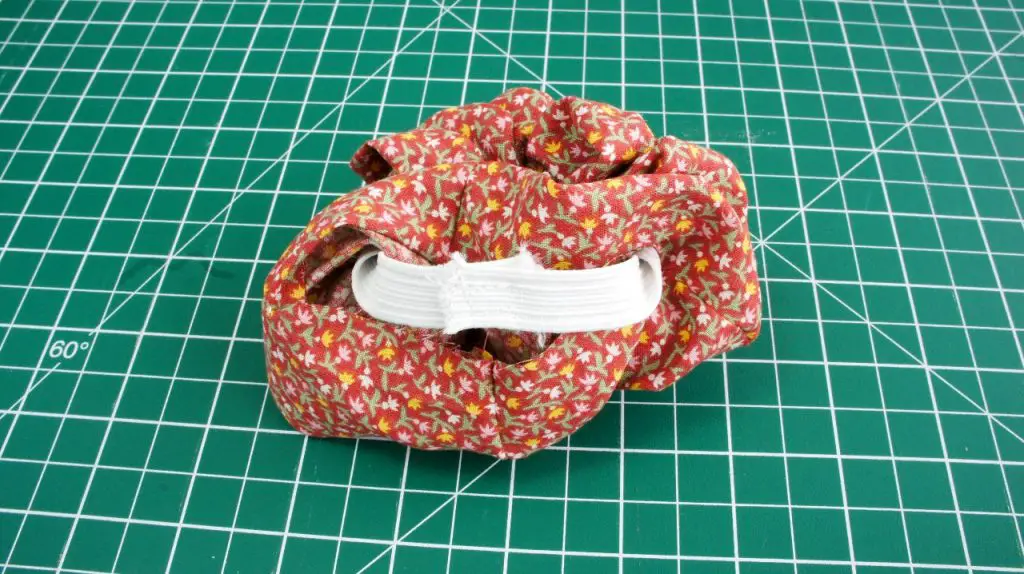
Form a ring of elastic by overlapping the two ends by approximately 0.5″. Pin and sew these in place. I always sew a box around the area where the two ends overlap so that they are firmly held. You do not want your scrunchie losing it’s elasticity.
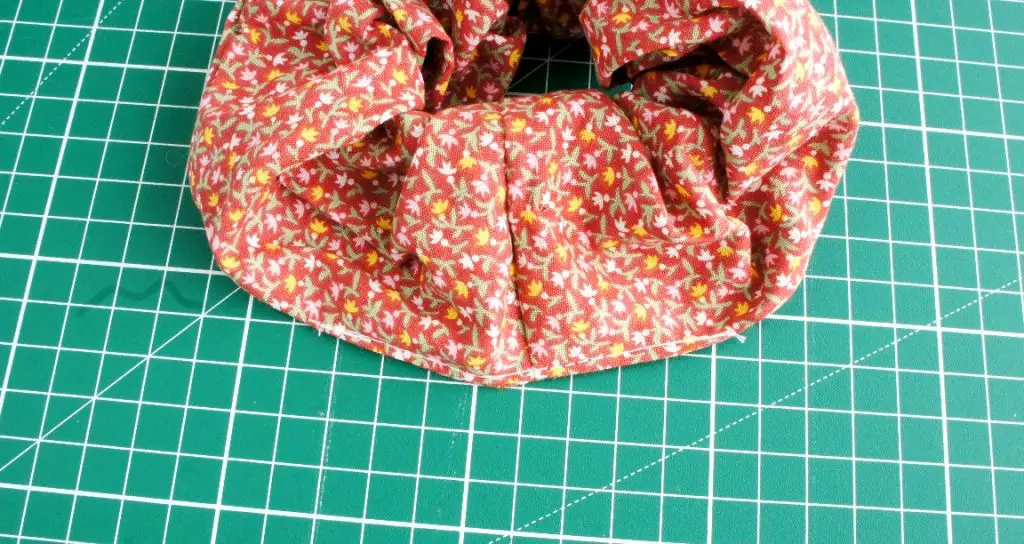
Now all that remains is to sew up the hole on the seam that you left. The pressing that you did right at the start of this project will now be really useful. The fabric will naturally fold along the correct seam allowance as you pressed it. Pin the two edges together with all raw edges enclosed and then sew together. You can do this on the machine as I have done here which is really quick. Or you can get a neater finish using ladder (or slip) stitch to sew the two edges together invisibly.
Onwards with Scrunchies
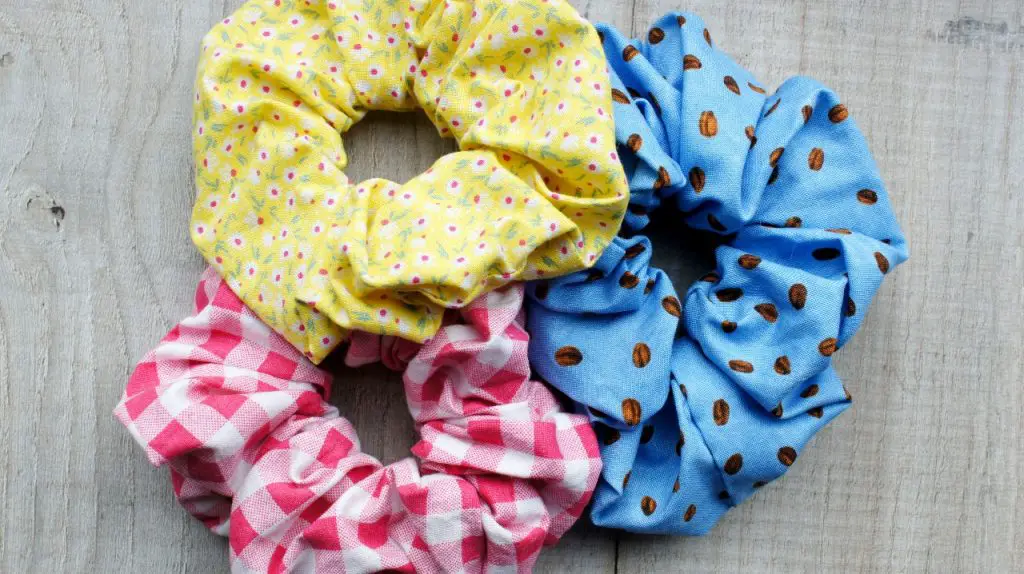
Congratulations you have made your first scrunchie! Now you have seen how easy it is to get a very professional finish you can make loads of them. Match your outfits, make them for friends or even make them to sell.
As I said earlier do not feel restricted by the measurements I have given you. If you want a smaller scrunchie then use shorter elastic. A good measure for elastic is to measure around your wrist and then add an inch. This should mean that it fits nicely on your wrist. You can make your scrunchie fuller by using a longer piece of fabric or thicker by using a wider piece of fabric. Equally if you want it to look smaller when in your hair then use a narrower piece of fabric eg 4″ instead of 6″.
Good luck with your scrunchie production and if you like sewing then you will love these projects:
- Scrap Busting Fabric Coasters
- Cutest Makeup Bag
- How to Make Fabric Covered Notebooks
- How to Make a Fabric Corner Bookmark
- How to Make the Simplest Skirt
- Sew a Simple yet Stylish Infinity Scarf
- Cute Hanging Cone Baskets
If you want even more inspiration then check out my Pinterest account at Christine’s Crafts and remember to pin this tutorial for later.