The Easiest Cheapest Draught Excluder / Breeze Blocker to make today – Save Money & Be Warm
As an Amazon Associate I earn from qualifying purchases
Times are hard for many people at the moment. There is less money to go around and energy bills are rising. How about making yourself a draught excluder today from materials you have in your home? You can make this completely free or for very little. Whether you call it a draught excluder, draft excluder or breeze blocker it will help keep you warm this winter (and many more).
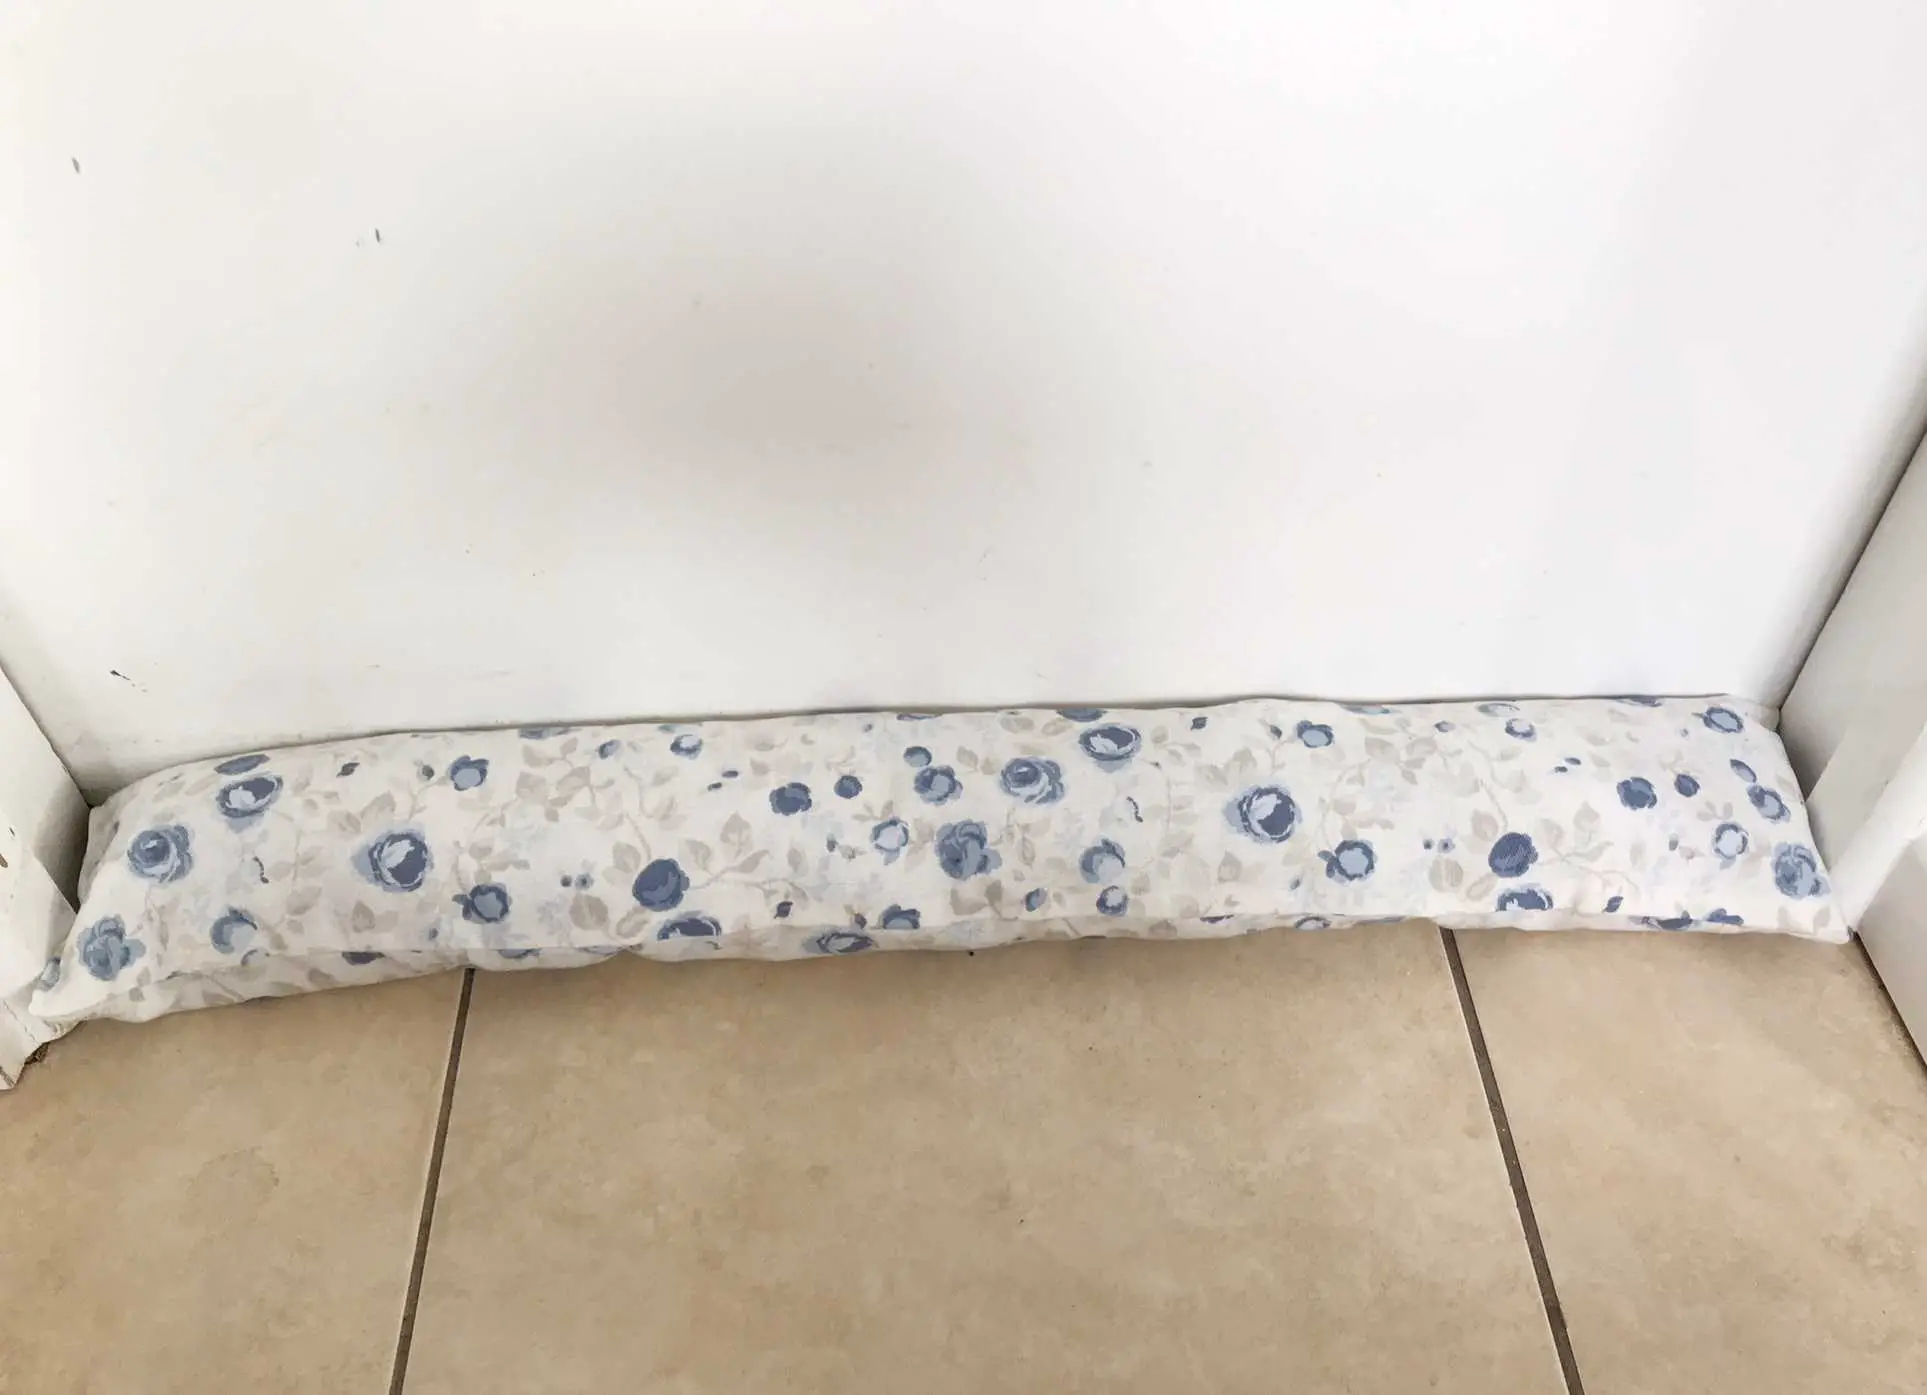
You can sew your draught excluder or use glue if you prefer – simply get one made and stop those draughts from stealing all your heat. To identify where you need one simply walk around and place your fingers near the bottom of each door and see if you can feel a draught. If so, particularly if it is an outside door, you need a draught excluder. Mine is going against the door between my garage and my utility room.
What to make a draught excluder out of:
You will need some fabric. To keep costs down you can use old jeans or indeed any old clothes. Just consider that it might get kicked and dragged about so you may not want a white one or a silk one. Jeans are great because they are sturdy and will withstand being dragged around the floor. Plus, you have a ready made tube!
You can fill your draught excluder with whatever you have to hand. There isn’t really a best material for filling a draught excluder. It simply needs to stop the draught. You can use toy filling / hollowfibre filling but you can also use free fillings. Some ideas for filling are:
- Old clothes cut up or rolled up
- Rice or beans
- Crumpled up paper
- Hollowfibre filling
- Polystyrene beads
You will either need sewing supplies or fabric glue
In this tutorial you will learn how to sew a draught excluder from a rectangle of fabric but I will also show you how to make one from the leg of a pair of jeans at the end too!
If you like to watch a video tutorial then please scroll to the end of the written tutorial and watch the video version.
Prepare your fabric
The first thing you must do is measure the size of the opening that you want to make a draught excluder for. Simply place a tape measure on the floor and measure the width of the opening.
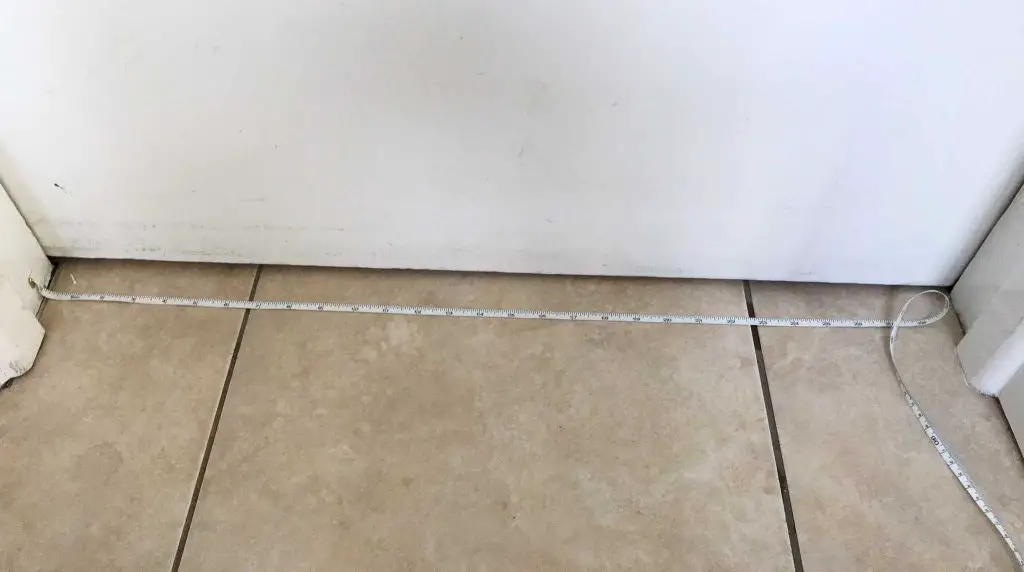
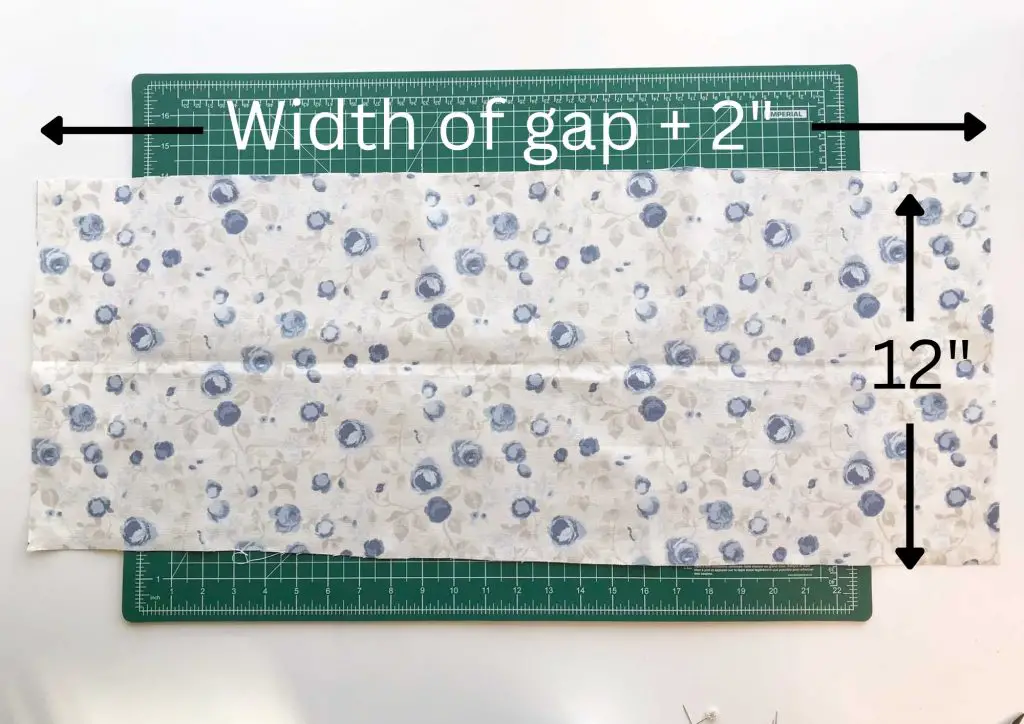
You will need a rectangle of fabric that is as long as your measurement plus at least 2″. In my case the opening is 29″ so I cut my fabric 31″ long. The width is up to you. The wider you cut it the fatter your draught excluder will be. I cut mine 12″ and it makes a draught excluder that is a nice manageable size.
Cut out your fabric. If you do not have a piece big enough consider sewing a few pieces together to make a piece large enough. You could get very creative!
Create your Draft Excluder
Fold your fabric in half lengthwise so it is still the full 31″ long and half as wide with the right sides together. Pin the two edges together. Plus pin one of the short edges together. Now sew along those seams using a 0.5″ seam allowance.
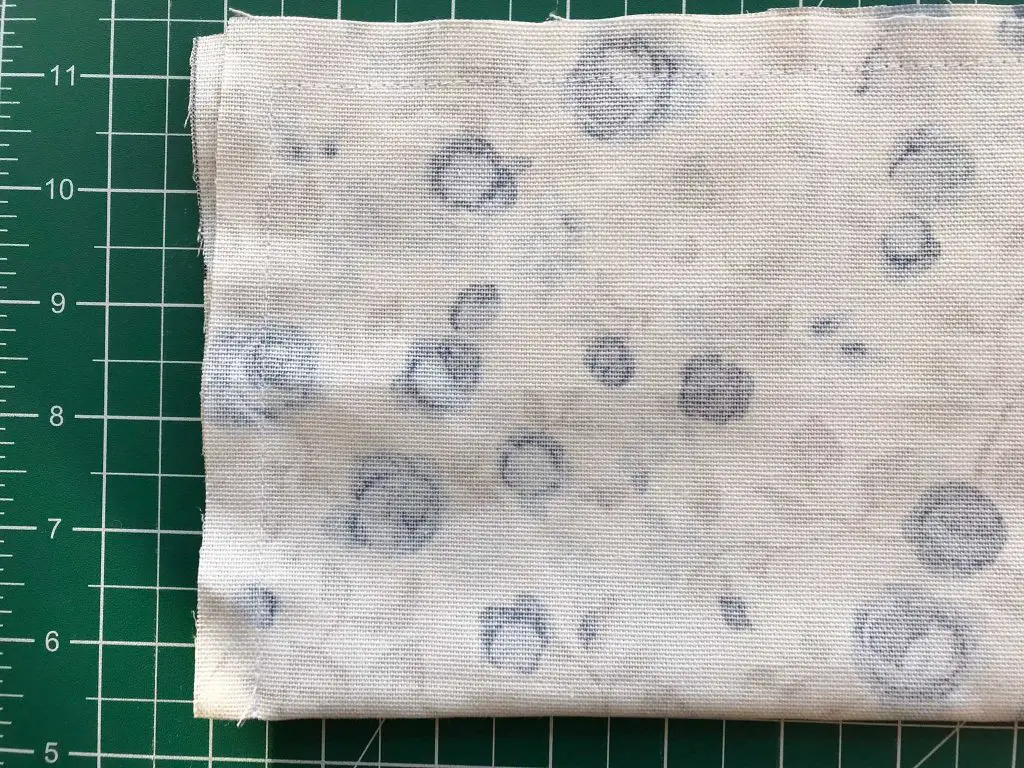
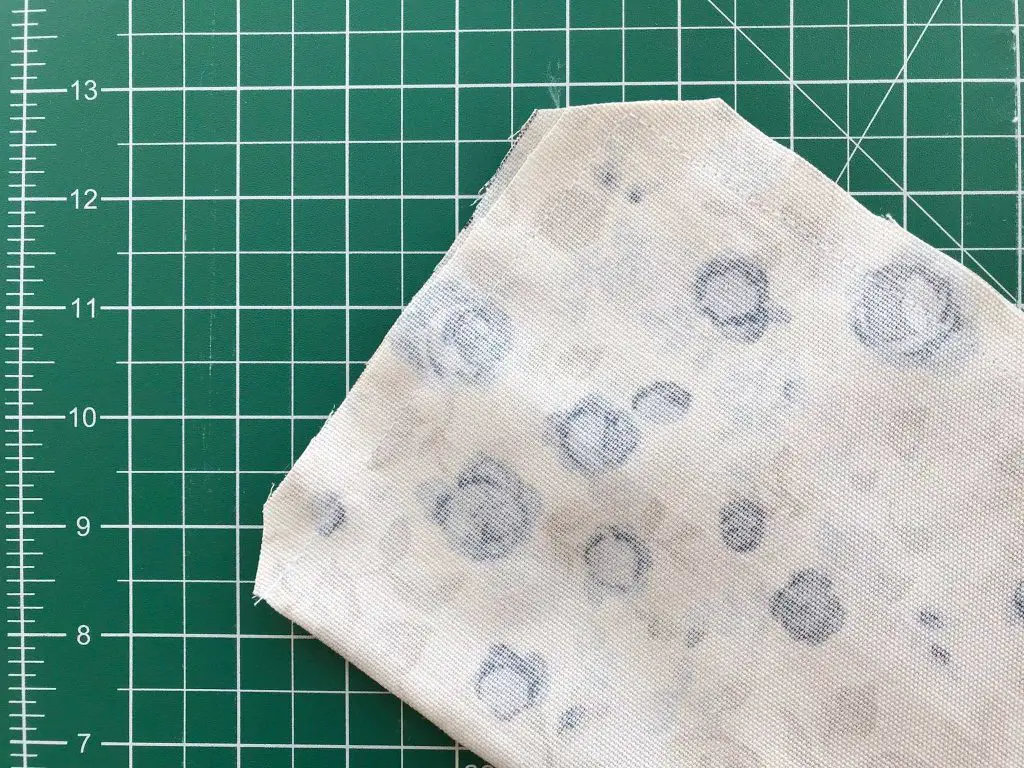
Once you have sewn the two sides you can clip the corners to reduce bulk. This is optional but gives a good finish. Then turn your tube out to the right side.
If you are gluing your draught excluder then press a 0.5″ hem along all 4 sides onto the wrong side of the fabric. Then take your rectangle and fold it in half lengthwise with the wrong sides together. Glue the hems that you made together along the long edge and one short edge. Wait for the glue to dry.
Once you have a tube sealed at one end you need to fill it. I used old t-shirts and cut them up so that they made a nice filling. Do not worry too much about how well you cut them up as you will just get a lumpier or smoother finish. Do what suits you. Equally it is up to you how firm your draught excluder is – make what suits you. All it has to do is block the gap under the door!
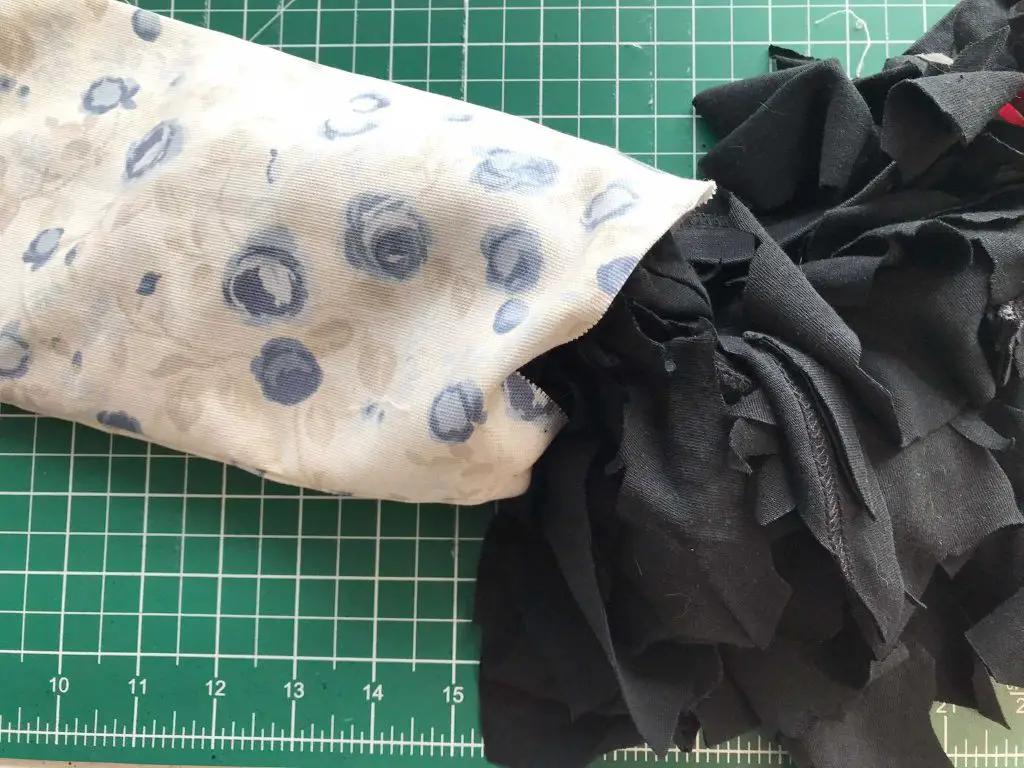
Once you are happy with your filling you need to close up the open end. If you are sewing simply turn a 0.5″ hem in all the way round the top and pin one side to the other. There should now be no raw edges showing. Sew along that seam close to the edge.
If you are gluing your draught excluder then simply apply glue to your 2 remaining hems and press them together. Leave them to dry. You may need to hold them together by applying a weight or clipping the edges together. Just be careful not to glue your weight or clips to the draught excluder! Again, there should be no raw edges showing.
Congratulations you now have a fully functioning draught excluder (or breeze blocker). If you need more than one simply make more and enjoy the lack of draughts in your home this winter.
Draught Excluder Video Tutorial
This video is also available on my YouTube channel.
Draught Excluder from an old Pair of Jeans
If you want to make your life easier and use an old pair of jeans then simply measure the width of your door opening and cut one leg off your jeans that is the width of your door opening plus 2″.
If your leg is not very straight (many are not) you may need to sew along one side to straighten it up (or leave it as it is if you are happy with it).
Then turn it inside out and sew along the unfinished end that you cut. Turn it back out and you have a long thin bag to fill. Stuff your draught excluder with your chosen filling and then sew the other end of the tube closed. You do not need to fold the edges over as they are the finished edges from the bottom of the jeans leg!
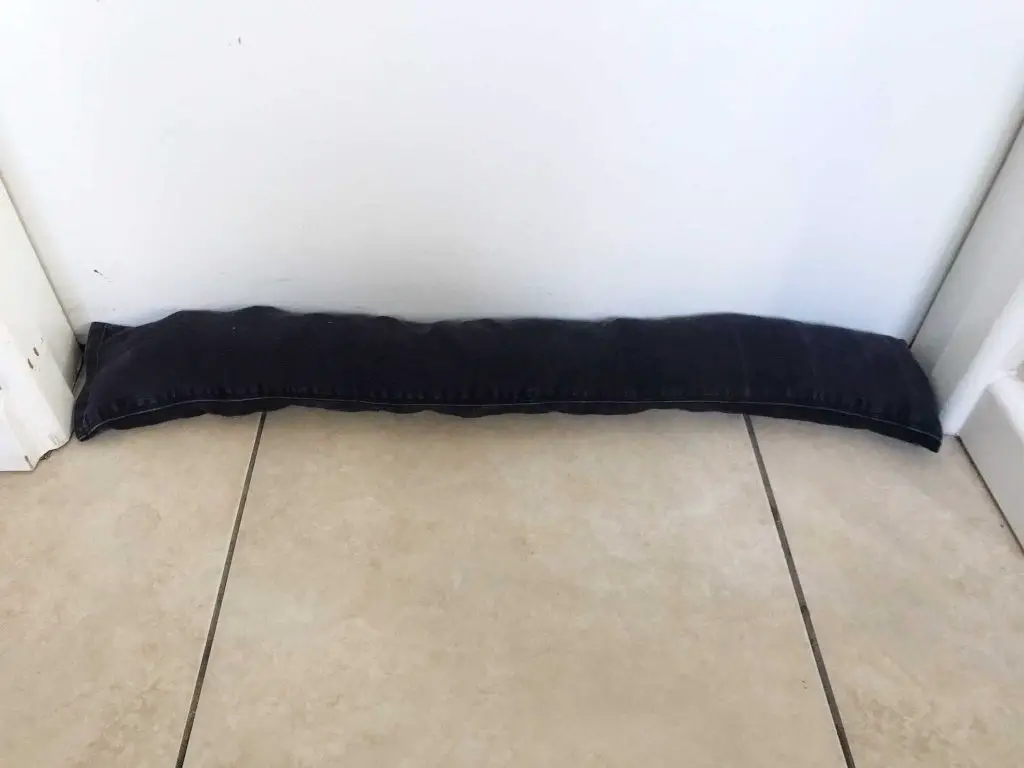
Your draught excluder is finished and it was so quick and easy. I used an old pair of black jeans for a draught excluder that will not show the dirt too much!
And so …
I hope that you have enjoyed making your draught excluder and that you will be much warmer as a result. If you are looking for some more great upcycling ideas then check out:
- Zero Waste Make Up Remover Pads
- Cute Denim Apron from Old Jeans
- Fabric Coasters from Fabric Scraps
- Magazine Pages to Parcel Bows
- Create Yarn out of any Fabric
- Visibly Mend your Clothes
If you are looking for even more inspiration then check out and follow my Pinterest account where I curate many ideas from around the internet.

