How to Make an Easy Origami Butterfly in 3 minutes
As an Amazon Associate I earn from qualifying purchases
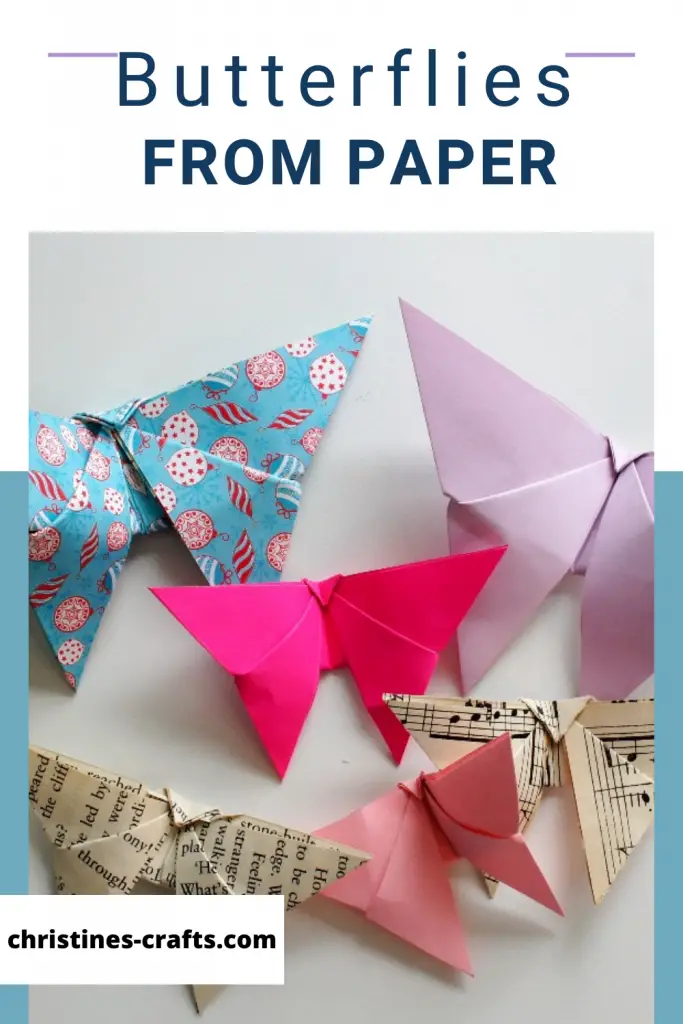
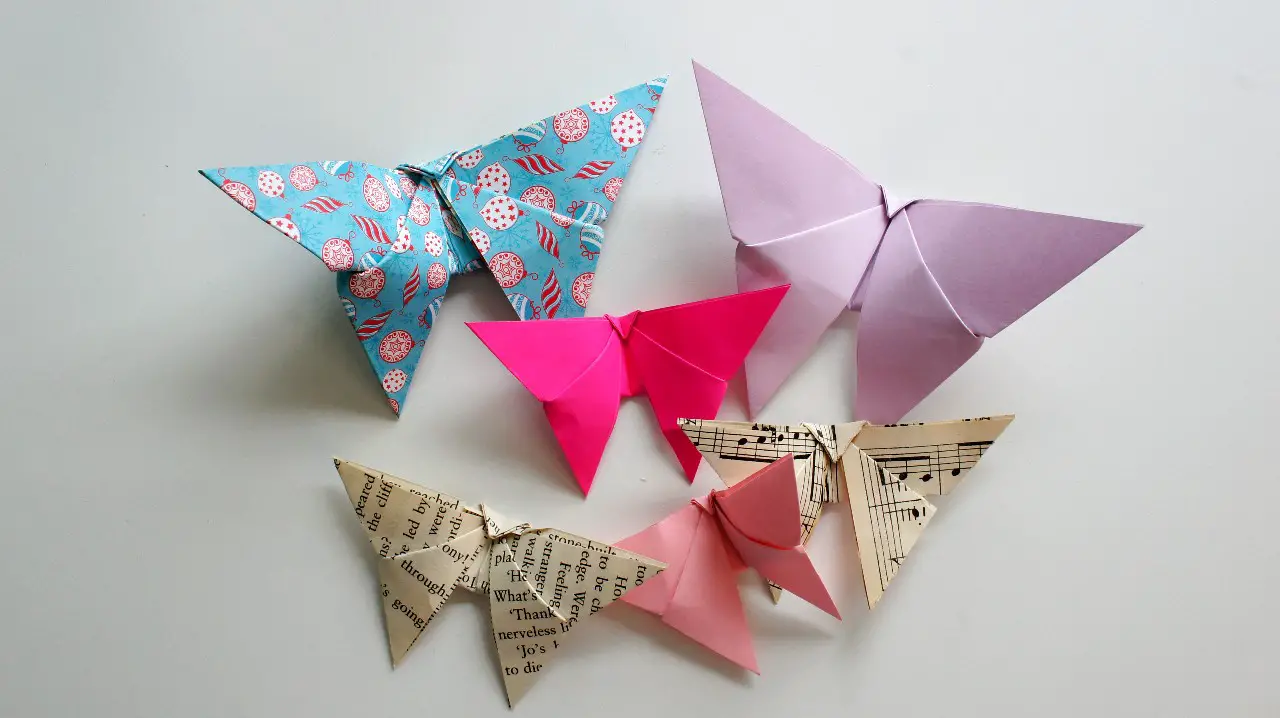
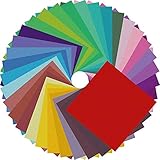
Make your own cute, easy Origami butterfly or how about a whole kaleidoscope of them? Yes, that really is the collective noun for a group of butterflies. If you prefer, you can also call them a swarm, rabble or flutter. Kaleidoscope is definitely my favourite!
They are super quick and easy and you can make them any size you like. If you have ever wondered how to make a paper butterfly then this tutorial is for you. How about hanging them on a garland for a decoration or a mobile in a room? Great for party decorations or just for fun.
You can use any paper and I have used Origami paper, old book pages and scrapbook paper to make them. Simple copier paper will also work just as well.
This page contains affiliate links meaning I earn a small commission if you use those links at no cost to you. I only recommend brands I use and trust.
You will need:
Square of paper – any size you like (6″ by 6″ Origami paper works well)
Thread or similar if you want to hang them up.
General Origami Tips
- Ensure all folds are accurate
- Press all folds firmly
- Running your fingernail along a crease makes it a sharp crease
- Ensure your paper is the same way round as mine at every step
- If you want to learn some basic origami folds take a look at The Beginner’s Guide to Origami
Video Instructions for Origami Butterfly
This video is also available on my YouTube channel.
Initial Origami Folds
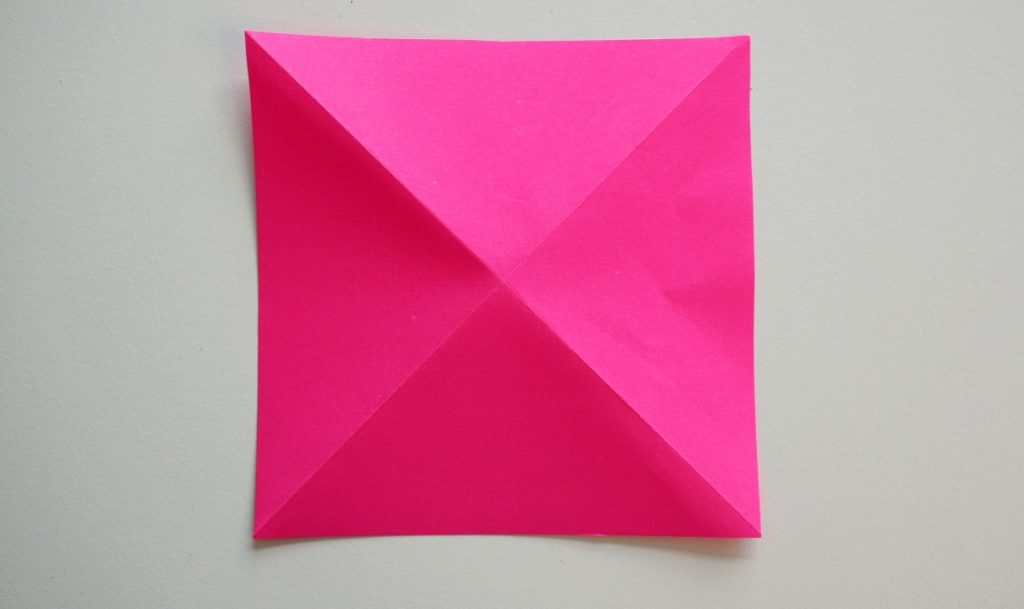
Fold the square of paper in half so that the corners meet up and you form a triangle. Open up the paper and repeat with the other 2 corners. Then open up the square and TURN IT OVER.
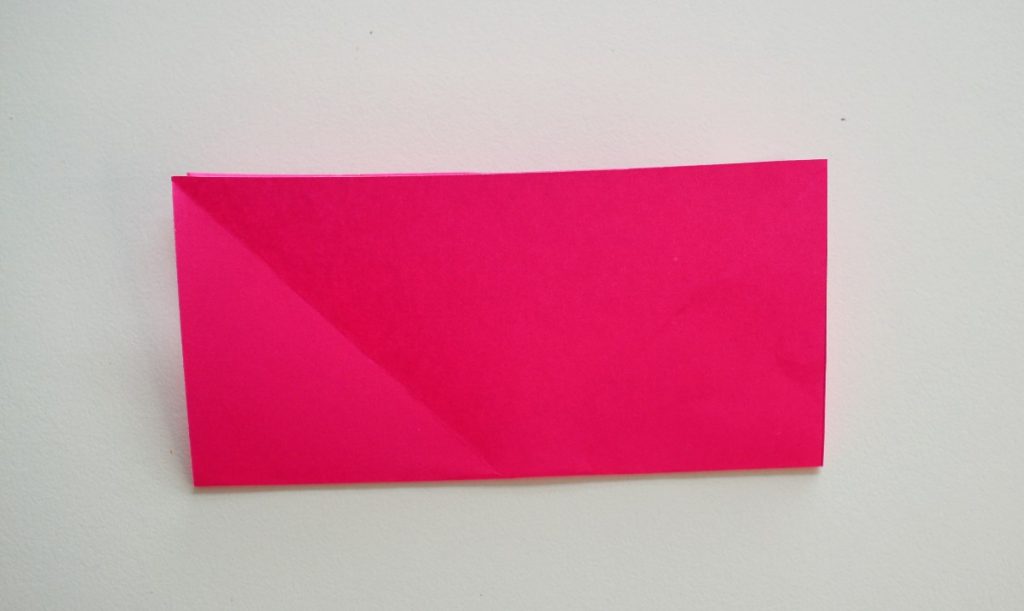
Now fold the square in half again but this time bring 2 opposite sides together so that you form a rectangle.
Open up the square and repeat with the other 2 sides. Your square of paper should look like this.
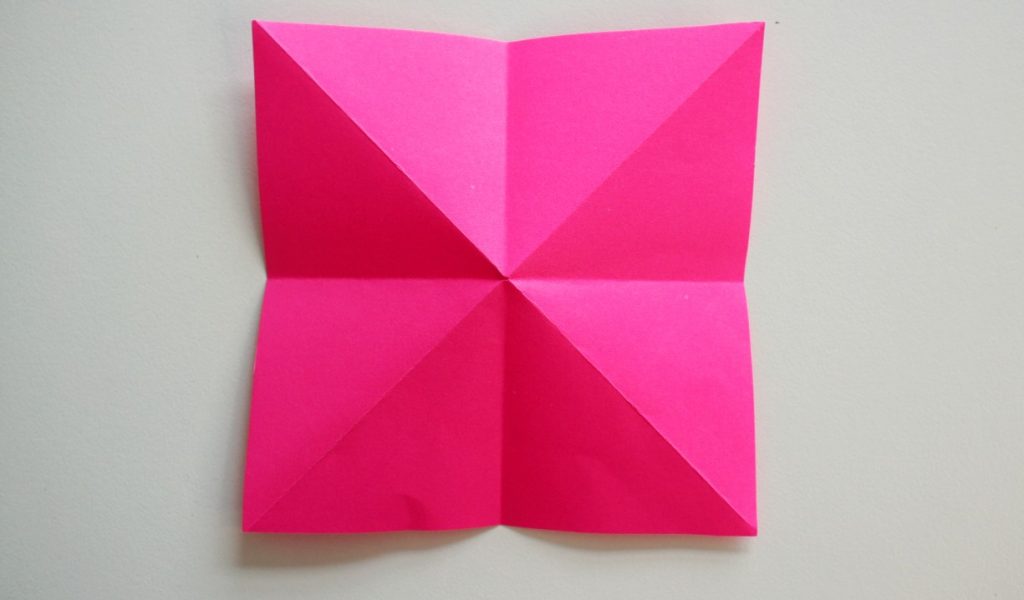
Now use the folds that you have made to fold up the square to form a triangle as shown below. The square should naturally fold up to form this shape because of your folding. If it does not check that you turned your square over between folds as described above.
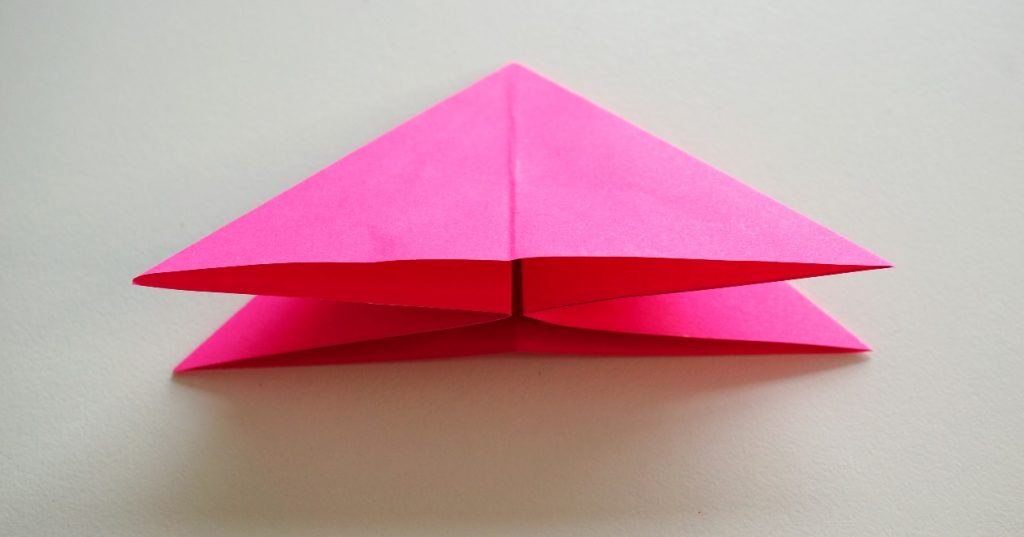
Form your Simple Origami Butterfly
Place your triangle in front of you with the point of your triangle pointing towards you and the open side of the triangle pointing away from you.
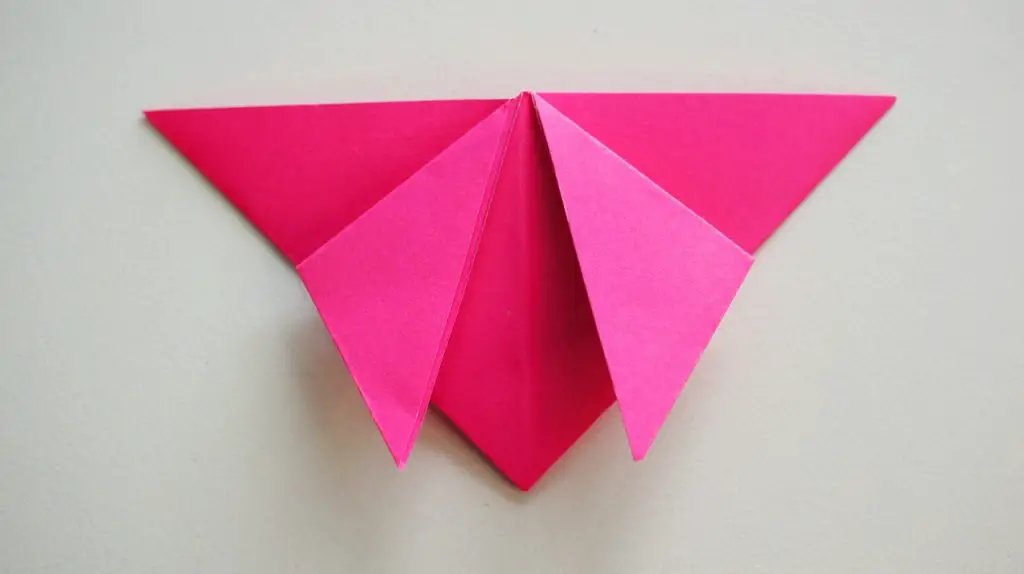
Fold down the front layer on either side so that they lie either side of the point as shown below. They will not fit exactly onto the triangle. They should stick out slightly!
Fold the bottom point back under your paper so that it sticks out above the triangle. You will see that your paper is starting to look like a paper butterfly.
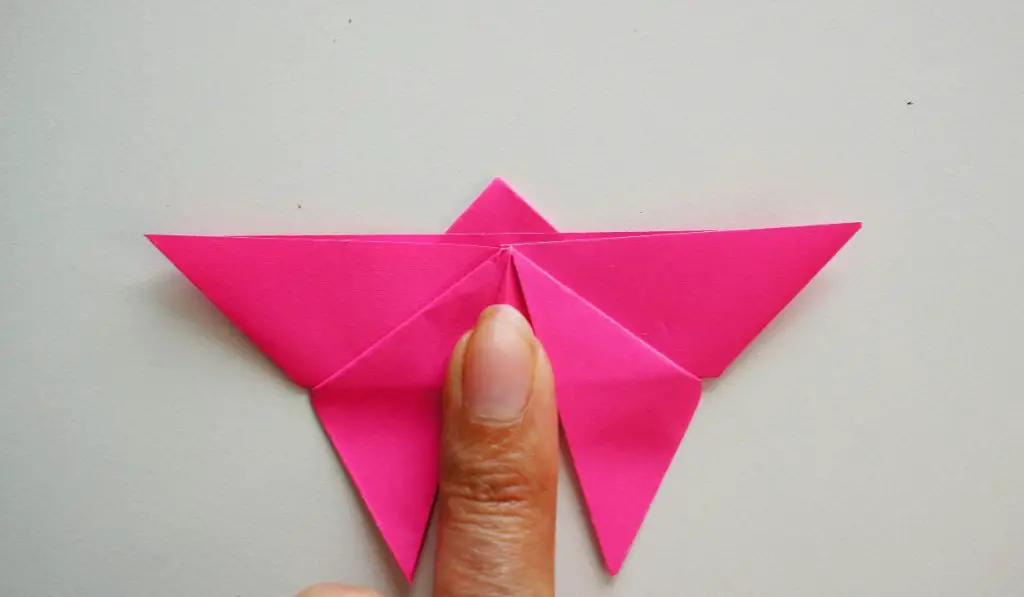
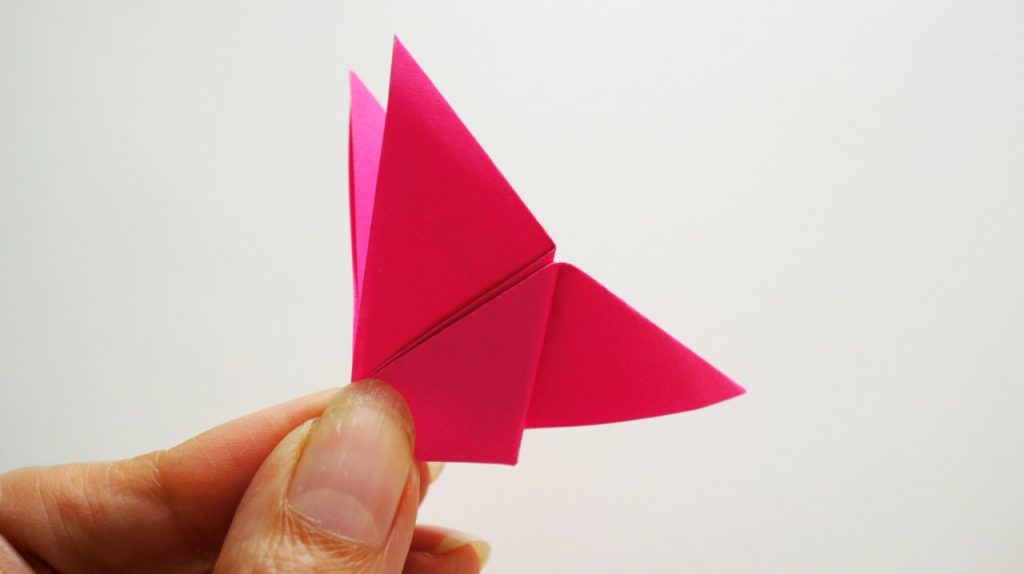
Fold the top point that you have just made over the rest of the paper and make sure it is well creased.
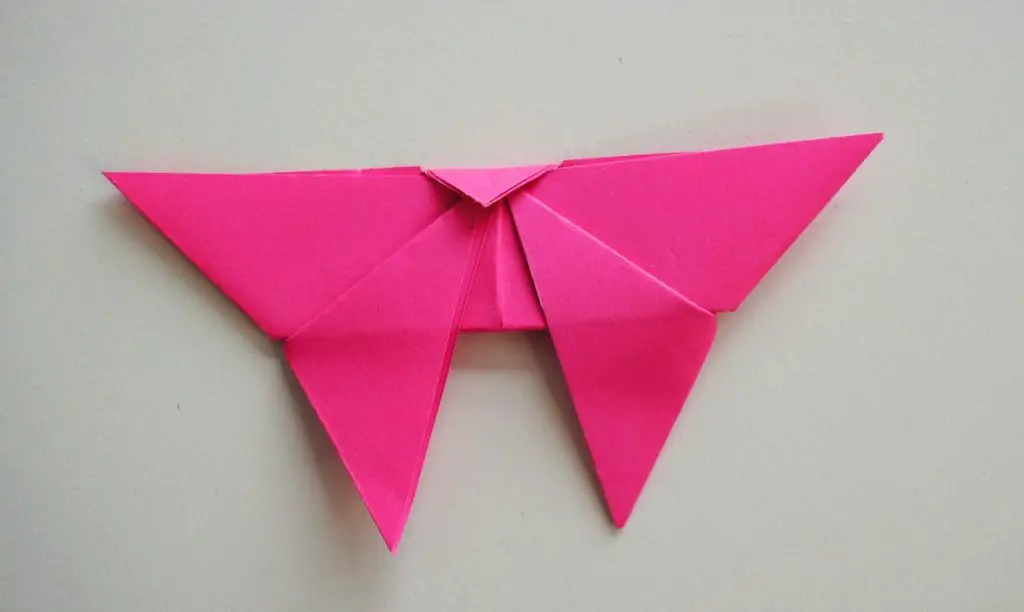
Now fold your butterfly in half so that the wings come up towards each other. You are trying to nip them together between your fingers rather than a full fold. This will form the body of your butterfly.
While you are still holding your butterfly shape the wings as you would like them. Fold them out or curl them so that you like how they look. When you let go you should have a beautiful butterfly!
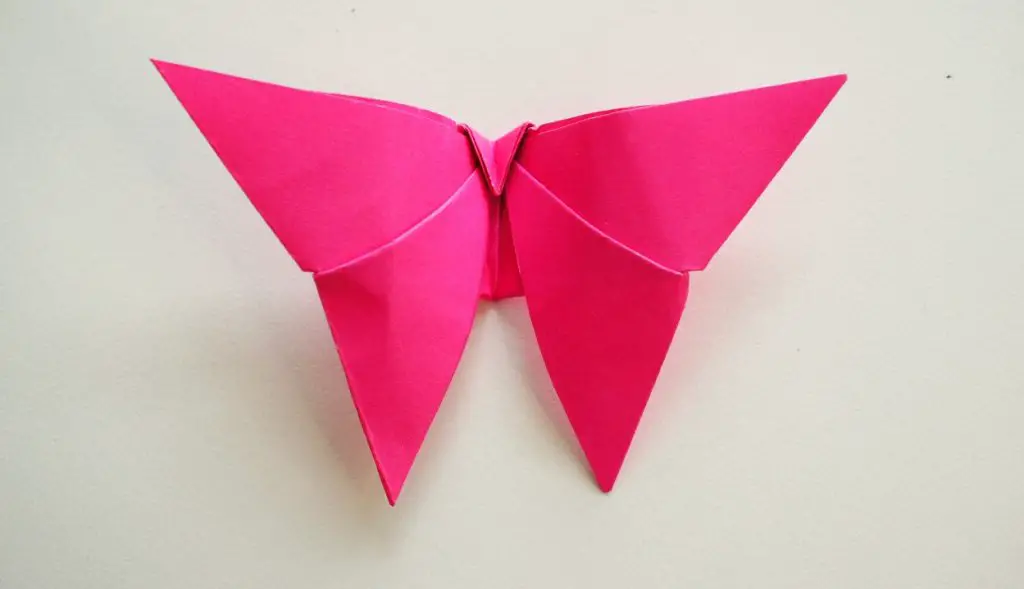
Well done! You have completed your first Origami butterfly. Now enjoy making as many as you like in whatever papers you can find.
And More Origami?
These are great for adults and kids to make as are most Origami projects. If you have enjoyed making your Origami butterfly and would like some more Origami projects to try then check these out:
Origami Crane with Flapping Wings
How to make an Origami Lotus Flower
Make a cute but simple Origami Rose
How to Make a 5 Pointed Origami Star
Easy Origami Star Box
Cute Origami Envelopes
Enjoy your Origami butterflies and please let me know in the comments below what you use yours for or if you just made them for fun!