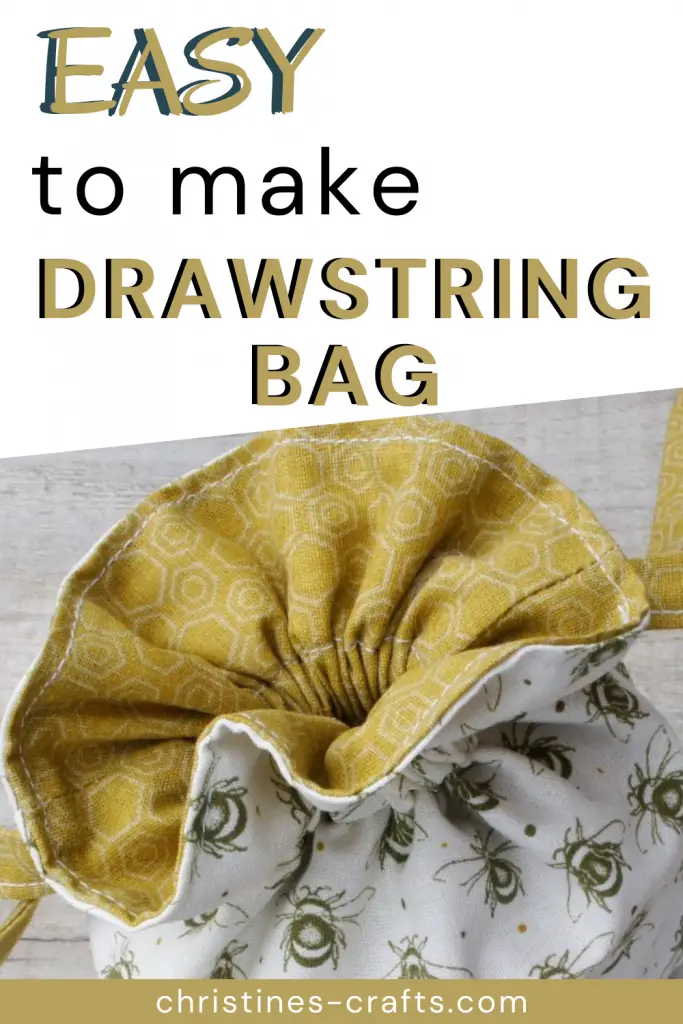
How to Make a Fully Lined Drawstring Bag with Boxed Bottom
As an Amazon Associate I earn from qualifying purchases
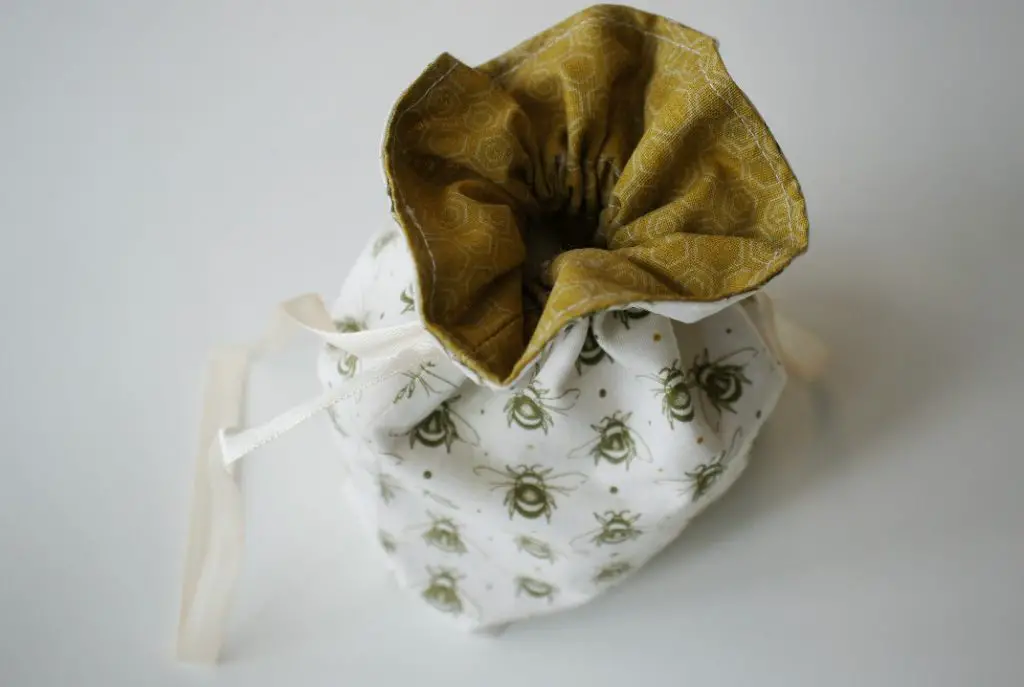
A fully lined drawstring bag is so practical but incredibly stylish. A matching or contrasting lining really makes an ordinary storage item into a unique stylish solution.
You can make one whatever size you like so they are suitable for large items like sports equipment and they also make adorable gift bags too.
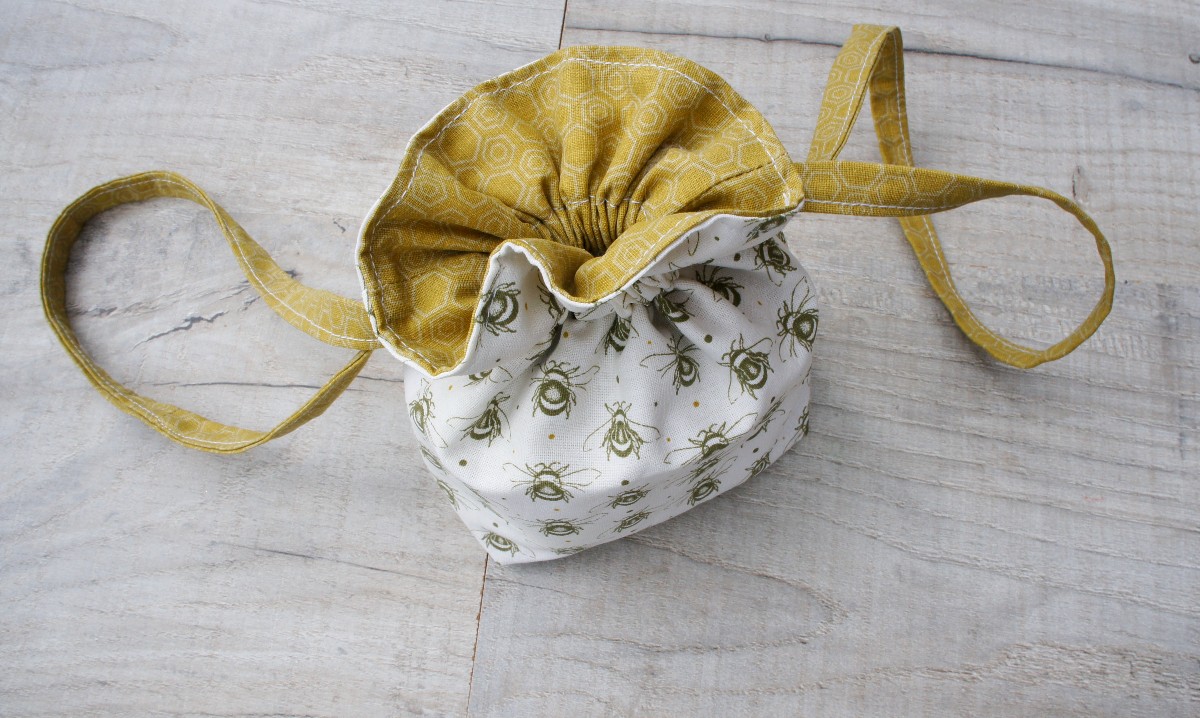
In this tutorial I am going to show you how to make a cute lined drawstring bag that looks great on a dressing table or to hold a gift but feel free to change the measurements to suit your needs. This size bag worked really well being made from 2 fat quarters. In fact, I got 2 of these bags out of the 2 fat quarters!
Small bags are great made from craft cotton fabrics or similar but if you want a large sturdy bag you may want to consider a canvas fabric or something similar.
If you would like to watch me making my DIY lined drawstring bag then scroll down to the bottom of the written instructions and watch my video tutorial.
This page contains affiliate links meaning I earn a little commission if you use those links at no cost to you. I only recommend brands I use and trust.
You will need
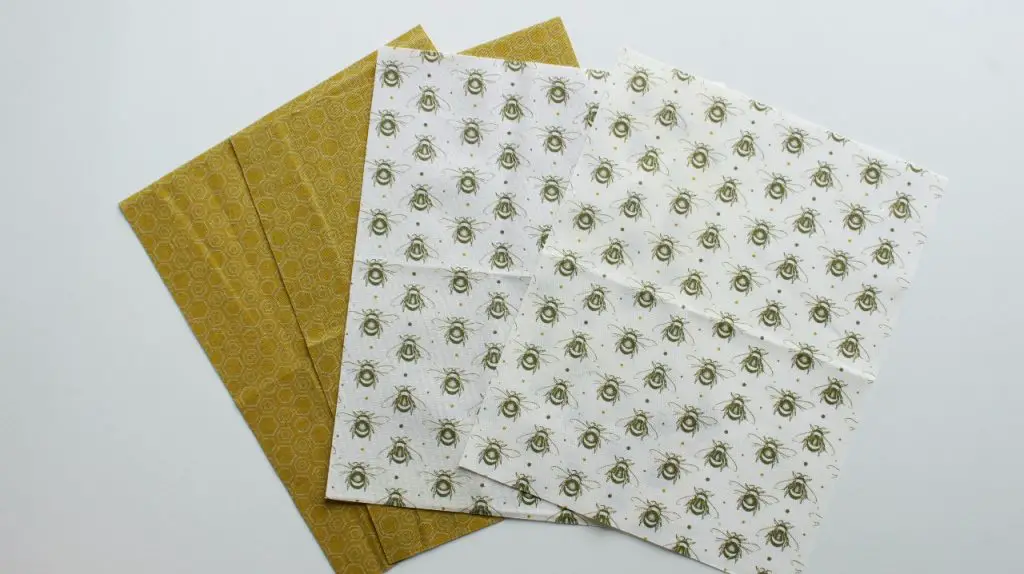
Fabric such as cotton fat quarters
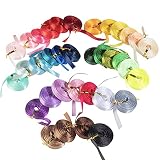
Drawstring such as rope, ribbon or a drawstring made from your fabric
Sewing supplies


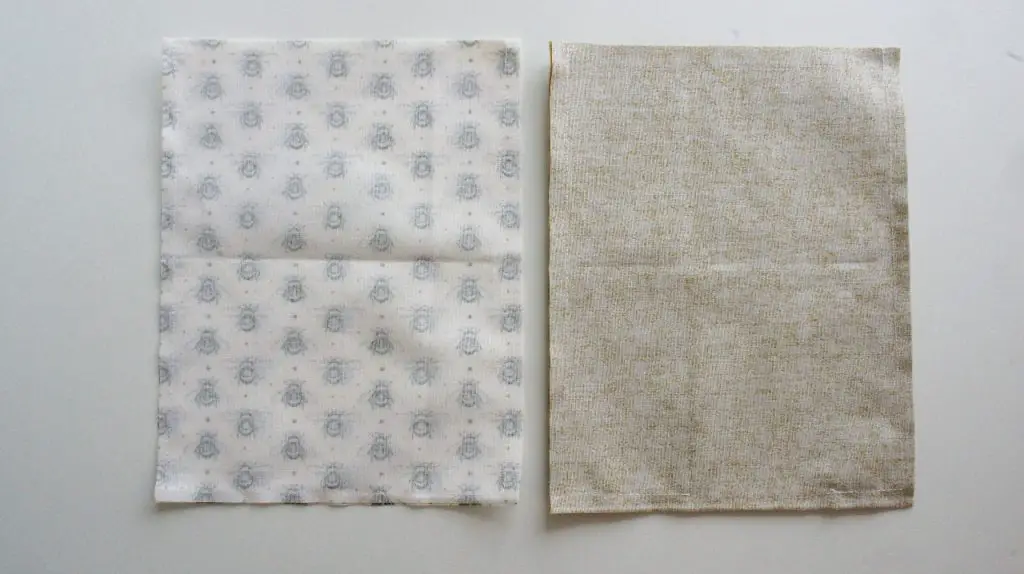
Cut out your Fabric
You will need to cut the following pieces from your fabrics:
2 main fabric bag pieces measuring 9″tall by 7″ wide
2 lining bag pieces measuring 9″ tall by 7″ wide.
Sew the Basic Drawstring Bag
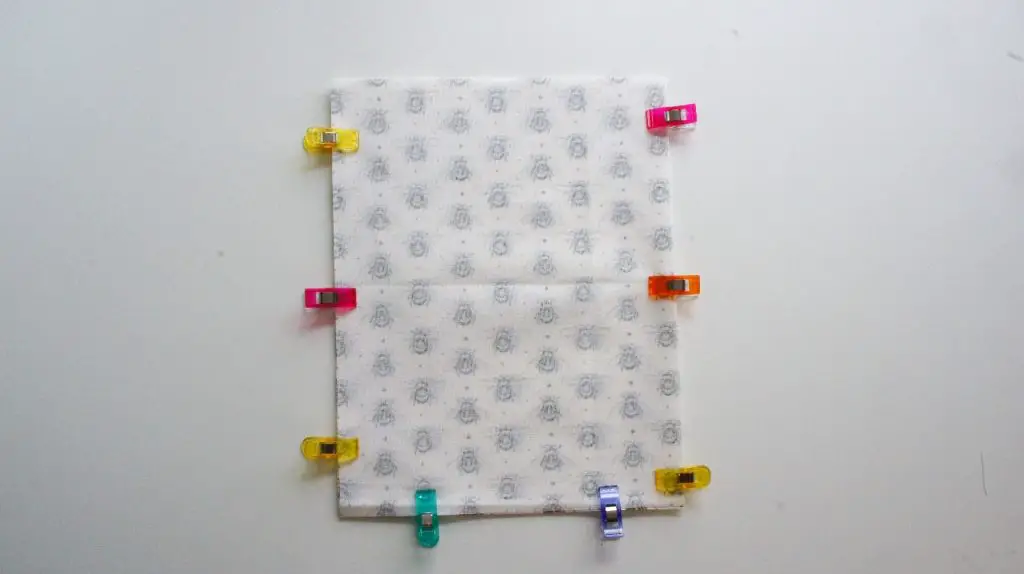
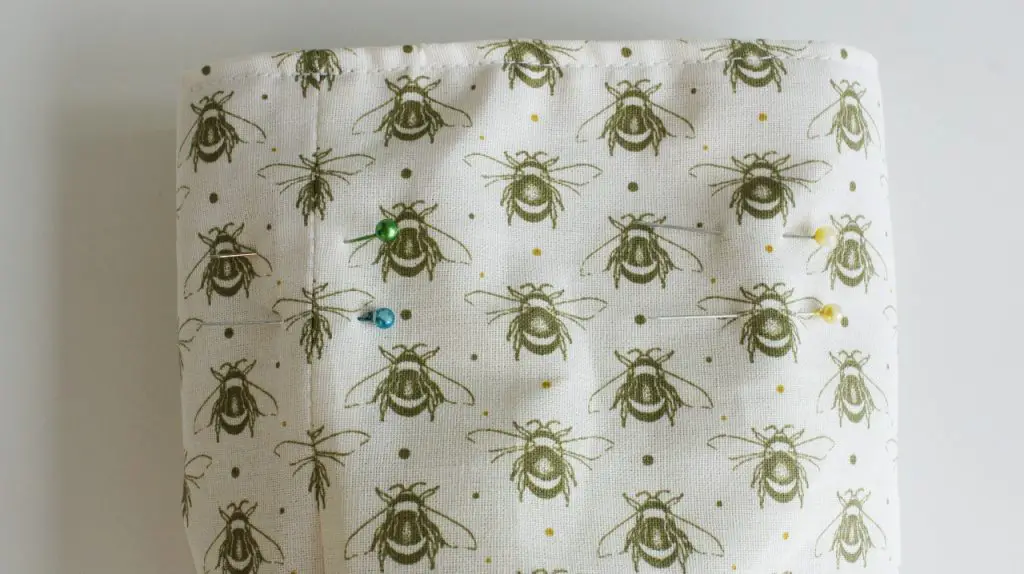
Take the two main bag pieces and place one on top of the other with the right sides facing. Pin or clip around 3 sides, leaving the top open.
Repeat this process for the lining piece but mark a distance of approximately 3″ along the bottom of the pieces that you will not sew. I have marked mine with large clips.

Sew around the sides that you have pinned remembering to leave a gap in the bottom of the lining. I suggest a 0.5″ seam allowance.
I recommend pressing your seams open so that they are less bulky when the bag is finished. If you are making a small bag this can be quite tricky. Another option is to run your fingernail along the seam forcing the seam open and it will help it to stay open.
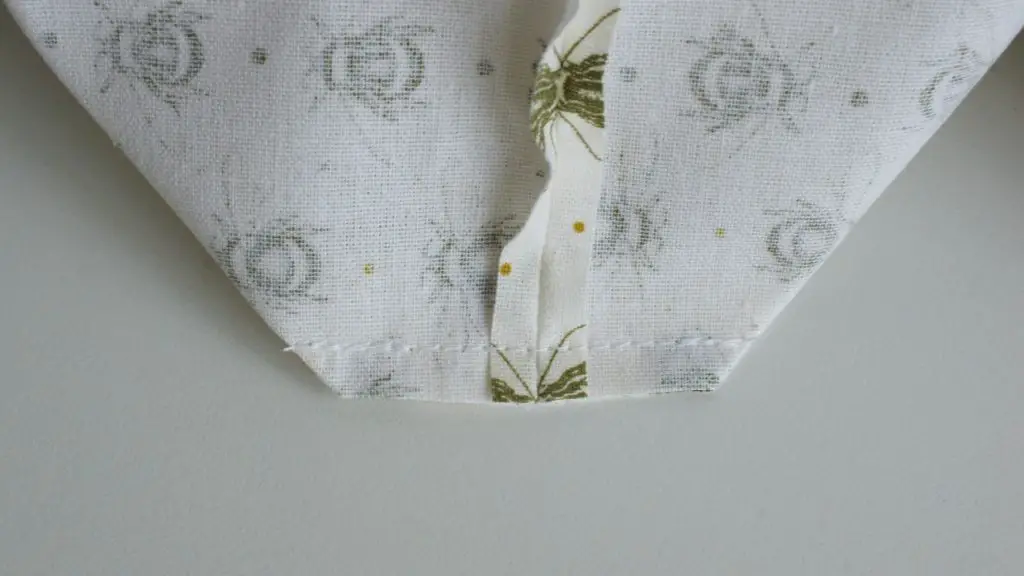
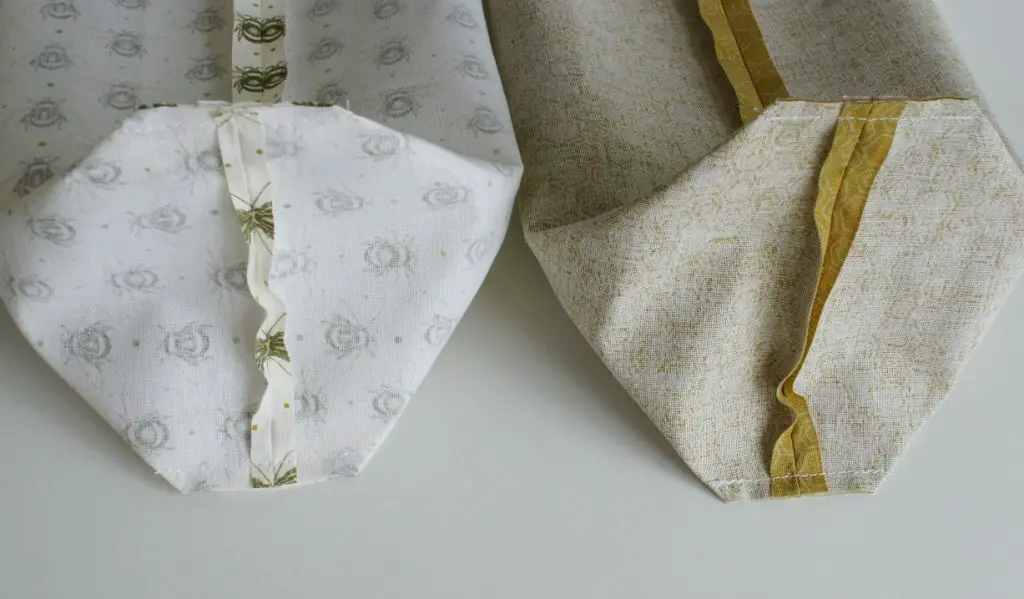
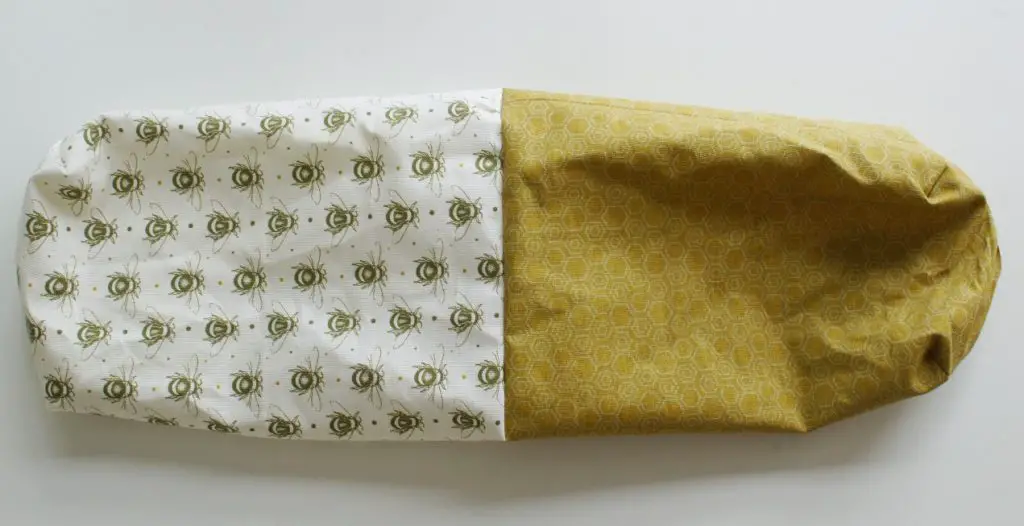
To form the box bottom to the bag you need to take the main bag and lining in turn and do the following:
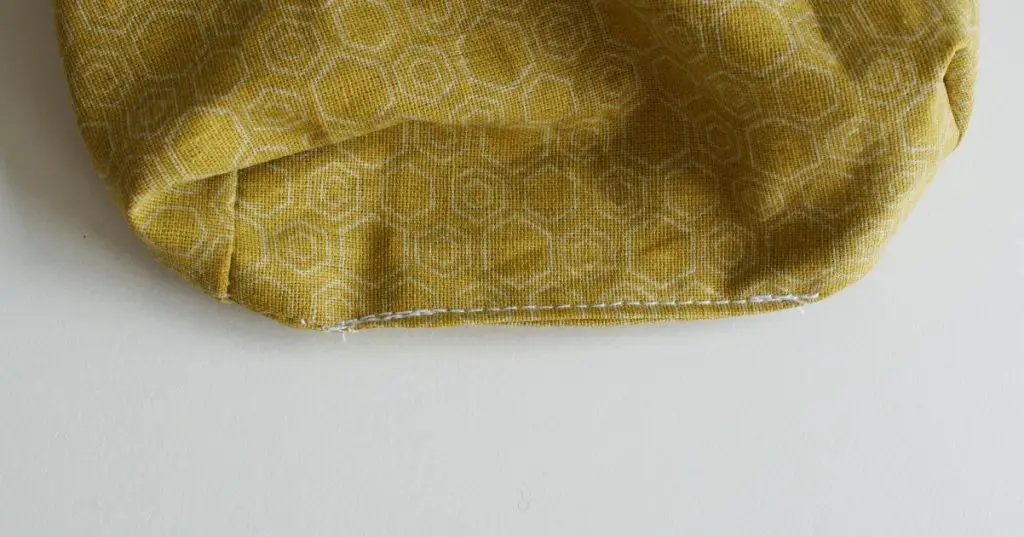
Fold the bag such that the side seam lines up with the bottom seam and pin the two together an inch away from the corner. Repeat this with the other corner. Then sew along these seams.

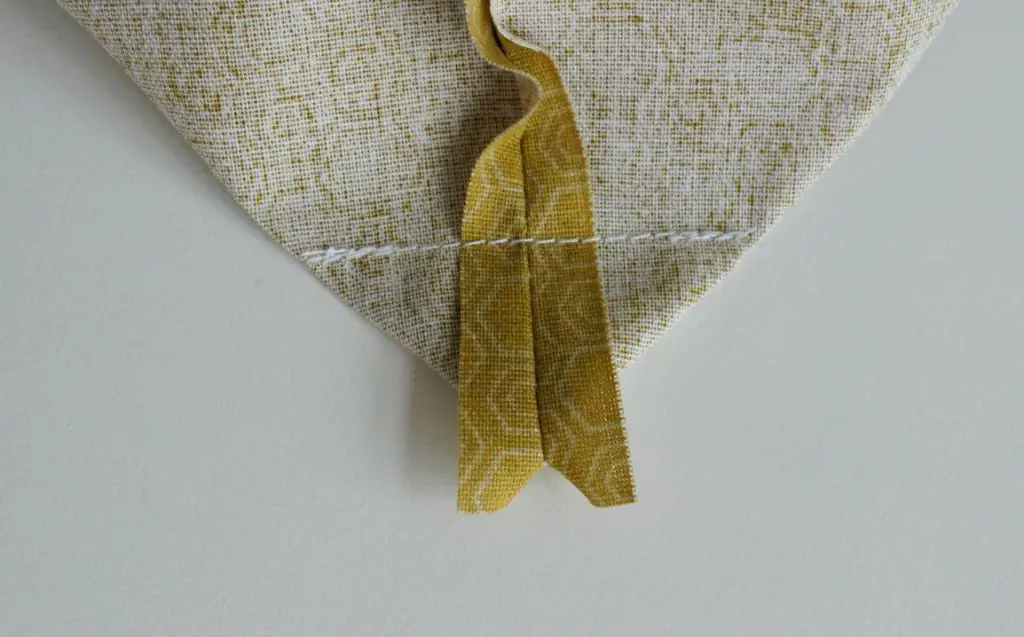
To reduce the bulk in the bag cut off the corner that you have now made leaving a seam allowance similar to the one you used on the other seams.
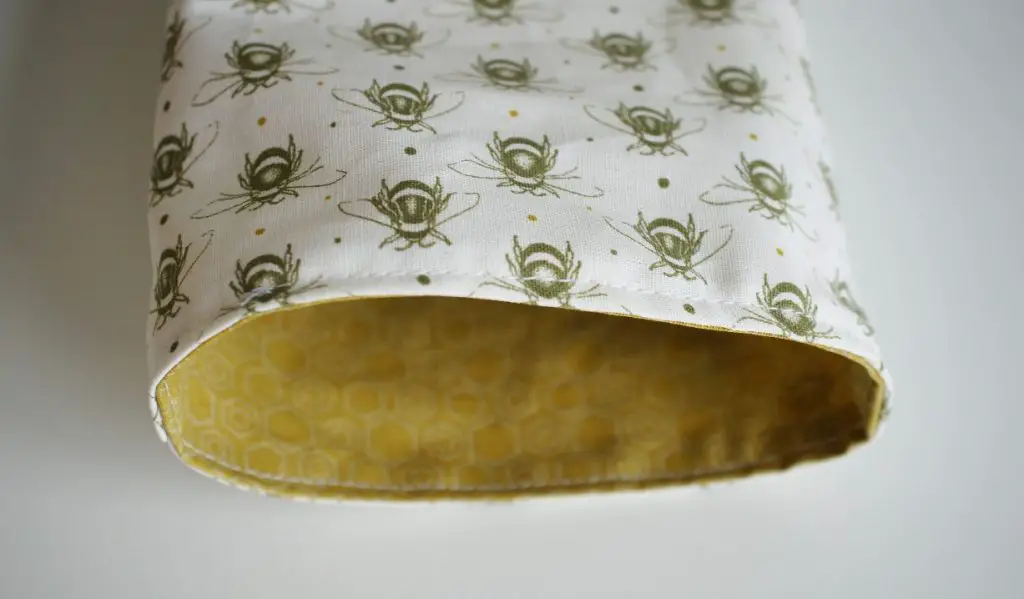
Now turn the main bag the right way out and slide it into the lining. This should mean that the right sides are facing each other. Once they are lined up perfectly, pin or clip around the top of the bags making sure that the side seams are lined up. Then sew around the top of the bags securing them together.

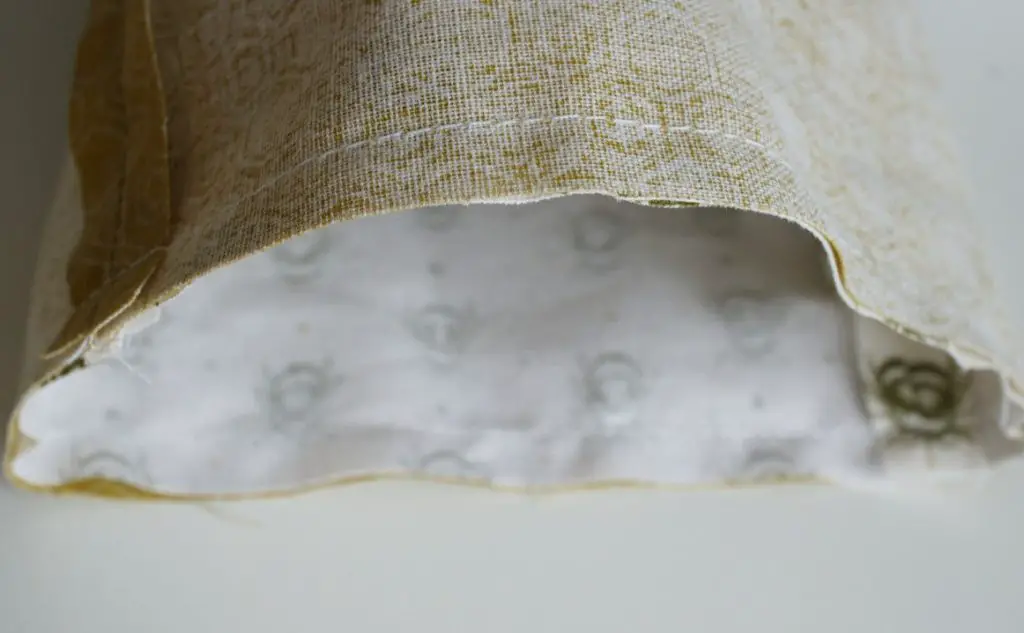
Turn the whole thing the right way out by pulling it all through the hole that you left in the bottom of the lining. Then sew up the hole in the lining either using an invisible slip stitch or simply machine sewing it closed as I have done here.
Push the lining into the main bag so that you have now made a bag. Make sure that the top edge is lined up perfectly and pin or clip the two bags together. There should be no lining showing on the outside and no bag showing on the inside. Topstitch the two together close to the edge.
Make the Drawstring Casing
You now need a casing, or slot, for the drawstring. By now you must have decided on your drawstring material of choice. I have used a ribbon in this tutorial but if you watch the video tutorial you will see how I made a drawstring out of my lining fabric.
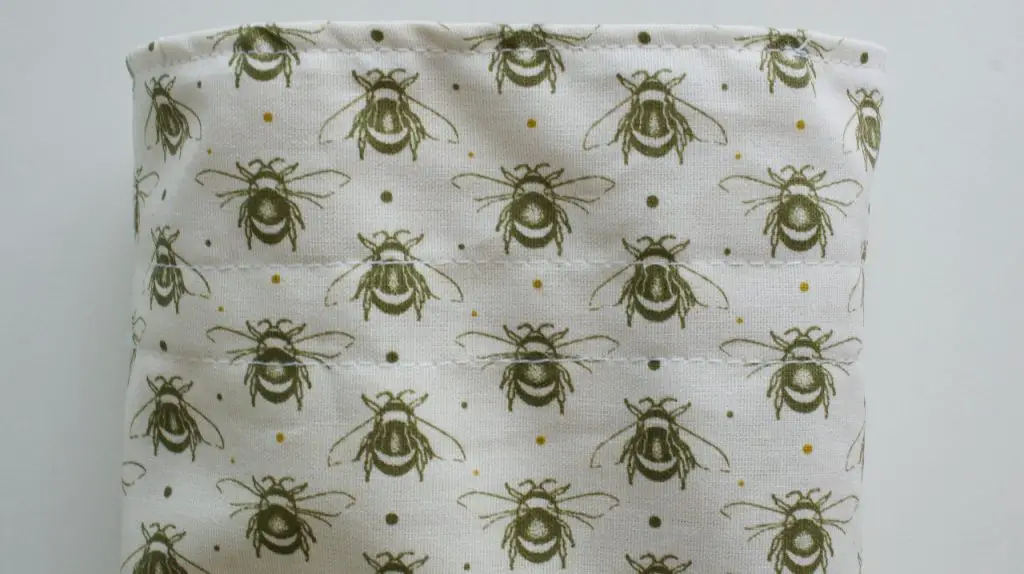
Measure 1.5″ down from the top of the bag and mark it all the way around the bag. I used pins but you could use an air erasable pen. Then measure down from that line the width of your drawstring plus some extra to allow it to easily slide through the casing. For example, my ribbon is 3/8″ wide and I made the casing 5/8″ wide.
Once both lines are clearly marked sew along them both all the way around the bag. For added strength I recommend doing some reverse stitching over the side seams as you go.
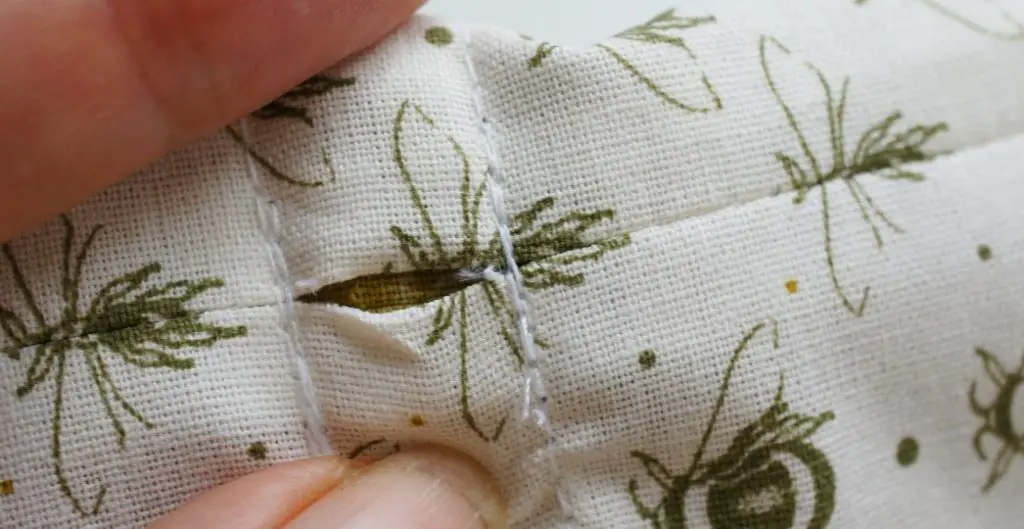
In order to be able to use your casing you will need a way in. At each side seam you need to undo a few stitches between the two rows of stitching you just completed. Take care! You must only undo the stitches from the side seam that are in the casing.
Adding the Drawstring to the Bag
You will need 2 drawstrings. How long they are is up to you. They must be at least the distance around your bag plus a few inches. I made my ribbon 18″ long. Attach a safety pin to one end of your drawstring and feed it into one of the holes that you made. Feed it all the way around the casing and back out of the same hole. Now you can either stitch or tie the two ends together.
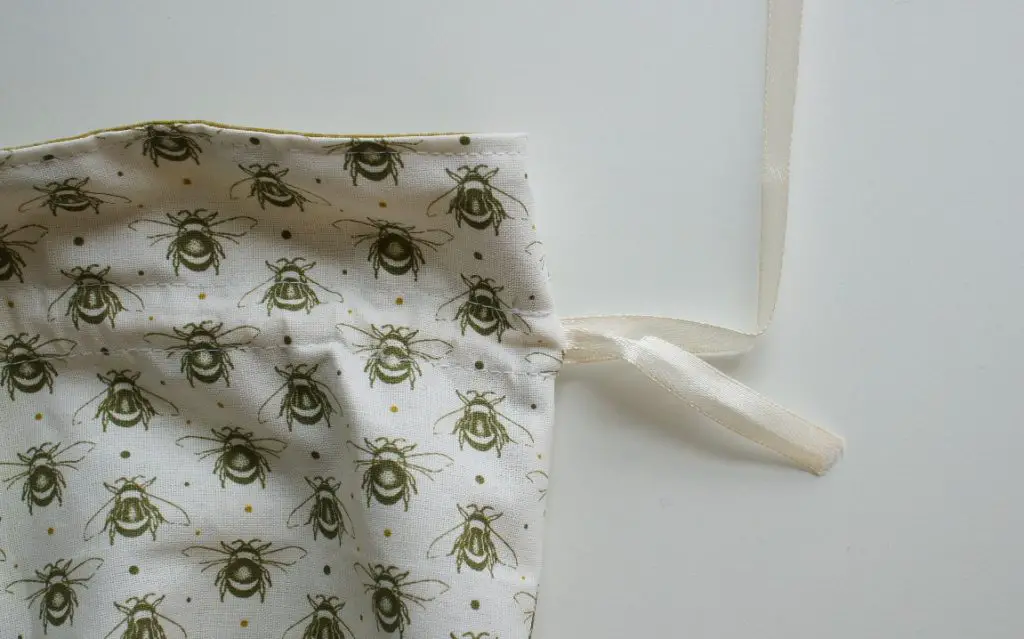
Repeat with the other drawstring but using the other hole in the casing.
Your bag is now complete but if anything is still troubling you try watching the video and see if it helps.
Video Tutorial
And finally …
Well Done! You now have a completed fully lined drawstring bag with boxed bottom! Now you know what you are doing you can make them for any situation you like and any size you like. Who wouldn’t want to receive one of these?
How about using kids fabric for cute storage bags for all those small toys such as Lego?
If you like sewing then check out some of my other sewing tutorials:
Teabag Wallet Tutorial
Super Stylish yet Simple Infinity Scarf
Sew a Cute Origami Pouch Bag
Please leave me a comment below letting me know how you get on with your lined drawstring bag and what you are using it for. Let’s pool our ideas!