How to Make Fabric Greeting Cards
As an Amazon Associate I earn from qualifying purchases
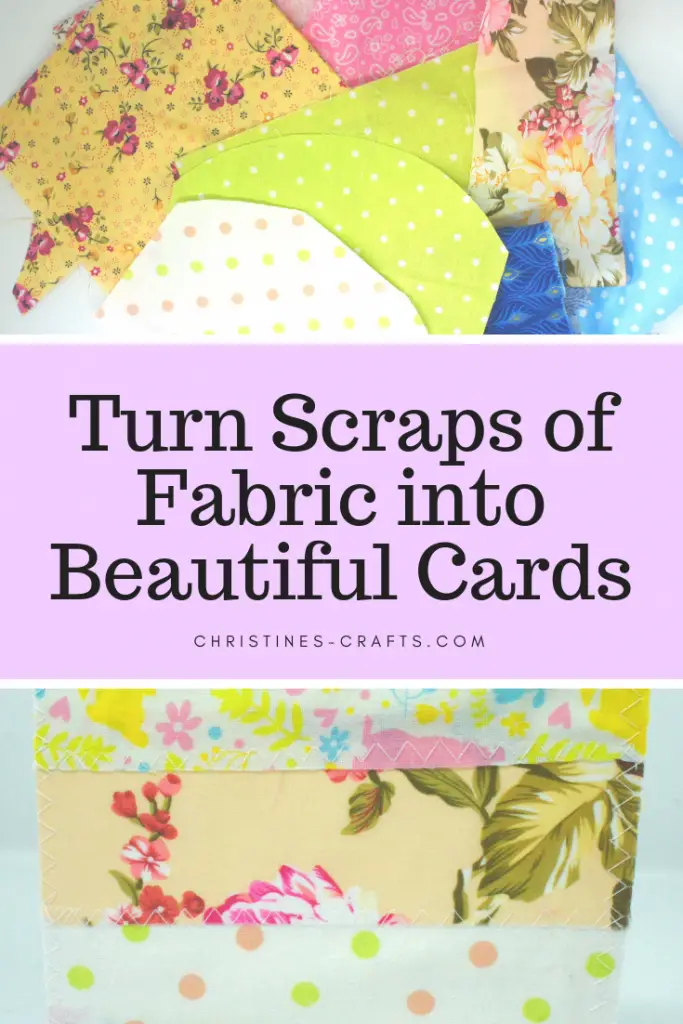
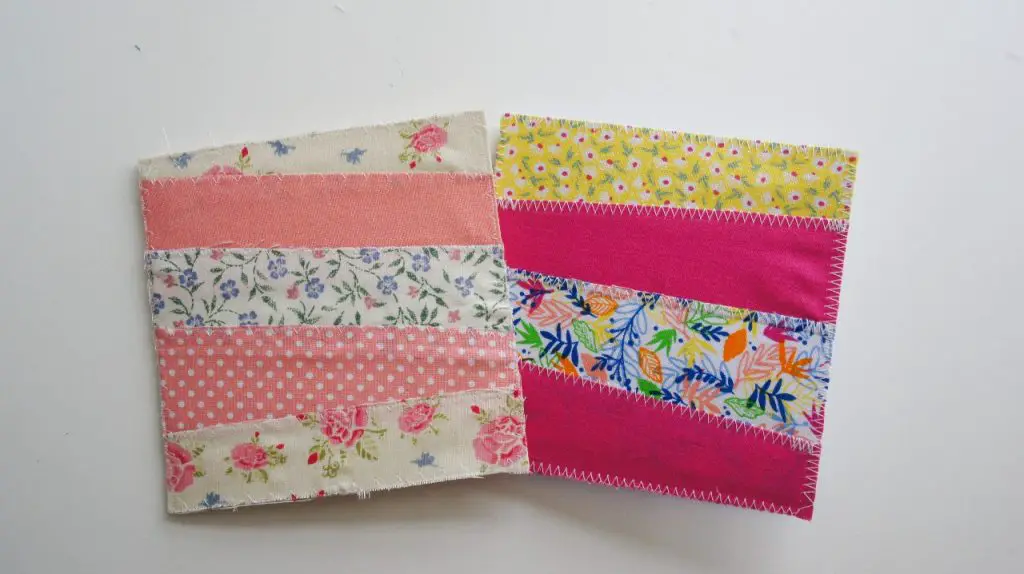
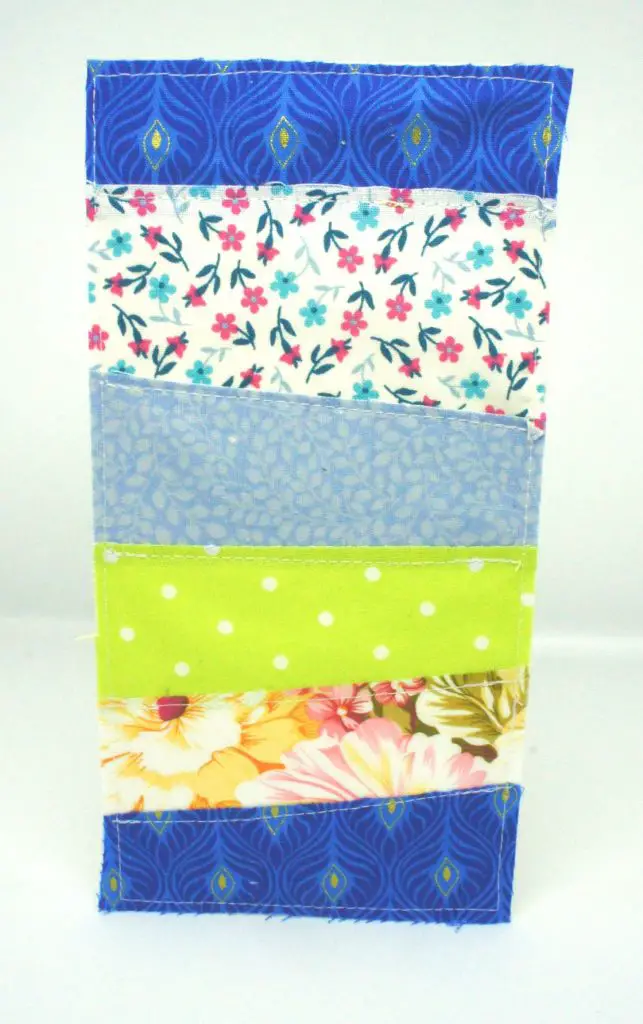
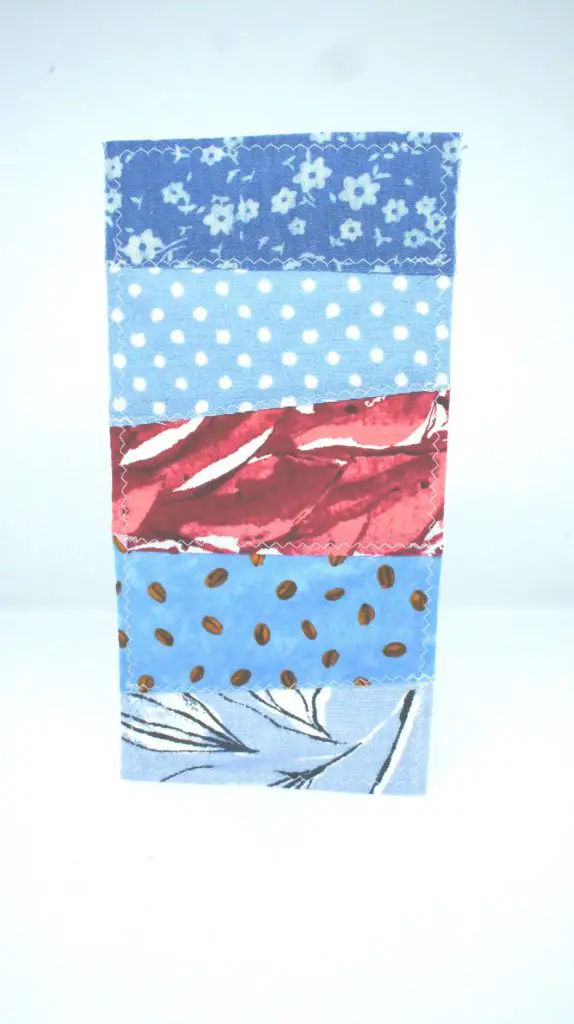
These fabric greeting cards are great for using up fabric scraps and you can let your creativity run wild. You could design cards for particular events or holidays. I have made general greetings cards to send to friends ‘just because’. I must confess to loving old fashioned ‘snail mail’. It is so nice to receive a card!
You could get more adventurous and add all sorts of shaped pieces of fabric. How about adding beads or other embellishments. They would also be great for a set of party invitations or thank you notes.
If you like to watch a craft being done then scroll down to the bottom of the tutorial and watch the video instructions.
This page contains affiliate links meaning I earn a small commission if you use those links at no cost to you. I only recommend brands I use and trust.
You will need:
Fabric scraps
Plain cards or card stock (and envelopes)
Sewing machine and thread
NOTE: you will need a sewing machine needle specifically for sewing your cards as the card will blunt the needle.

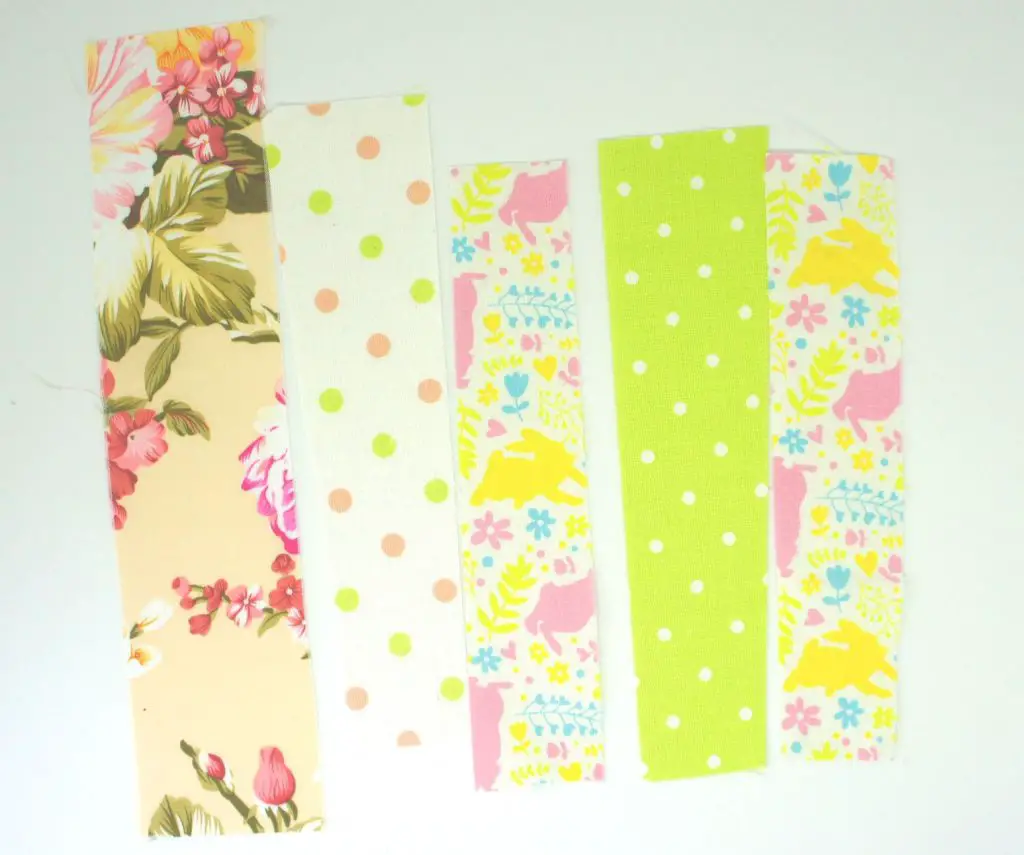
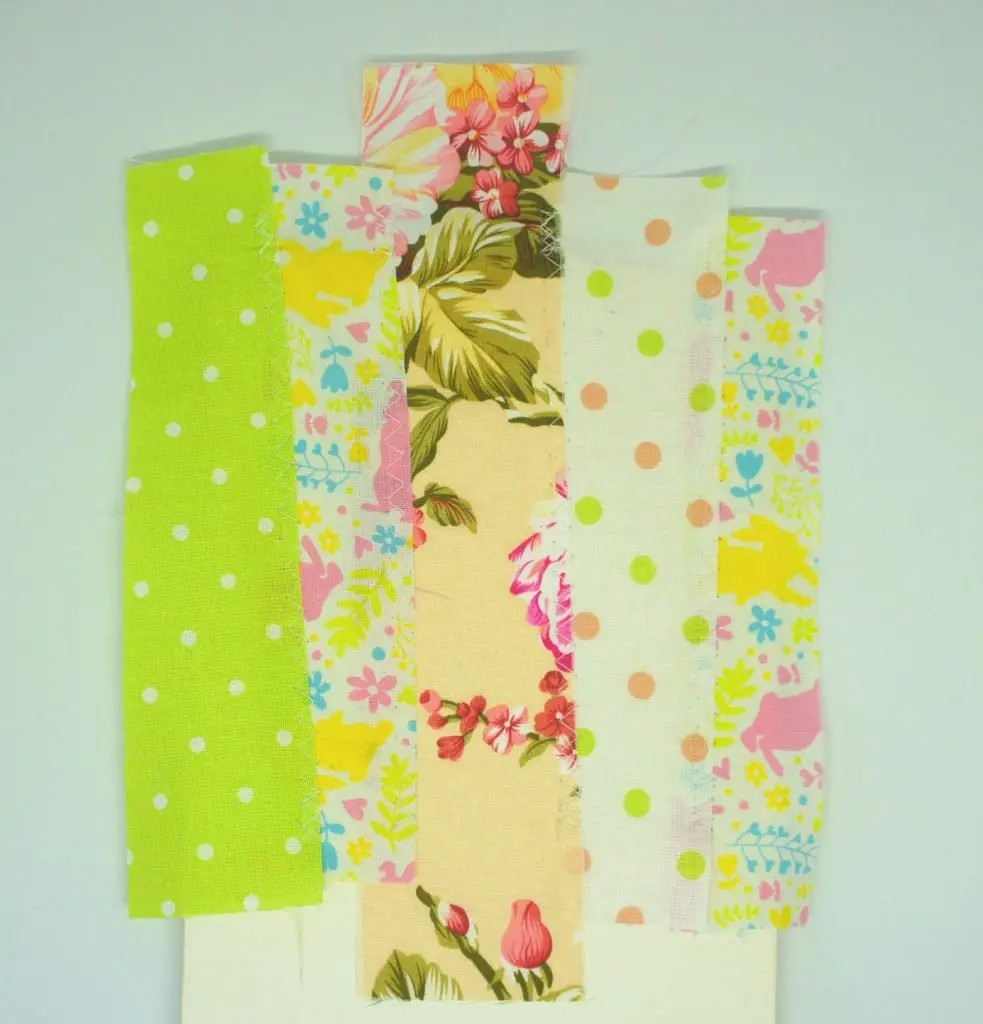
Cut out your fabric pieces
Cut your scraps of fabric into whatever strips you like. You can lay them out onto the card to get an idea of your design. If you want other shapes to add simply cut those out too.
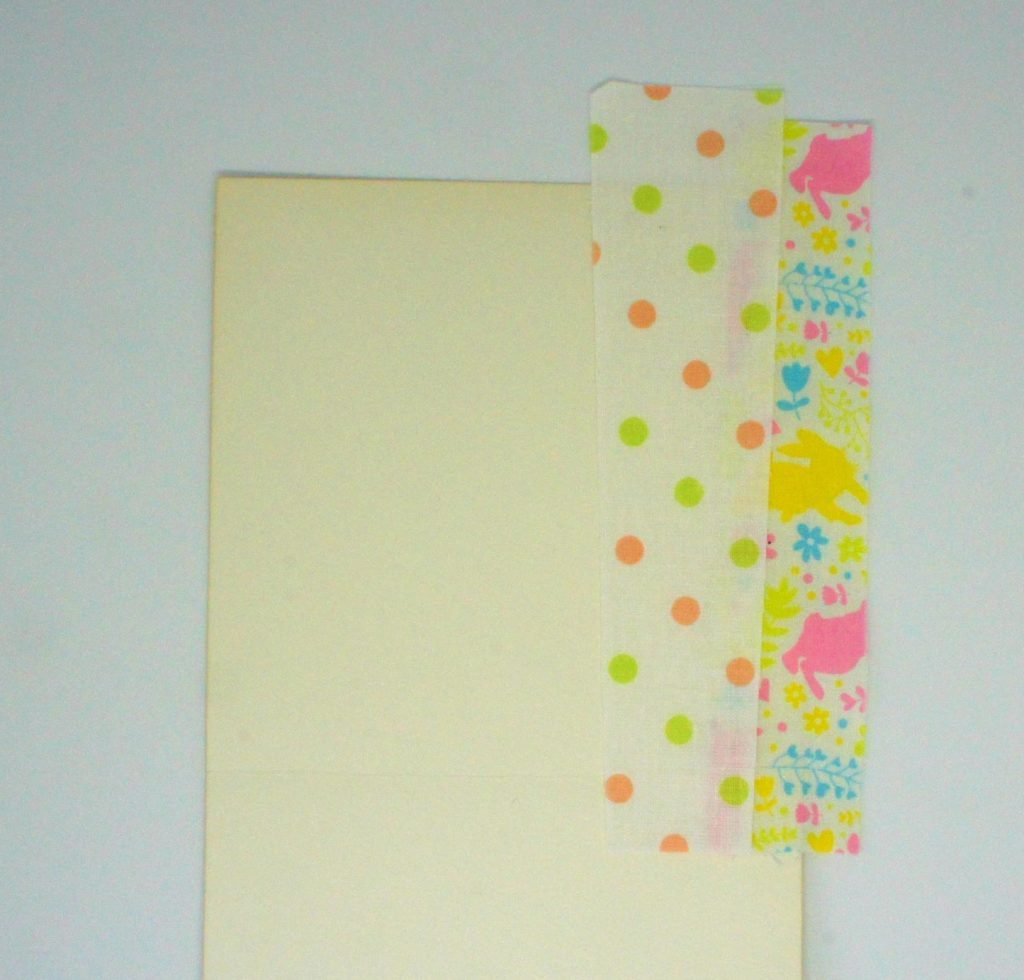
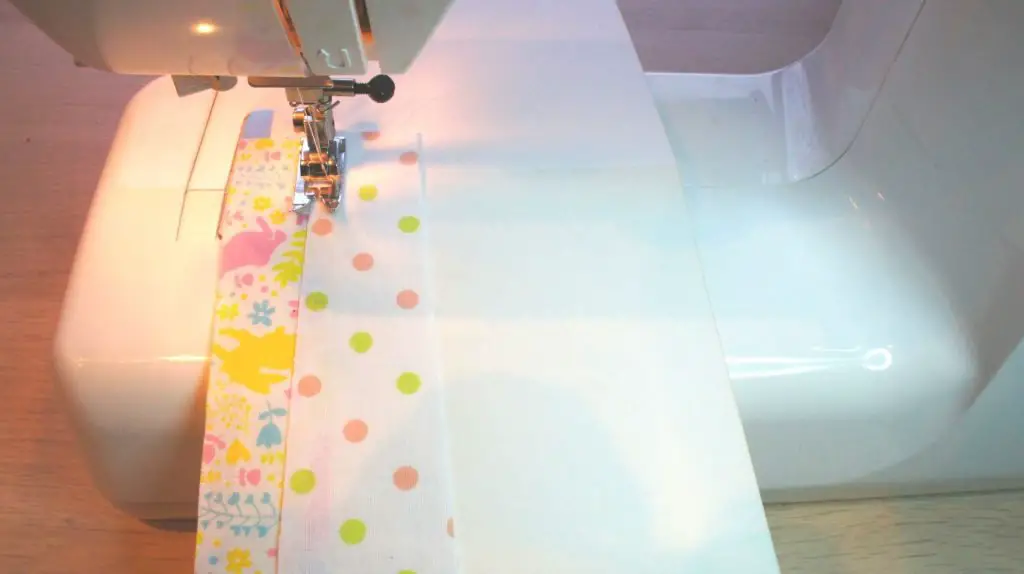
Sew your fabric to the card
Take your first 2 strips and lay them onto the card where you want them to be. Ensure that you are sewing them onto the front of the card! Make sure they overlap so that one row of stitching will secure both. Then sew along the overlap from the fold of the card to the outer edge. Make sure you backstitch at the beginning and the end of the stitching to secure it. Do not worry about the excess fabric as you will trim it at the end of the stitching. I used a zig-zag stitch but you can use any stitch you like, perhaps a fancy embroidery stitch if your machine can do that!
Repeat this procedure all the way up the card until it is covered. Make sure each strip overlaps the last one and that you secure your stitching.
It looks a little messy but it will soon be finished!
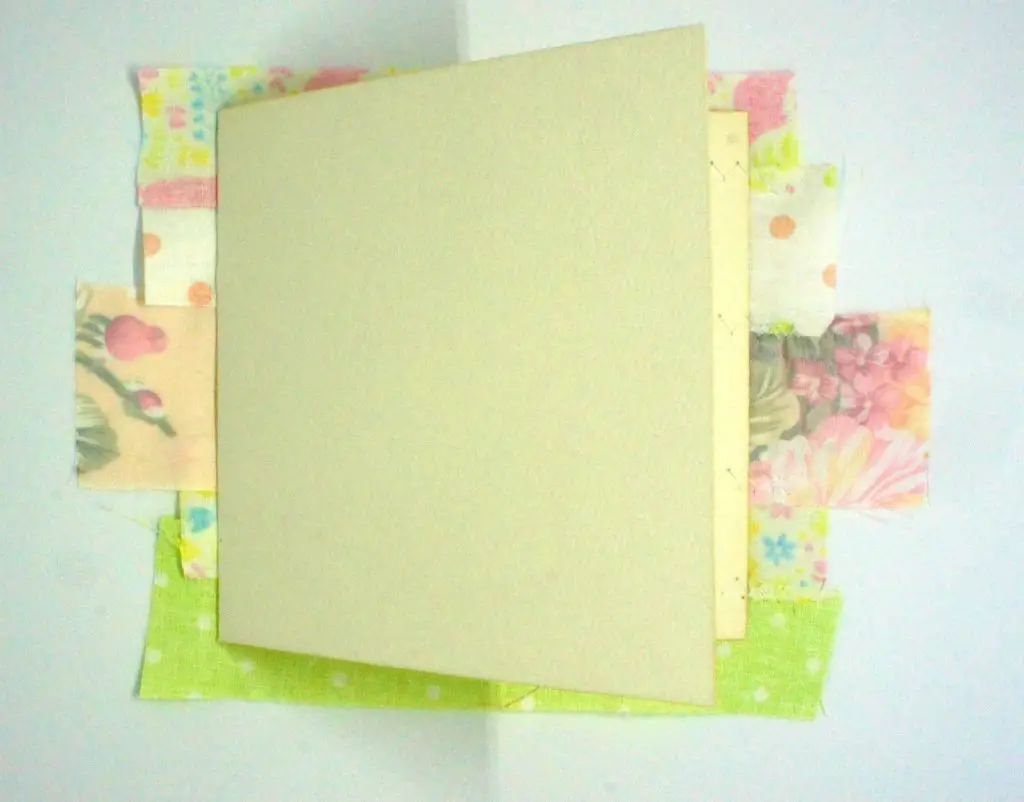
Trim excess fabric
Fold the card along the fold line and turn the card over so that the fabric is underneath. Trim around the card carefully. I used a rotary cutter and a self-healing mat but you could use scissors.
Sew around the edge
Sew around the card to secure all the fabric edges. I used a zig-zag stitch, as I had for all the stitching. If you are concerned about fraying apply a little glue to the edges too.
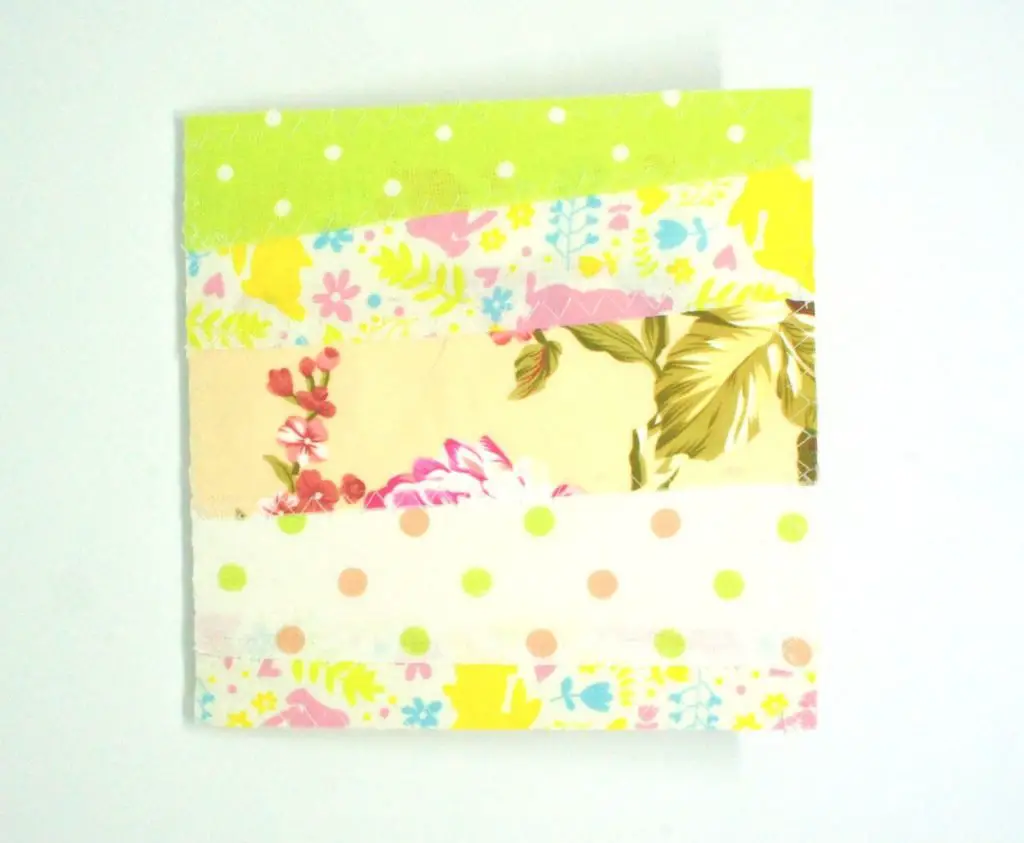
Your card is now finished! If you do not like being able to see the stitches on the inside of the card then simply cut a piece of white card the right size and glue it over the stitched side.
Video Instructions
More Great Ideas
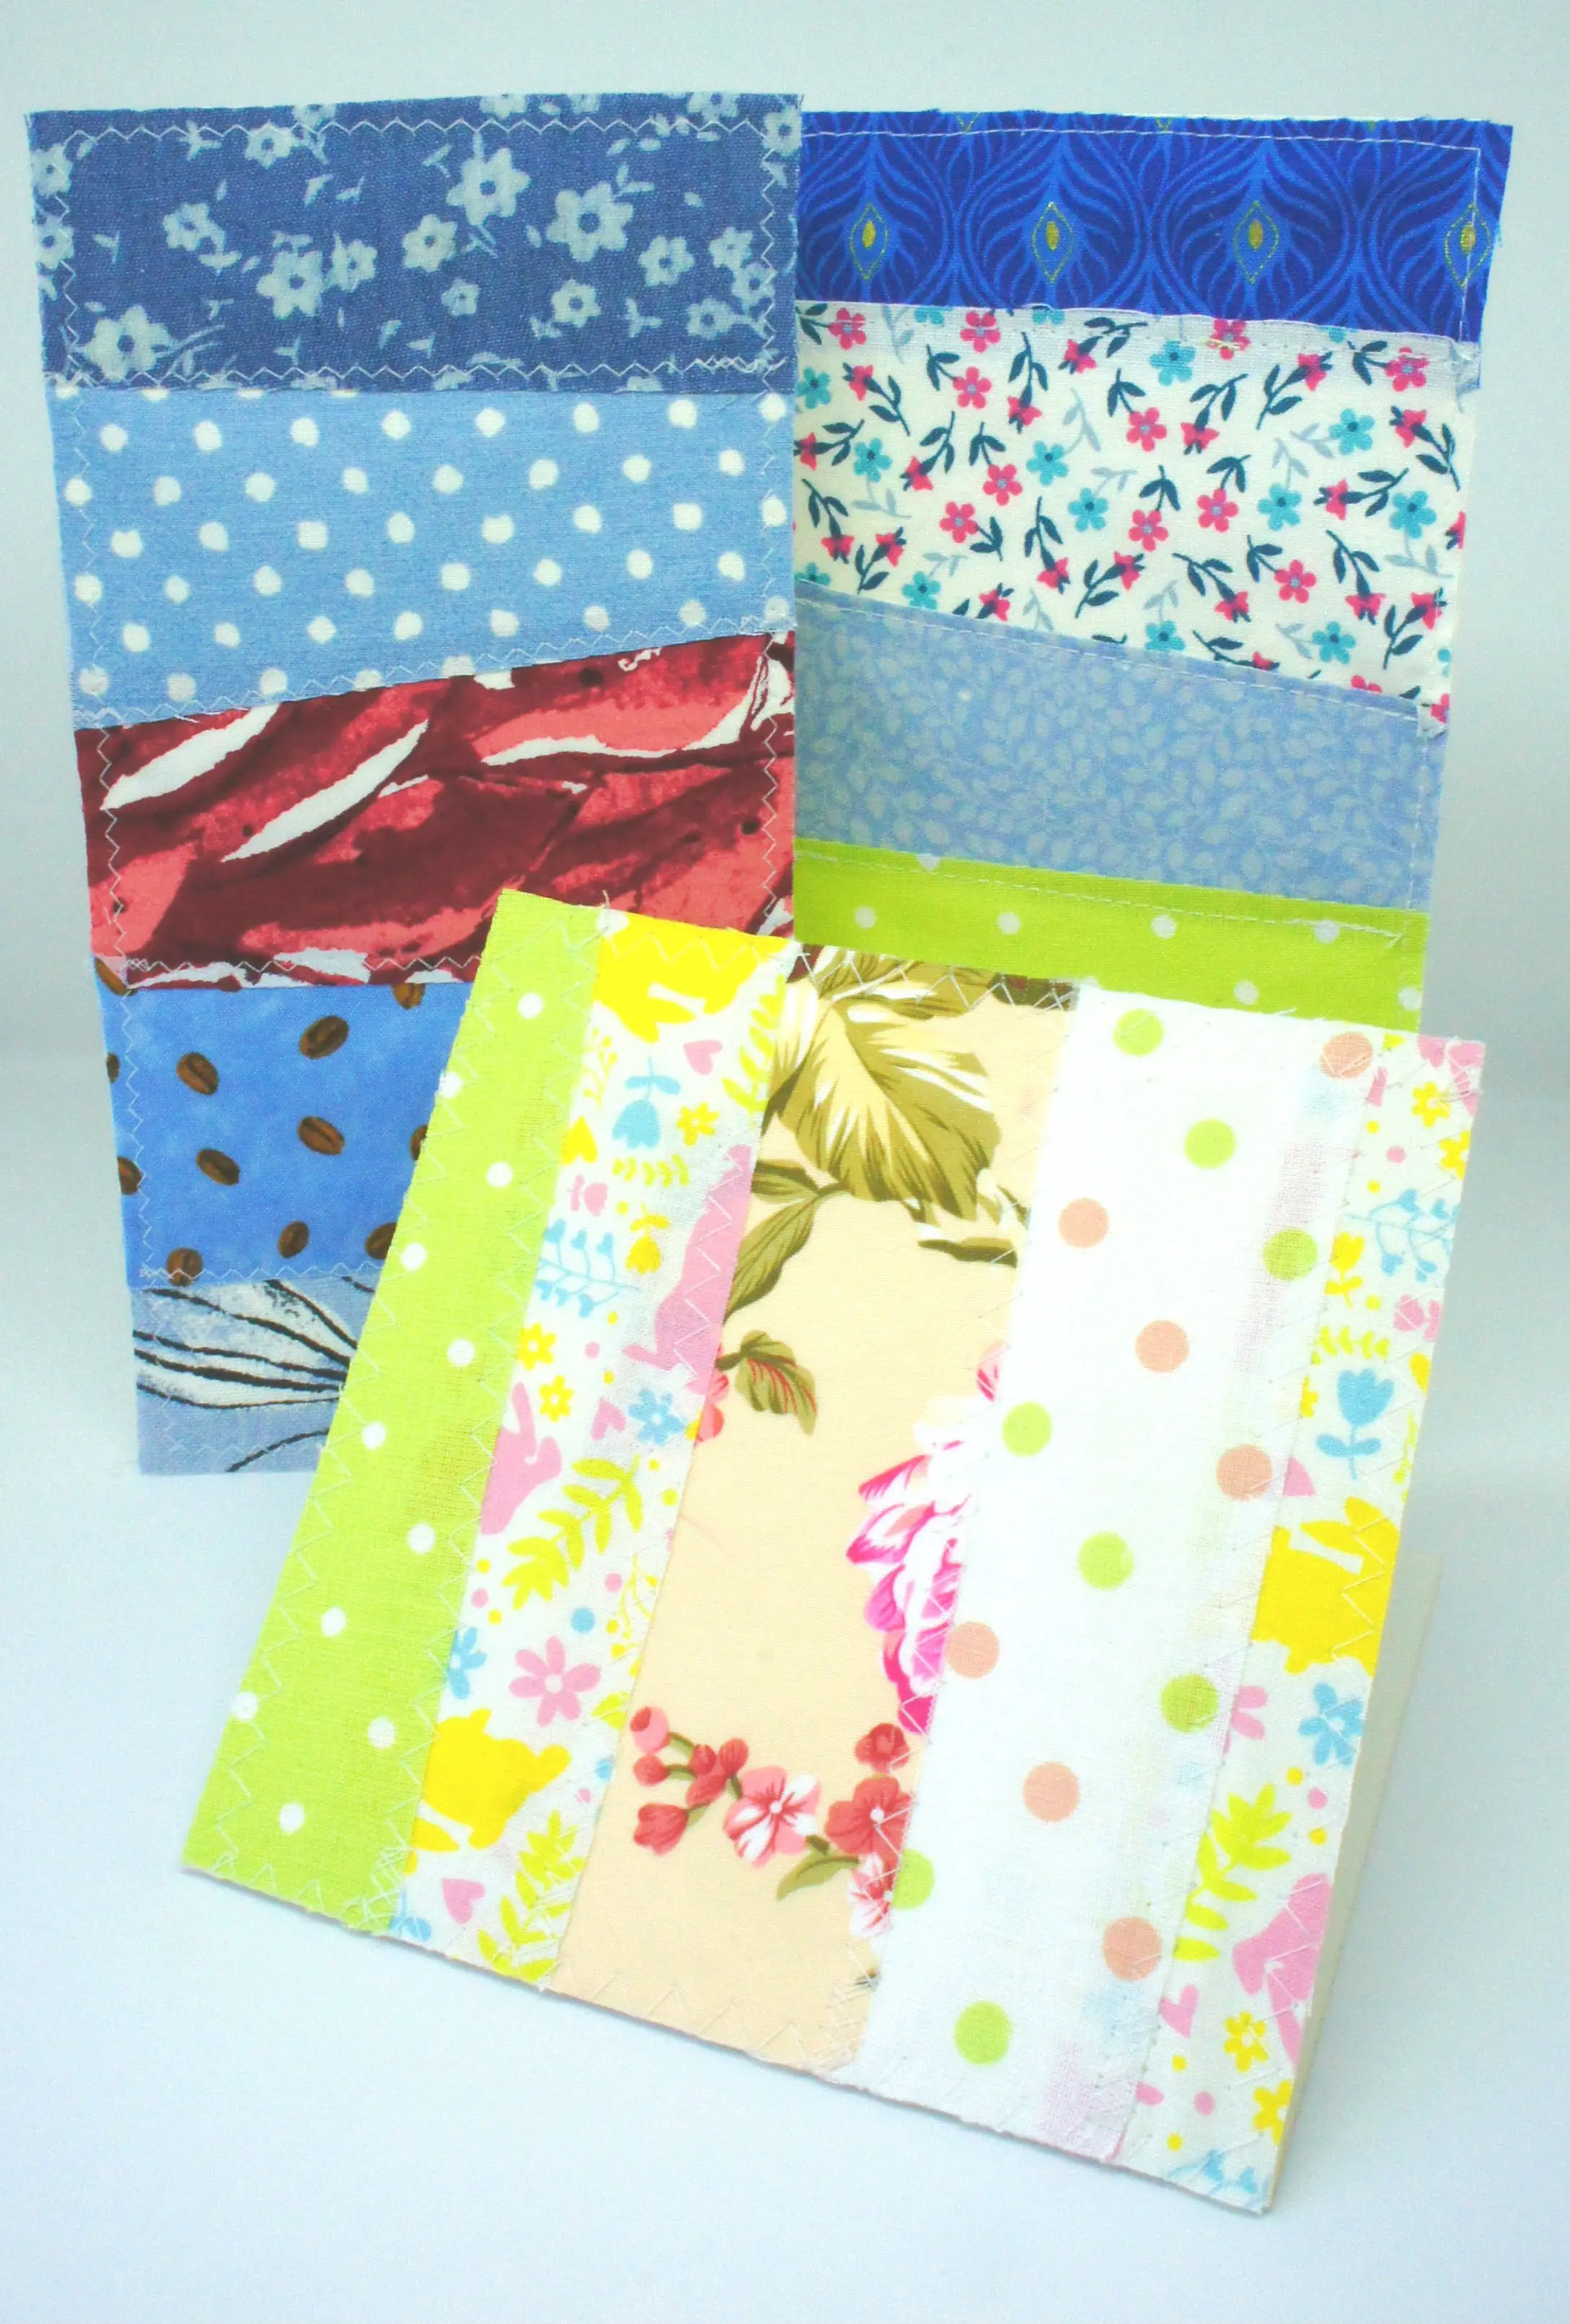
What a great way to use up those fabric scraps that seem too small to make anything from but it seems a shame to throw away! I made a few fabric greeting cards and you can see a few of them here. Enjoy making yours and brightening up someone’s day!
This blog is packed full of great tutorials for sewing and paper crafts so take a look around.
If you like working on crafts involving paper or card try some of my other tutorials:
Simple Any Occasion Card in Minutes
Create a Paper Polish Star Ornament
How to make gorgeous flowers from old magazines
So, if you feel inspired to make fabric greeting cards, make sure you pin this article for later. You can also follow me on Pinterest as Christine’s Crafts to see all the great ideas I collate.