Simple Bag Tutorial
As an Amazon Associate I earn from qualifying purchases
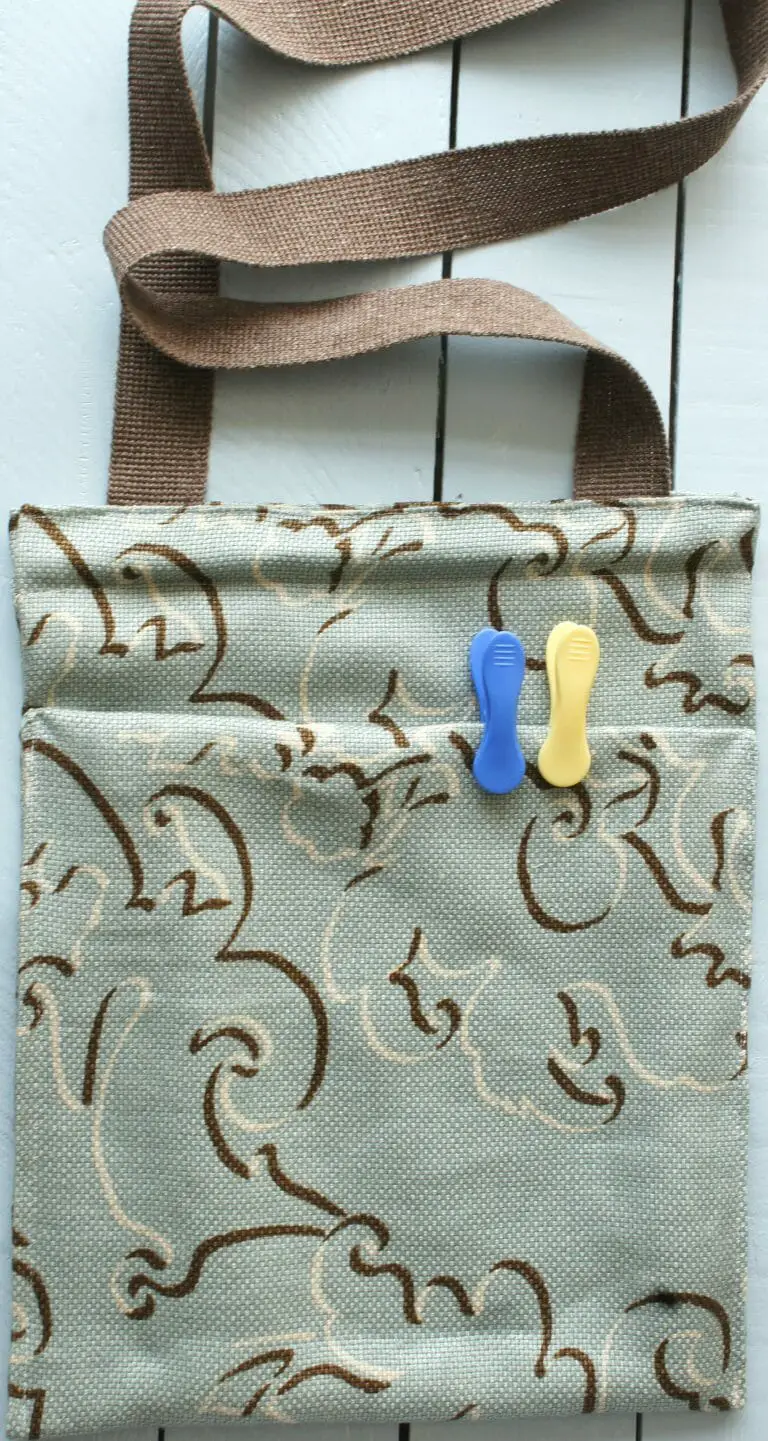
This is a full tutorial for making a simple bag. It is very easy to make and is great for beginners and experienced sewists alike. It also includes the free pdf pattern to print off. Depending on the size you make it can be used as a gift bag, a decorative storage bag or even a shopping bag. It is very easy to make and is great for using fat quarters if, like me, you hoard them.
If you like watching a project then scroll down to the bottom of this tutorial and watch a video of me making a bag.

This page contains affiliate links meaning I earn a commission if you use those links at no cost to you. I only recommend brands I use and trust.
You will need:
Two different fabrics (for the A4 or A3 pattern 2 fat quarters is plenty)
HobbyCraft and Amazon have a great selection of fat quarters
Iron on interfacing available from Amazon or Hobbycraft.
Thread and basic sewing supplies
Sewing Machine (you can hand sew this bag but it will take much longer)
Pattern Pieces (available here as a pdf) Click to get the pdf.
YouTube Video Tutorial
This video is also available on my YouTube channel.
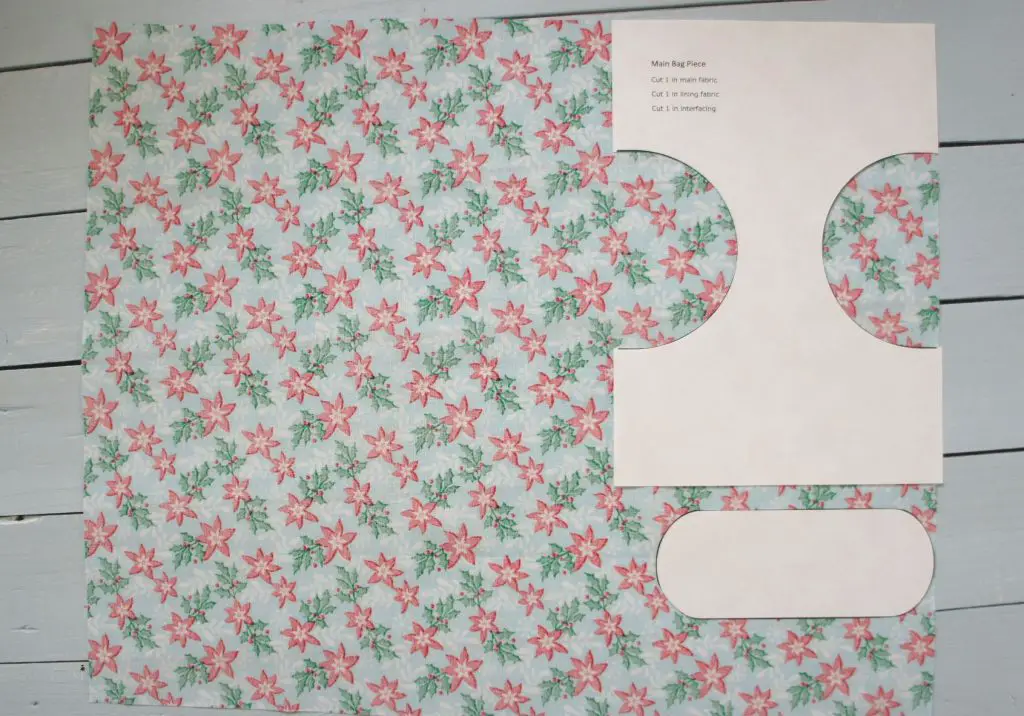
Decide on size and print off pattern pieces
Print out the pattern sheets. If you print them off at A3 size the completed bag will be approximately 22cm (9″) wide by 18cm (7″) high
A4 printing will result in the finished bag being approximately 15cm (6″) wide by 12cm (5″) high.
If you use a print shop to get a larger size then you can obviously make an even larger bag!
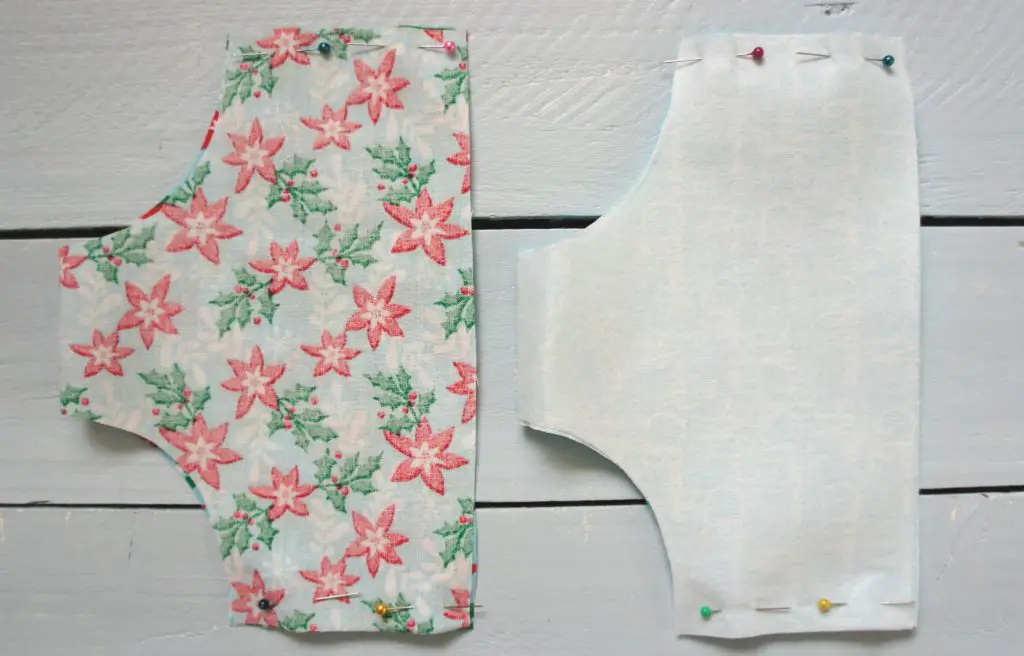
Cut out fabric pieces
Cut out the pieces as directed on the pattern. You will need one main piece and one base from each fabric and the interfacing.

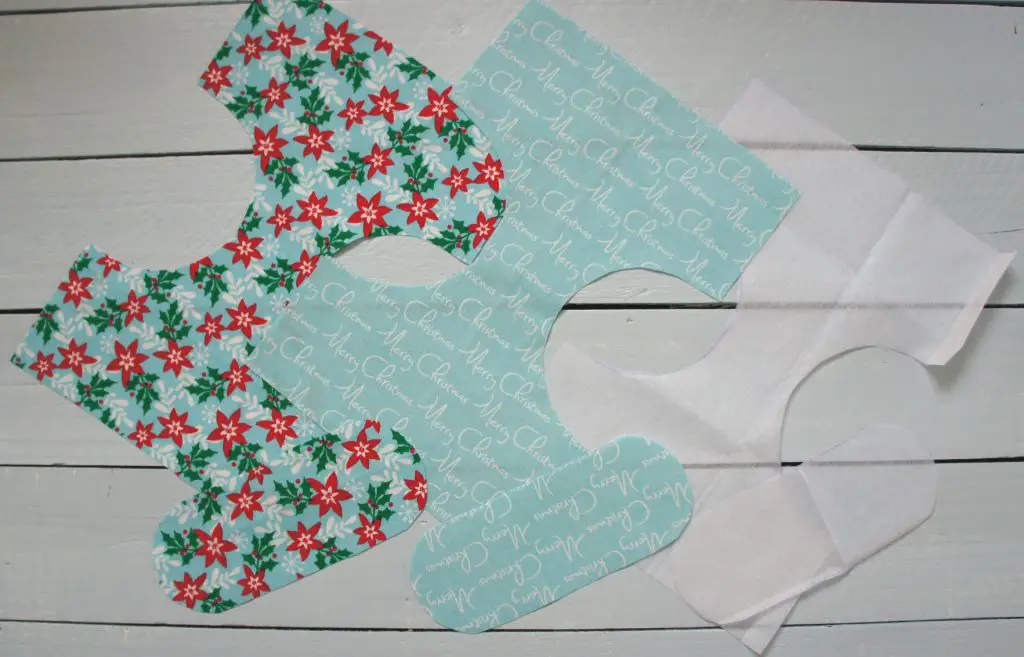
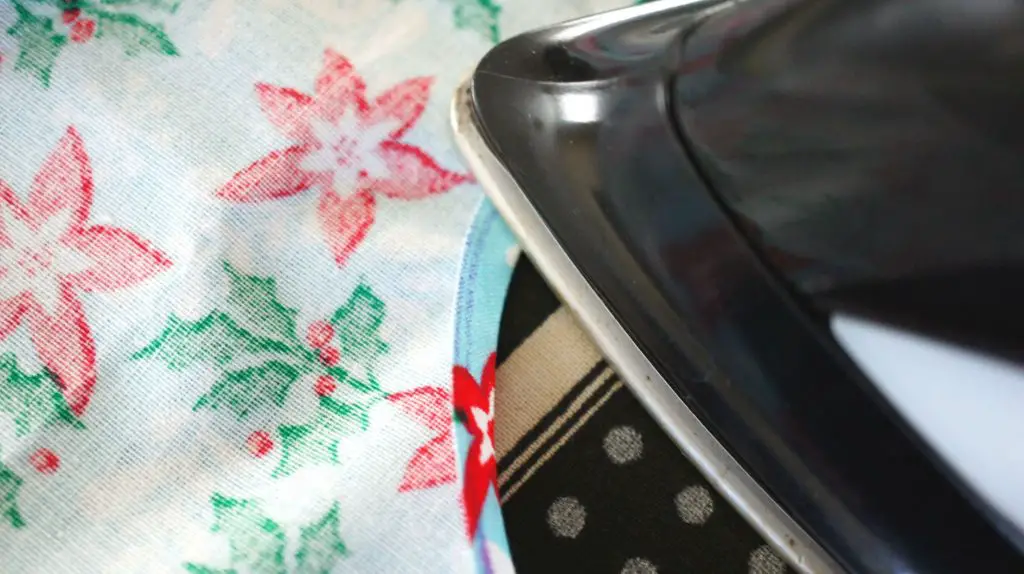
Attach interfacing and press turnings
Iron the interfacing pieces onto your corresponding fabric pieces that you are using as your outer bag fabric. These pieces will form the outside of your bag.
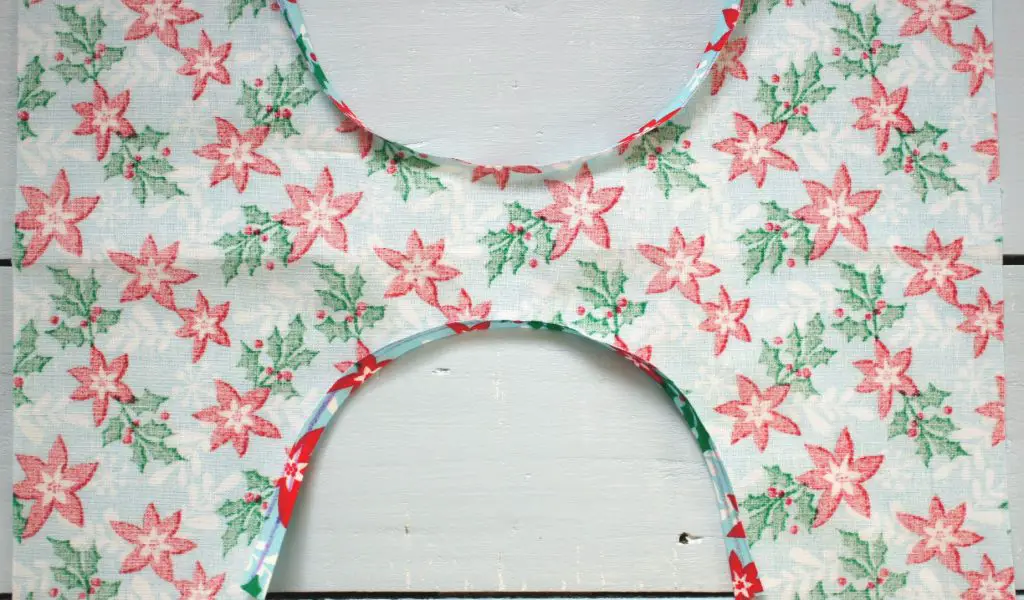
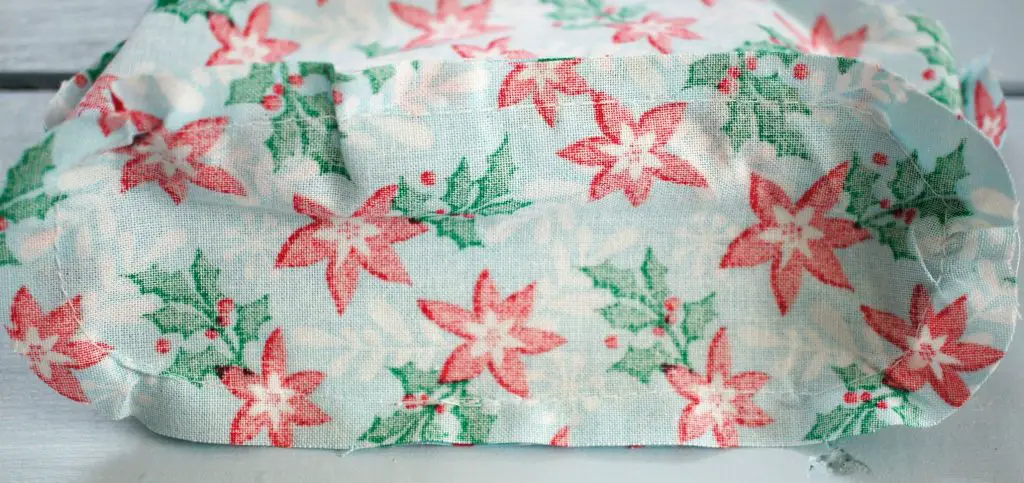
Press a small fold all around the curved edges of the main pieces on both fabrics. This will be a bit fiddly and I recommend that you do not have your iron too hot. It will be very close to your fingers.
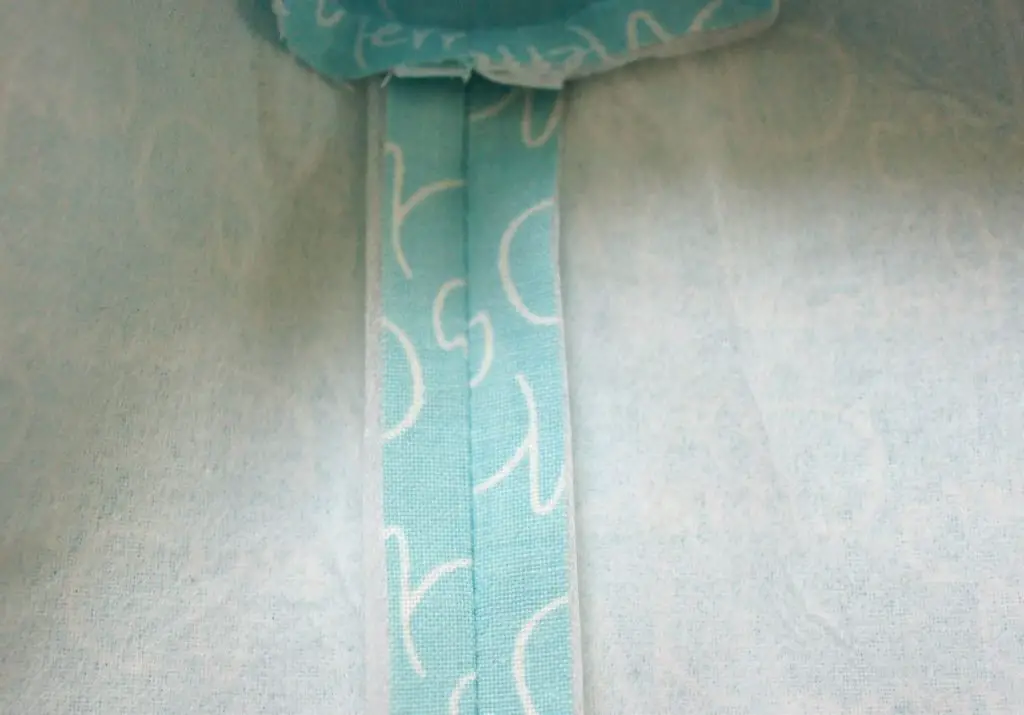
Sew side seams
Fold the main piece in both your outer fabric and lining fabric in half. Pin and sew along the short straight sides.
Press open the seam allowances on all four seams.
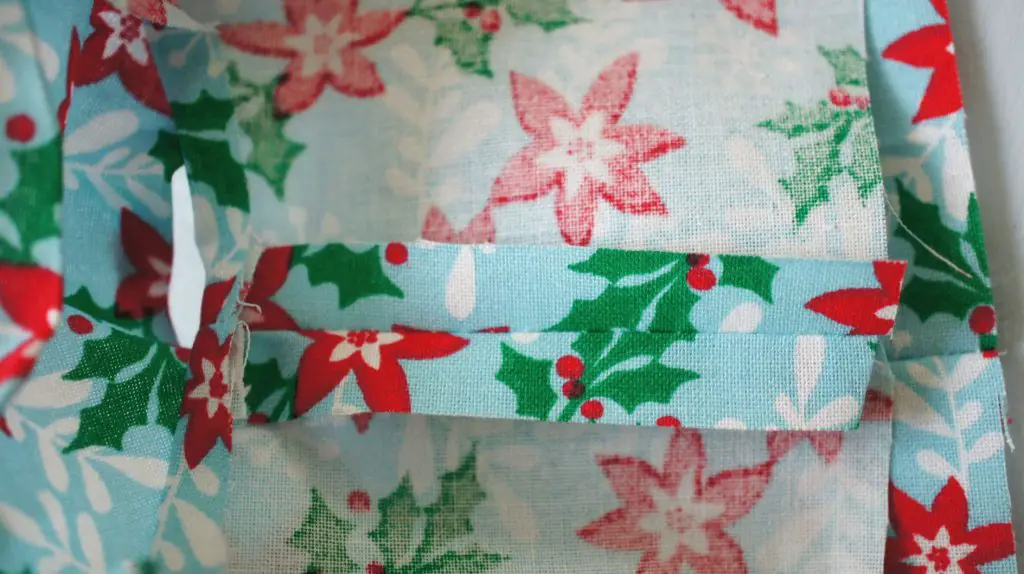
Attach base
Pin and sew the base onto the main piece. Do this for both the outer fabric and the lining fabric separately.
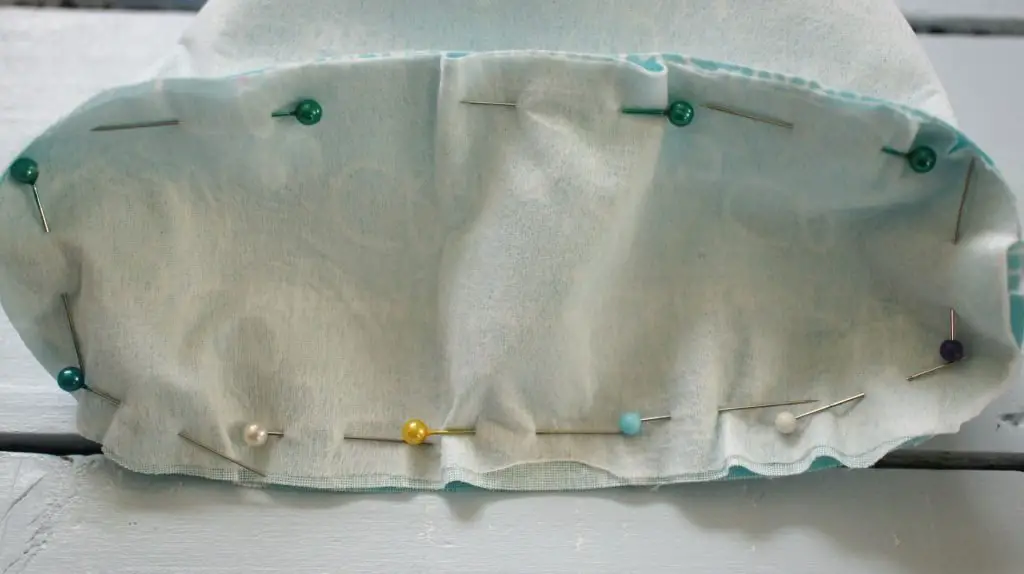
Sew lining to outer bag
Turn the outer fabric the right way out so that the right side is on the outside and the interfacing is on the inside. Place the lining inside the outer fabric bag.
Position the lining ‘bag’ so that it lines up with the outer bag. Making sure that the folds you made earlier stay in place, pin the lining to the outer bag around both holes.
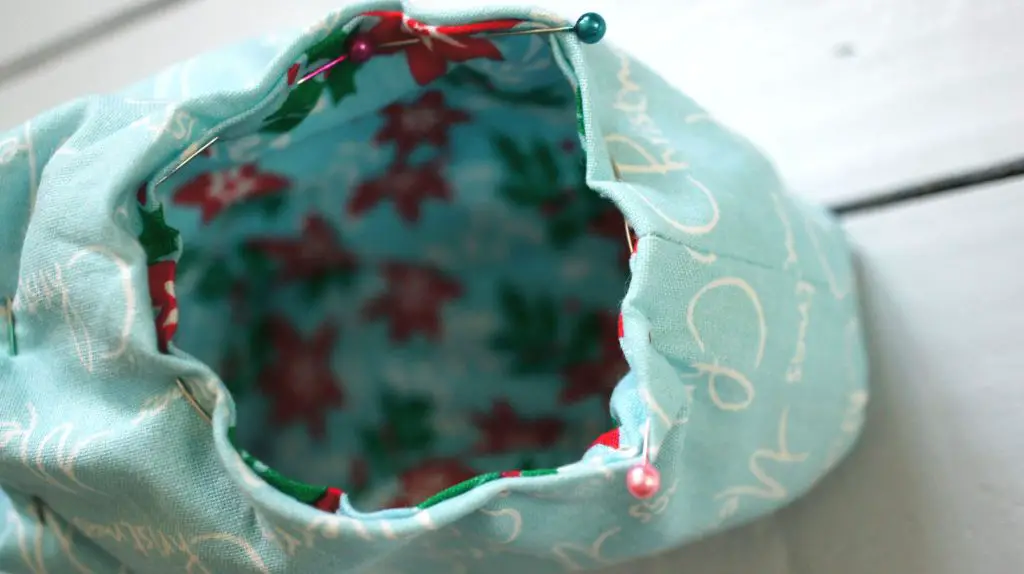
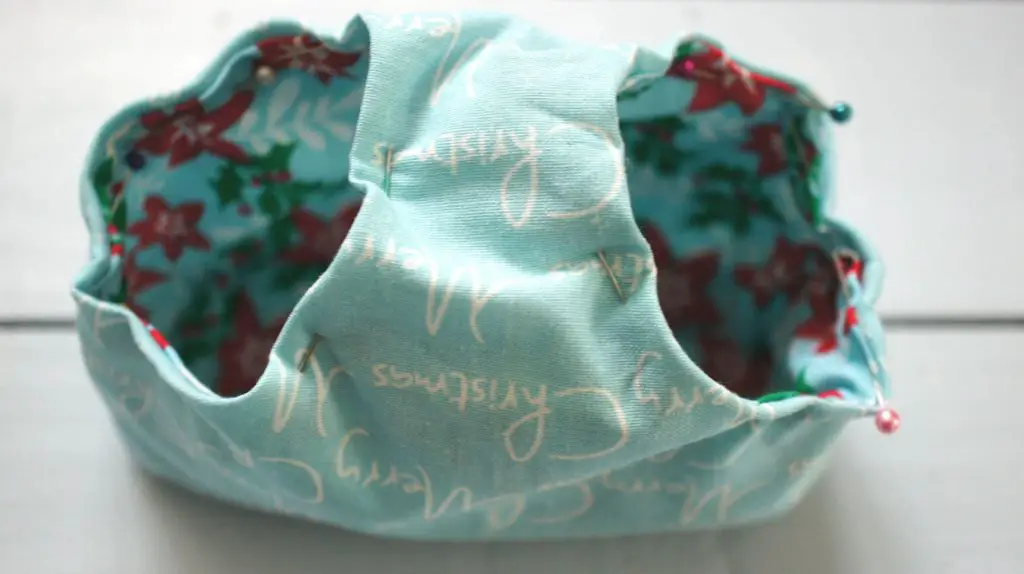
Sew carefully around both holes making sure that both bags are sewn together. If this is too difficult then tack them together before sewing.
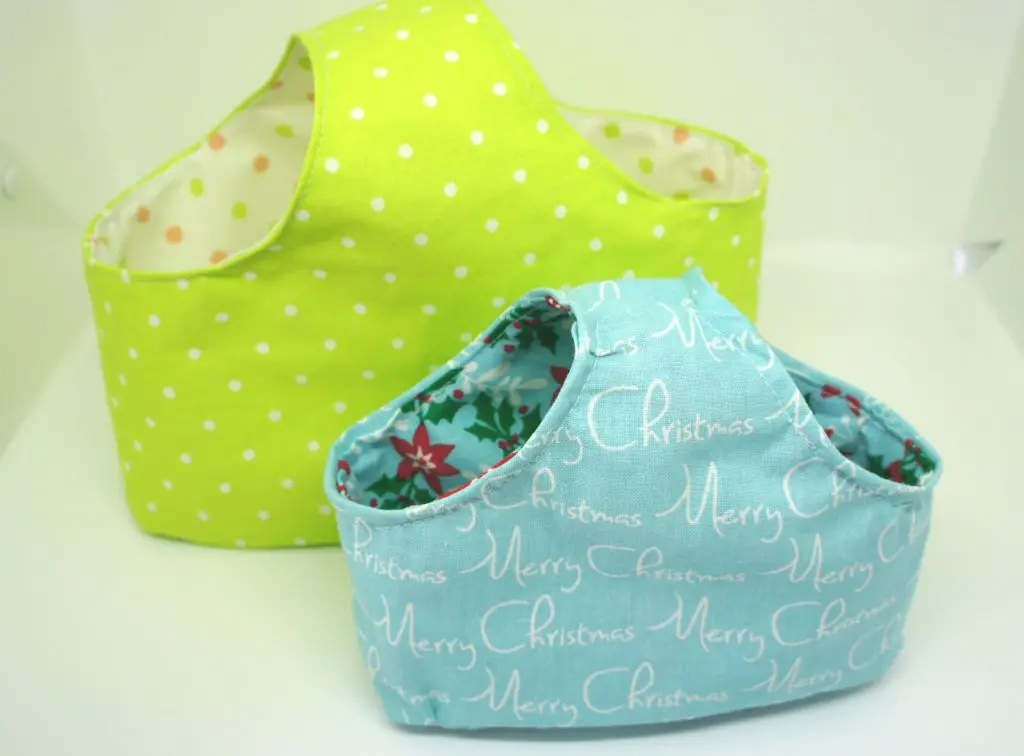
Bag Completion
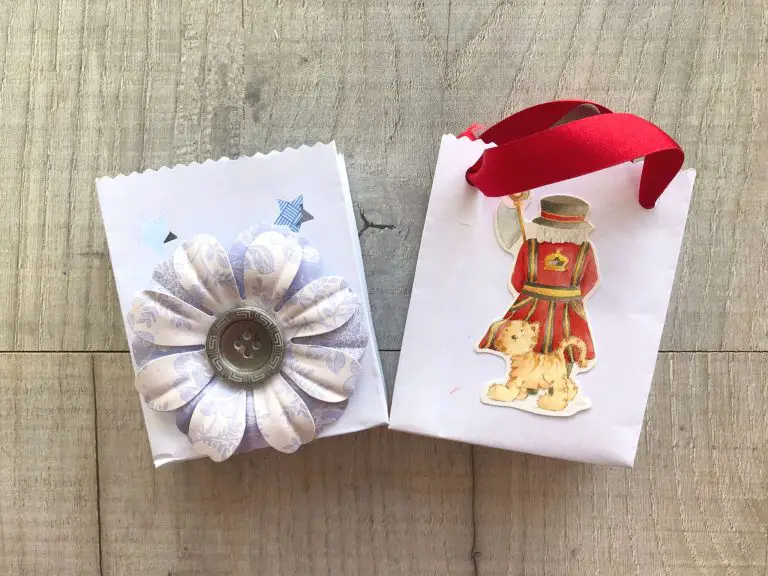
You have now completed your bag and you can choose how to use it. I made a large one to put some yarn in and small ones in Christmas fabric to use them as interesting gift bags.
Please let me know in the comments section below how you get on and what you use your bags for.
If you enjoy sewing you may well enjoy some of my other tutorials and articles:
- Five Fabric Flower Tutorials – Tried and Tested
- Easy Drawstring Bag
- Make your own fabric napkins
- How to make a tool/make-up brush roll
- Cute Make-up Bag
- Fabric Covered Notebook or Journal
Remember to pin this article on Pinterest so that you can find it again later to make your bag!