Learn the Stem Stitch for Slow Stitching for Beginners
As an Amazon Associate I earn from qualifying purchases
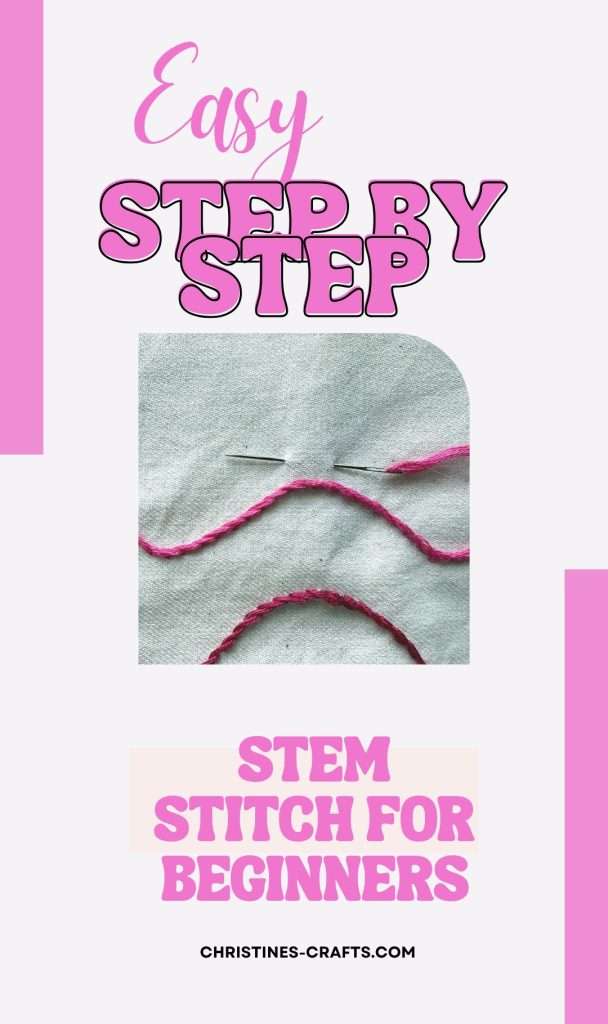
Stem stitch, as the name suggests can be used when creating stems for flowers and plants in hand embroidery. However, it is so much more useful than that. It is a great stitch in many situations including outlining. It is also great when used with satin stitch to fill in shapes.
It is really easy to master and you produce a lovely consistent, full stitch line. You can use any thread you like and vary the rope-like result that you get.
I will show you exactly how in a video and step-by-step written instructions.
This page contains affiliate links meaning I earn a little commission if you use those links at no cost to you. I only recommend brands I use and trust.
You will need:
- Fabric (whatever you have)
- Needle (eye large enough for your thread)
- Thread (embroidery thread works really well)
- Scissors


Video Tutorial for Stem Stitch
This video is also available on my YouTube channel.
Step-by-Step Stem Stitch Tutorial
Step 1: Prepare your Fabric & Thread
Choose your fabric and cut it to size. If you want a specific design you can draw it on your fabric with a pencil or a heat erasable pen. Thread your needle with embroidery floss (you can use anywhere from 1 to 6 strands depending on the thickness you desire) and tie a knot at the end to prevent the thread from pulling through the fabric.
I often use 3 threads and that works really well. If you prefer a chunky stitch then use the whole embroidery thread. I encourage you to experiment with everything from 1 thread to all 6. You will get quite different effects and be able to use this simple stitch in more ways.
Step 2: Bring your needle up
Start at your beginning point by bringing the needle up from the back of the fabric to the front. This is your starting position, which we’ll call point A. Pull the thread until your knot is sitting snugly behind the fabric
Step 3: Create your first stem stitch
Put your needle back down through the fabric a stitch length away at point B (I used a stitch length of approximately 3/8″). Do not pull your thread tight, leave a loop on the front.
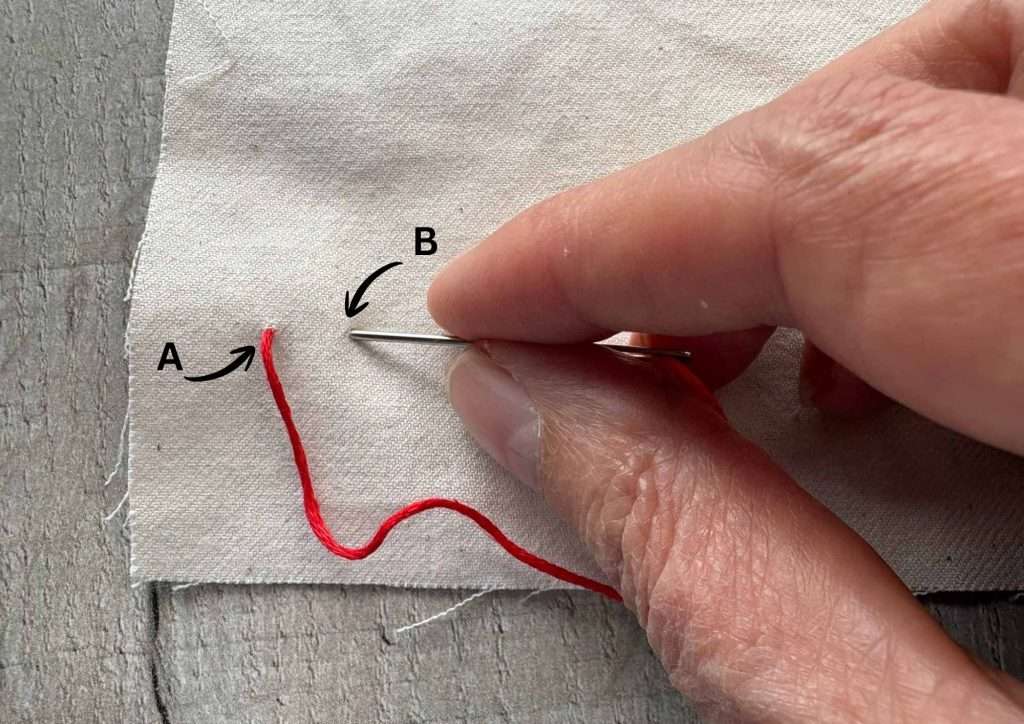
Bring your needle back up half way between points A and B. We will call this point C. You can be above or below the loop. It doesn’t matter but you need to be consistent. Whatever decision you make now, you must follow along your row of stitches. I chose to keep my loop below the stitches.
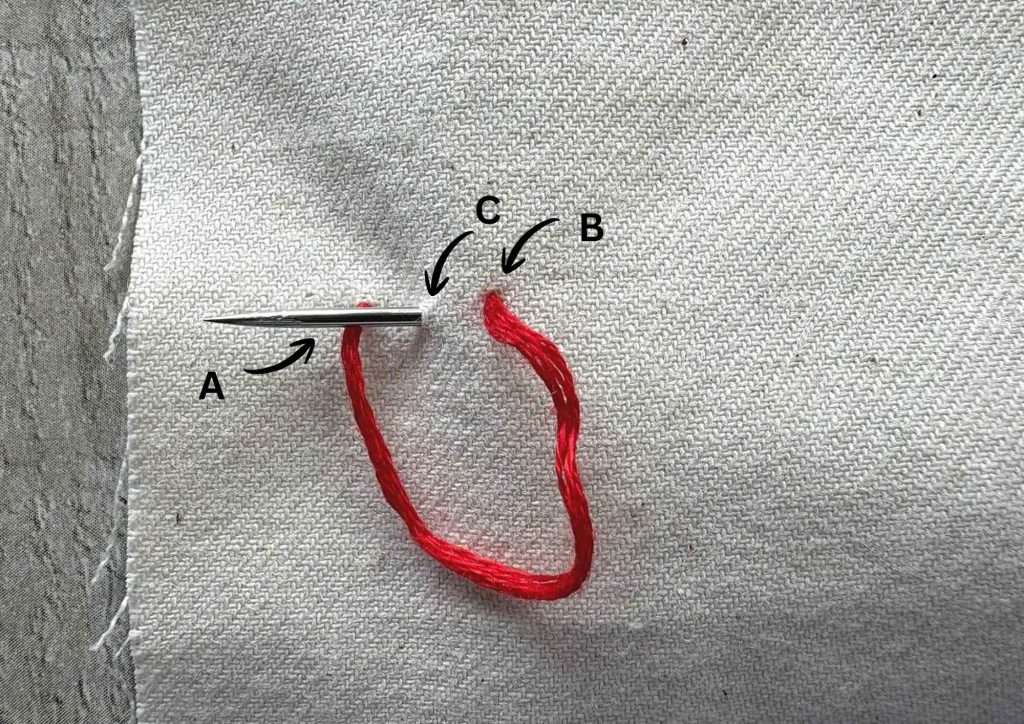
Pull your thread through and close the loop. Your first stitch is now lying flat onto the fabric.
Step 4: Sew more stem stitches
Put your needle back down through the fabric a whole stitch further along (in my case this is 3/8″). Again, keep a loop of thread on the top of the fabric.
Bring your needle back up at point B, which is half way along your second stitch and at the end of your first stitch. Pull the thread until your loop lies flat on the fabric. You should now be starting to see the rope like effect of the stem stitch.
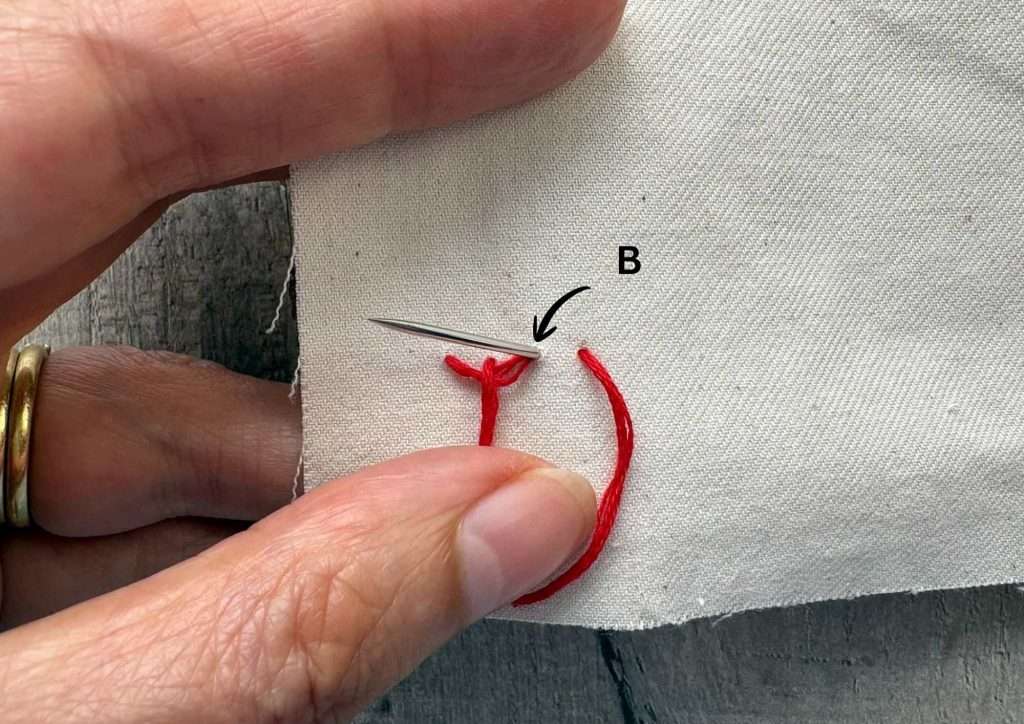
Keep going until you have the length of stitching you require. You can streamline the process by combining the two actions of going down through the fabric and back up again. This will make it a lovely flowing stitch to work with.
Step 5: Complete your row of stem stitches
Once you have reached the desired length of stem stitches take your needle to the back of the fabric during a stitch but do not bring it back up again.
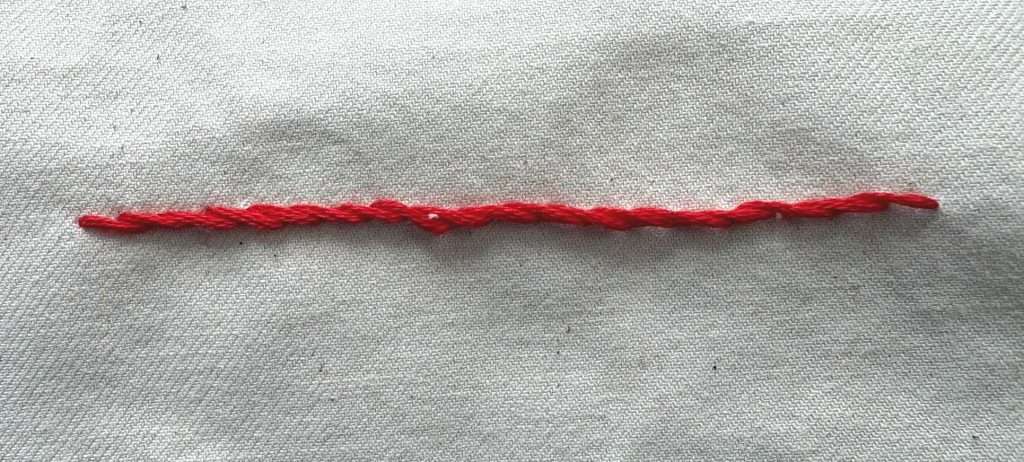
On the back of your stitching put your needle through a few stitches to weave it in place. If you like, you can do a small knot by passing the needle through the loop of thread that you are forming.
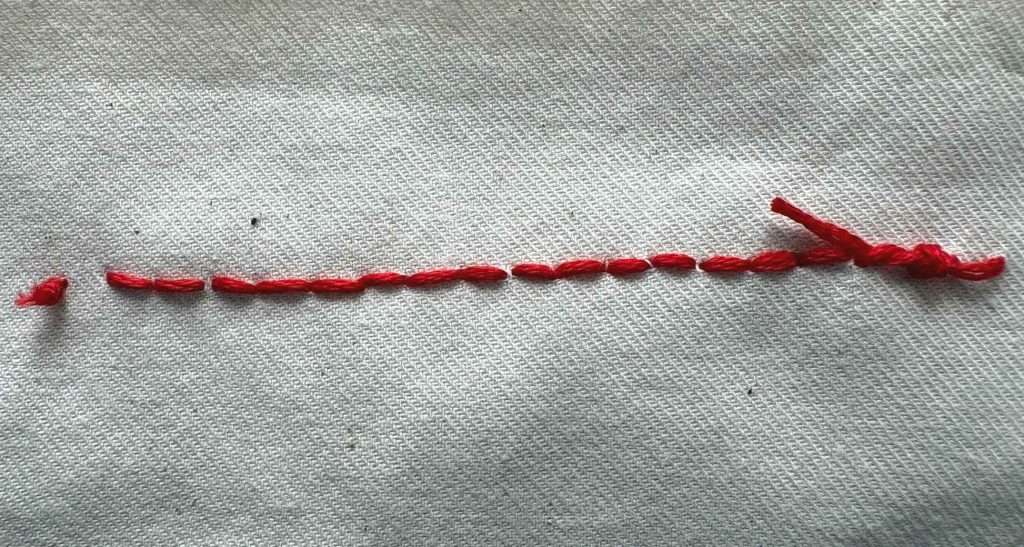
Cut off your thread and turn your work over to enjoy your stitches.
Would you like to try another stitch too? If so, how about chain stitch which is so pretty?
Tips for Consistency
- Keep your stitch lengths the same throughout the line for a professional appearance
- Use shorter stitches when working around tighter curves
- Longer stitches work well for straight lines and gentle curves
- Do not pull your thread too tight – you do not want your fabric to pucker.
Project Ideas to Practice your Stem Stitch
Once you have mastered the stem stitch you will want to use it again and again. When choosing your first project keep it simple and not too large so that you enjoy the process and do not get frustrated. Here are a few ideas:
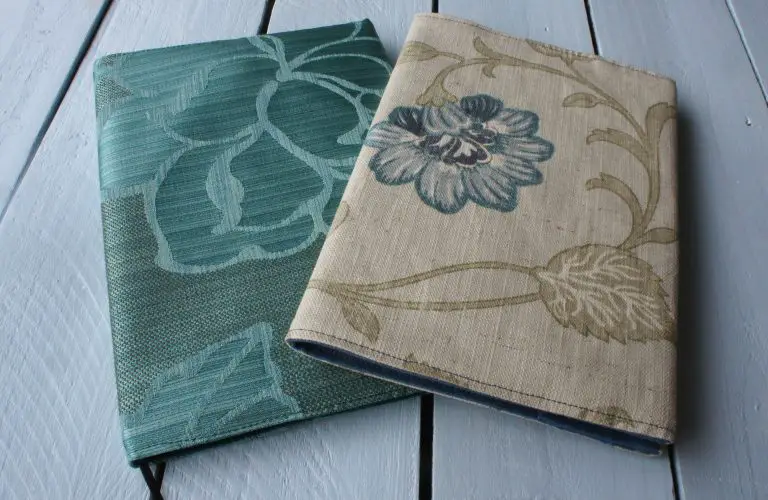
- Slow stitching book like this one here.
- Nature inspired motifs are fabulous using stem stitch (see one of mine below)
- Embroider onto a tote bag your own unique design.
- Sew your own bookmarks
- Simple coasters
If you are looking for more stitches check out the back stitch, chain stitch or running stitch.
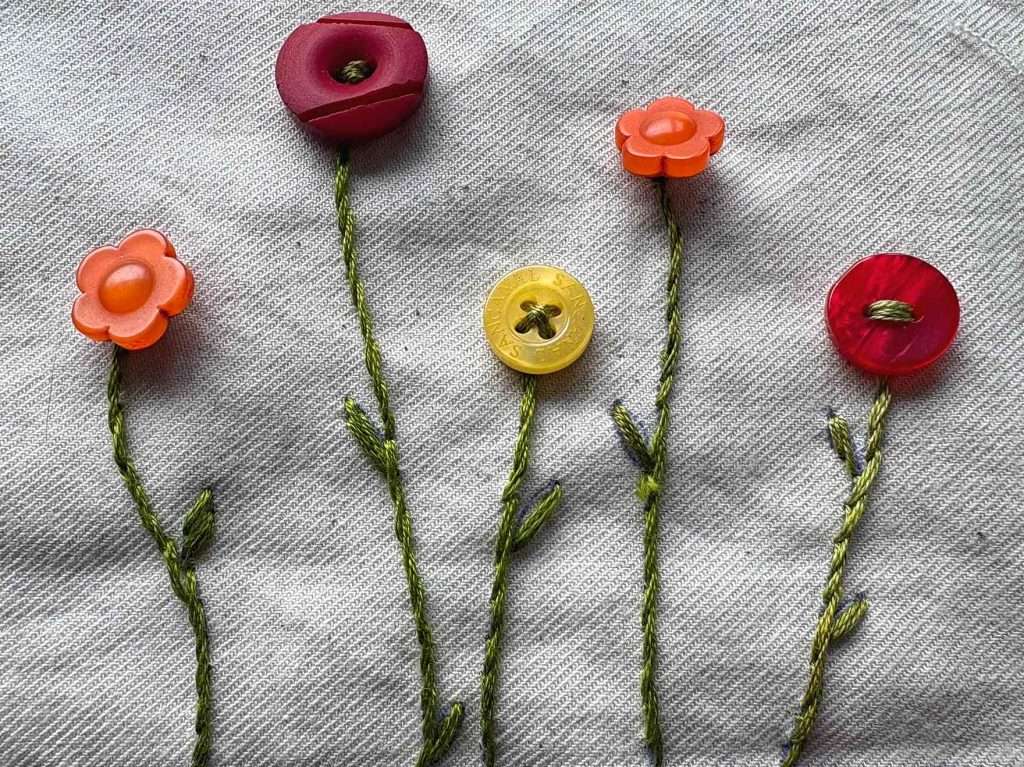
For more great ideas to use your stem stitch why not save this to your favourite Pinterest board and explore while you are there?