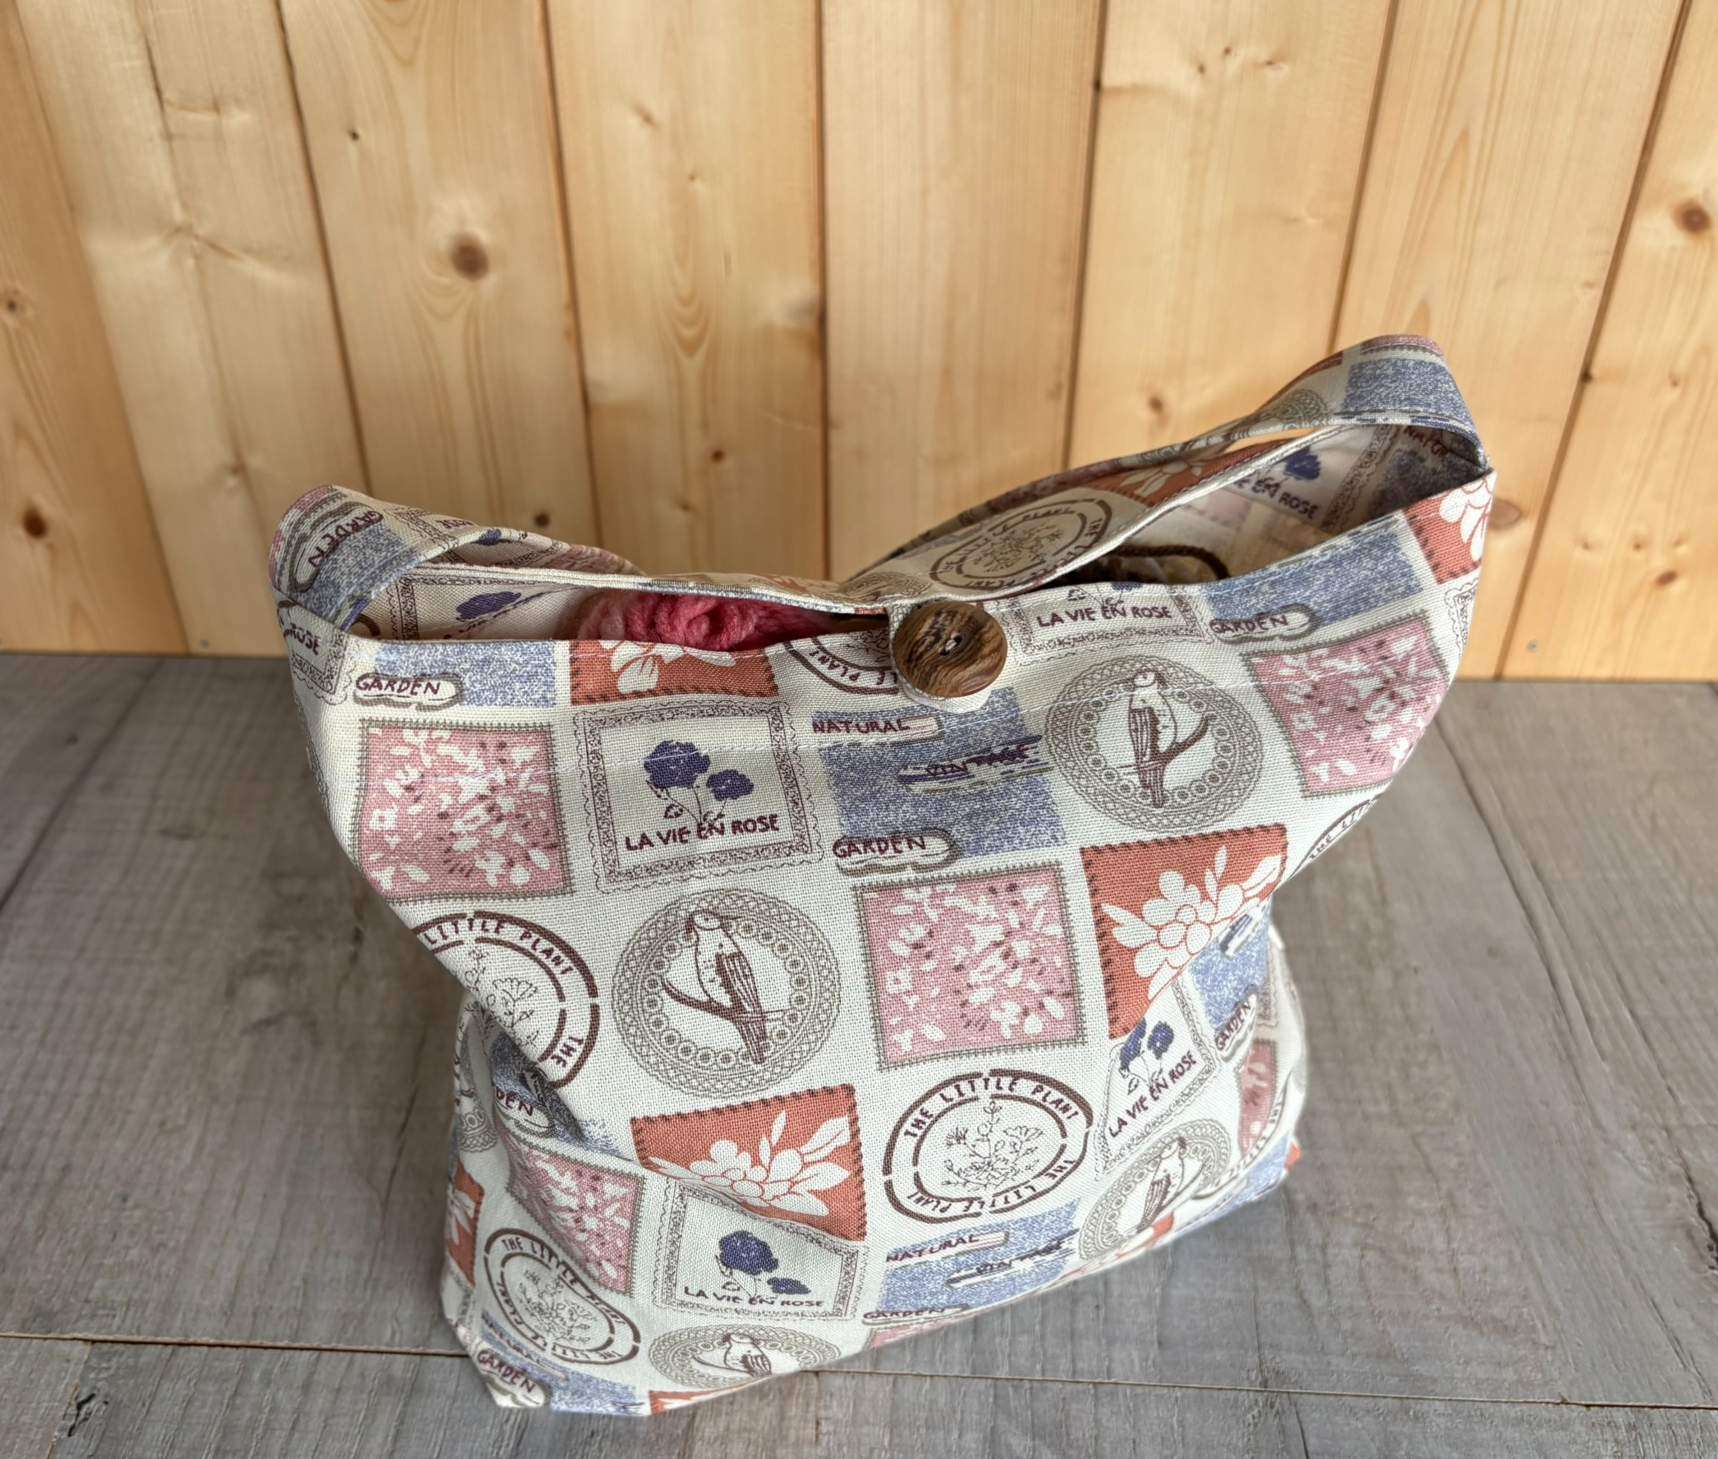
How to Sew a Boxed Bottom Bucket Bag (Easy Beginner Tutorial & Video)
As an Amazon Associate I earn from qualifying purchases
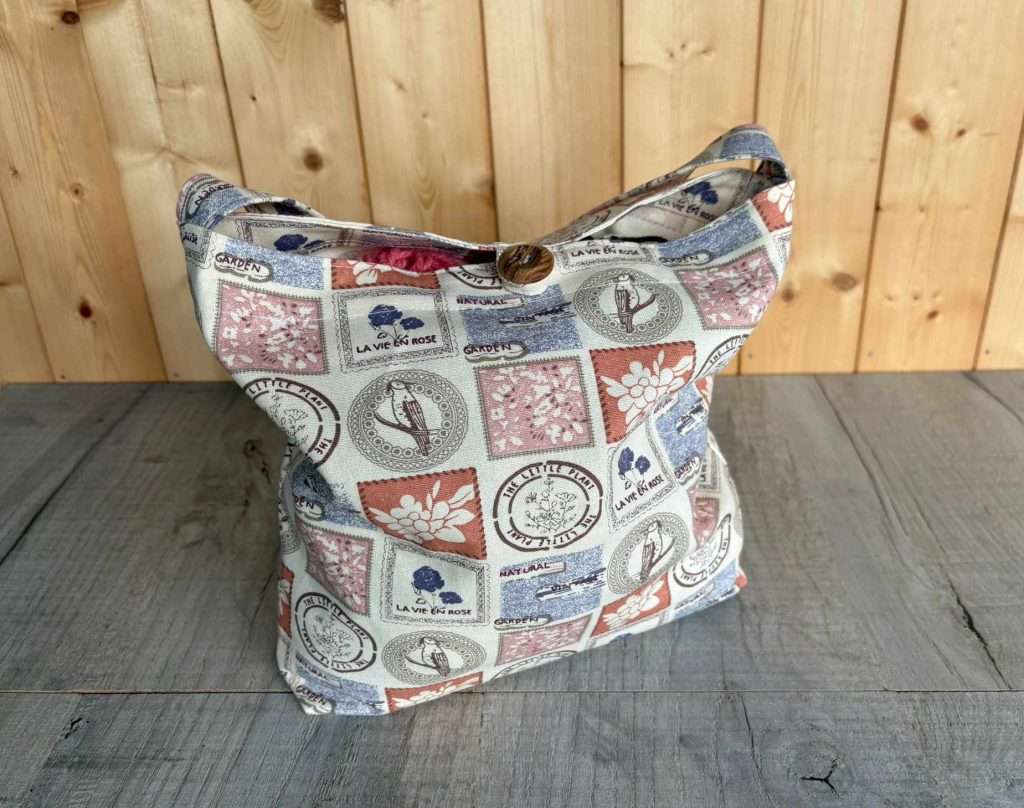
Do you love a bucket bag that stands up on it’s own? Would you like to sew your own boxed bottom bag? Well, you are in the right place. None of this is difficult. In fact, I would say that this is an easy beginner sewing project. You do not need a pattern and it includes a box corner sewing tutorial.
So, grab your fabric and let’s get started!
You will need:
- Fabric (quantity depends on the size of bag you want – read on!)
- Button
- Sewing supplies
Cut out your fabric pieces
You will need the following pieces out of your fabric.
But, firstly I want to give you a few tips. Check the way up your fabric should be before cutting out. No-one wants upside-down birds! Think about what your bag is for if you want a different size.
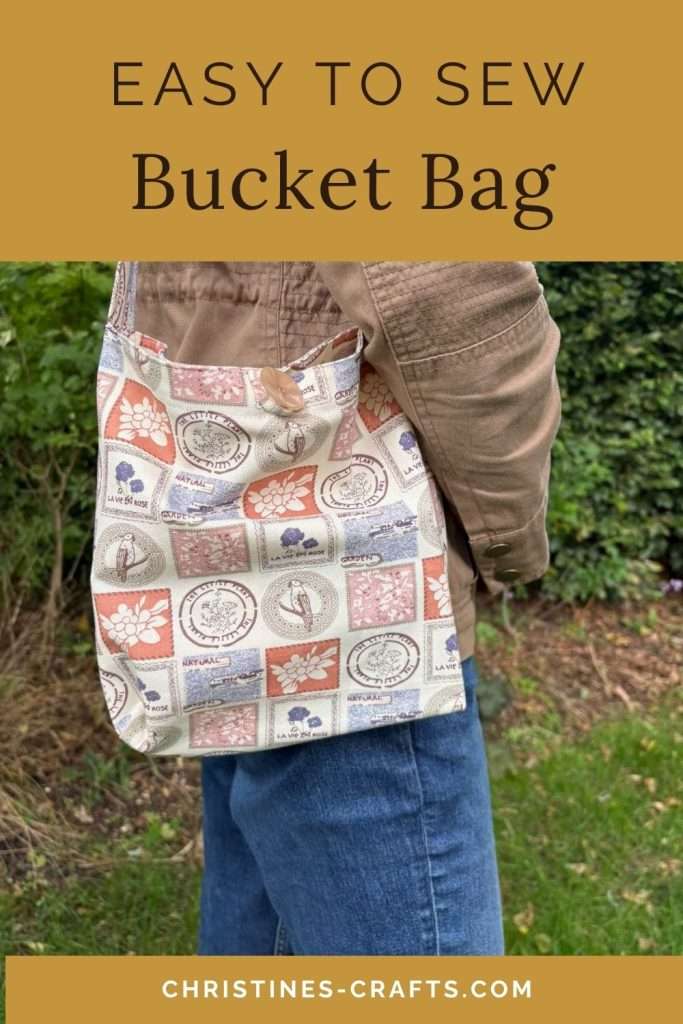
This bag is approximately 10″ wide and 10″ tall when it is completed. There is no reason you can’t make it bigger, smaller or rectangular instead of square.
The measurements state the width of the piece of fabric first.
- 2 bag panels – 12″ x 12″
- 2 Facings – 12″x 2″
- 1 Strap – 4″ wide x required length (mine are 15″ for a short handle and 24″ for a long handle)
- 1 Loop – 3″ x 1″ (NOTE: if your button is bigger than 1″ across then make your loop longer)
Video Tutorial for the DIY Bucket Bag with Strap
This video is also available on my YouTube channel.
Press your Pieces
In turn take both the strap piece and the loop piece and treat them in the same way.
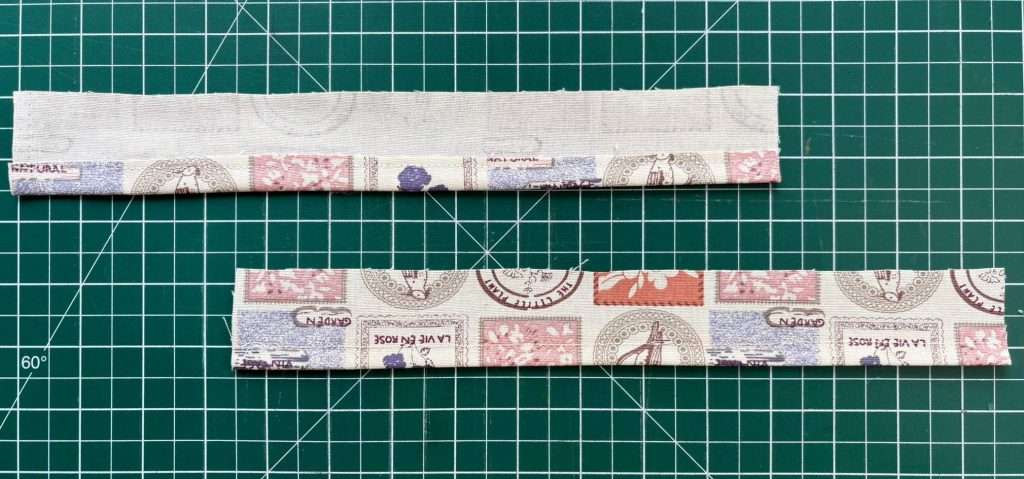
Fold it in half lengthwise and press it. Fold it open and, in turn, press each side into the centre fold that you made. Then, fold all the folds that you have made and press the entire length. You should now only have raw edges at the end of the fabric strip.
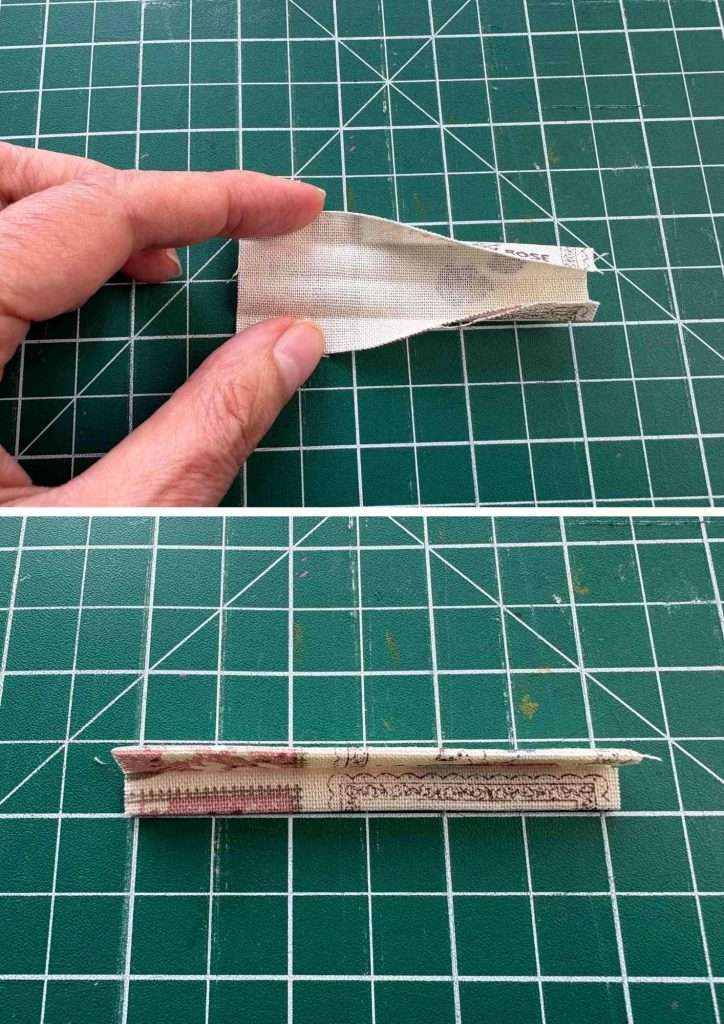
Take each facing and press a turning up along the bottom of approximately 1/4″ or 1cm. Check that you put the hem along the bottom of the fabric piece so that when sewn into the bag your facing is the correct way up.
Sew the Strap, Loop & Facings
Take the loop and sew along the long open edge to hold it closed. I suggest approximately 1/8″ from the edge and using a slightly longer stitch than you normally use (as it is top stitching).
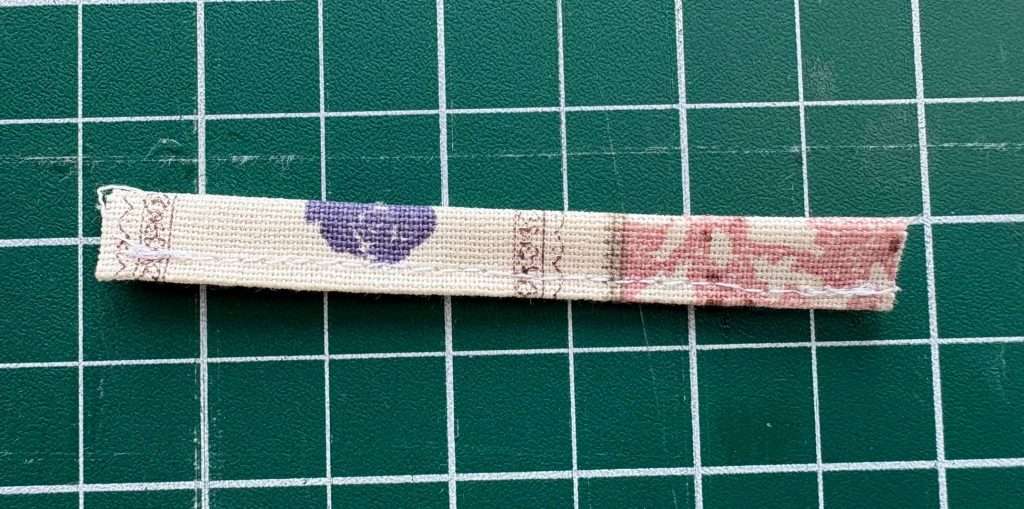
Take the strap and sew along the open edge in the same way.
OPTIONALLY – repeat this along the other long edge to give a symmetrical finish.
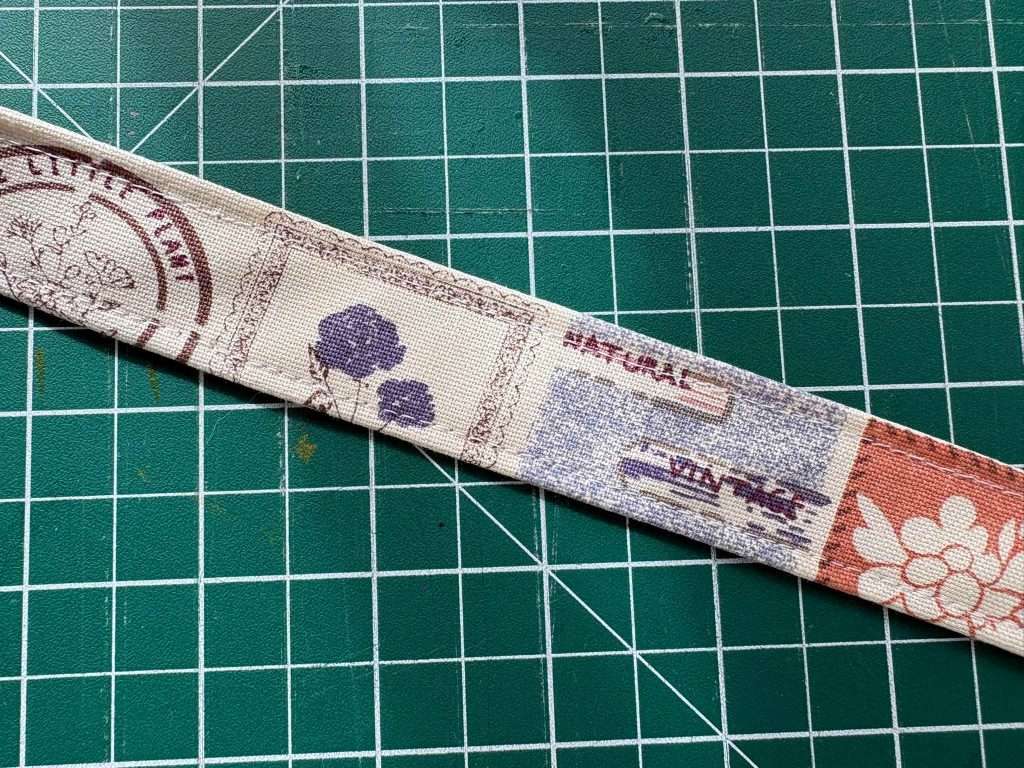
Take the two facings in turn and sew the hem that you pressed earlier. It is entirely up to you how far from the fold that you sew but I tend to sew near the raw edge of the hem
Sew the Bag Pieces Together
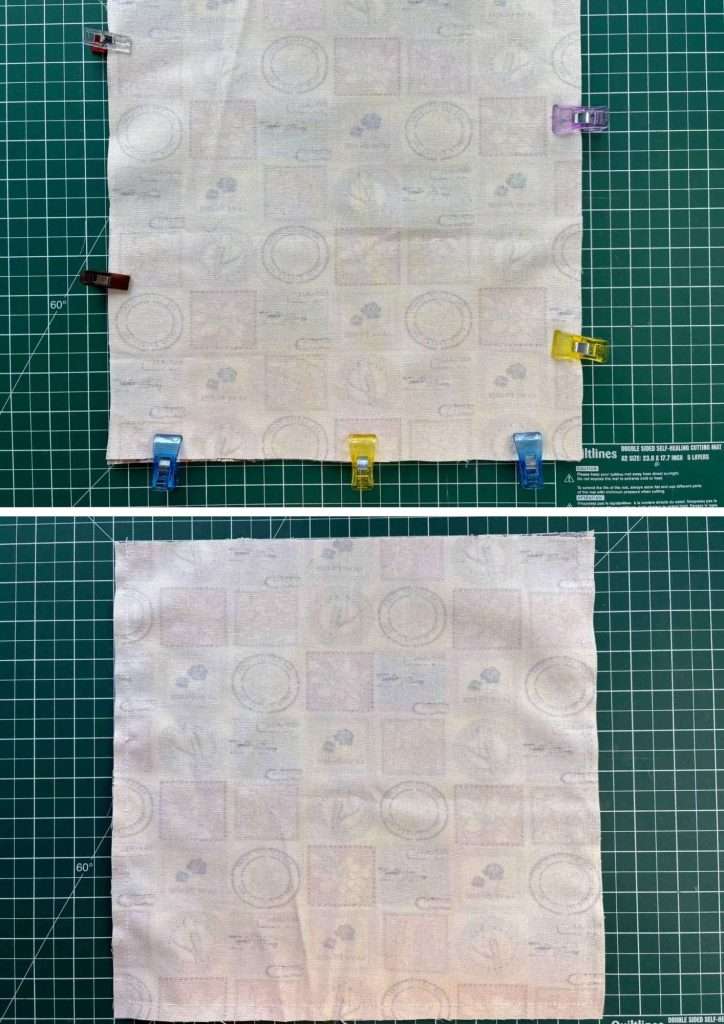
Take the two bag pieces and place one on top of the other with right sides facing each other.
TOP TIP: Make sure that both piece are the right way up!
Pin and sew around 3 sides of the fabric pieces to attach them together. Make sure that you leave the top of the bag open. Double check that you have left the top open before you sew, especially if it will be obvious if you get it wrong. I used 1/4″ seam allowance.
How to Box Corners
You now need those box corners! Simply press open your seams. If you want you can cheat by running your fingernail along the seams but pressing is better.
Open the bag up and then close it so that the side seam lies on top of the bottom seam. This will form a point at the bottom corner. Measure 1″ down from the point of the seams meeting and pin across.
Check that the seams line up perfectly by pushing a pin through the centre of the top seam and it should come out through the centre of the bottom seam.
Repeat for the other side seam. Then sew both seams that you pinned.
NOTE: If you want a wider bottom simply sew your seam further away from the point. For example, measure 1.5″ away from the point.
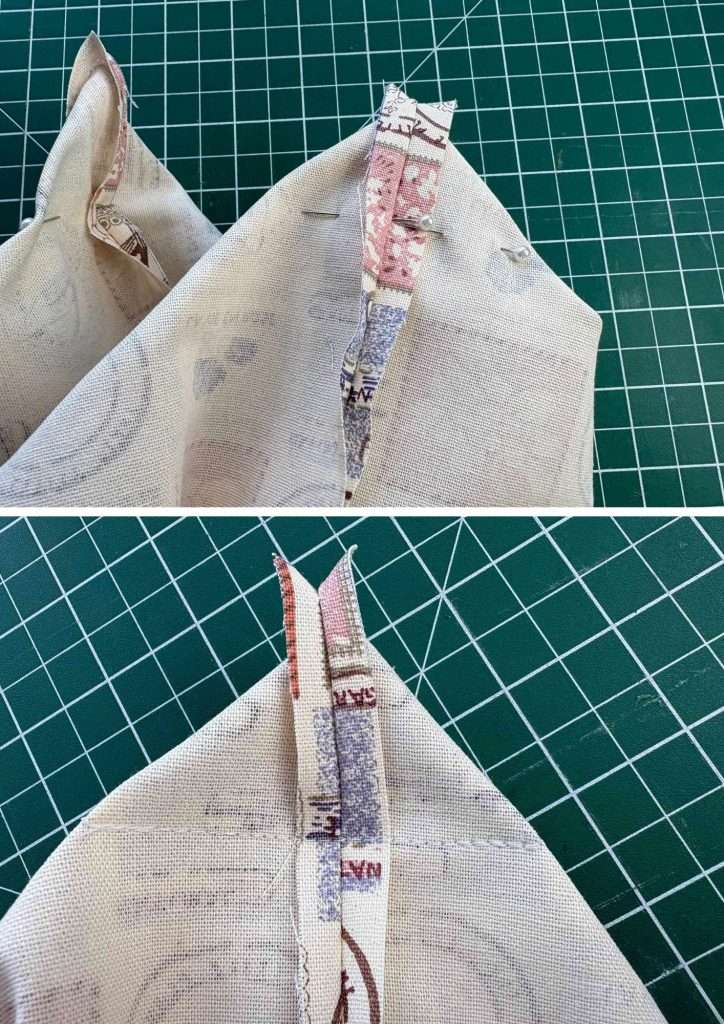
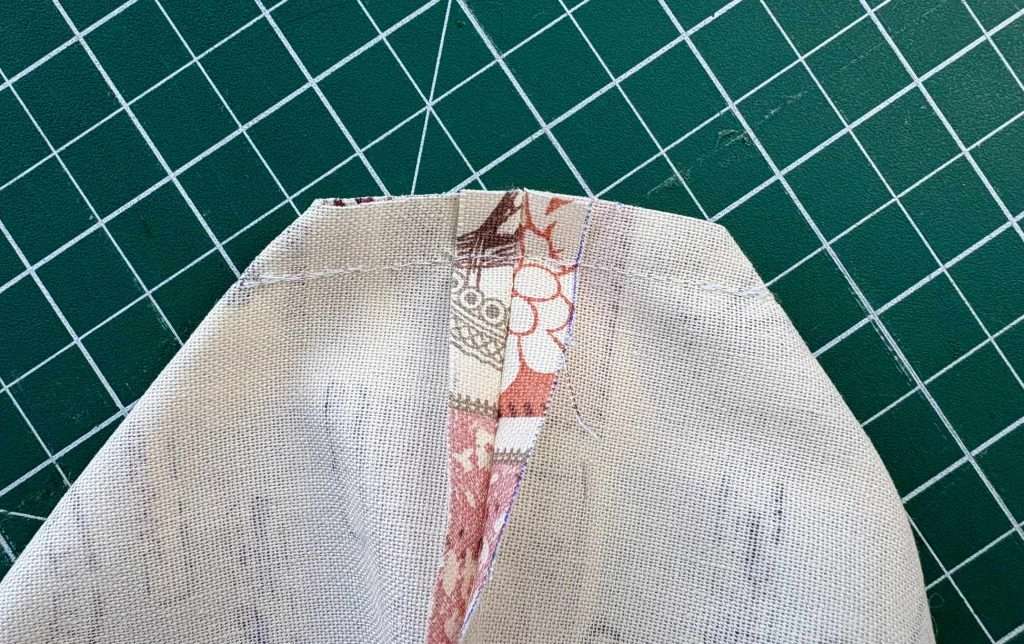
Clip off the excess fabric from the seams leaving approximately 1/4″.
Attach the Loop
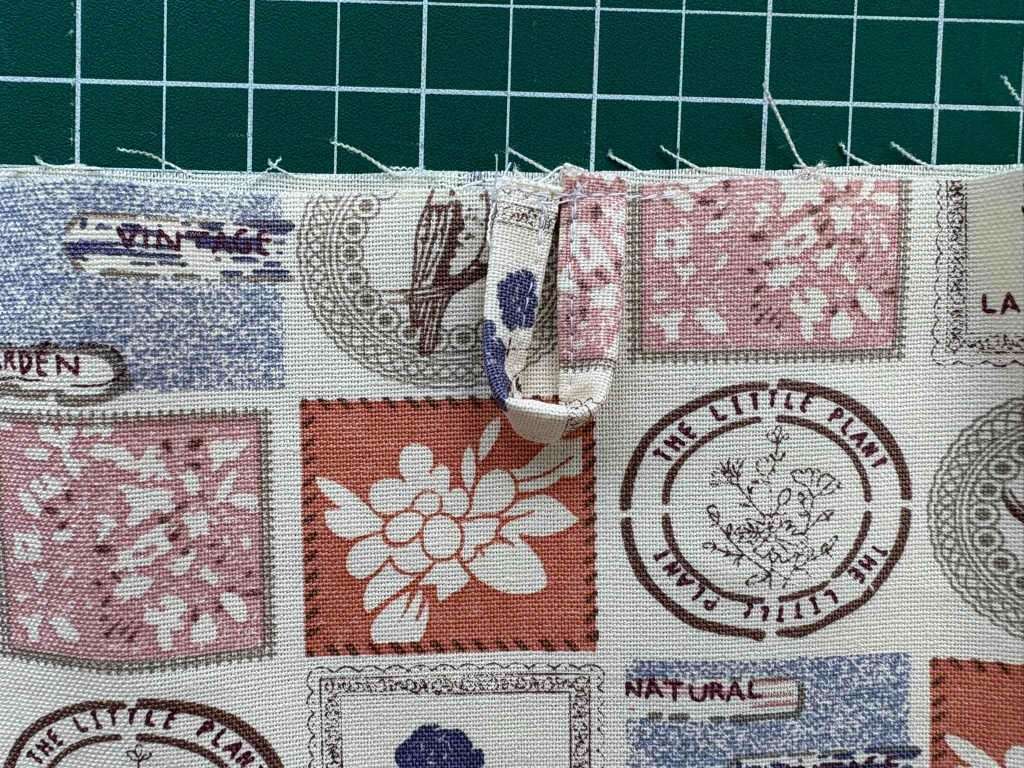
Remember the loop you made – well now is the time to sew it on. Turn your bag the right way out (take a moment to admire your boxed corners). Then lay it down flat. Measure half way along one side, where you want to attach the loop) along the top of the bag and mark it. Fold the loop in half and pin (or clip) it to the top of the bag where you marked so that the loop lies flat against the bag.
Sew it in place close to the edge of the bag (approximately 1/8″).
Sew the Facings together
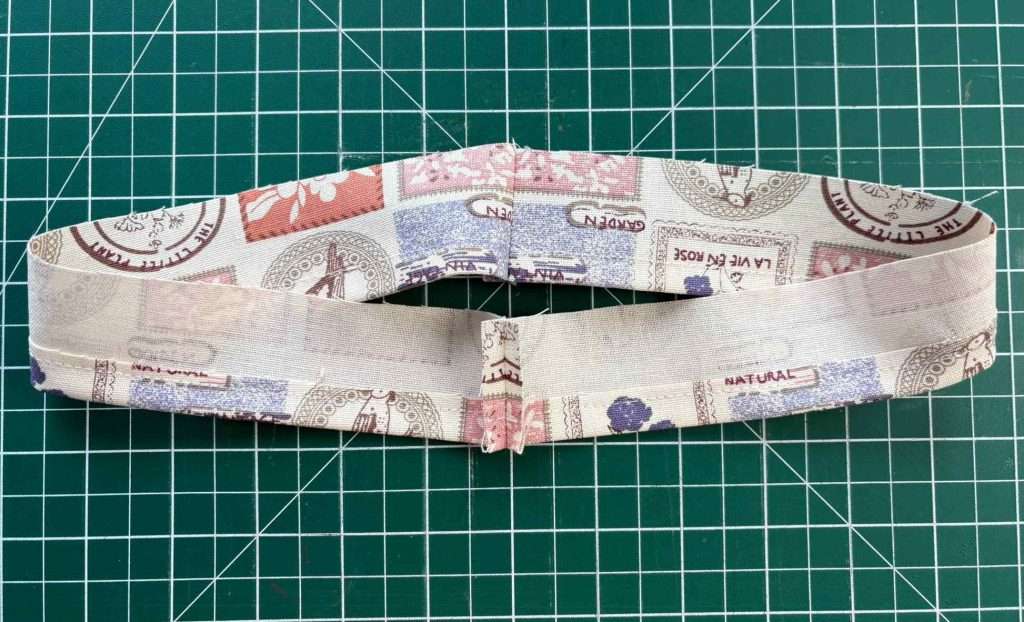
Take your 2 facings and pin then together along the short sides, right sides facing. Take care to line up the hemmed edges so that they meet perfectly. Do not worry to much about the other side.
Sew both seams and press them open. Use the same seam allowance as you used for the bag.
Assemble the Bucket Bag
Firstly, take your strap and pin or clip it to the top of the bag at each side seam. Make sure your strap is equidistant around the side seam on each side. Also make sure your strap comes down over the side of the bag (like your loop did).
Then slide the facings over the top of the bag and pin or clip those in place. Line up the side seams with the side seams of the bag. The facings should have their right side facing the right side of the bag and with the long raw edge matching up with the long raw edge of the bag.
Take care to keep the loop down and the straps in place. It should fit perfectly but if it doesn’t ease the facings in place.
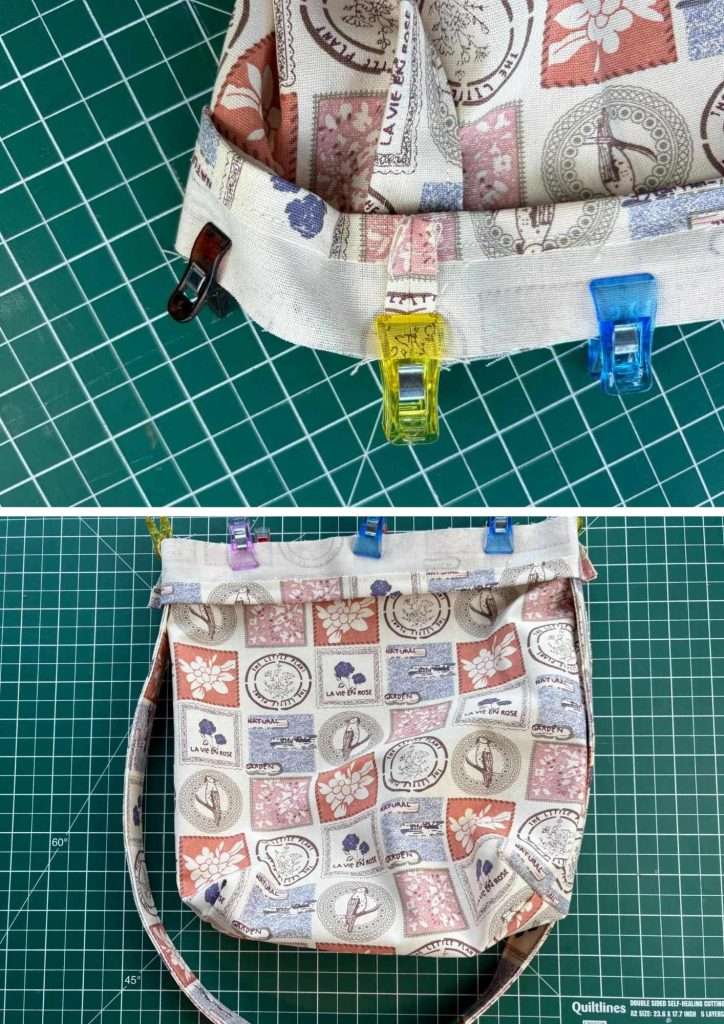
Sew around the top of the facings (and bag) carefully. Make sure the loop and strap stay in place. I used 1/4″ seam allowance.
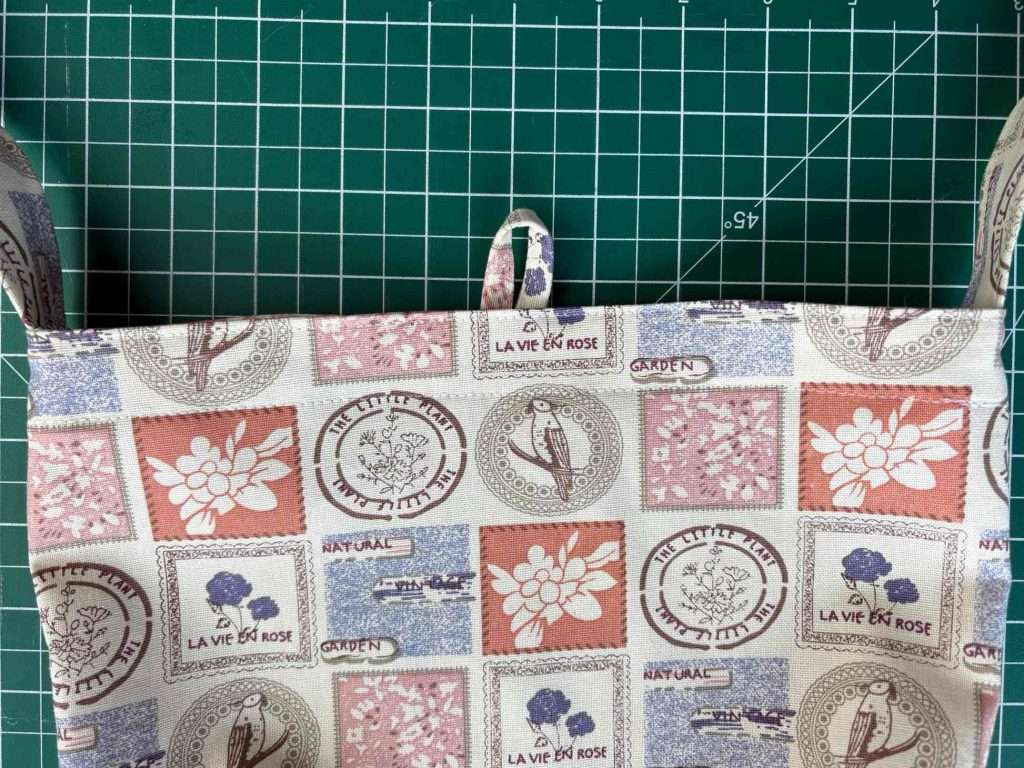
Turn the facings over so that they lie inside the bag. Press them in place.
Now sew around the top of the bag to form a line of top stitching approximately 1/8″ from the top. This will hold the facings inside the bag. I also sew around the bottom of the facing to stop it getting caught when items are passed in and out of the bag but this is optional.
Attach your Button
Now simply sew your button onto the opposite side of the bag to the loop. If your loop is short like mine you will need to sew your button at the top in the centre. This means that you can work within the facing and not show any stitching inside the bag.
If your loop is longer simply assess where to sew your button and sew it in place.
Congratulations, you now have a completed box bottom bucket bag.
And next …
If you enjoy sewing I definitely recommend you check out my entire sewing section on this website.
If you would like to make yourself an exploding sewing box for your supplies then take a look at my pattern here.
Whatever you are sewing good luck and enjoy it!


This is such a fun tutorial on how to make my own boxed bottom bag! Thank you for the easy-to-follow instructions as well as the helpful pictures! I’m excited to make one!
Enjoy it and nay problems just jump back into the comments and I will help.
You make this seem so easy to do. I used to do alot of sewing. I really should get back into it. Uou are inspiring me to get back into my sewing room.
Great idea – give it a go. i am sure you will enjoy it.
Thank you for these info. I made couple of crochet bag and hand seaming the liner – I so wished I knew how to use the machine. Lately, I have been thinking about buying a 2nd machine to start practicing…
If you are going to make a lot it could be a good idea. But, sometimes, I love hand sewing. It is so relaxing.
Hi Christine
Thank you for sharing with us at SSPS 429. You are one of my featured posts Monday.
I love this bag, and would love to have one myself.
Thank you so much. I am sure you could make one.
A lovely tutorial. Thanks for sharing at Handmade Monday, this is a feature this week.
Thank you so much. I am glad you liked it.
Very cute bucket bag with a great tutorial. Thanks so much for sharing at Love Your Creativity. I am happy to feature your lovely bucket bag today.
Thank you so much. I am glad you liked it.
This is beautiful! And I love that it’s easy. I have only ever dabbled in sewing. Great tutorial. So happy you shared this with us at Will Blog for Comments #93. Looking forward to seeing what you have to share next time. Have a great week!
Thank you.
Congratulations, Christine! This post was one of the most popular at the Will Blog for Comments linkup #93, so it will be in the spotlight for the next 2 weeks, starting today! I’m also Pinning it for extra visibility. Thanks for sharing your lovely posts with us. 😊💕
Thank yo so much. I love being part of link parties – so many interesting features to visit!