Learn the Chain Stitch for Slow Stitching for Beginners
As an Amazon Associate I earn from qualifying purchases
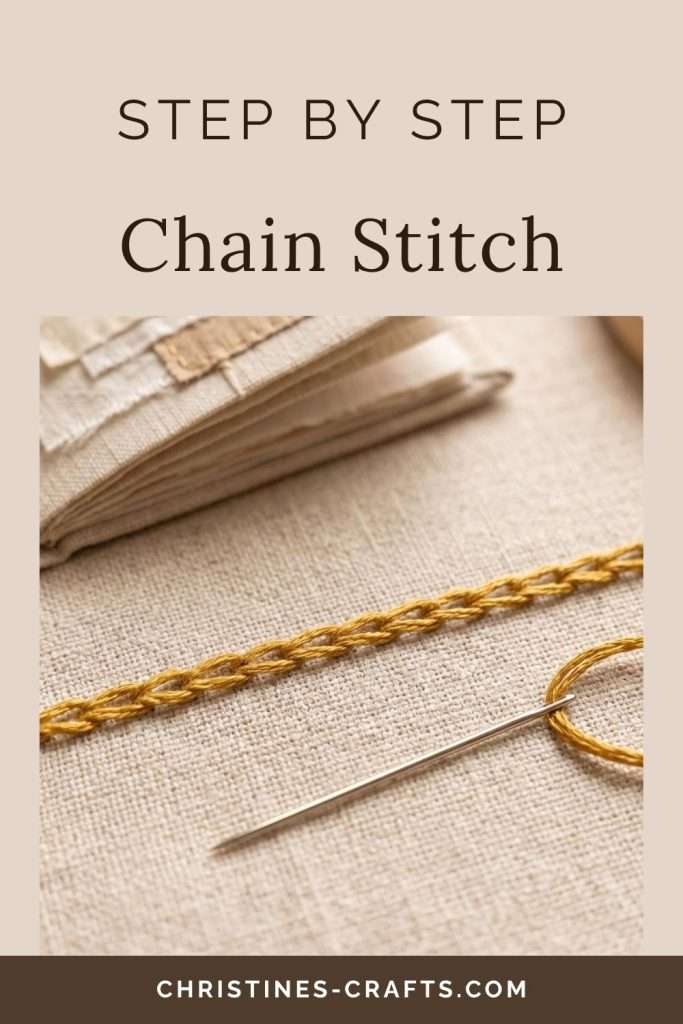
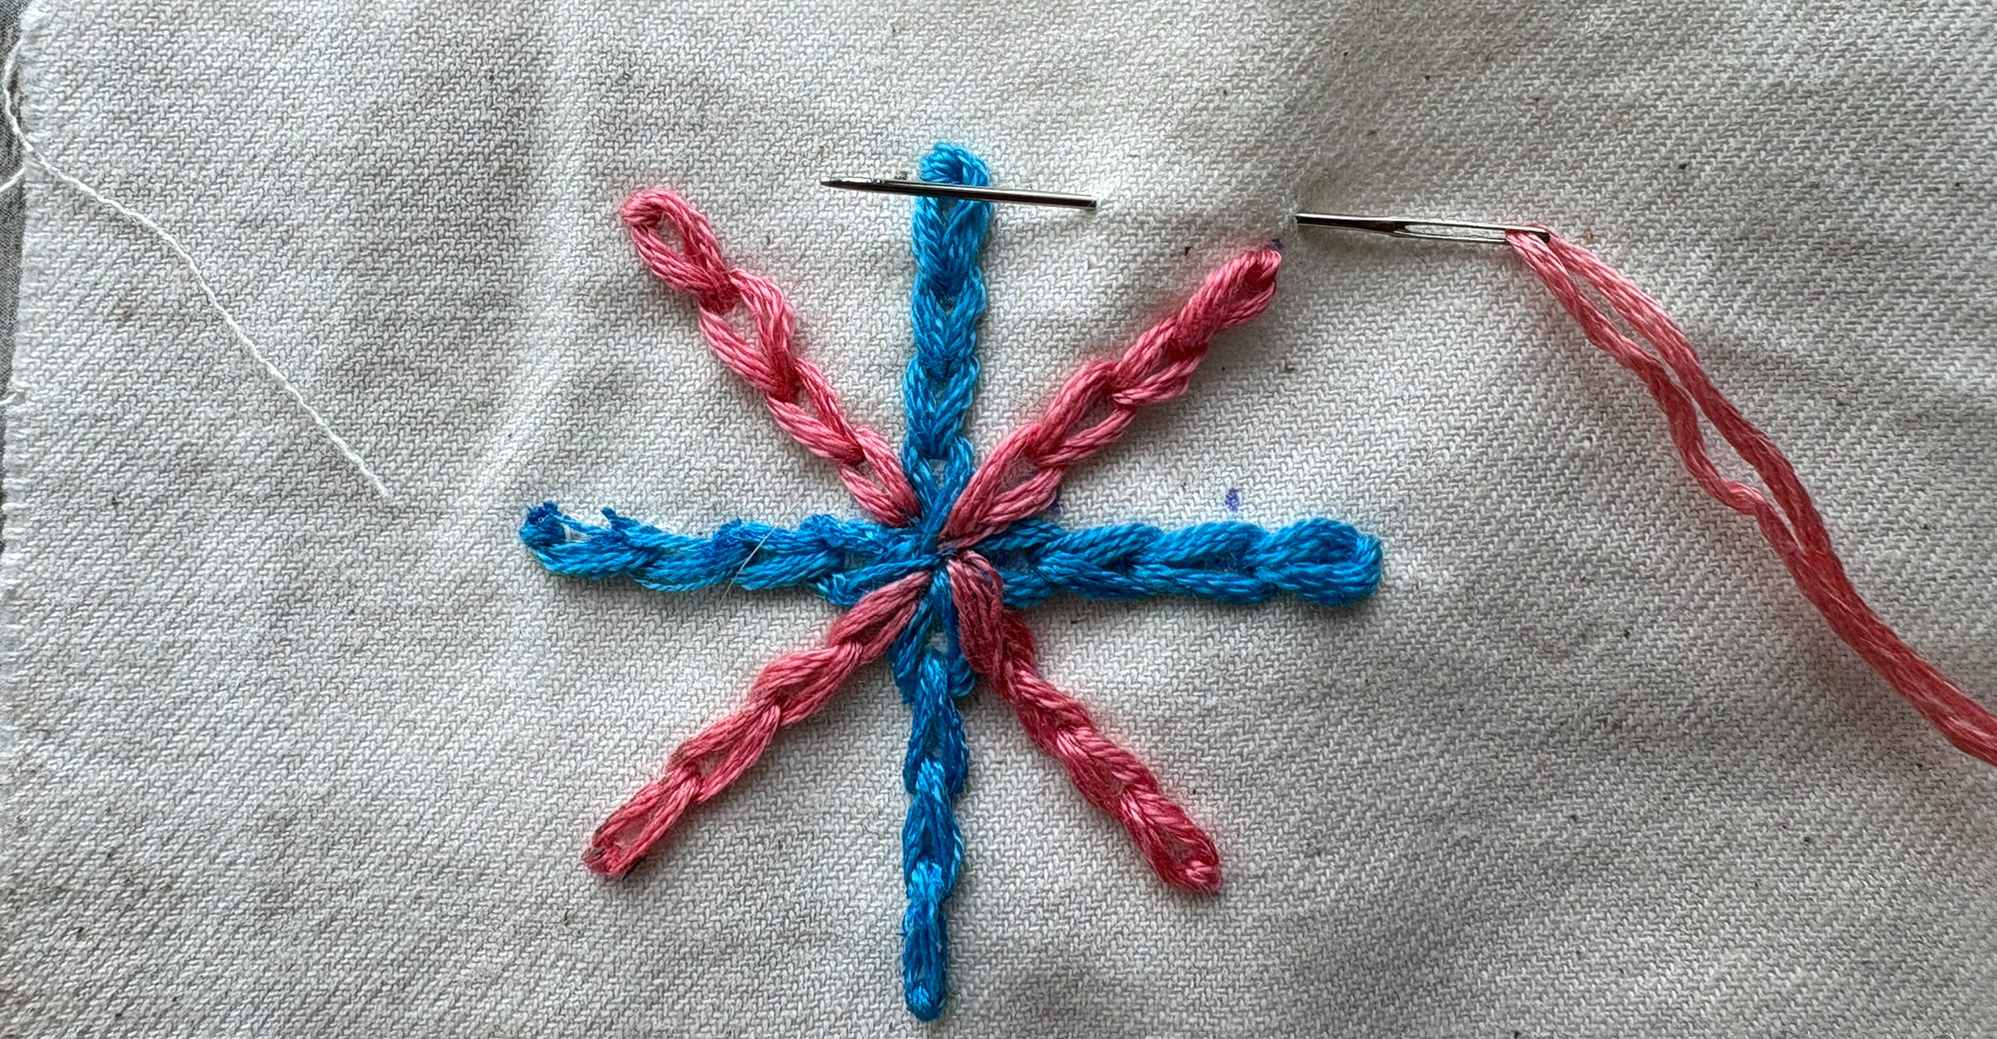
Chain stitch is such a pretty stitch. The chain stitch is one of the most beautiful and versatile embroidery stitches you can learn — and in this tutorial I’ll show you exactly how to do it, nice and slowly, step by step.
That gorgeous linked loop effect is easier to achieve than you might think, and once you’ve got the rhythm of it, you’ll find yourself reaching for it again and again. It’s perfect for outlines, borders, filling in shapes, and even creating whole designs on its own.
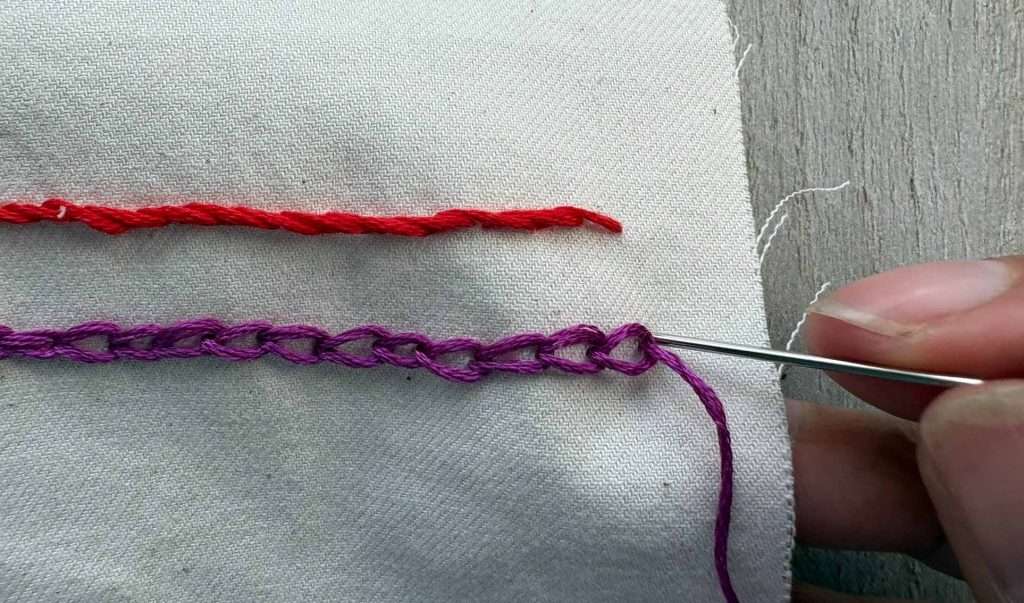
In the pictures below you will also see a row of stem stitch. If you would like to learn all about stem stitches then take a look here.
Let me show you how to do your chain stitch.
This page contains affiliate links meaning I earn a little commission if you use those links at no cost to you. I only recommend brands I use and trust.
You will need:
- Fabric (whatever you have)
- Needle (eye large enough for your thread)
- Thread (embroidery thread works really well)
- Scissors


Video Tutorial for Chain Stitch
This video is also available on my YouTube channel.
Step-by-Step Chain Stitch Tutorial
Step 1: Prepare your Fabric & Thread
Choose your fabric and cut it to size. If you want a specific design you can draw it on your fabric with a pencil or a heat erasable pen. Thread your needle with embroidery floss (you can use anywhere from 1 to 6 strands depending on the thickness you desire) and tie a knot at the end to prevent the thread from pulling through the fabric.
I often use 3 threads and that works really well. If you prefer a chunky stitch then use the whole embroidery thread. It is great to experiment with different threads and numbers of threads.
Step 2: Bring the Needle Up
Start at your beginning point by bringing the needle up from the back of the fabric to the front. This is your starting position, which we’ll call point A. Pull the thread until your knot is sitting snugly behind the fabric
Step 3: Create Your First Chain Stitch
Insert the needle back down through the fabric in the same place, point A. You should be going through your fabric just next to where you came up or through the same hole. There is no need to stress about where you go through, just be very close to where you came up.
Keep a loop of thread on top of the fabric.
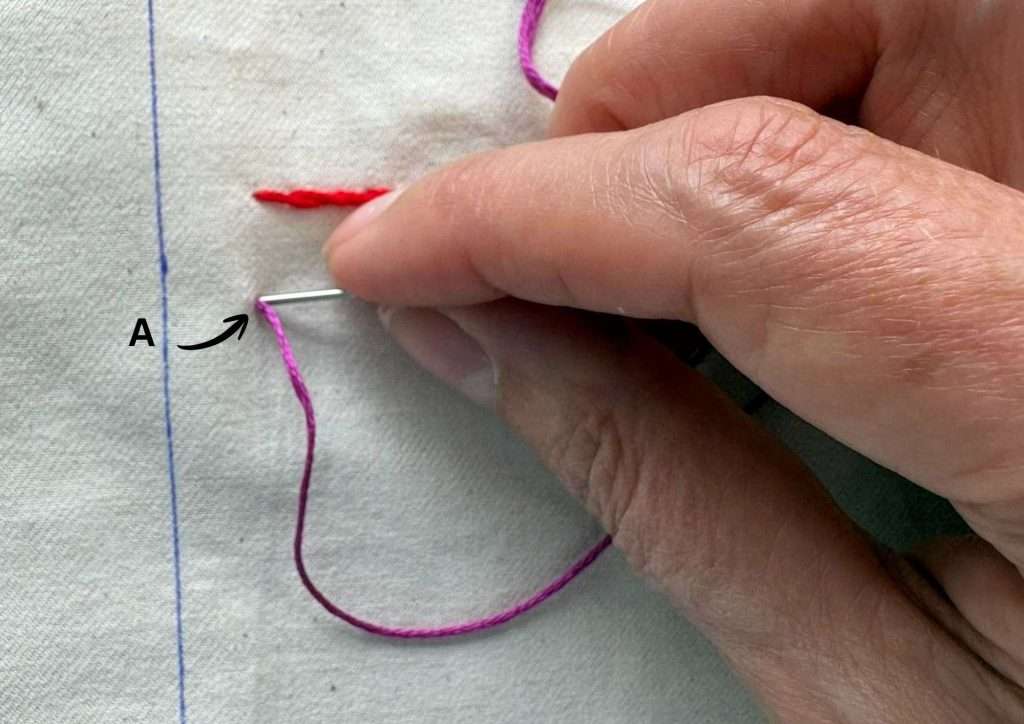
Bring the needle back up as far along as you want your chain stitch to be (point B). Mine are approximately 1/4″ long. Ideally you are aiming for them all the same length but only you will notice if they are not exactly the same.
Make sure you come up through the loop that you left.
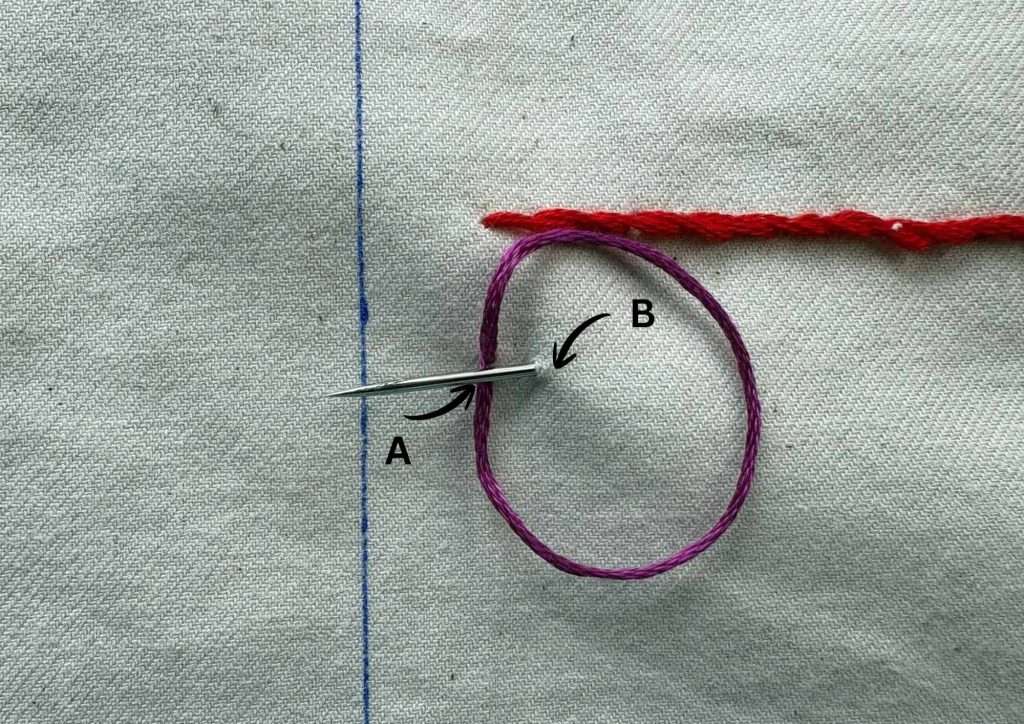
Pull the thread so that the loop tightens up around the thread. Do not pull it too tight as you want to see the loop and you do not want to pucker the fabric.
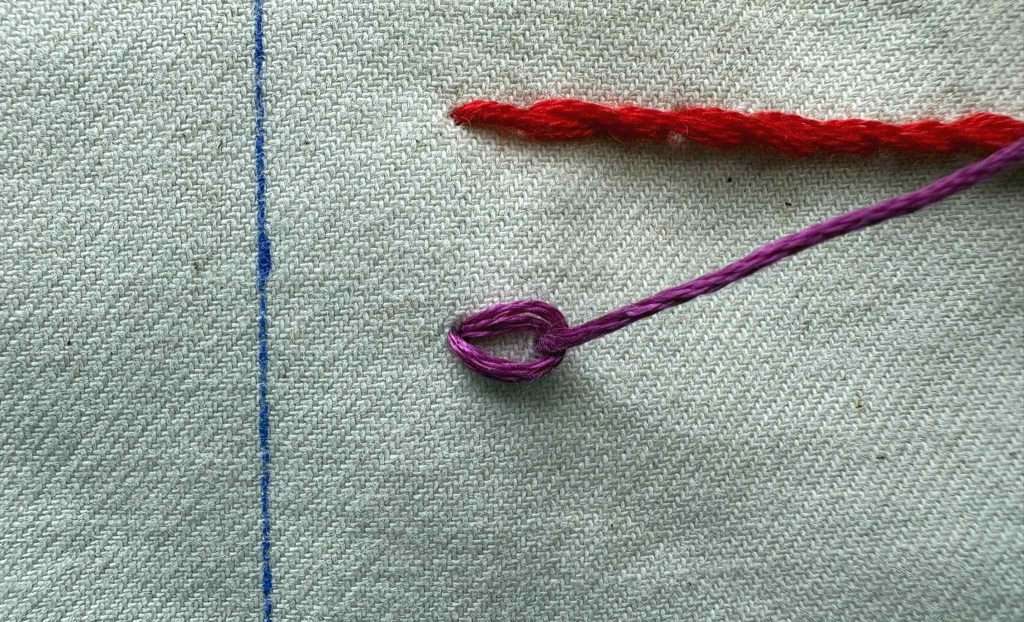
Congratulations you have your first chain stitch.
Step 4: Make the Second Chain Stitch
Take your needle back down through where you just came up (point B). Keep a loop on the surface. Then bring the needle back up the stitch length you want along making sure you come up through the loop.
Pull the thread so that everything sits nicely on the fabric.
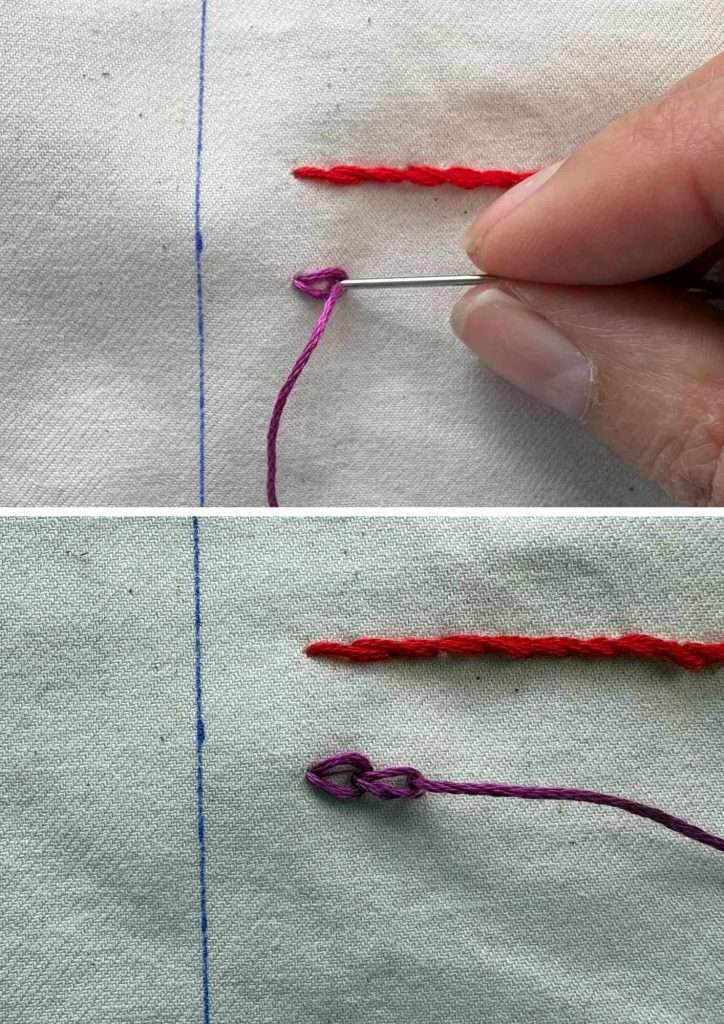
Step 5: Continue the Pattern
Repeat this process until you’ve completed your line. The result is a series of interlocking chains.
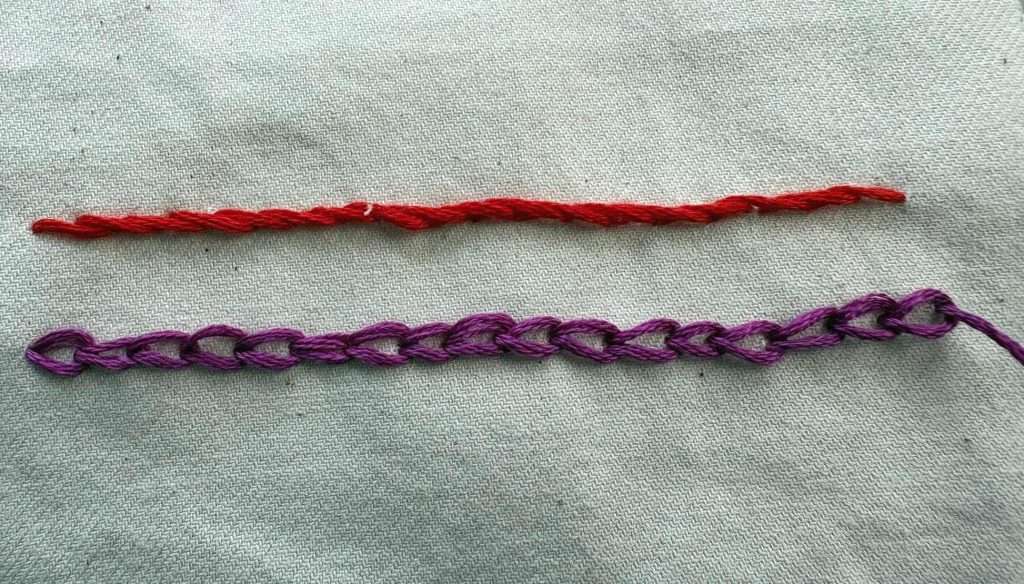
Finish off your chain stitch by passing the needle to the back of the fabric just beyond your final loop. This will secure the loop in place and leave your thread at the back ready for finishing off.
Simply weave your thread through the back of your stitches or for a more secure finish pass the needle through one of the loops you form to create a knot.
Tips for Consistency
- Keep your stitch lengths the same throughout the line for a professional appearance
- Use shorter stitches when working around tighter curves
- Longer stitches work well for straight lines and gentle curves
- Do not pull your thread too tight – you do not want your fabric to pucker.
- If your thread starts to twist or tangle let your needle dangle and it will untwist the thread.
Project Ideas to Practice your Chain Stitch
Once you’ve mastered the basic technique, put your new skills to work with these beginner-friendly projects.
- Add decorative borders to napkins, pillowcases, etc
- Embroider bookmarks
- Customise clothing with rows of chain stitches on cuffs, collars or pockets.
- Create a sampler using different threads, colours and stitch sizes.
- Create your own slow stitching book
Tips for Choosing Your First Project
- Start small—a 4-6 inch design is manageable and satisfying to complete
- Choose simple patterns with mostly straight or gently curved lines
- Use high-contrast thread and fabric so you can easily see your stitches
Remember, the goal is to practice and enjoy it!
Embrace your hand stitching
Once you start hand stitching you will fall in love with it. It is so relaxing and creative. So, here are some projects that you can use your hand sewing for on this website.
Create your own slow stitching journal and see your sewing journey as you develop or use it to record your life or moods.
Use up fabric scraps top create pretty leaf brooches. You can add any stitches you like to these and they make lovely gifts.
Or, how about trying your hand at Cathedral Window Patchwork which can look stunning on a large or small scale.
Whatever you decide to sew, pin this guide to your favourite board on Pinterest so that you can find it again.