Sew a Reading Cushion / Pillow with a Book Pocket
As an Amazon Associate I earn from qualifying purchases
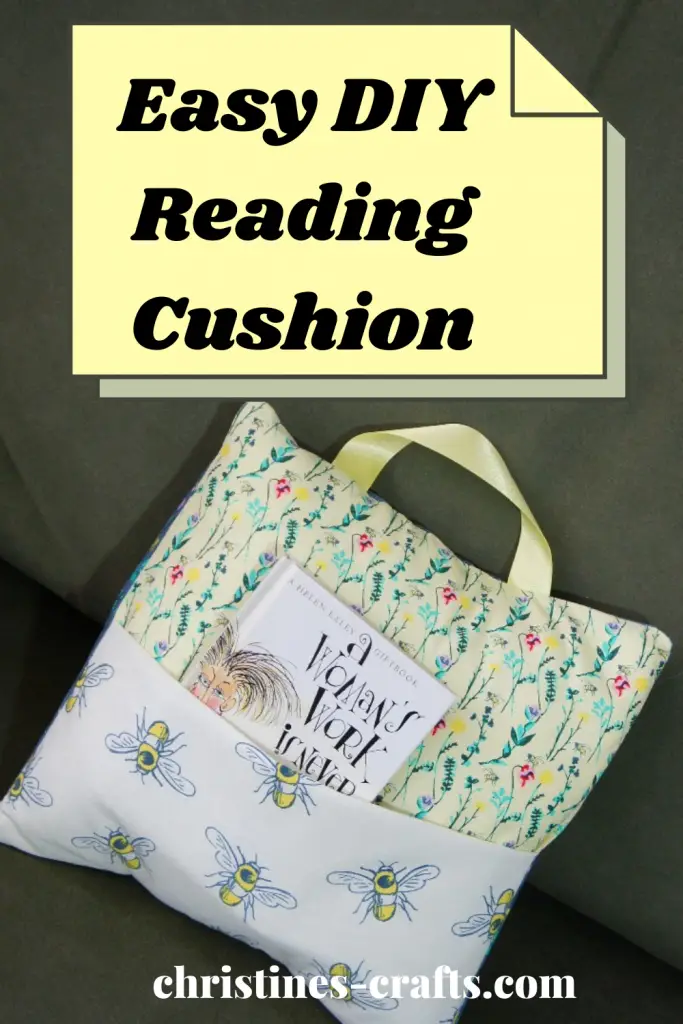
Are you or do you know a book lover? Then, this reading cushion will make a great project for you. How about gifting them to kids with a book included to encourage them to read and enjoy the experience even more? One of these will make a great reading nook cushion that they can take everywhere with them.
These reading pillows / cushions are super quick to make and do not worry if you are a beginner. It is all easy sewing. The cover is completely removeable for washing too. So, let’s get started!
This page contains affiliate links meaning I earn a little commission if you use those links at no cost to you. I only recommend brands I use and trust.
You will need:
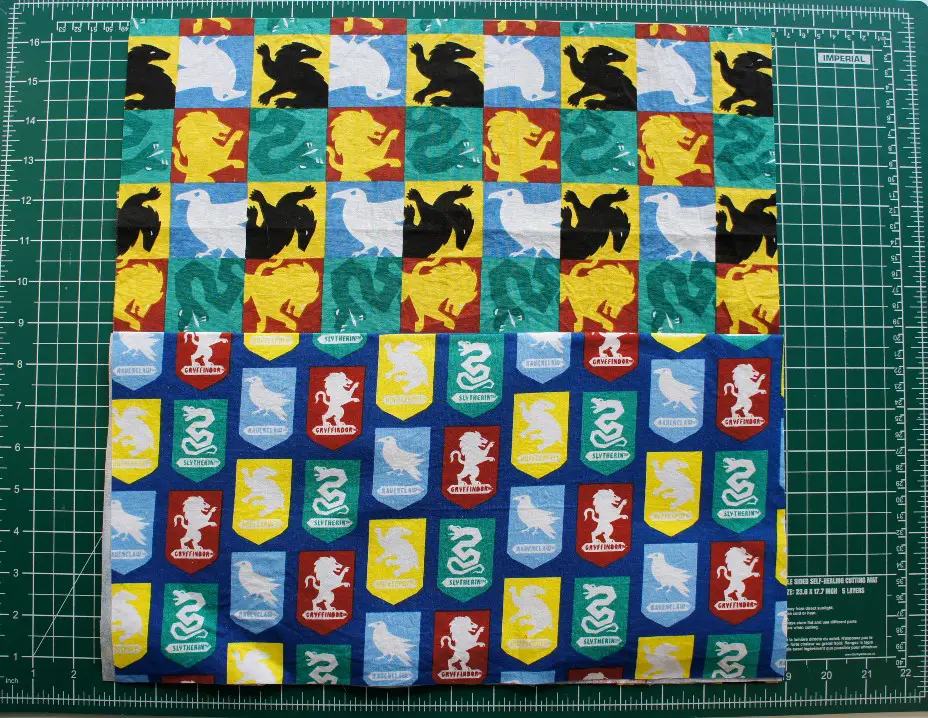
Front Piece of Fabric – size of your cushion
Pocket Piece of Fabric – size of your cushion
2 Back Pieces of Fabric – height of your cushion and three quarters of the width
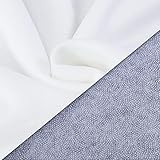
Interfacing piece – width of your cushion and half the height. You can use fusible fleece interfacing for a padded pocket.
Ribbon – 8 inches – optional for a handle (I did not add one to this tutorial but I did to the video tutorial)


Video Instructions
This video is also available on my YouTube channel
Cut out your Fabric
Your first step is to measure your cushion pillow and note down the height and width of it. You will then cut out your pieces as follows:
Front Piece – Size of cushion
Pocket Piece – Size of cushion
Cushion Back Pieces – 2 off – height of your cushion pillow by two thirds of the width of your cushion pillow
Iron-on Interfacing – half the height of the cushion pillow by the width of the cushion pillow
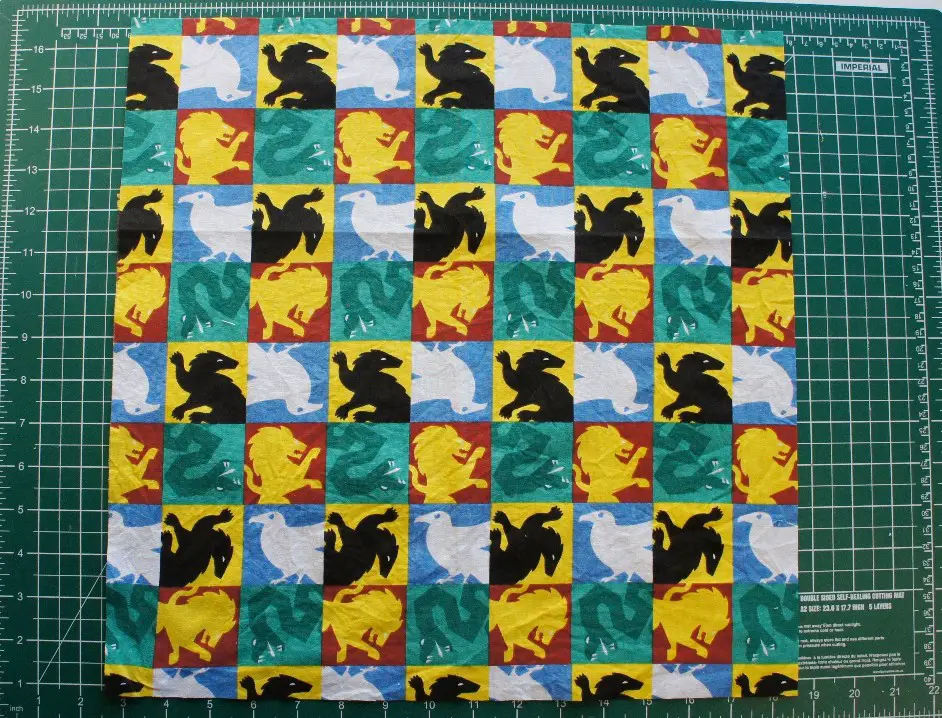
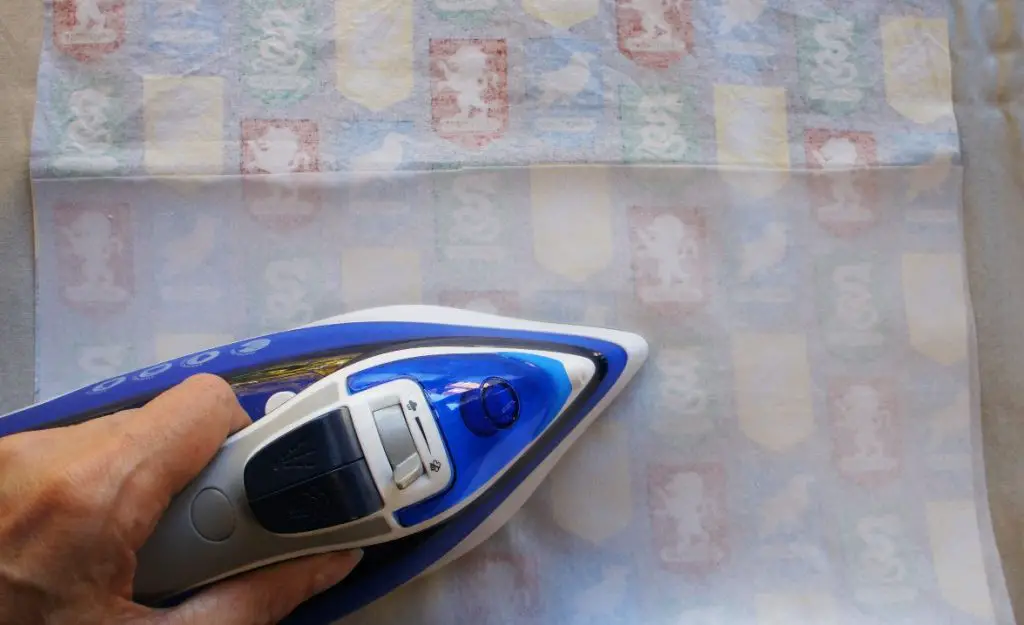
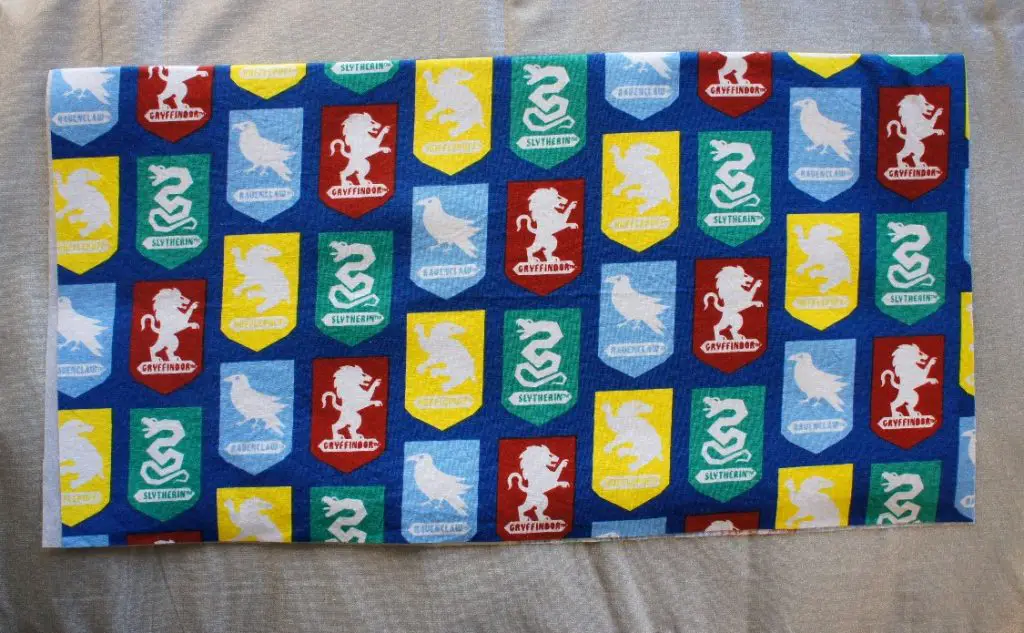
NOTE: If your fabric has a pattern or design on it make sure that you have your fabric the correct way round throughout this project. You do not want any upside down people, etc!
Prepare the Cushion Pieces
Take the pocket piece of fabric and place it on your ironing board with the wrong side facing up. Place the interfacing onto it so that it covers the bottom half of the pocket and iron it in place.
Then fold the pocket piece in half so that the interfacing is covered and press it.
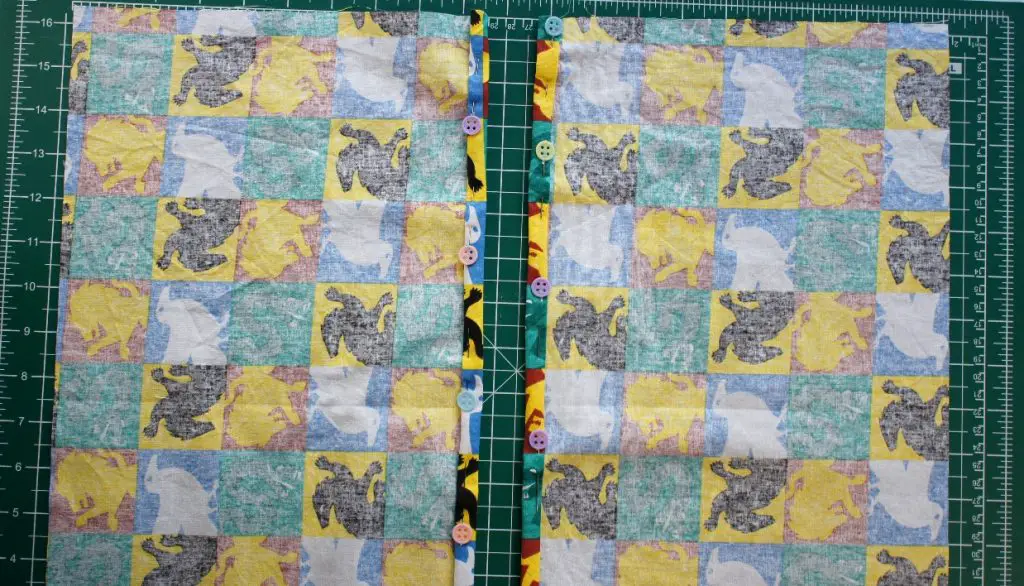
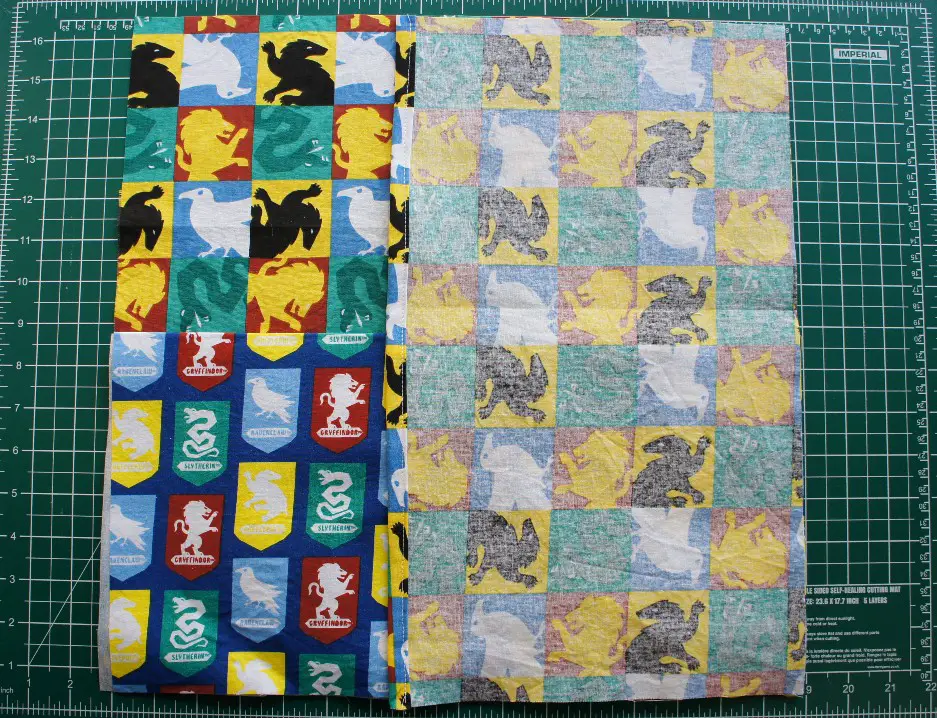
Take both of the back pieces and place them next to each other how you want them to look on the back of your cushion. This is to make sure that they are both the correct way up before you start sewing. Then do the following to each one.
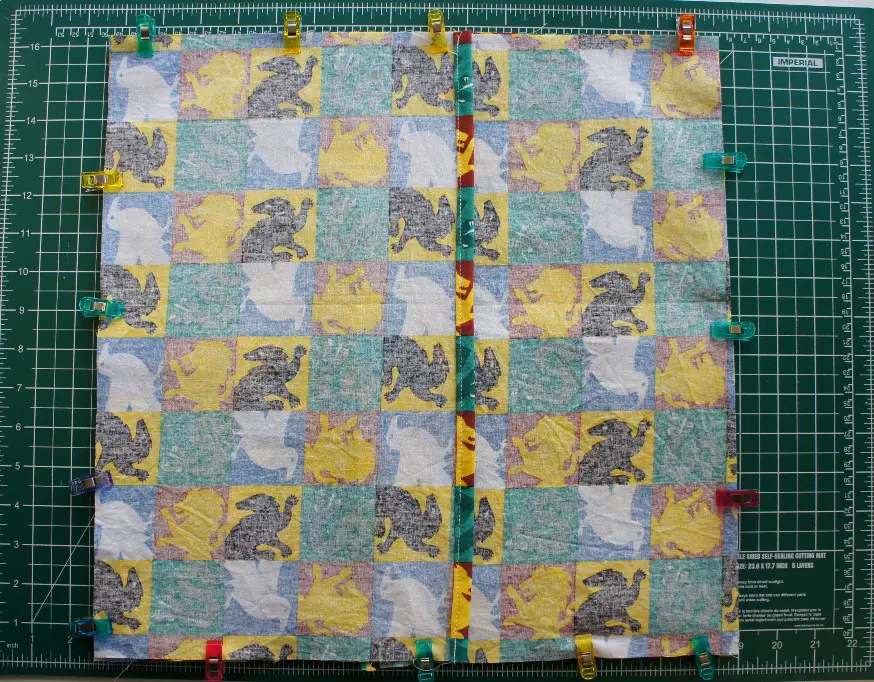
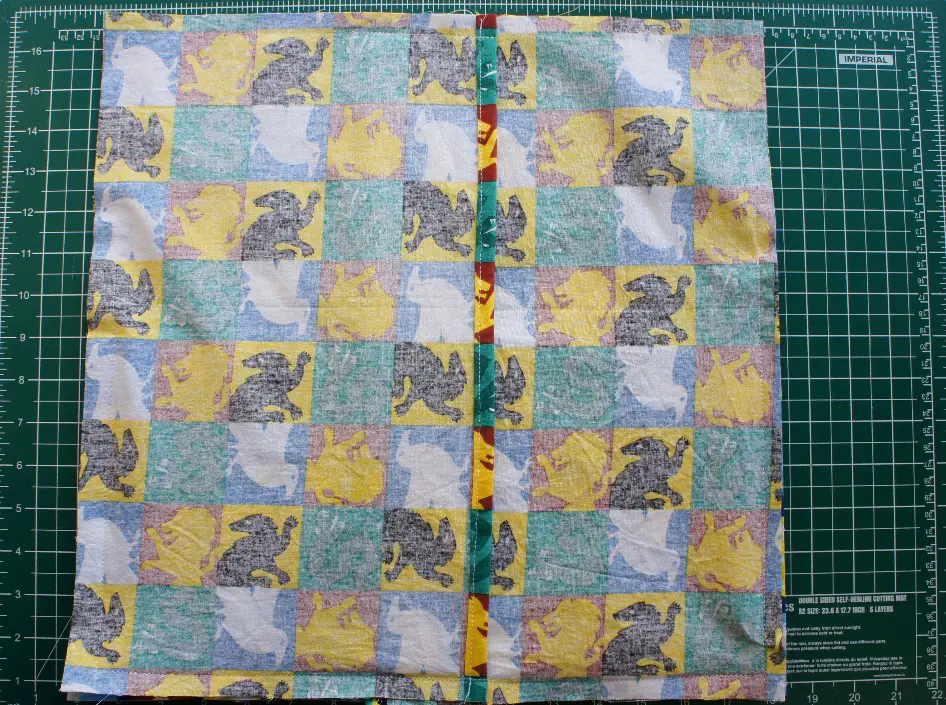
Fold a small hem on the side that meets up with the other back piece and pin it in place. I recommend a double hem so you fold over 0.5″ to the wrong side and then fold another 0.5″. This will result in your raw edge being enclosed.
Sew this hem in place.
OPTIONAL: If you want a handle on your cushion I recommend sewing it to the top of your cushion front at this point. It is shown clearly in the video further down. Just make sure that your handle is central and that you line up the ends of the ribbon with the edge of the top of your cushion front and sew or pin it to the right side of the fabric. If you sew it in place makes sure you are within 0.5″ of the edge of the cushion piece so that your stitches will be hidden in the final seam. The handle should lie on the fabric at this point.
Sew your DIY Reading Cushion
You are now ready to assemble your reading cushion cover. Take your time with this step and get everything in the right order and the right way up.
Firstly place your cushion front down with the right side facing up. Then place your pocket onto the cushion front ensuring that the bottom of the front piece lines up with the bottom of your pocket (the raw edges). The folded edge of the pocket is half way up the cushion.
Next place the two back pieces on one at a time. It does not matter which one goes on first. Just make sure that the raw edges match up with the edges of the front piece. Pin through all the layers!
You are now ready to sew around your cushion cover. Do a seam all around the cover making sure that you pivot at each corner to make a good right angled corner. This means making sure that your sewing machine needle is in the fabric, lifting the foot and turning the whole cushion cover through 90 degrees. Lower the foot and continue sewing.
Clip all four corners close to the seam that you have sewn. BE CAREFUL not to clip your stitches. This just reduces the bulk and helps you to get a good finish when you turn it out.
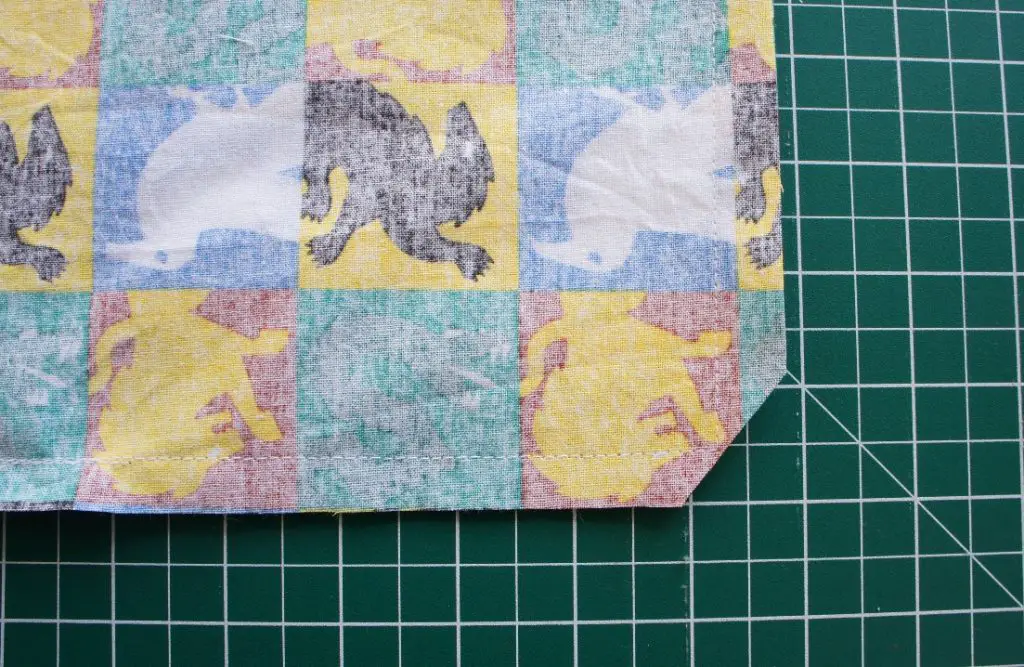
Now, turn your reading cushion cover out to the right side and press it.
And finally…
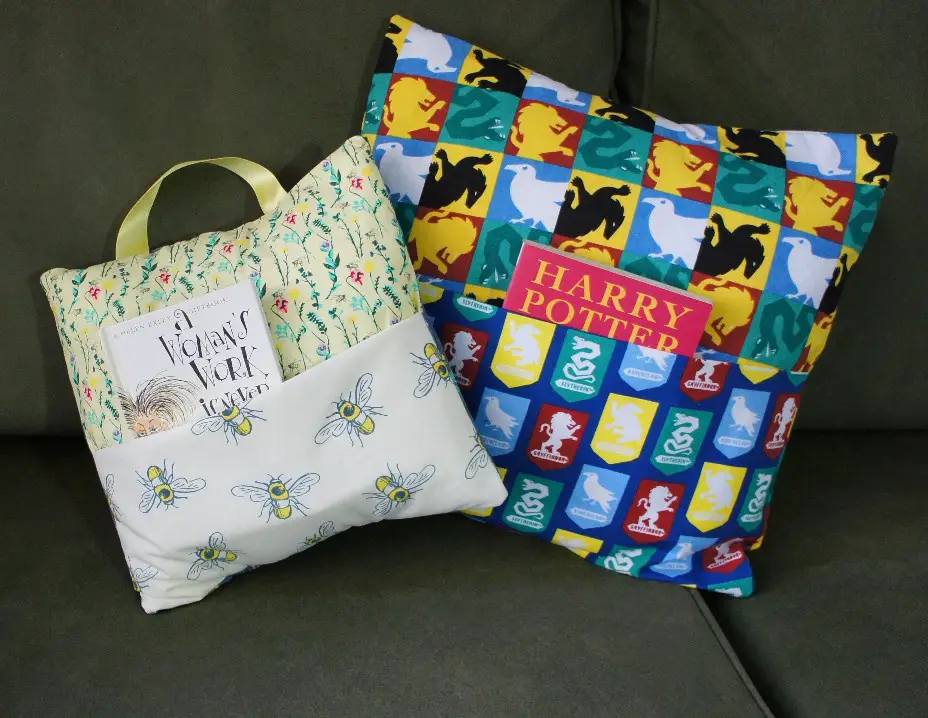
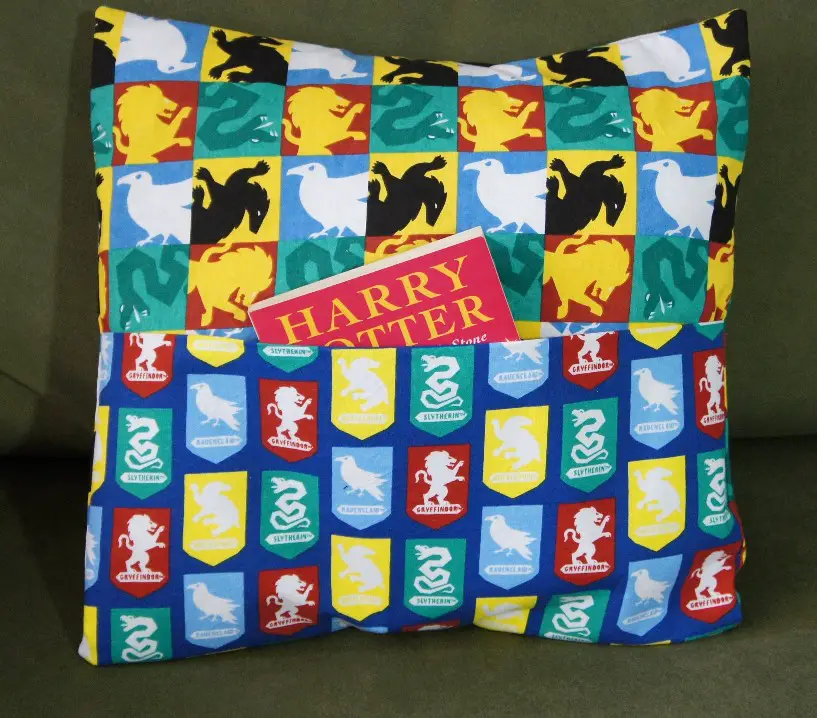
You have finished your reading cushion cover now slip it over your cushion or pillow and place a book in the pocket. What a great gift? So much more exciting than just a gift card or book.
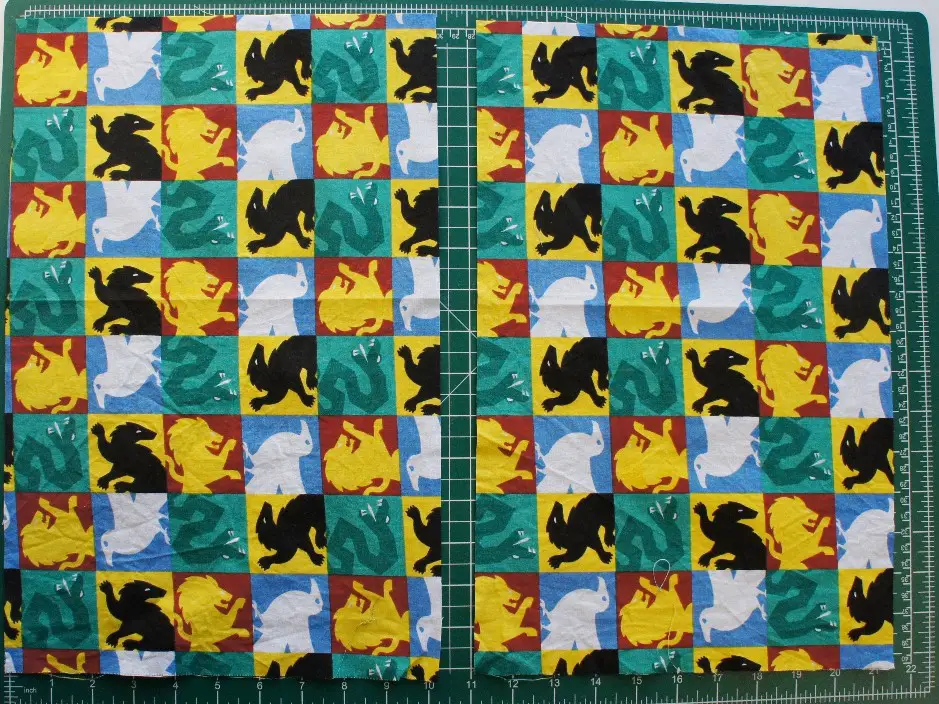
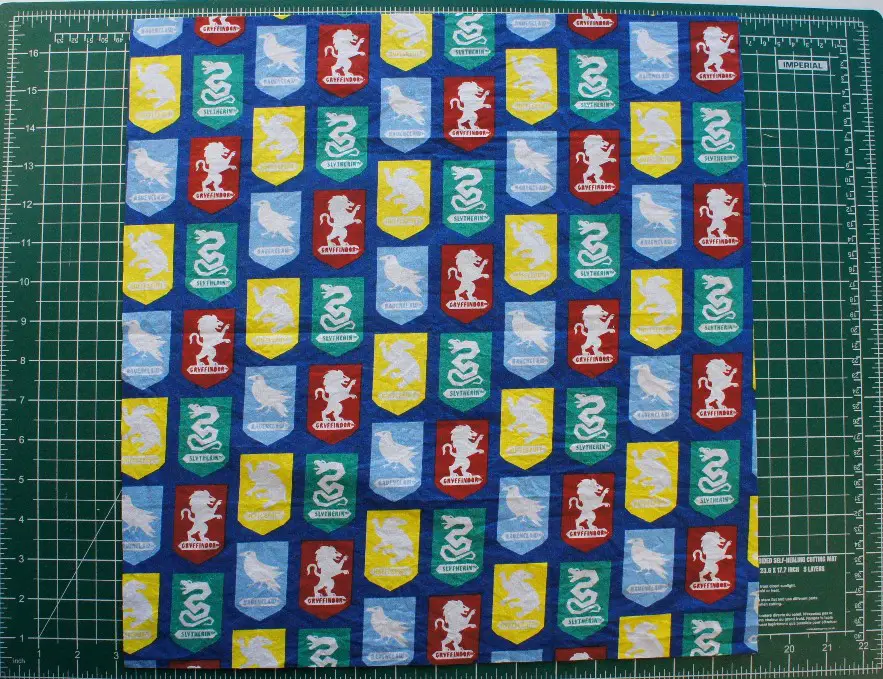
Get creative, like I have here and find fabrics that match your book or loved one. Or perhaps you need to match a certain decor. The choice is entirely yours!
If you want to try some more great sewing projects then check out some of these tutorials:
Super Cute Cat Finger Puppets
Beanbag Frogs
Make a fully lined drawstring bag with a boxed bottom
I would love to know what sort or reading cushion or pillow you are making. Is it for an adult or a child? Let’s share great ideas in the comments section below.