Sew this Cute Kitten / Cat Puppet Today even if you are a Beginner
As an Amazon Associate I earn from qualifying purchases
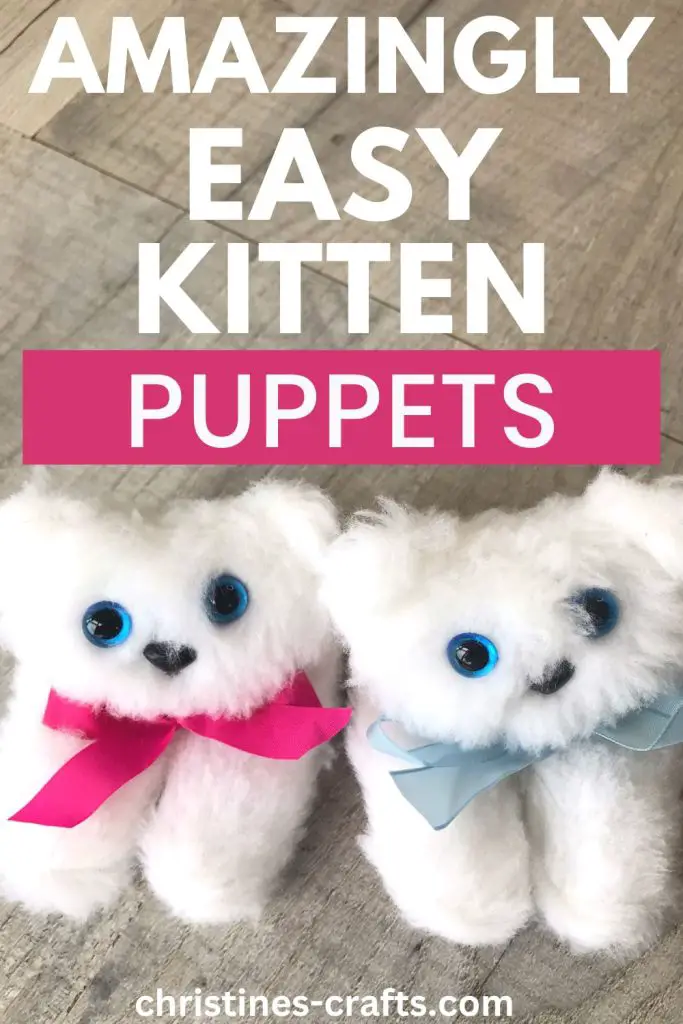
Are you looking for the cutest animal finger puppet ever? Well, why not try this 2 finger puppet of a kitten (or cat if you prefer). It is really easy to make and everyone will agree that it is adorable. Why just have a puppet on 1 finger when you can have it on 2!
Plus there are step by step instructions and a free finger puppet printable pattern. So you can make one today. I will talk about alternative materials and techniques throughout. I have sewn mine on a sewing machine but if you were patient you could sew these by hand.
This full tutorial is available as a downloadable PDF for a small charge so that you avoid the ads and easily print it off if you want to. Simply click here for details.
So, let’s get started on your cute cat finger puppet.
This page contains affiliate links meaning I earn a little commission if you use those links at no cost to you. I only recommend brands I use and trust.
You will need:
- Fake fur (or any fabric you like)
- Toy Stuffing (or scraps of fabric or similar)
- Safety Eyes and Nose (or felt to sew on)
- Ribbon – optional
- Free Printable Pattern Template
- Sewing Supplies


Top Tips
- When cutting long fur try to only cut the back of the fabric, not the long fur
- When pinning fur seams tuck all the fur in to avoid bald seams
- When turning out pieces run your nail along the seam to release any trapped fur
- Consider who will use your puppet when deciding on eyes, noses, ribbons, etc
- Consider the age of any children playing with it
Cute Kitten Puppet Video Tutorial
This video is also available on my YouTube channel.
Prepare your Fur Pieces
Even though you may be using a different material I will refer to it as fur as I still think it makes the best cats and kittens. Print off your pattern template and cut out the pattern pieces along the black lines.
Proceed to cut out 2 finger sections, 2 head pieces and 4 ears. You should cut them actual size. If you are using anything with a pile (such as fur) then make sure all your pieces have the pile going the same way.
ALTERNATIVE: You could cut 2 ears out of felt (or similar) if you want to give the effect of the inside of a cat’s ear.

Sew your Puppet Pieces
Take each of the finger pieces and fold a small hem onto the wrong side of the fur along the straight edge only. Pin and sew it in place. This will stop you having a raw edge on your finished cat puppet.
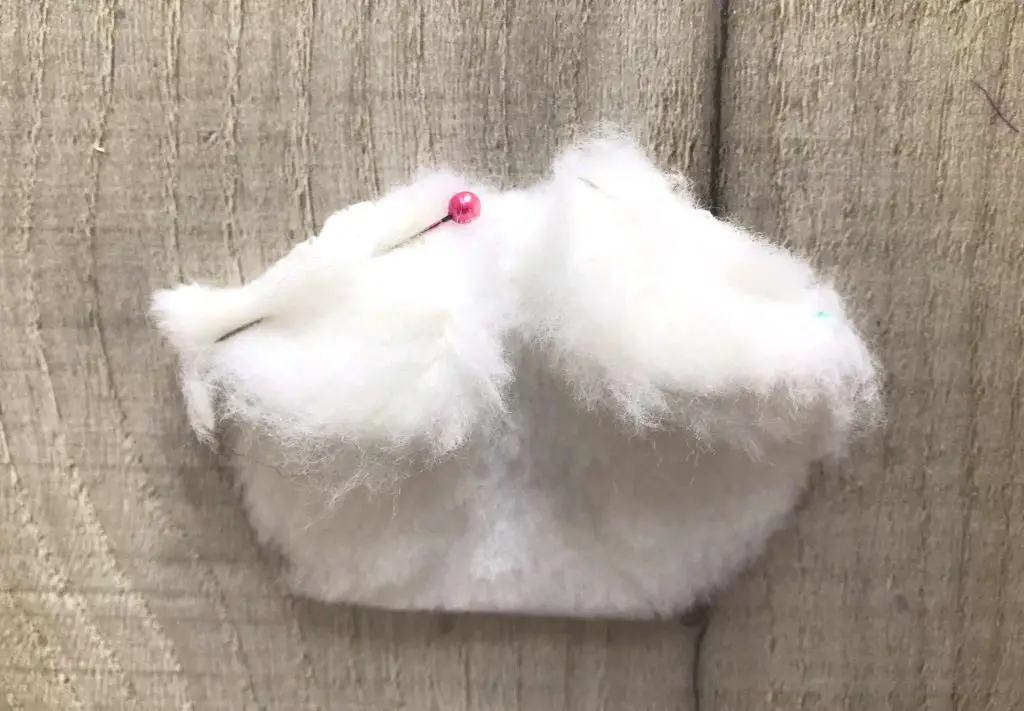
Take each pair of ears in turn and pin them together right sides facing. You are only pinning and sewing along the curved edge. You leave the straight side open to turn them the right way out. NOTE: if you are using different fabrics make sure you end up with 2 identical ears.
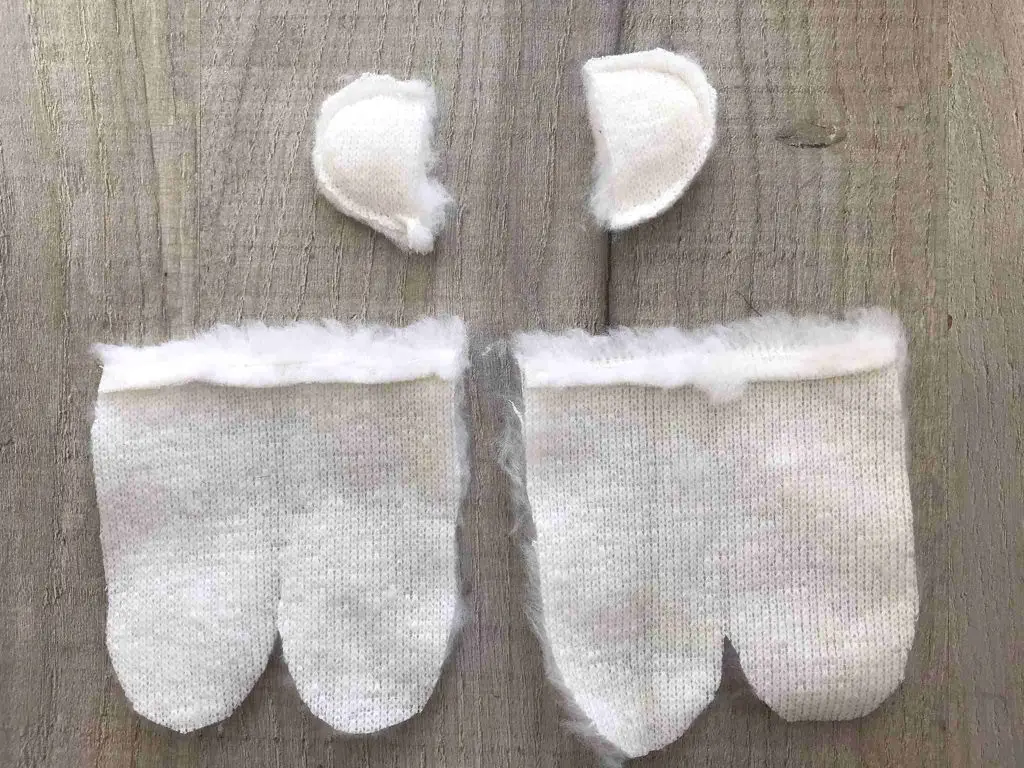
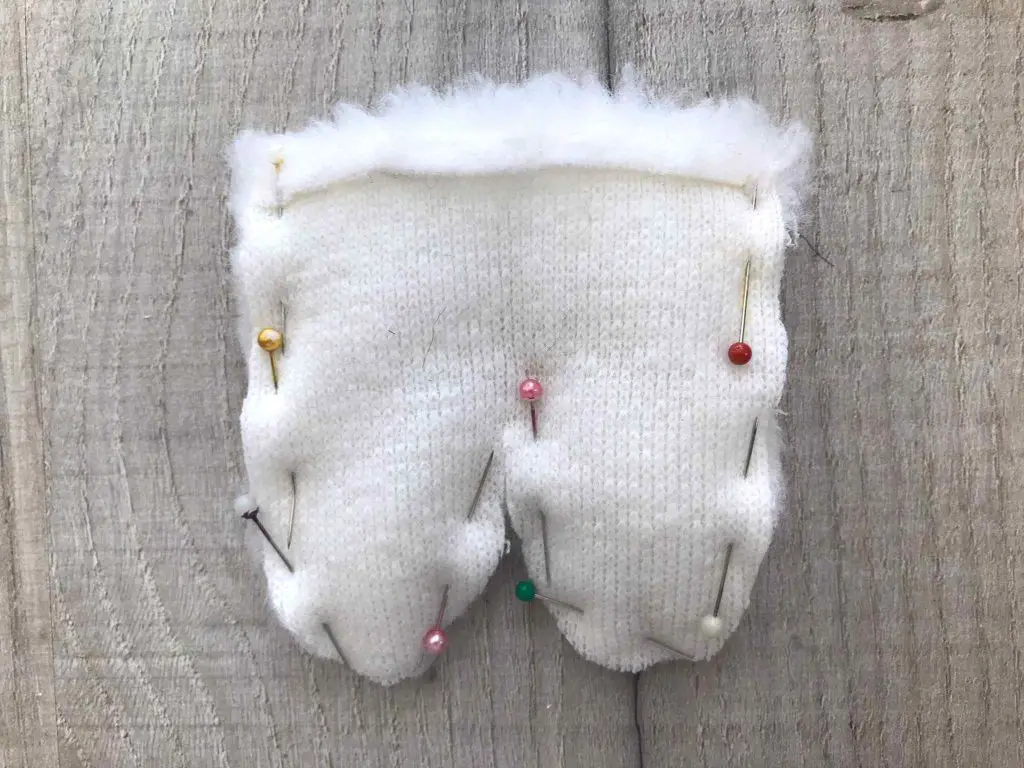
Place the two finger pieces together with right sides facing. Pin and sew around the curved edge. This makes the puppet part of your cat.
Take your ears and turn them the right way out. Now pin them to the right side of one of your head pieces as shown. The best way to get this right is to keep turning the ears up so that you can see how they will look. Once you are happy with them sew them in place. I do this by hand but it is up to you.
You sew the ears on first to make sure that they are in the correct place and that you catch all the layers in.
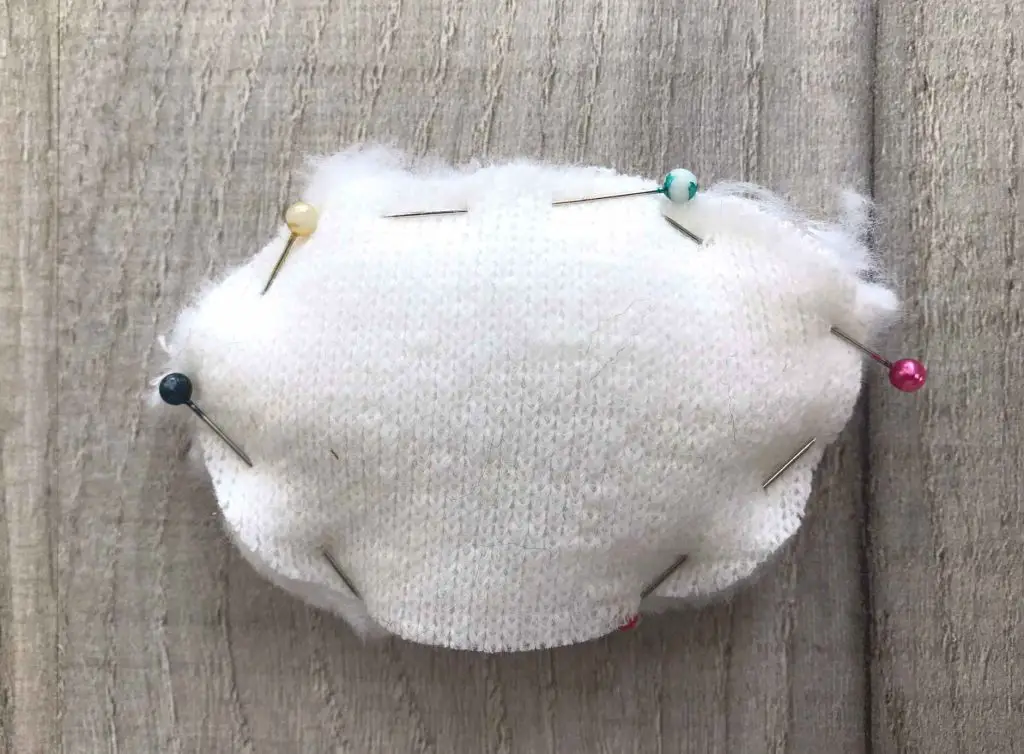
Place the other head piece over the one you have just been working on so that the right sides are together. Pin around the edge but leave the bottom of the head open for turning out and filling. Sew along your line of pins.
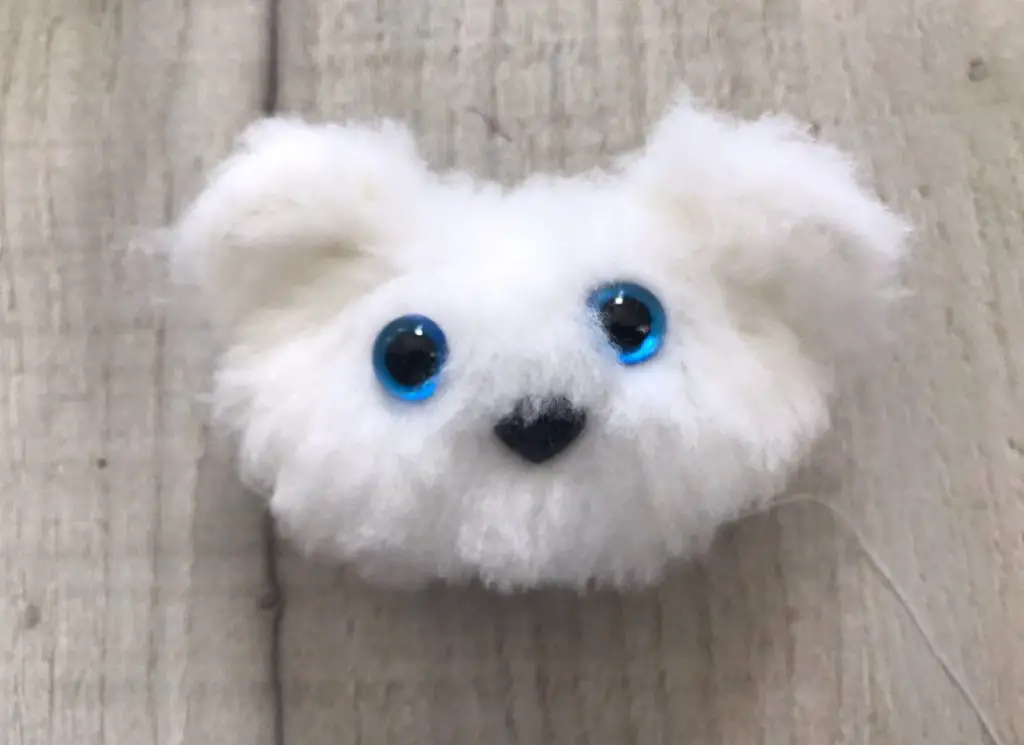
Turn your head the right way out and add your features. I simply add a nose and eyes but you may care to embroider on a mouth too. I have not added where to place the eyes and nose to the pattern as I think you can really give your puppet individuality here. Just be careful not to get the nose too close to the bottom of the head as you have yet to sew up the head.
Then put toy filling (or similar) into the head until you are happy with it.
Using a ladder stitch sew the head closed along the bottom so that no filling can escape. A ladder stitch is simply where you take a small stitch in each side of the seam you want to make and repeat all the way along the length. The stitches should be on the right side of the fabric so that as you draw them together the raw edge is enclosed. Secure your thread but keep it attached.
Place the head on top of the ‘fingers’ just behind where the fingers finish. Sew the head to the fingers all the way along the bottom of the head. I recommend sewing along the front of the head and then back along the rear of the head. This should make sure it is secure and stop it flopping forward onto the fingers.
To complete?
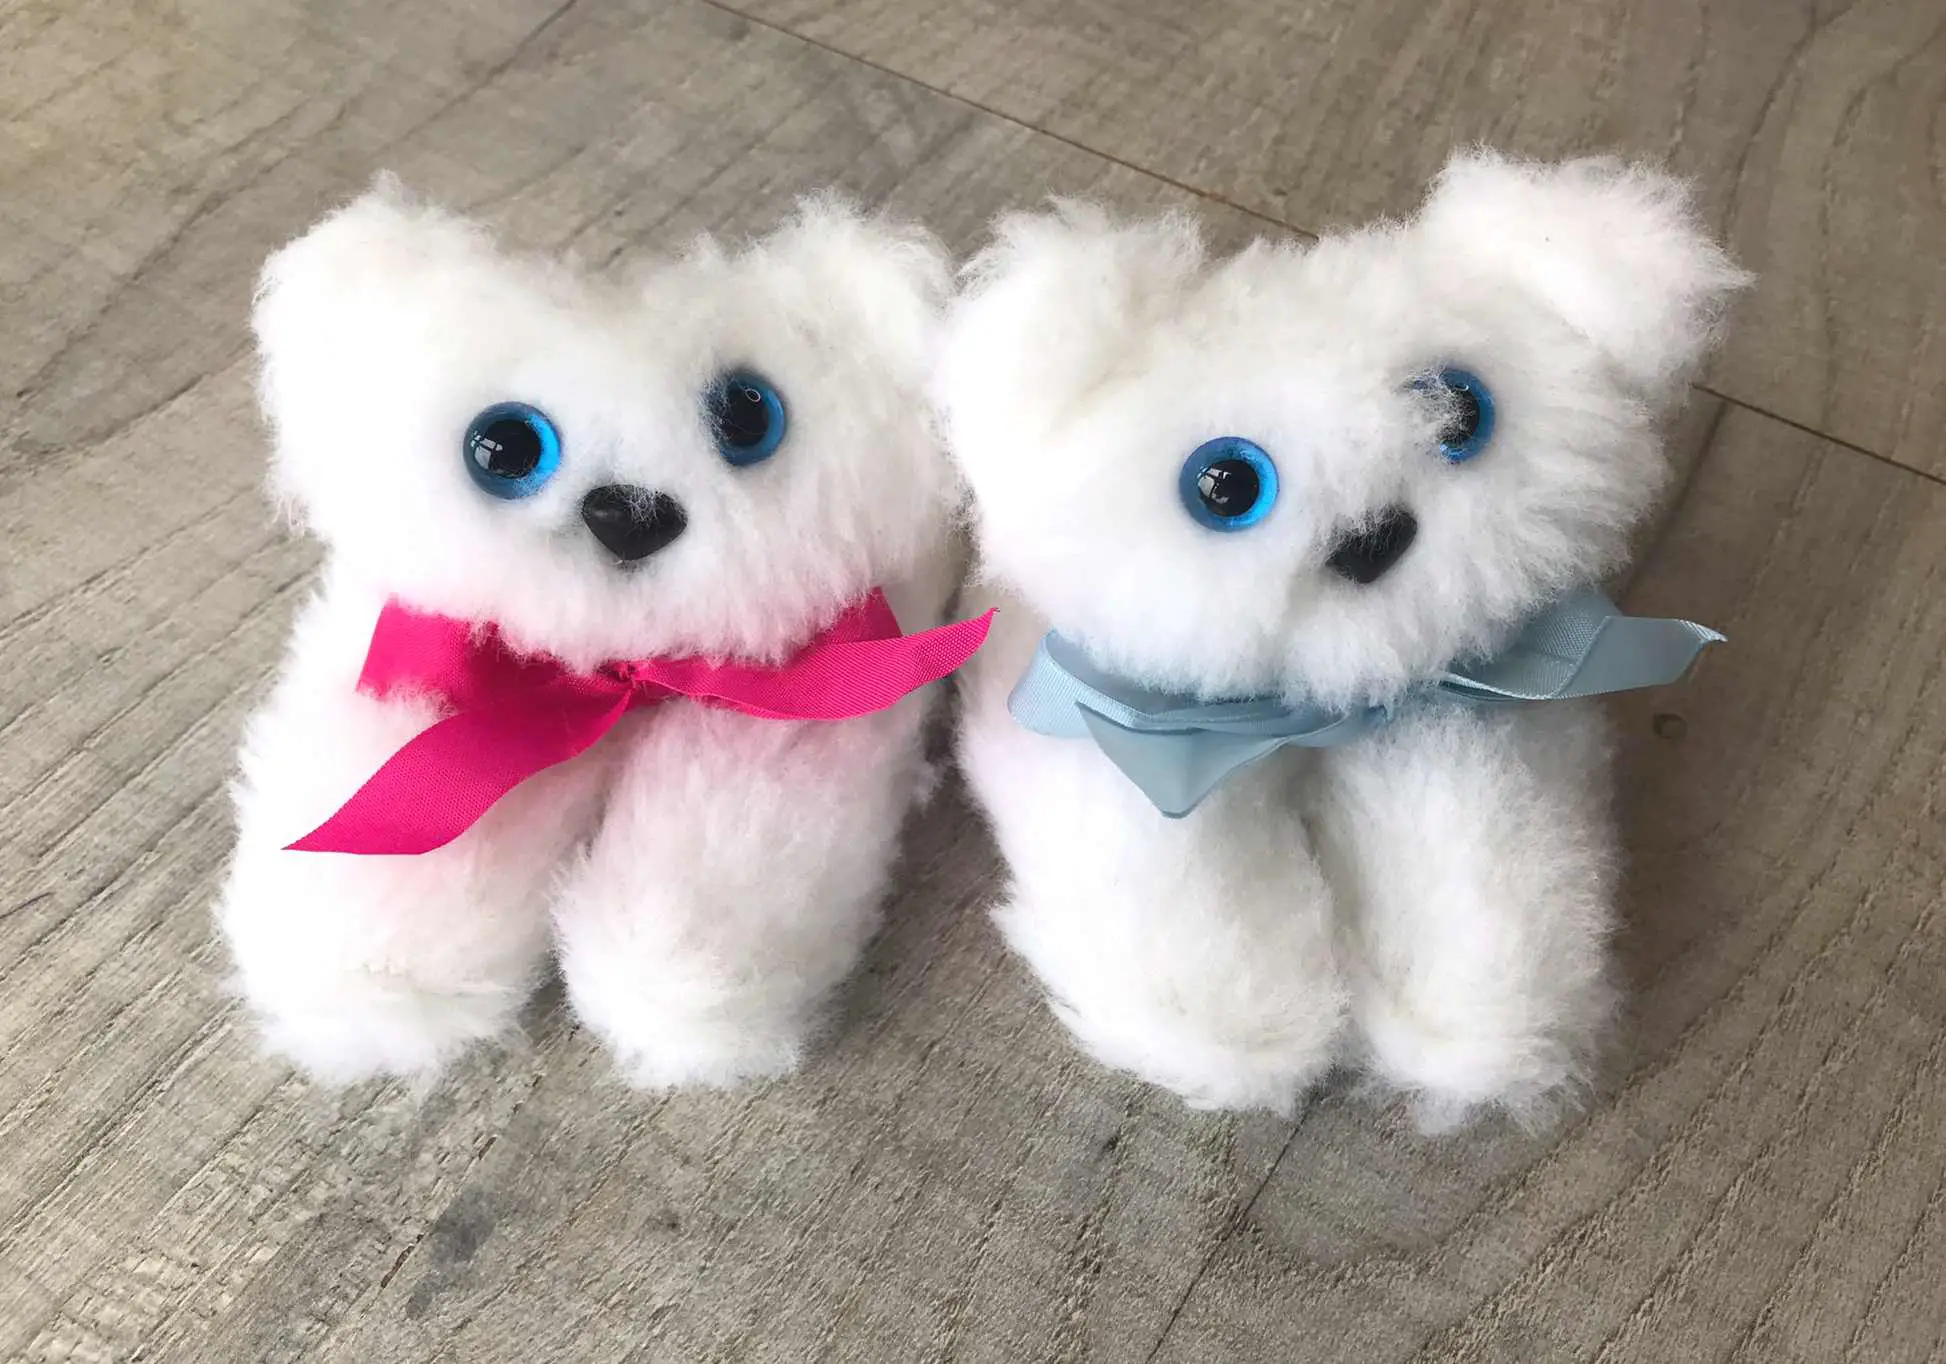
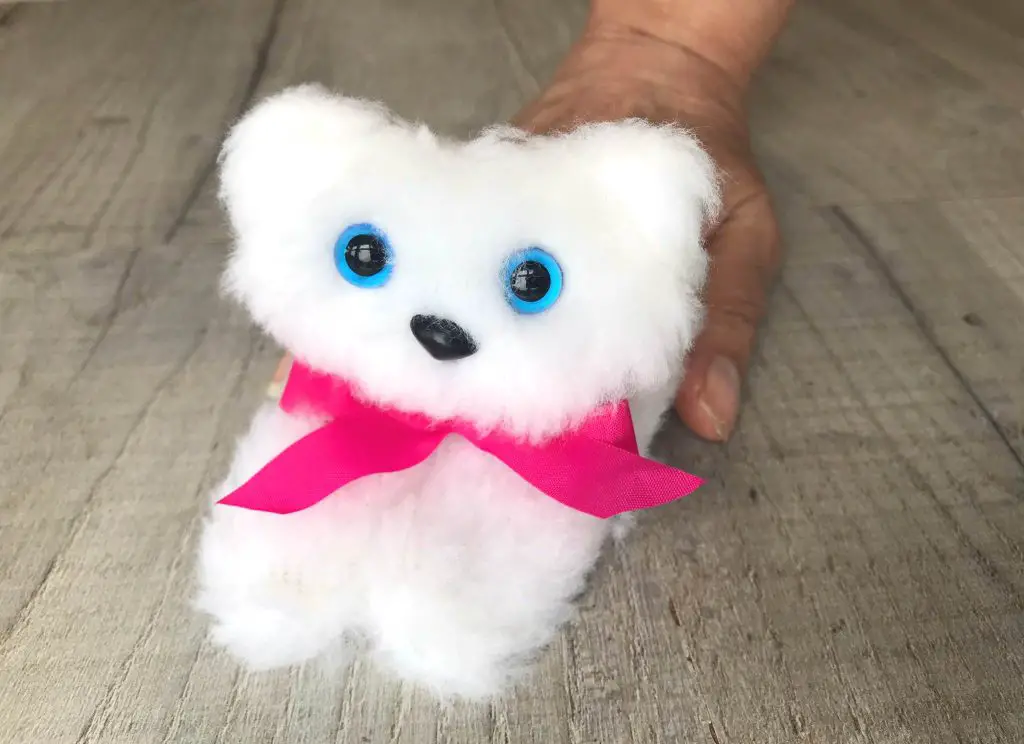
Technically your cat finger puppet is complete now but I love adding a ribbon to mine just to finish them off. This is, of course, up to you.
I would love to hear in the comments section below how you get on and what fabrics you use for your cat finger puppet.
Remember that this full tutorial is available as a downloadable PDF for a small charge so that you avoid the ads and easily print it off if you want to. Simply click here for details.
More Sewing Projects
If you enjoy sewing projects then there are so many to choose from on this site. All the sewing tutorials on this site are her at the sewing projects.
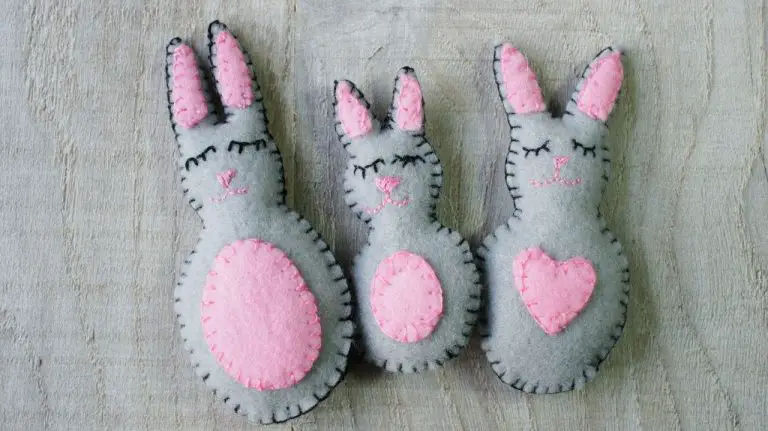
If you are looking for more cute animals I can really recommend the felt rabbits. Fabulous for Easter or at any time of the year. Or how about some beanbag frogs to play with?
If you are looking for gift ideas then how about a makeup brush (or any tool) roll or for a tea drinker how about a teabag wallet so they never get caught without a teabag?
Whatever you are sewing enjoy the process and enjoy your results! I hope you have lots of fun with your cat puppets!