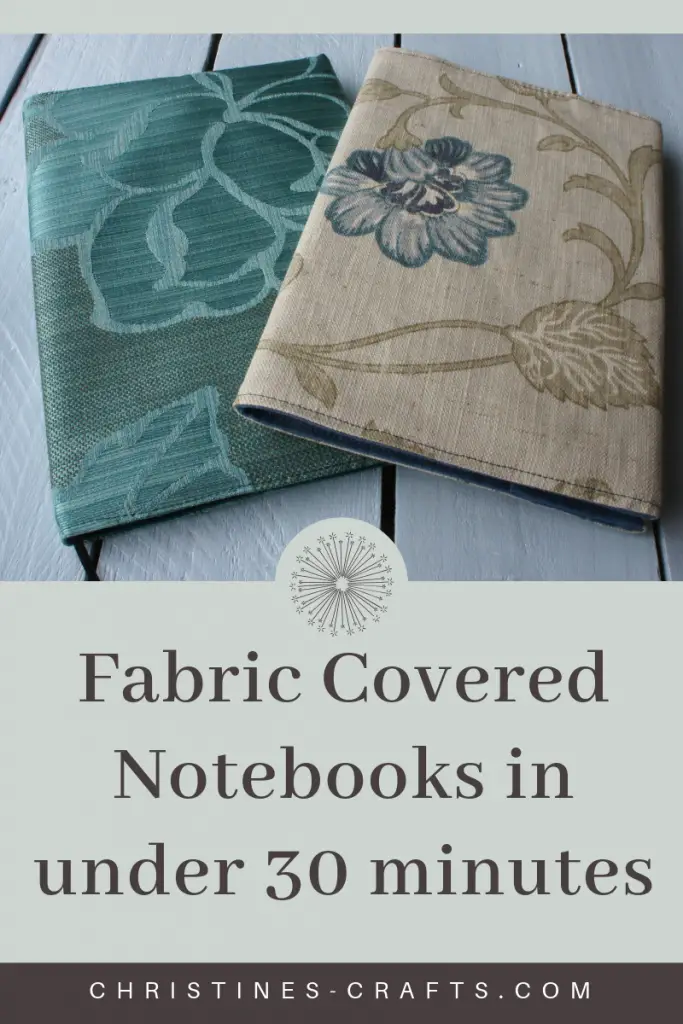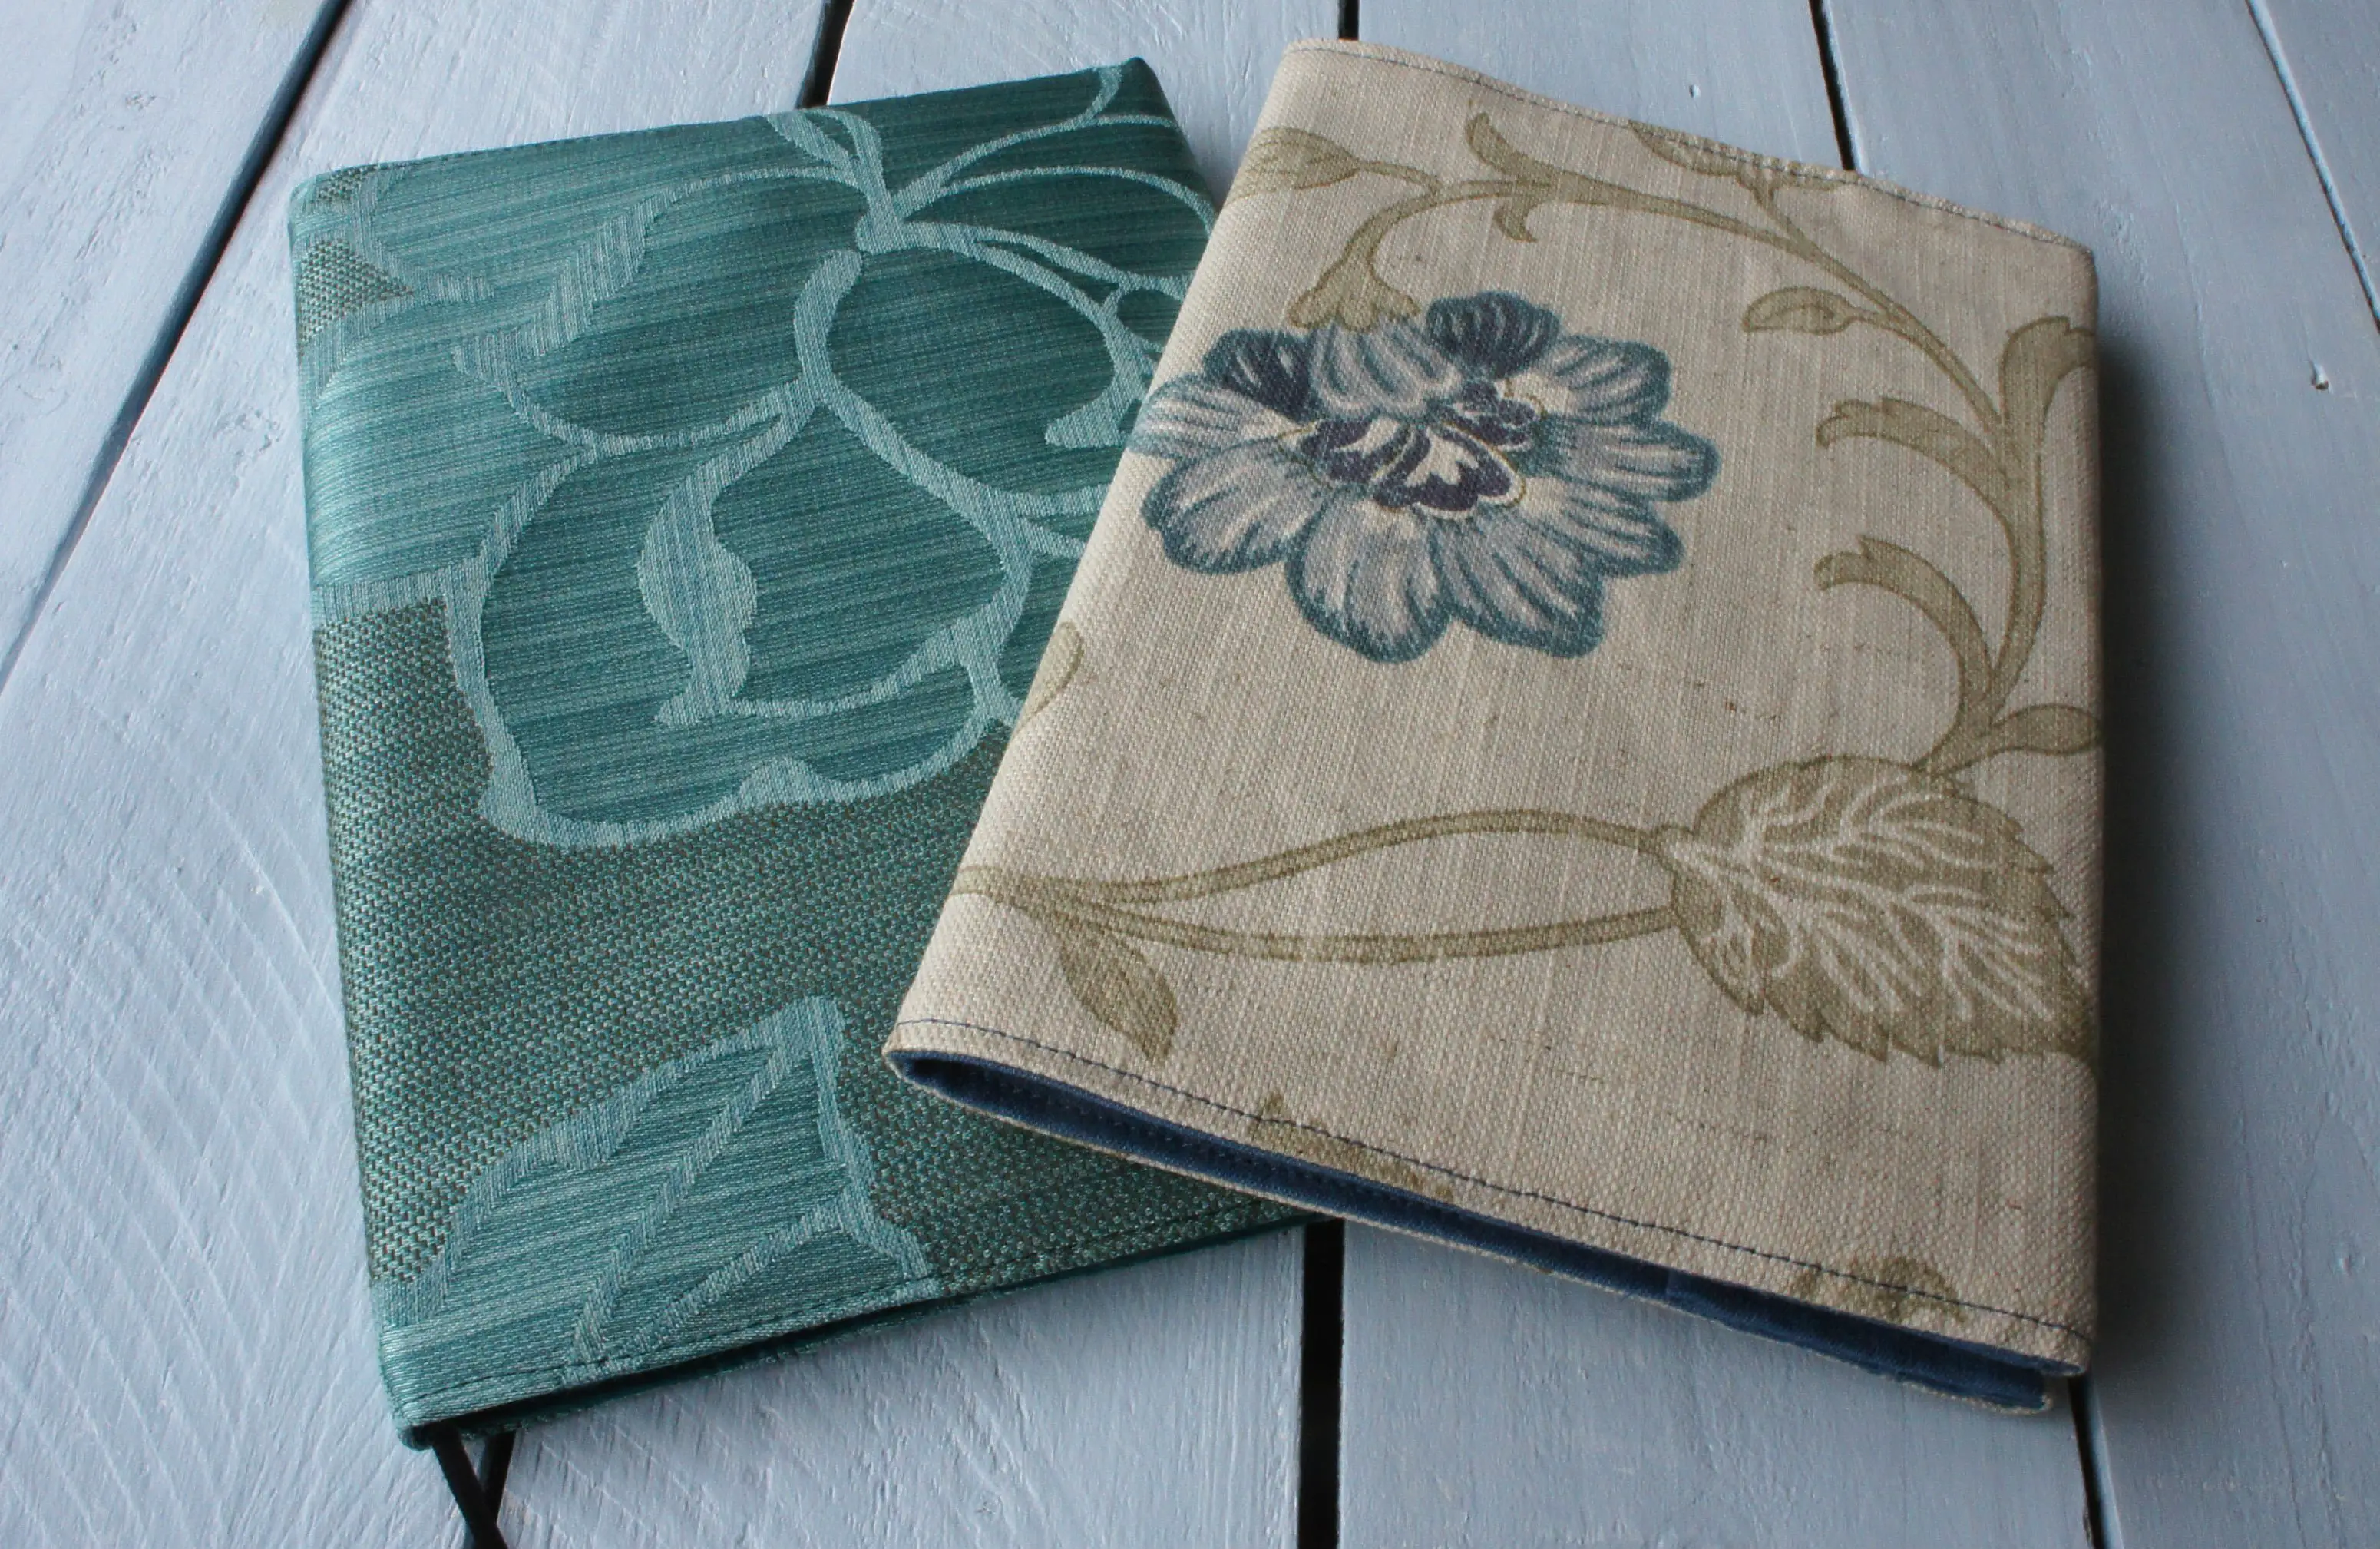
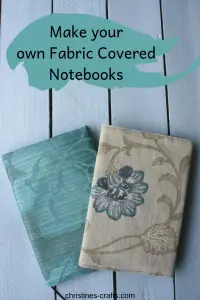
Fabric Covered Notebook – How to Make
As an Amazon Associate I earn from qualifying purchases
If you want to make your own DIY pocket notebooks then check those out here. They are so quick and easy to make!
This page contains affiliate links meaning I earn a small commission if you use those links at no cost to you. I only recommend brands I use and trust.
This full tutorial is available as a downloadable PDF for a small charge so that you avoid the ads and easily print it off if you want to. Simply click here for details.
What will you need?
Notebook or diary – set of 12 notebooks from Amazon
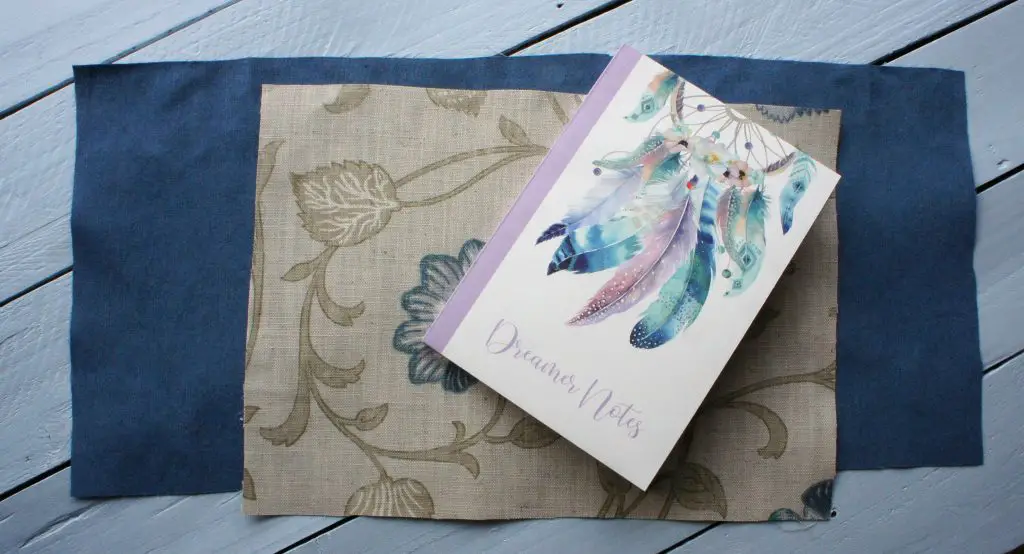
Fabric – pretty upholstery fabric from Amazon
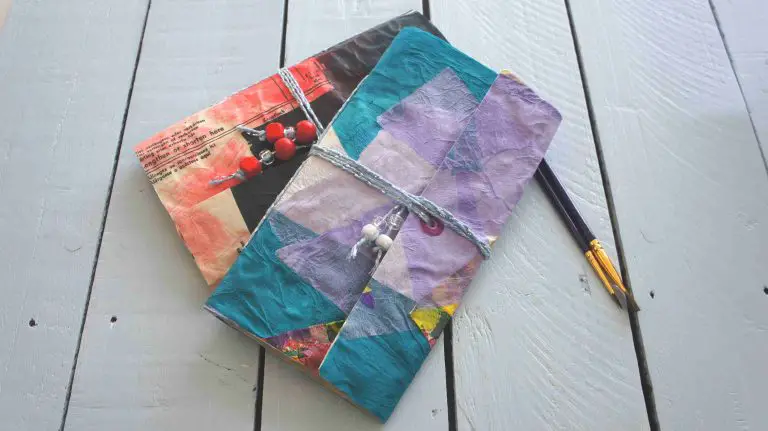
I have made one using fabric paper and you can learn how to make your own fabric paper here.
Matching thread
Sewing machine
Basic sewing supplies


Video Tutorial
This video is also available on my YouTube channel.
Cut out the fabric
Measure the height of your notebook and how wide it is when it is fully open. My notebook is 21cm (8.25″) high and when opened 29.5cm (11.5″) wide.
You need to cut two pieces of fabric, one is the cover and the other is the lining. I used two complementary fabrics but you could use the same fabric for both or contrasting fabrics. I used 1cm seam allowances throughout this project.
For the cover:
Cut a piece of fabric that is 3cm (1.25″) taller and 4.5cm (1.75″) wider. For my notebook this was 24cm (9.5″)high and 34cm (13.5″) wide
For the lining:
You will need to decide how wide you want your inner pockets to be. You need to cut the lining as wide as the cover plus 4 times the width of the pocket you require. I decided upon 5cm (2″) for my pockets so I cut my lining 24cm (9.5″) high (the same as the cover) and 52cm (20.5″) wide.
That is the hardest part of the whole project over and done with!
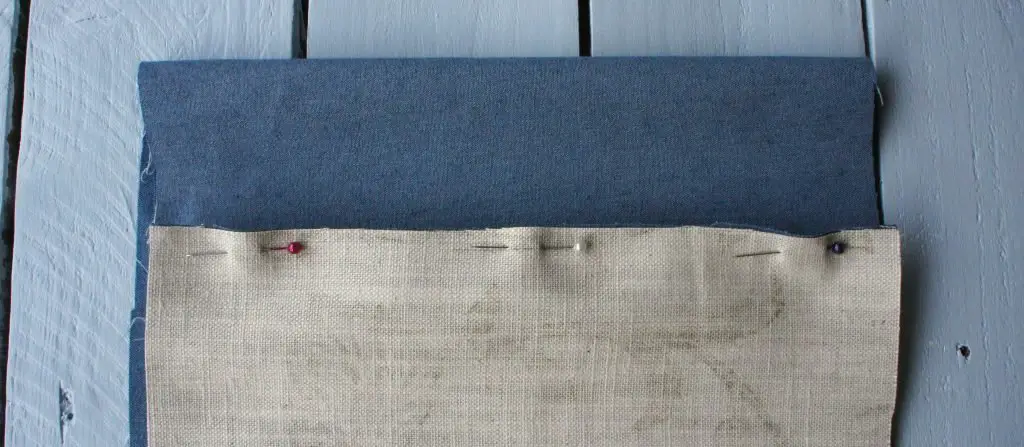
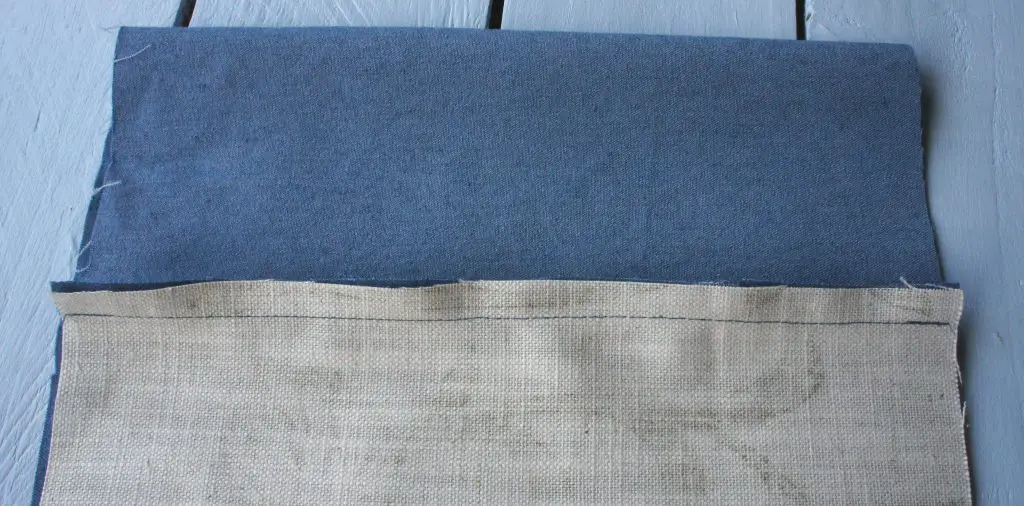
Form a tube
Pin and sew the lining to the cover along the short edges so that you end up with a short, wide tube. Ensure that right sides are facing when you pin and sew the seams.
Sew the cover
Keeping the tube with right sides facing place it lining side down. Now set the cover so that it is central over the lining. Check the width of the lining on either side to ensure that the cover is central. Pin it in place.
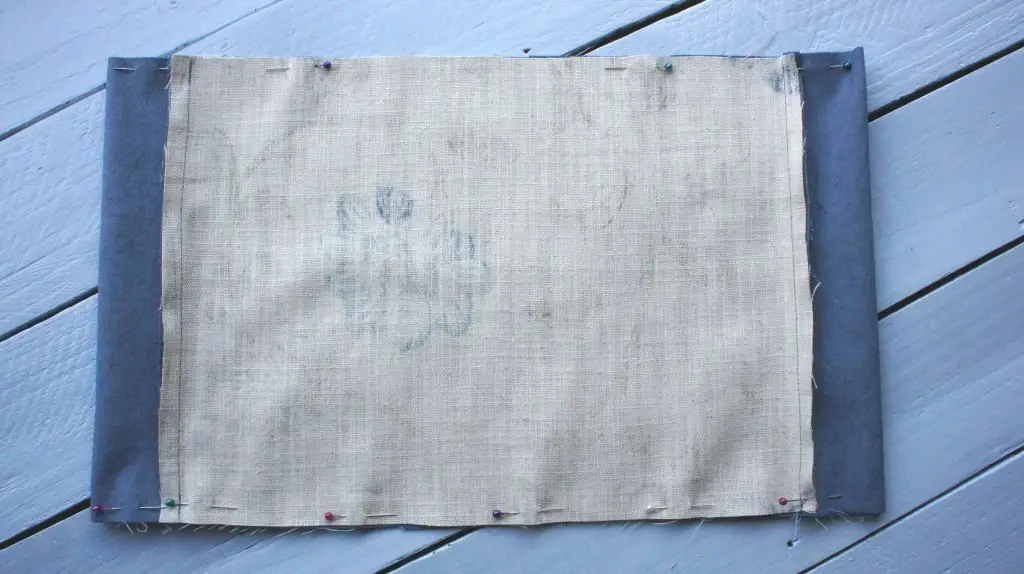
Now sew along the 2 seams but make sure that you leave a gap in one of them that is large enough to turn the whole thing out through.
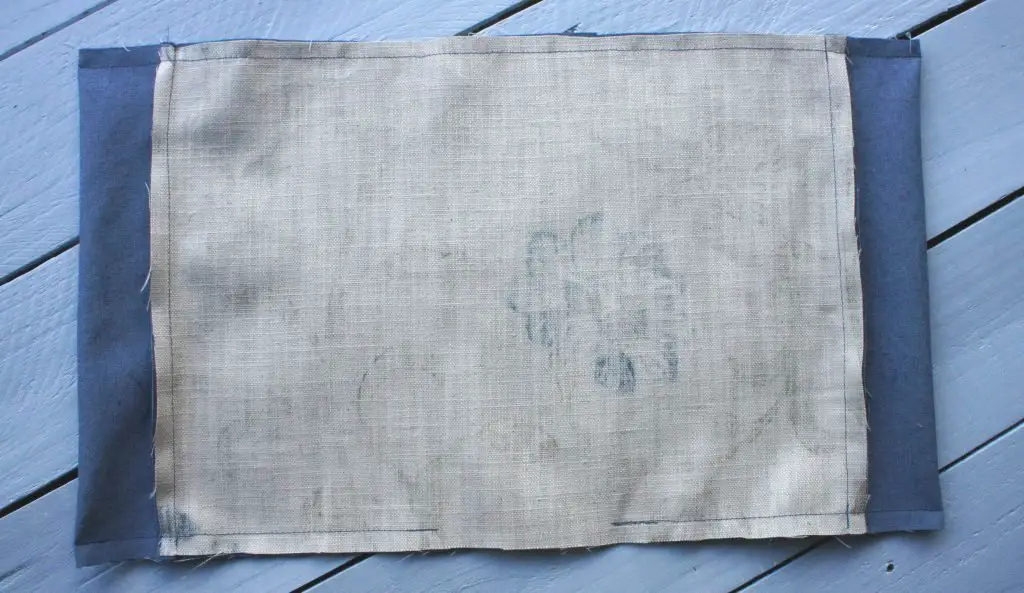
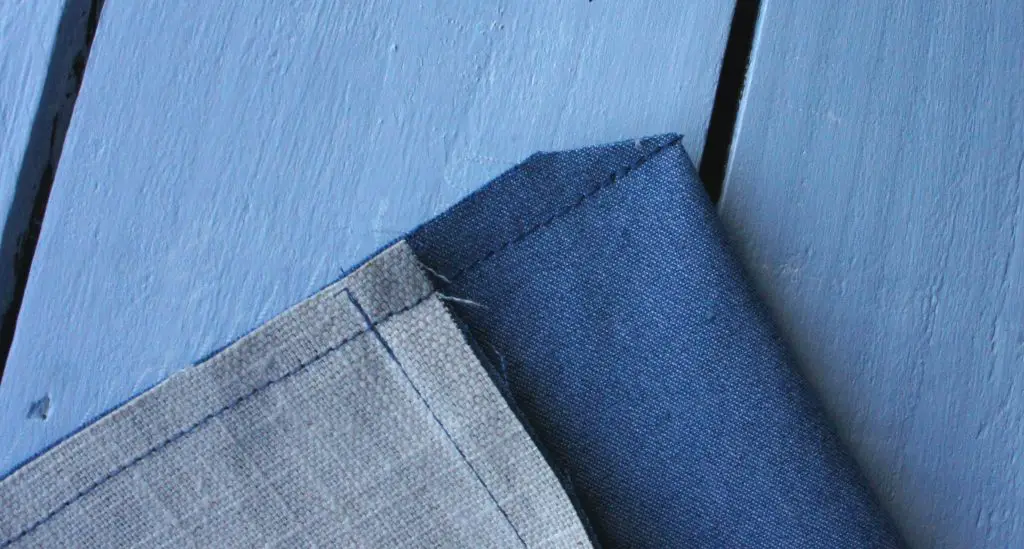
Before turning your cover out to the right side clip the corners so that they are not too bulky. Make sure that you do not clip the seam.
Complete the cover by forming the pockets
Turn the cover out to the right side. Poke out the corners carefully using your finger or a blunt object and press it flat. Then top sew around the whole thing as close to the edge as you like. It is your style choice just be sure to cover the seam so that you close up the gap you left for turning out.
Turn the cover over and place your notebook in the centre. Fold up the sides and pin them in place. Take your time with this to make sure your cover has a snug fit but that the book still closes. You also need to ensure that your pockets are the same size!
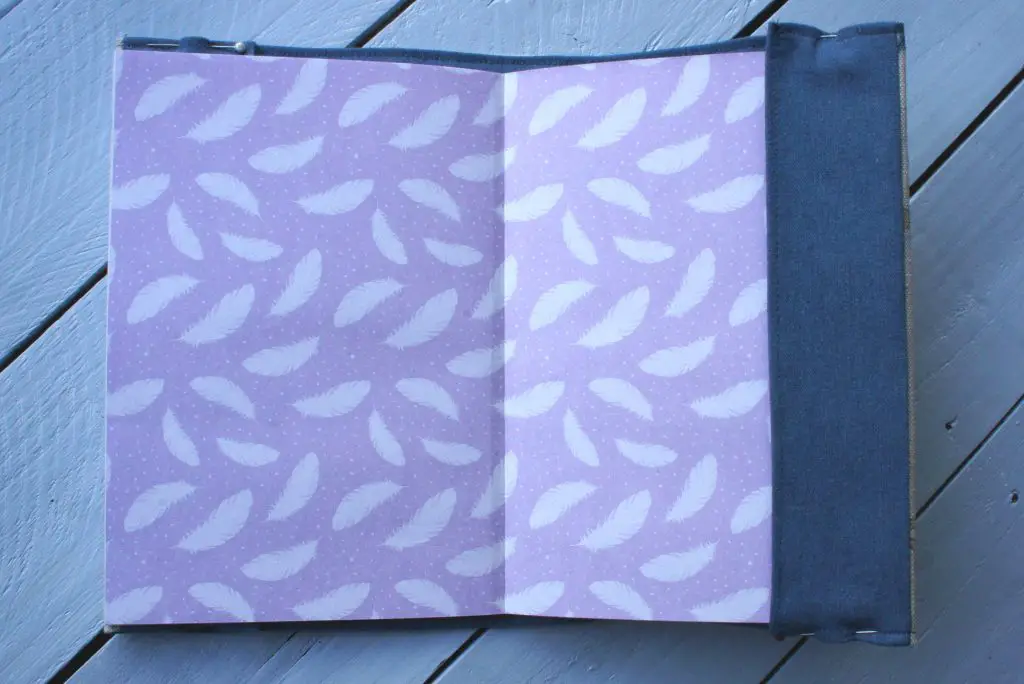

Remove the notebook and hand sew the pockets in place close to the edge of the cover. You will sew 4 seams in total.
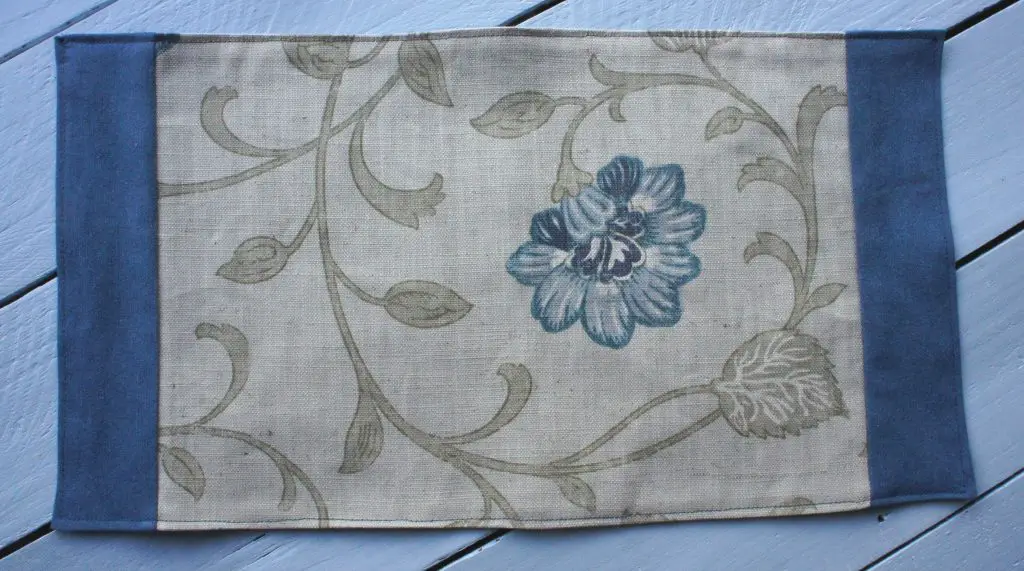
Then slip your notebook back into the cover and you have finished your fabric covered notebook!

Well done! Think of the possibilities. You could make these for anyone if you select the right fabric. Superheroes and cartoon characters would be great for kids (and adults who never quite grew up). Sophisticated prints would work well for adults who might like to use the book in a professional capacity and how about bold prints for that teenager in your life.
Whatever fabric you choose just make sure it is up to the rigours of life as a notebook cover. I chose hardwearing upholstery fabrics.
If you would like this full tutorial as a downloadable PDF for a small charge then click here for details.
If you like sewing then take a look at some of my other tutorials:
- How to make a fabric corner bookmark – another great gift idea
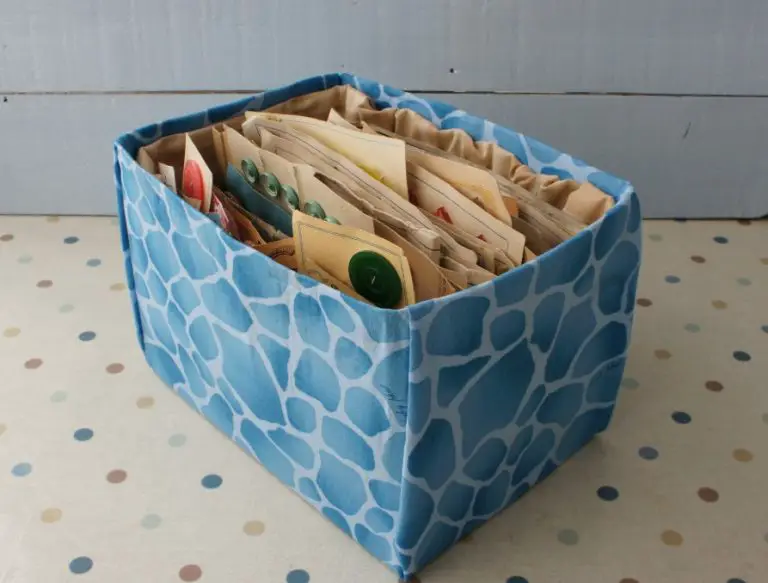
- Teabag Wallet Tutorial – never be caught without your favourite tea
- The Simplest Skirt Tutorial – no pattern needed!
- Patchwork Bag
Remember to pin this tutorial for a fabric covered notebook (book sleeve) on Pinterest for later. Please comment below and let me know what you think of these covers and any tips you have for getting great results.