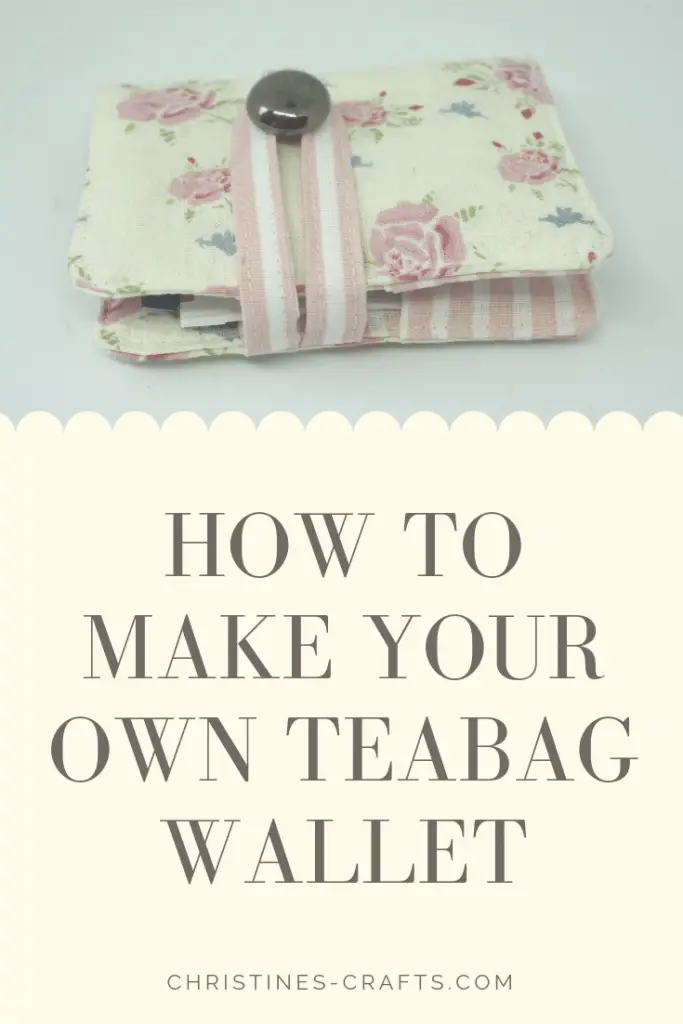
Teabag Wallet Tutorial – How to Sew
As an Amazon Associate I earn from qualifying purchases
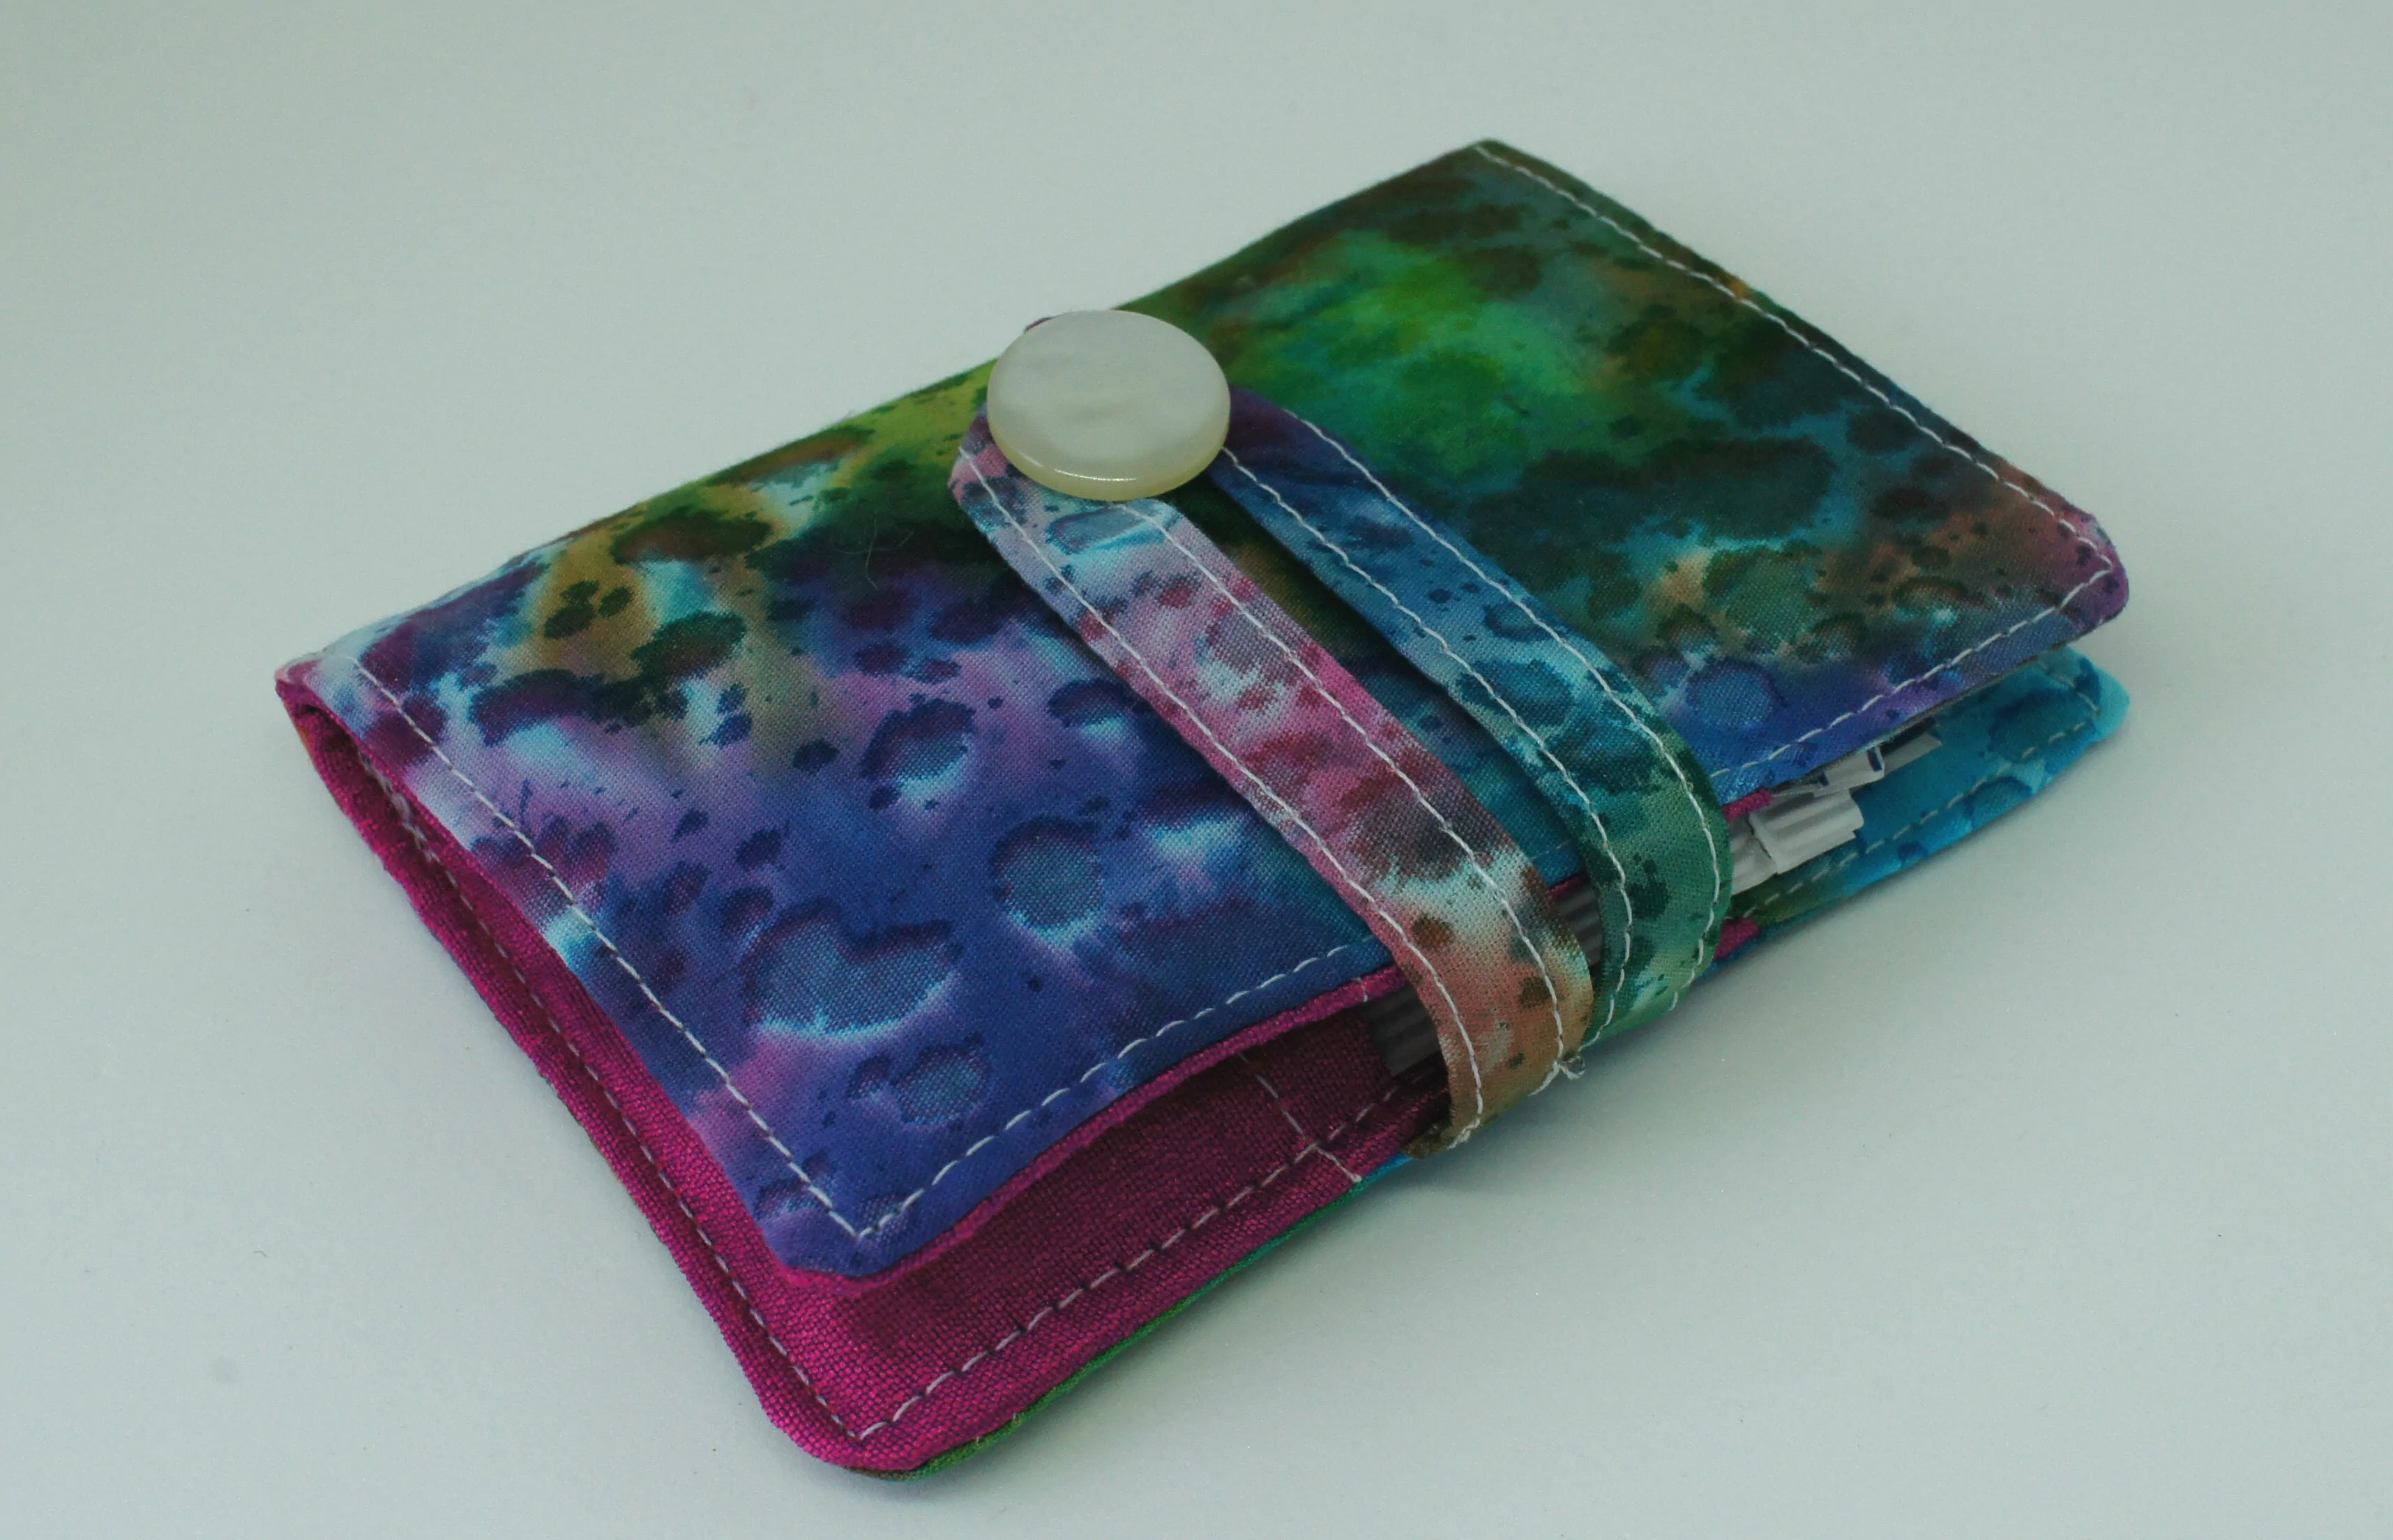
I do not drink tea so I always carry my own ‘teabags’. In fact, they are fruit and herbal infusions (no tea involved). But using a small plastic bag is not ideal and I sometimes burst teabags in my handbag or pocket. So, I decided to make a teabag wallet to carry them around.
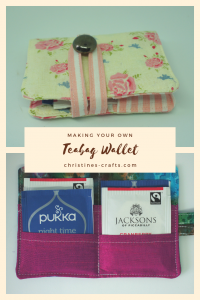
This tutorial will show you exactly how to make a gorgeous little teabag wallet to take your own teabags out with you. Never be caught without again! Great gift idea too!
This page contains affiliate links meaning I earn a little commission if you use those links at no cost to you. I only recommend brands I use and trust.
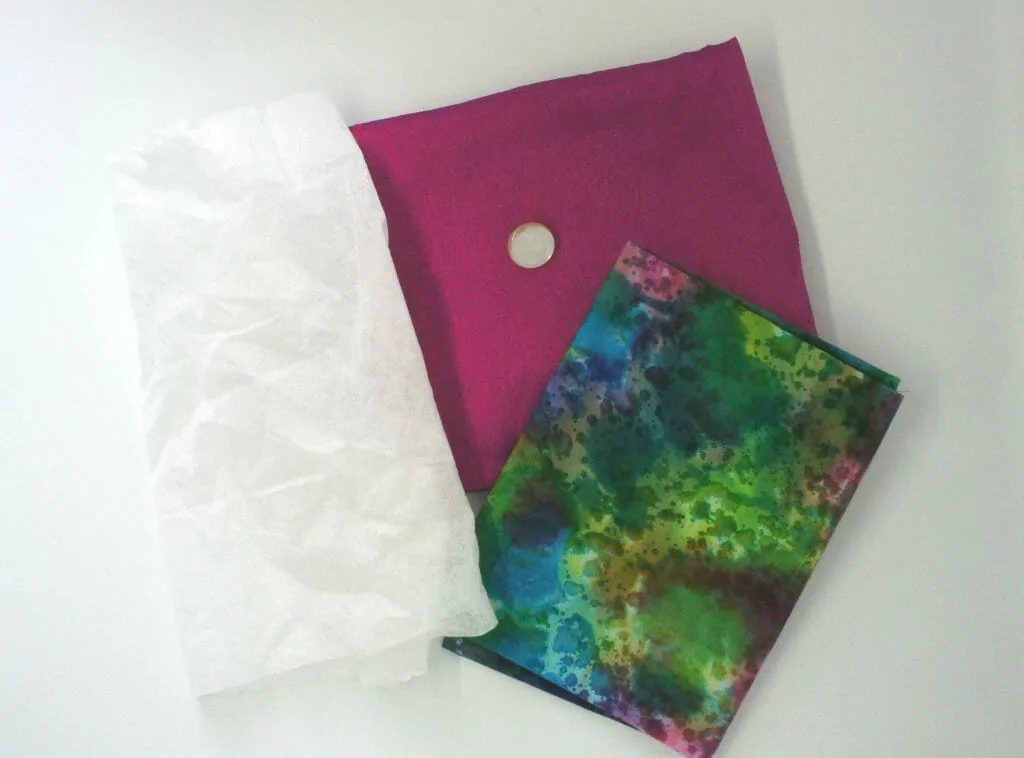
You Will Need:
Two different fabrics (fat quarters are ideal) Like these from Amazon
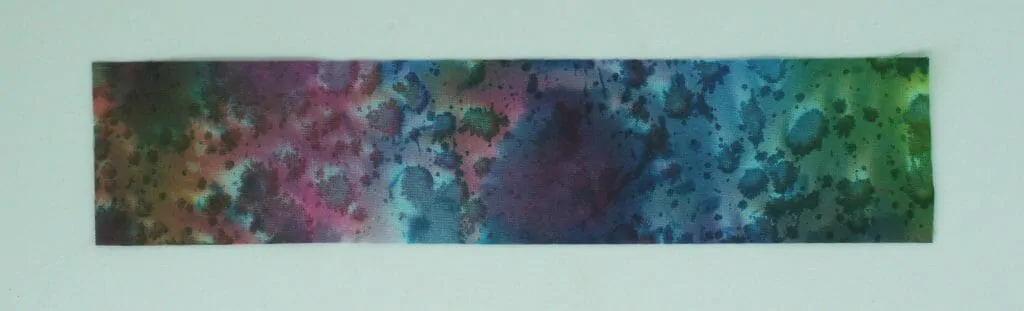
I have also made one using fabric paper. Learn how to make fabric paper here.
One button
Basic sewing supplies (scissors, thread, needle, sewing machine)
I have used white thread so that you can see it but the best results are achieved with a matching thread.

Video Tutorial
This video is also available on my YouTube channel.
Cut out fabric
From the fabric that you want to use as the main part of the wallet cut the following pieces:
17.5cm x 12.5cm (7″ x 5″) – 2 off
17.5cm x 4cm (7″ x 1.6″) – 1 off for strap

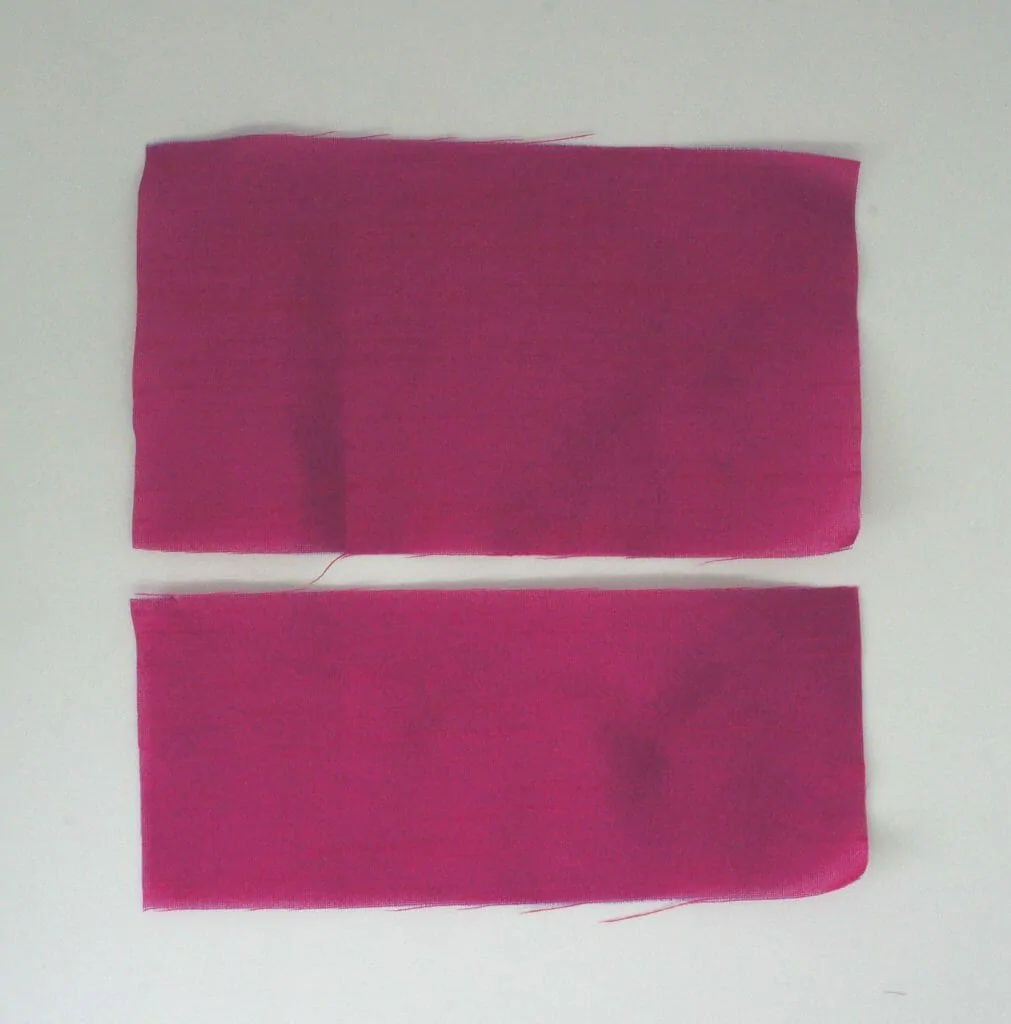
From the fabric that you want to use for the inner pockets of the wallet cut the following pieces:
17.5cm x 10cm (7″ x 4″) – 1 off
17.5cm x 7.5cm (7″ x 3″) – 1 off
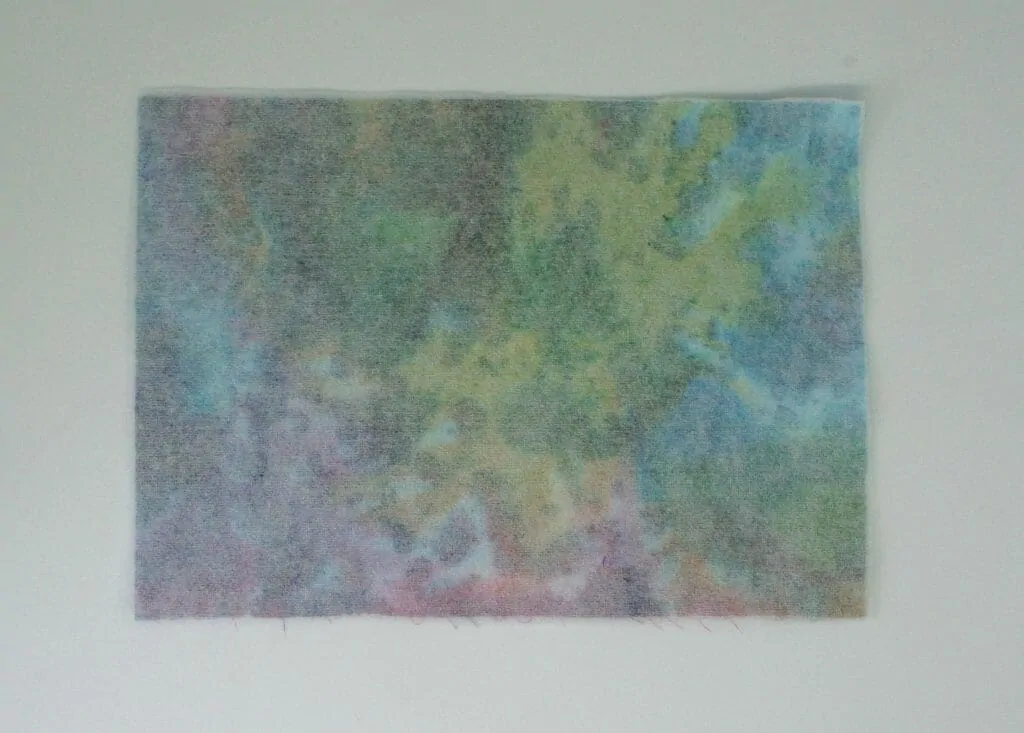
From the interfacing cut a piece 17.5cm x 12.5cm (7″ x 5″)
Prepare pieces
Iron the interfacing onto the wrong side of one of the main wallet pieces.
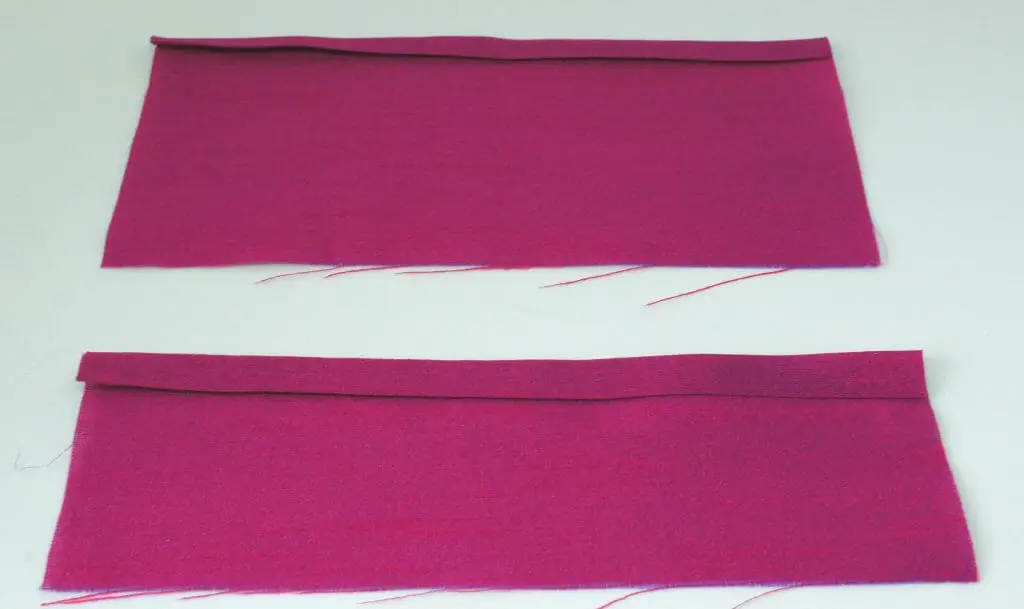
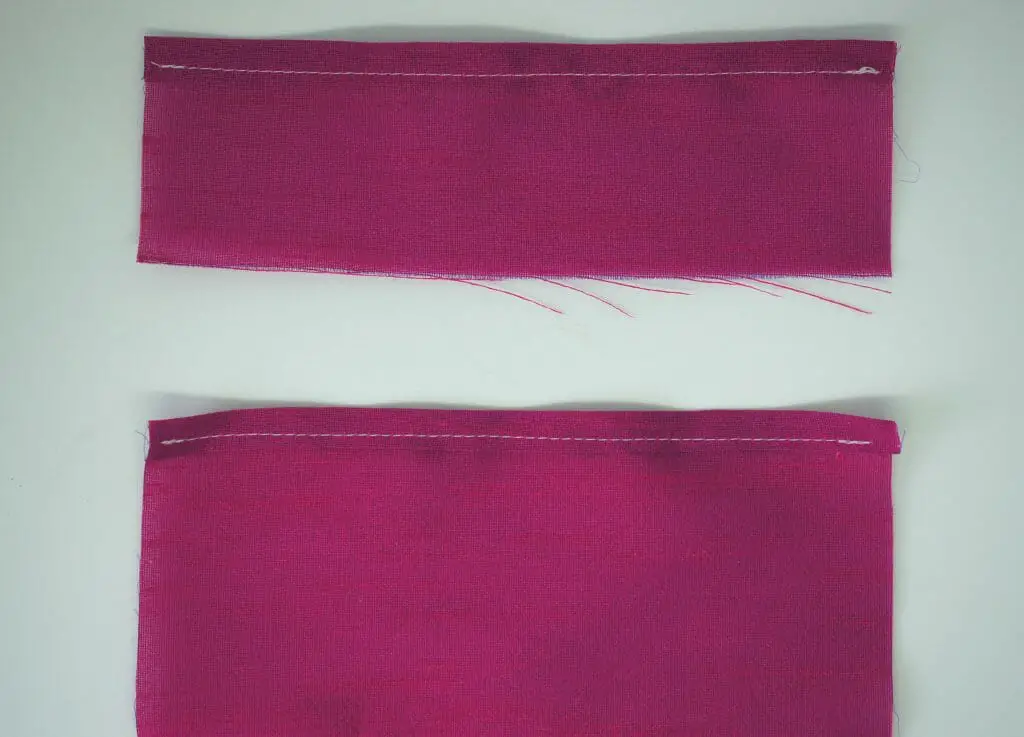
Fold a small double hem along the top of each of the pocket pieces and press them. The hem should be approximately 1cm (0.4″). Sew them in place.
Make the strap
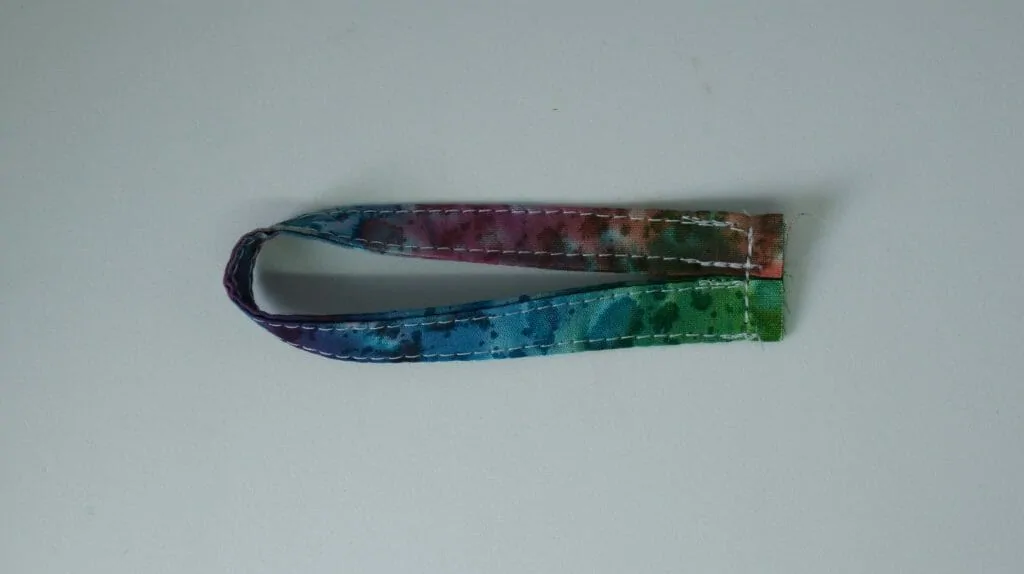
Make the strap. Take the strap piece and fold it in half along its length. Press.
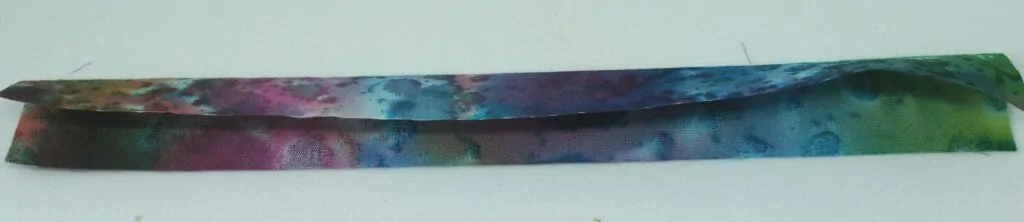
Now open it out again and press each side into the centre.
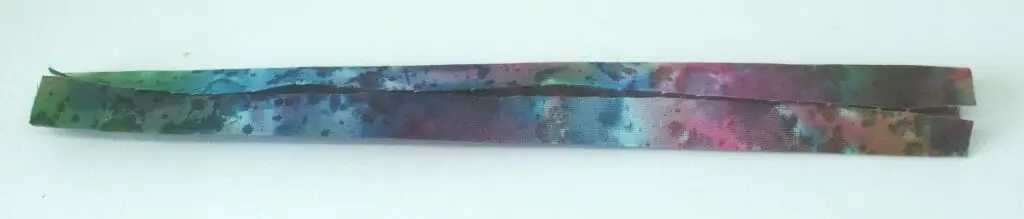
Refold along the centre fold and press. You now have the strap ready to sew.
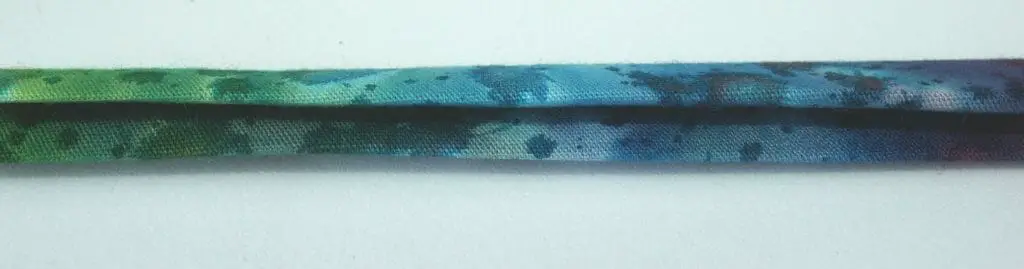
Sew the strap along its length and then fold it in half and sew the ends next to one another as shown below. This prevents the strap from moving about when you sew it to the wallet.
Sew pockets
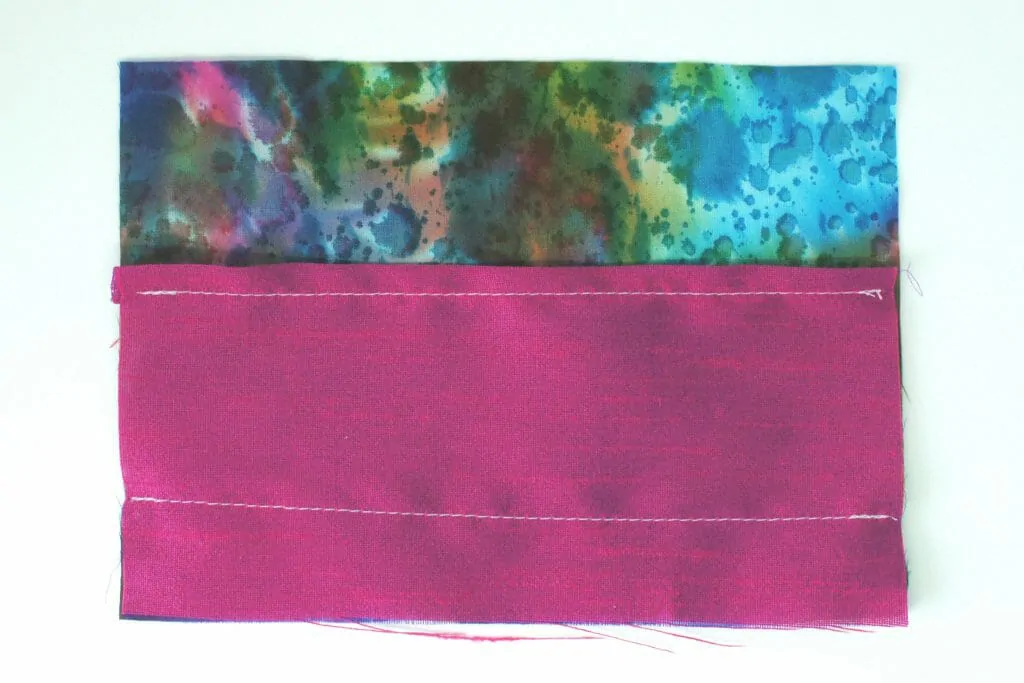
Sew the large pocket onto the main wallet piece that does not have interfacing on it. Sew it 5cm (2″) from the top of the pocket with the wrong side of the pocket on top of the right side of the main wallet piece. This allows your teabag to sit in the pocket but not go too far down and be difficult to get out.
Assemble the teabag wallet
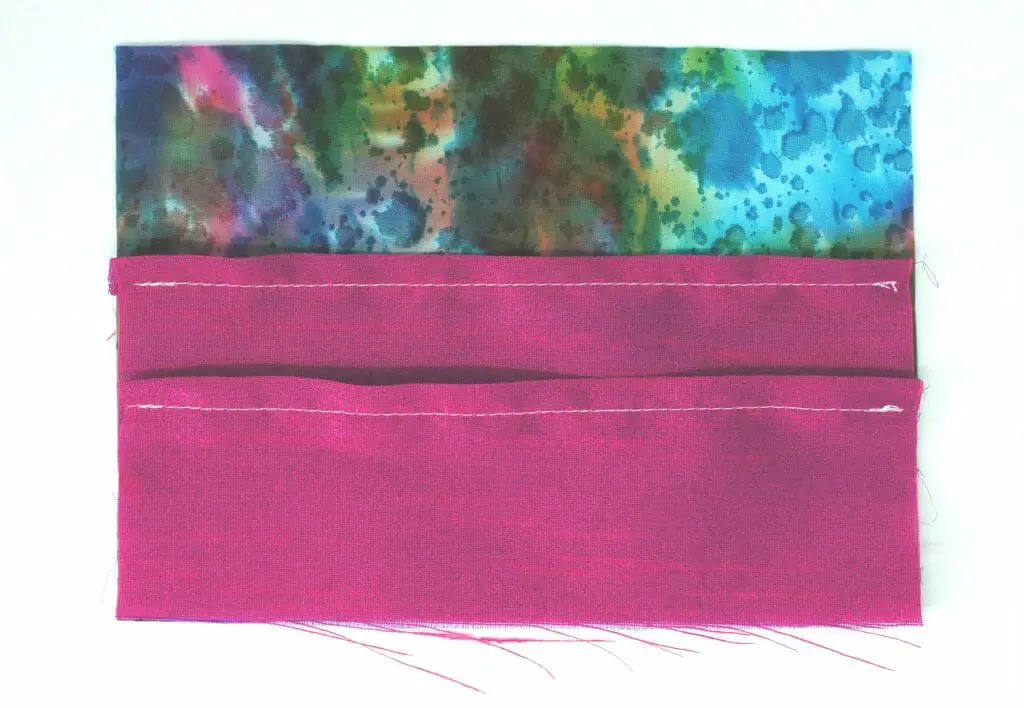
Assemble the wallet. Place the small pocket on top of the large pocket as shown.
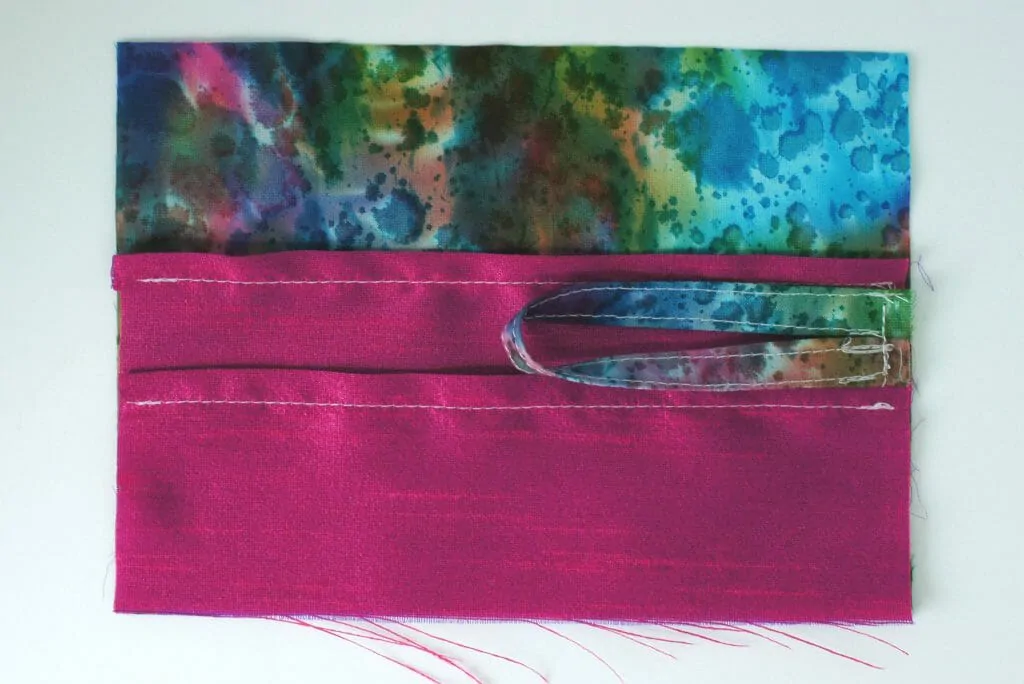
Position the strap onto the pockets as shown.
Place the interfaced main wallet piece on top of all of this, right side down. Now pin everything together around the edge ensuring nothing moves. I recommend pinning the strap section first and then around the pockets at the bottom of the wallet. Leave a section at the top open to turn it the right way out.
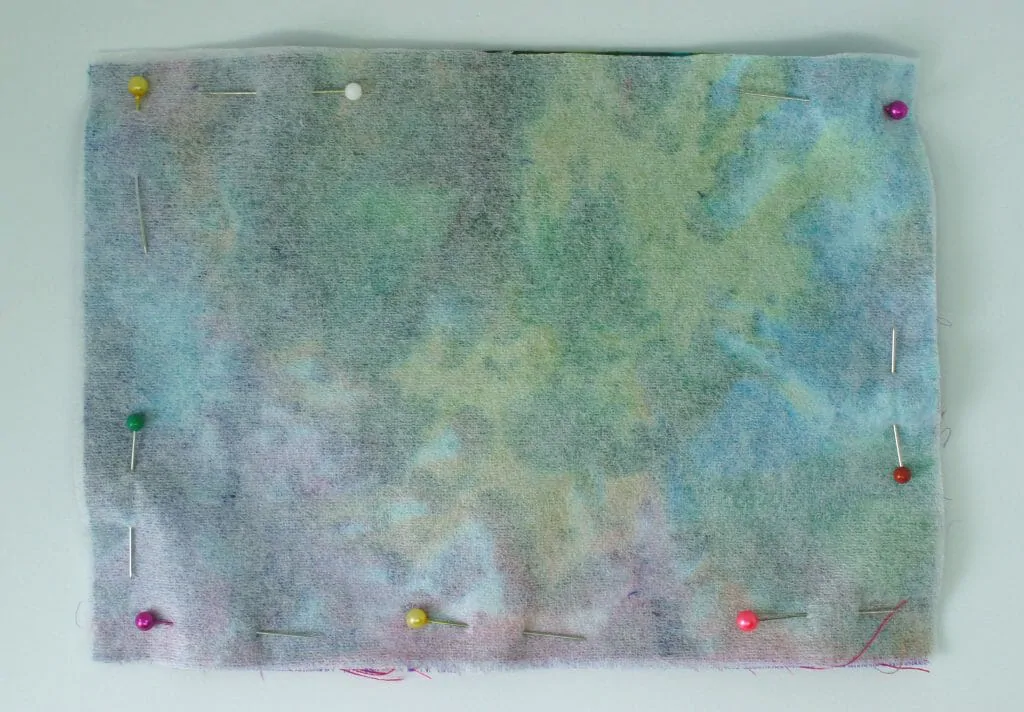
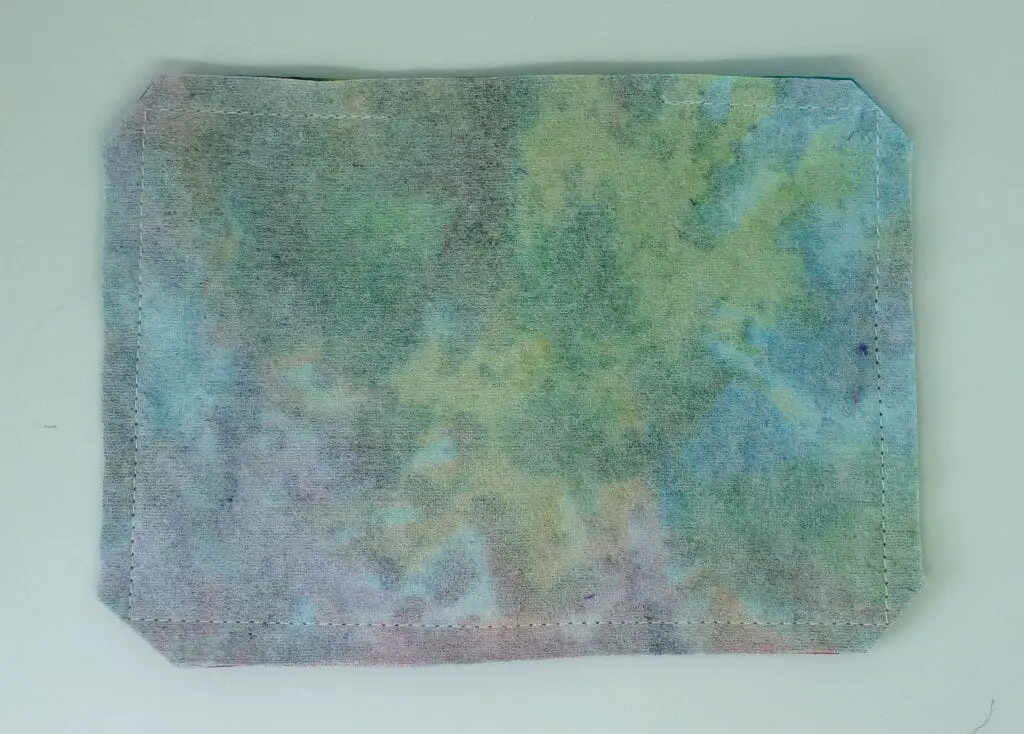
Now sew around the pinned edge approximately 1cm (0.4″) from the edge. Remember to keep an opening to turn it the right side out! Clip the corners.
Top sew
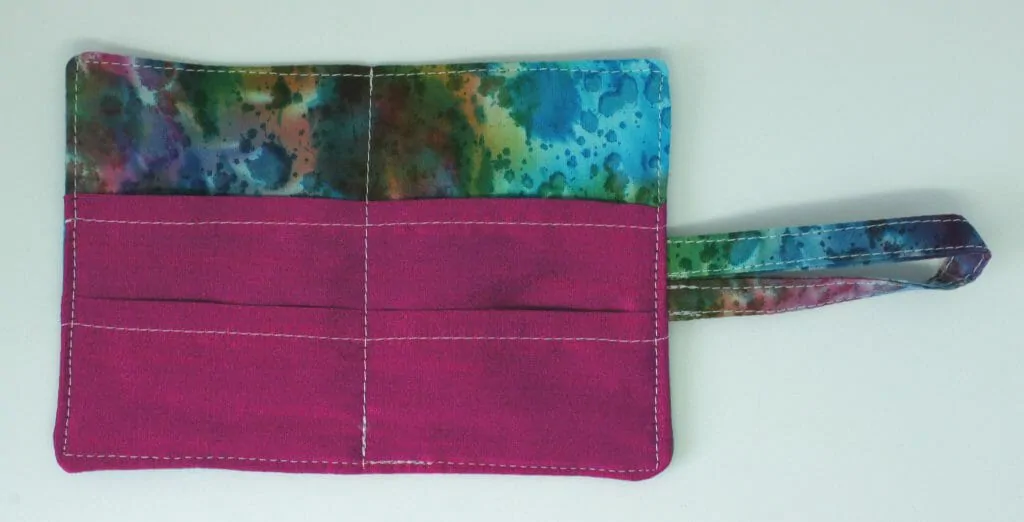
Turn the wallet the right way out and press it. Top sew around the wallet. This makes an excellent feature and sews up the hole you left without any hand sewing. Sew a line down the centre of the wallet to make two halves.
Now simply add some teabags and then decide where your button needs to be. The teabag addition before sewing on the button makes the wallet the correct size for usage. Then sew on the button and you are finished.
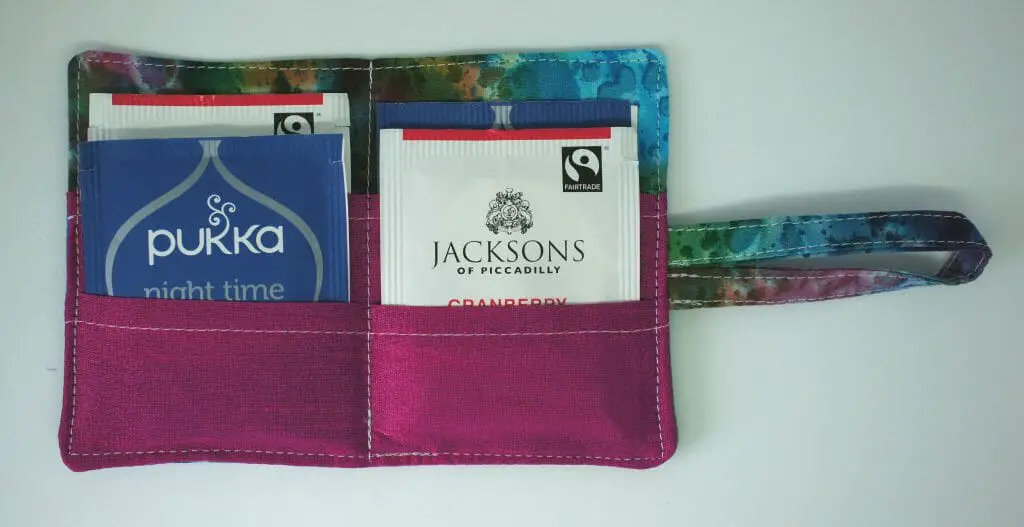
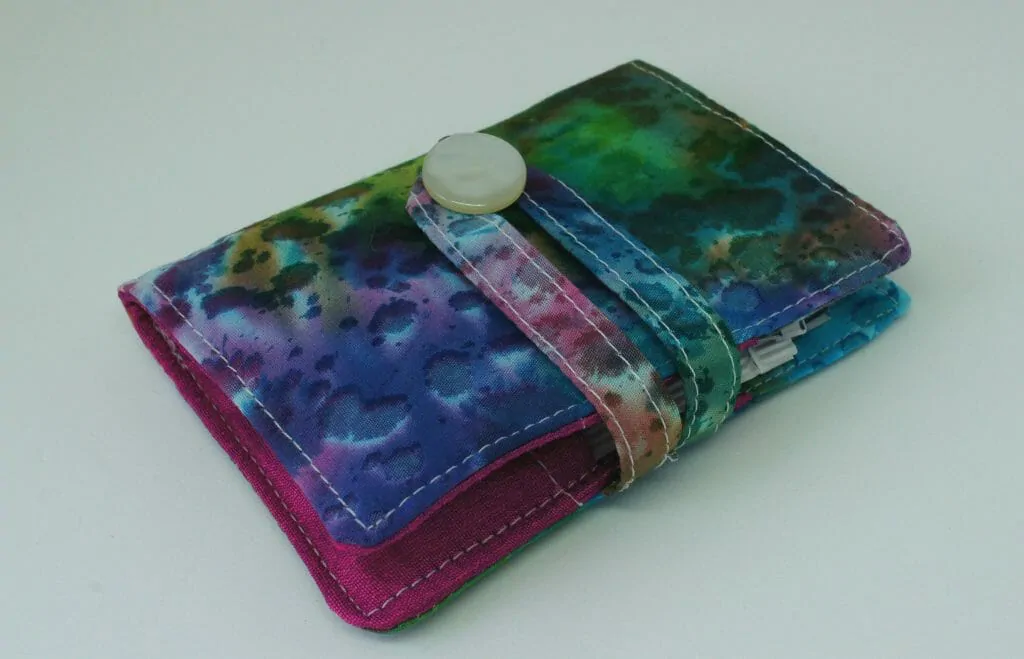
Now you can take your own teabag wallet anywhere you like and never be caught without your favourite teabags! If you want to adapt your teabag wallet to take more teabags simply make it taller and add another pocket. Also if you want your button nearer the opening then simply make your strap shorter. Adjust the instructions to suit your requirements.
Enjoy your sewing and tea drinking!
If you like sewing then take a look at these other tutorials:
- Make your own clothespin bag
- Silk Ball Flowers
- Patchwork Bag
- Fabric hexagons for decorating other items
- Lavender ‘Teabag’ Sachets
Remember to pin this article for later and you can follow me on Pinterest for more great ideas and tutorials.
I love to read your comments so please comment below and I will reply!