How to Fold an Origami Star Box in under 5 minutes!
As an Amazon Associate I earn from qualifying purchases
These adorable little Origami star boxes are so quick and easy to make. You do not need any previous Origami experience. They are great for gifting little treats to your guests and make great Origami table decorations . You can make them any size and you can get a super sized star box out of a piece of 12″ scrapbooking paper!
These Origami star box instructions will show you exactly how to make yours but if you prefer to watch a video tutorial then there is one of those too.
This page contains affiliate links meaning I earn a little commission if you use those links at no cost to you. I only recommend brands I use and trust.
You will need:
Square of Paper (I used 6″ square paper)

General Origami Tips
- Ensure all folds are accurate
- Press all folds firmly
- Running your fingernail along a crease makes it a sharp crease
- Ensure your paper is the same way round as mine at every step
- If you want to learn some basic origami folds take a look at The Beginner’s Guide to Origami
Video Instructions
This video is also available on my YouTube channel.
Preparatory Folds
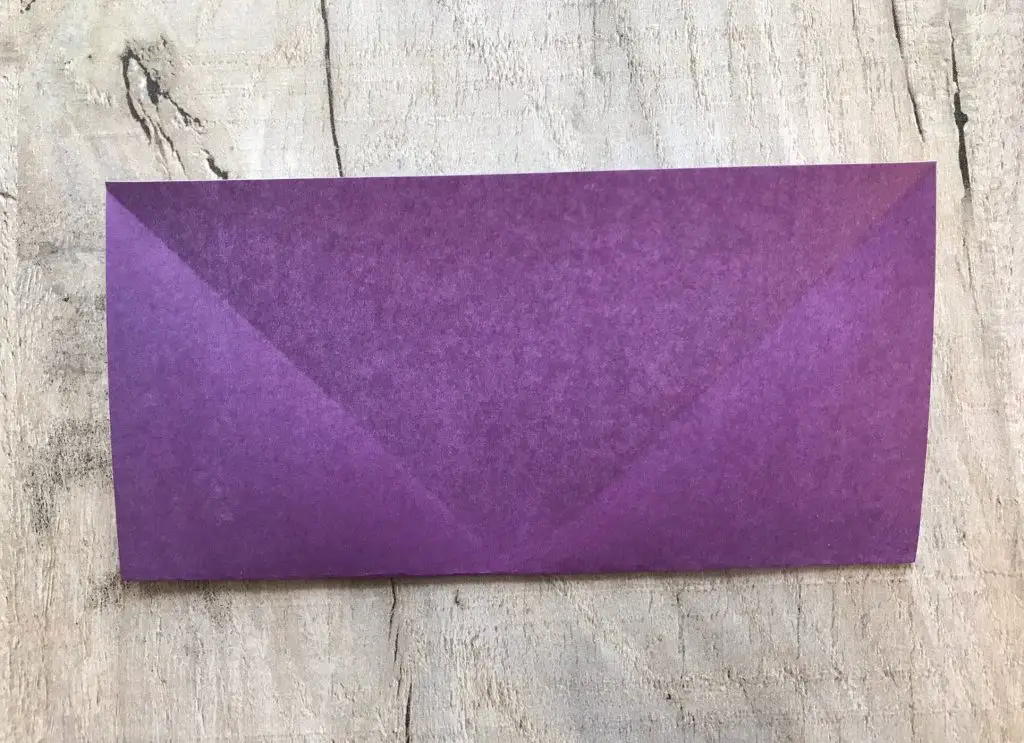
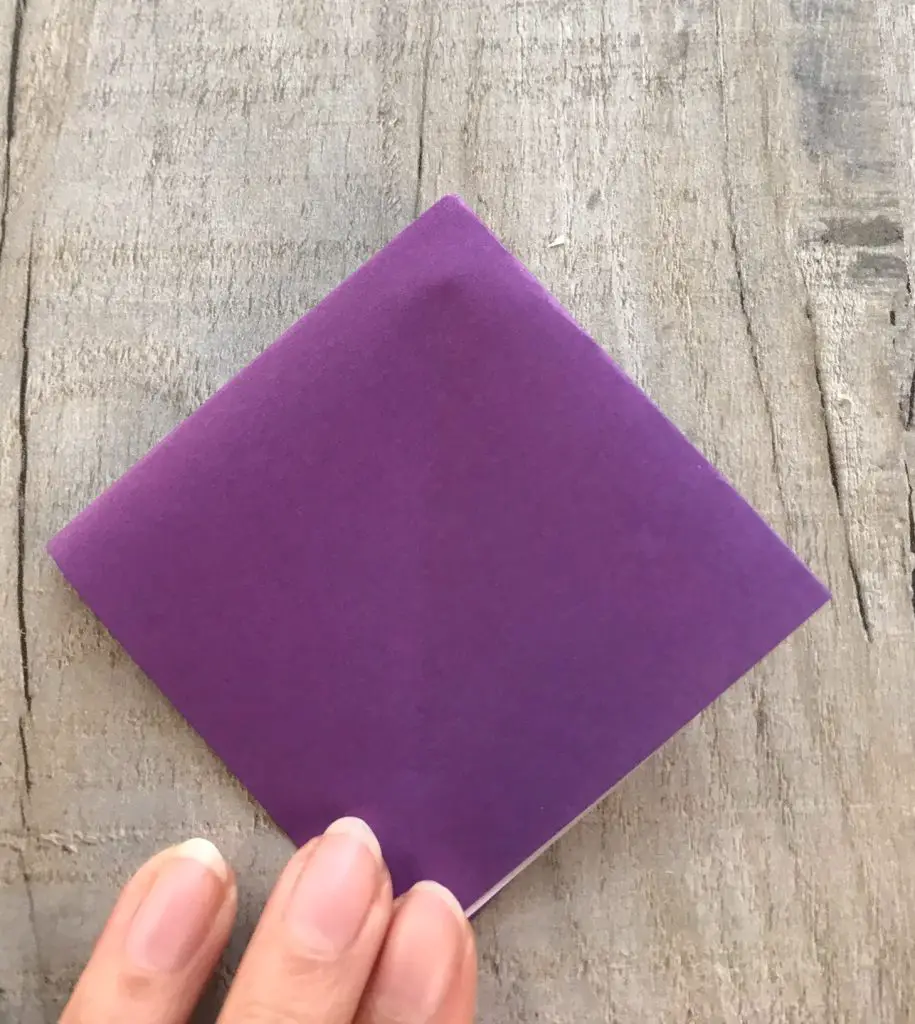
Start with the coloured side of your paper (if it is only coloured on one side) facing up. Fold the paper in half taking one corner over to the opposite corner. Crease well.
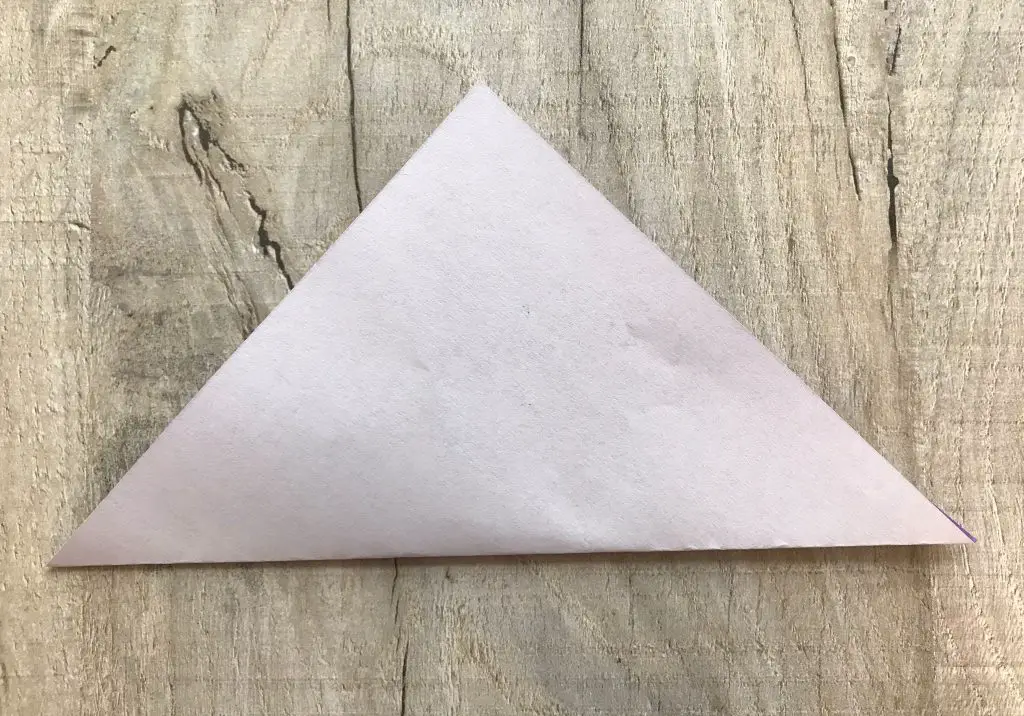
Open the paper back up and repeat this step using the opposite corners.
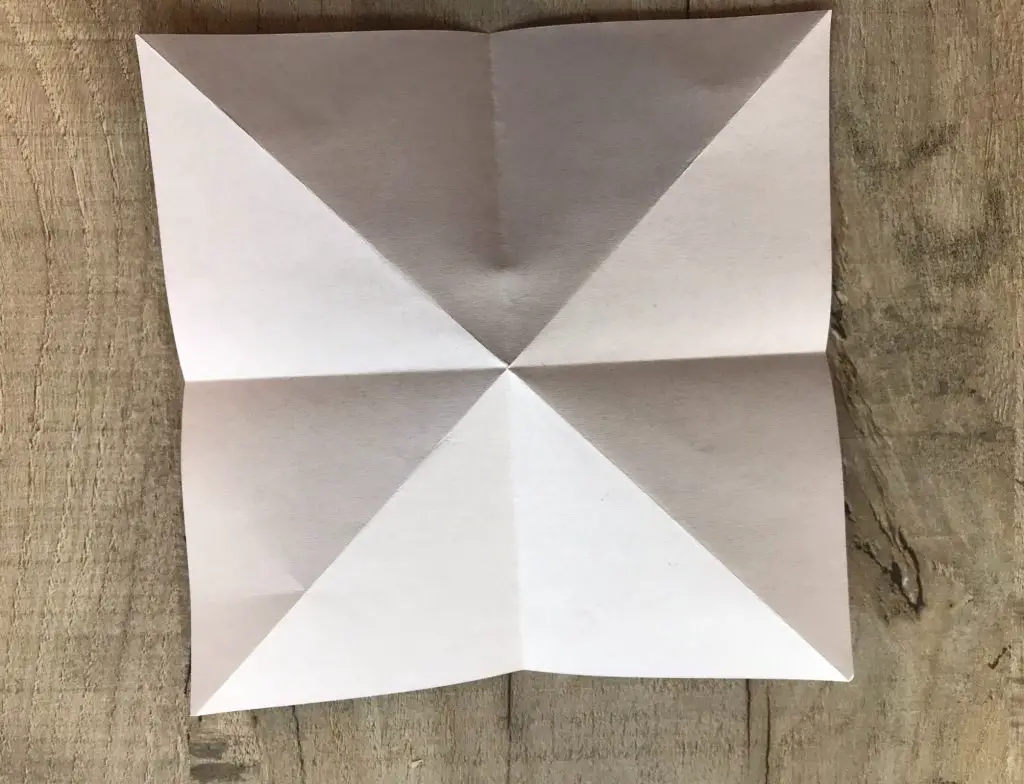
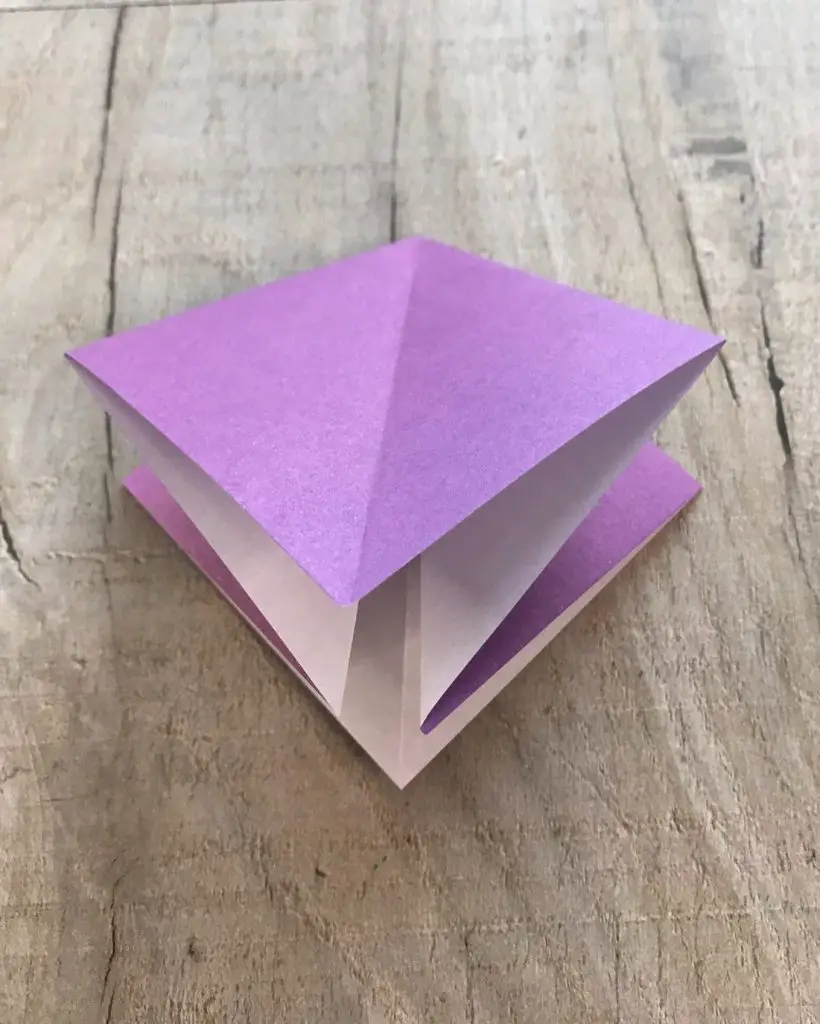
Open the paper back up and TURN IT OVER.
Then fold the paper in half again but this time take one side over to the opposite side.
Open the paper back up and repeat with the other 2 sides. Once you have completed all the folds your paper should look like this.
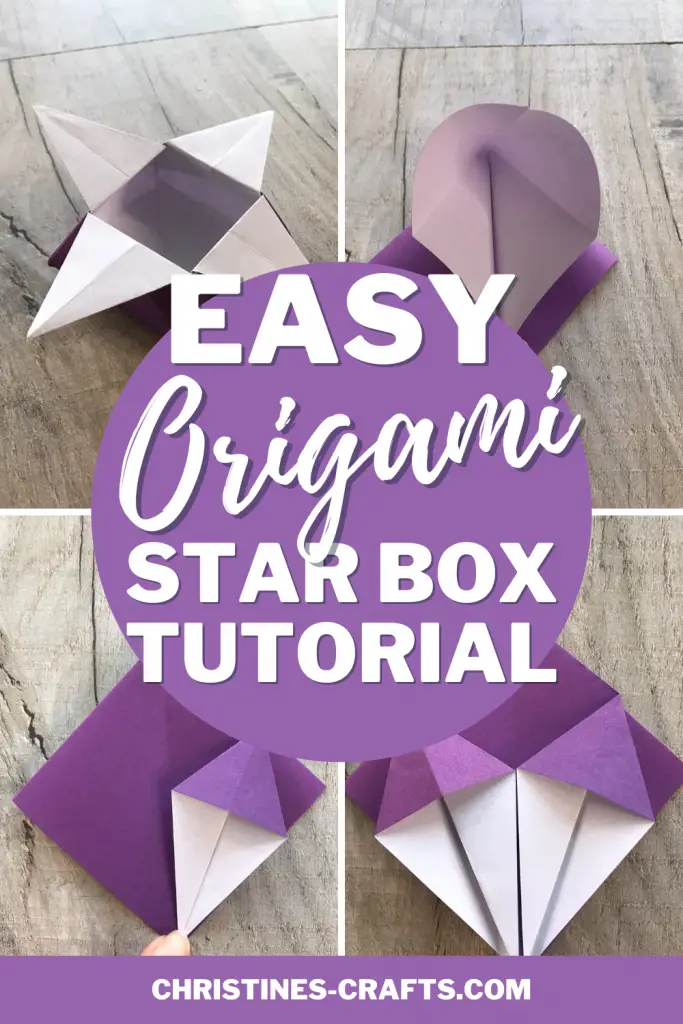
Fold your Star Box
Fold the Box
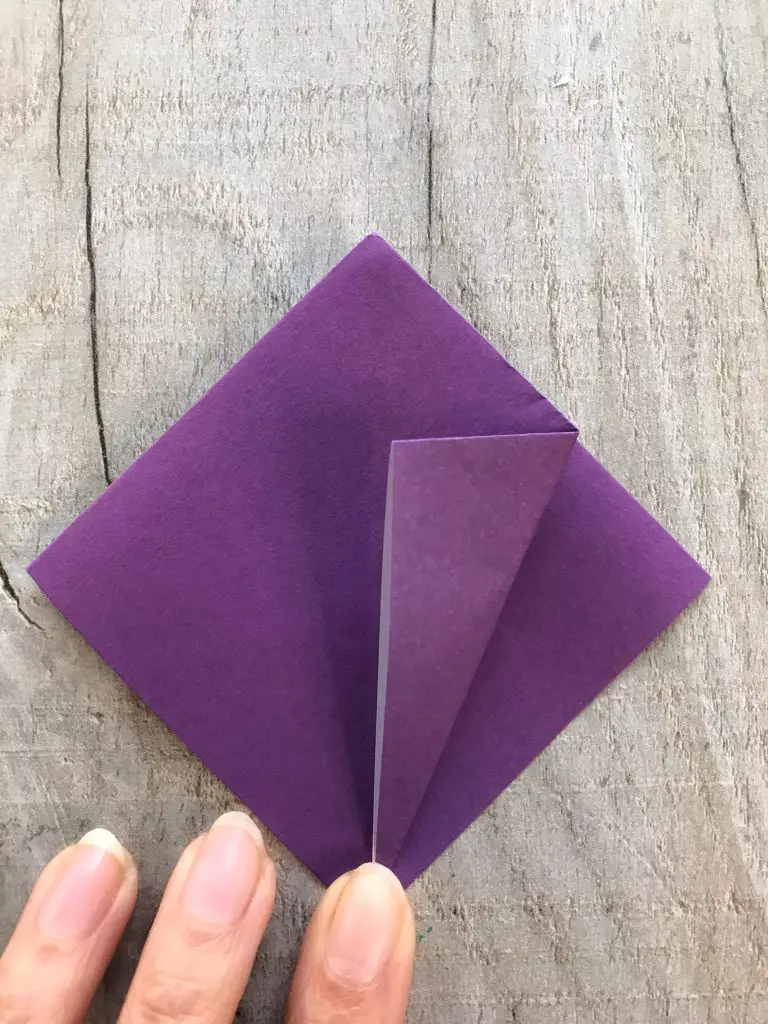
Now turn the paper so that one corner of the square is pointing towards you. The coloured side of the paper is still facing down onto your table. In turn, bring each of the side corners down to the bottom corner. This should be easy because of the folds that you have already made. If it is not, check you did all the folds with the paper the correct way up.
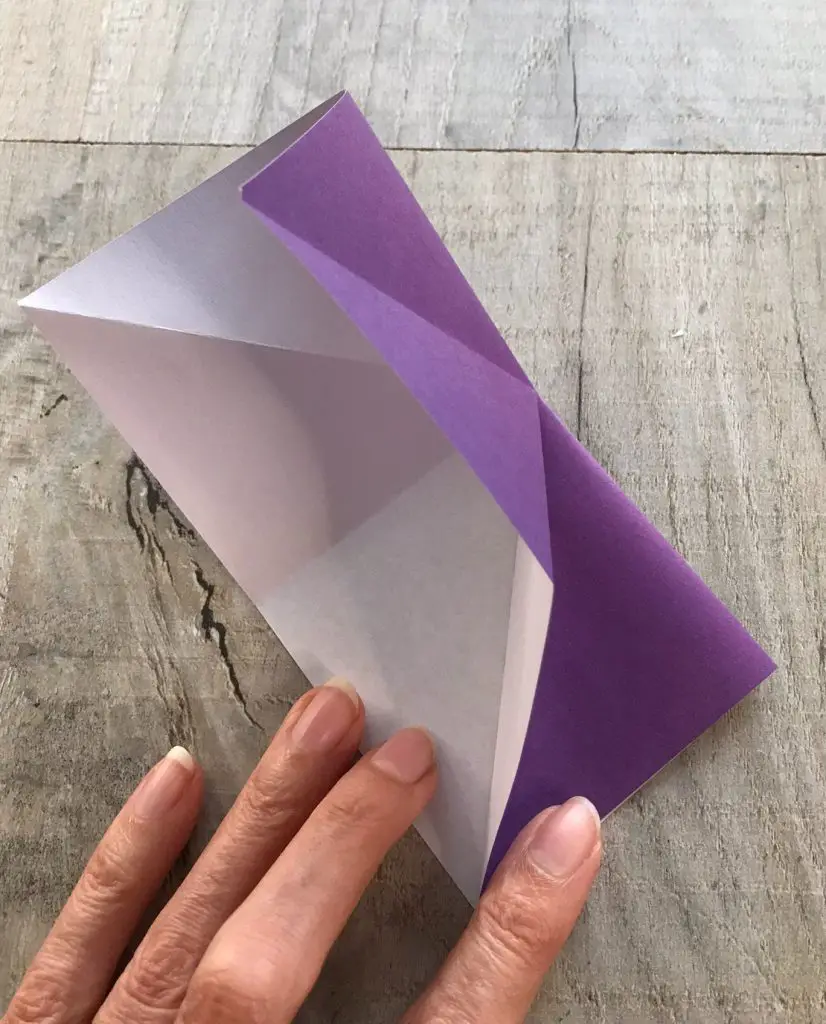
Now bring the top corner down onto the other 3 corners. It should already be coming down towards them. Crease all your folds well. It should now look like this. If this step is confusing you at all then watch the video below.
Fold the Star Points
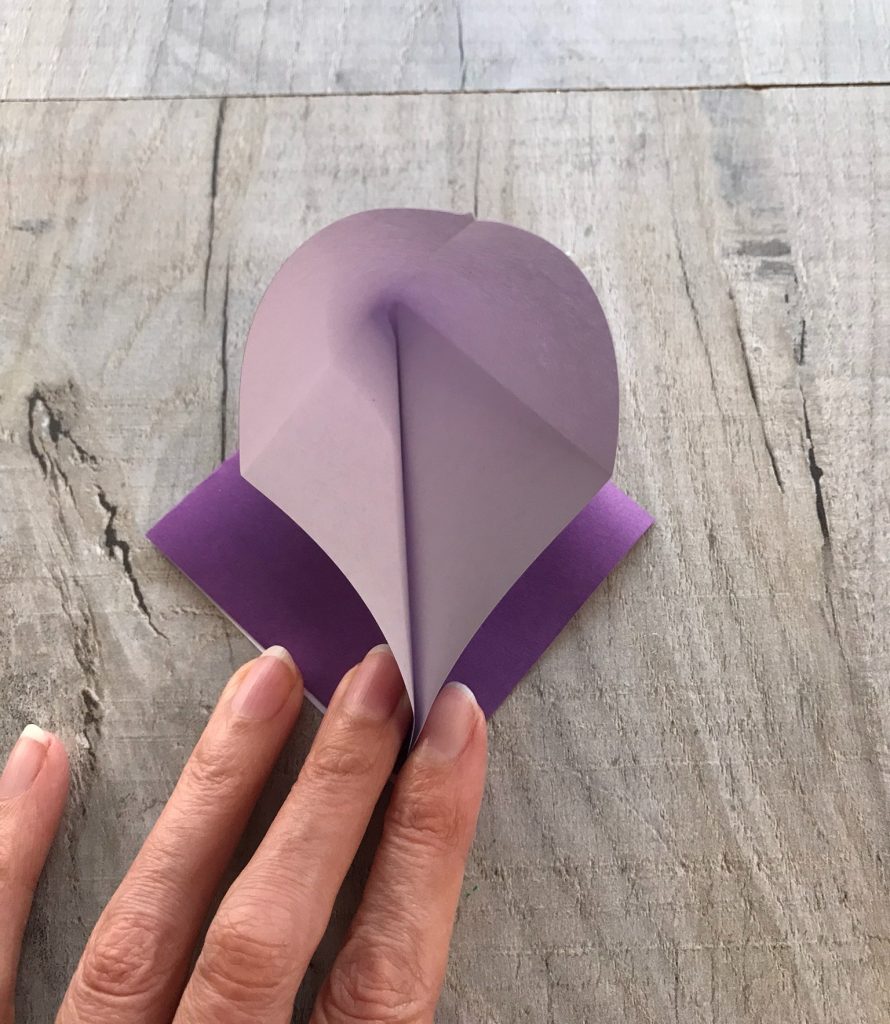
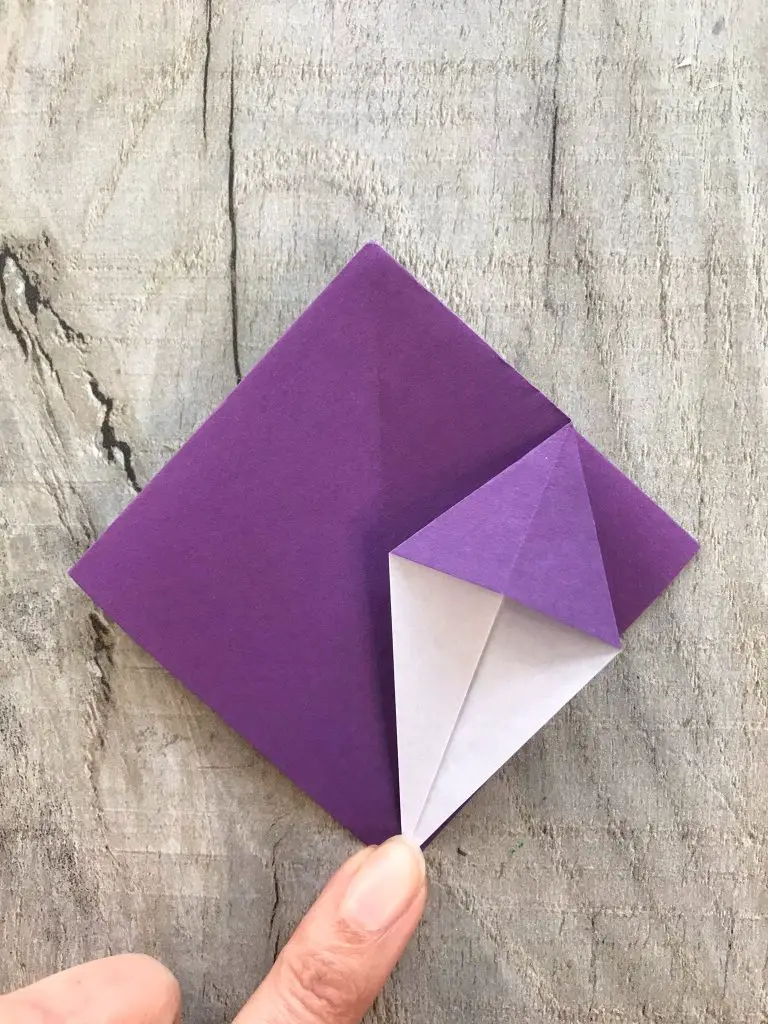
Take the front layer of the right hand corner and fold it to the centre of the square. This will look like this.
Now slide your finger inside the section that you folded over and open it up. Then use your other hand to press it flat as shown below.
Repeat this step with the left hand corner so that you have a matching pair.
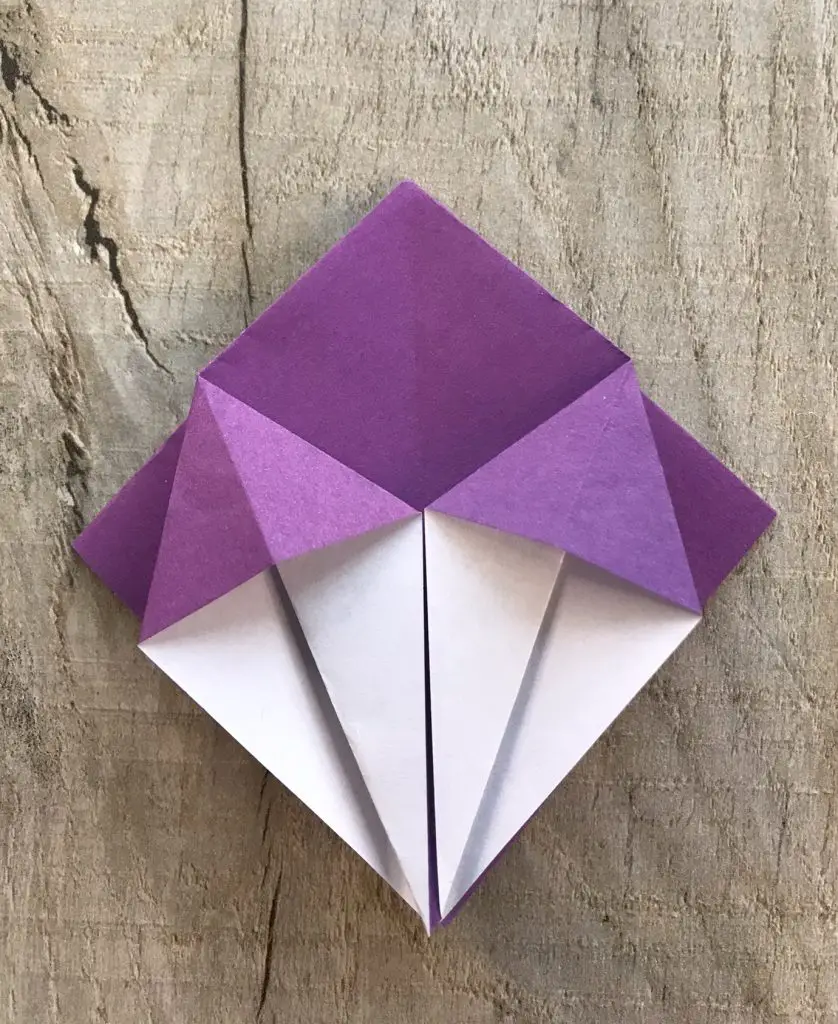
Turn the whole thing over and repeat this so that both sides look identical.
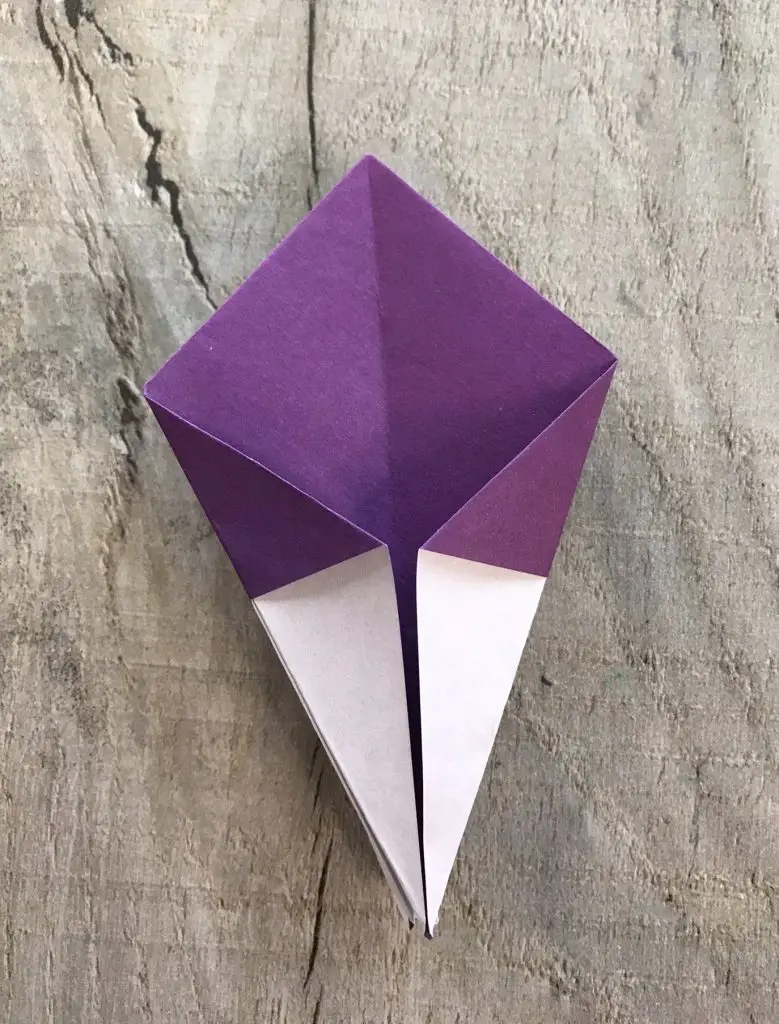
Now turn the whole thing through 90 degrees so that you have a coloured side towards you and a coloured side onto the table. The white sections that you have just made are enclosed on either side.
In turn fold each edge to the centre line so that you form some new white points. Turn the whole thing over and repeat on the other side. It should now look like this.
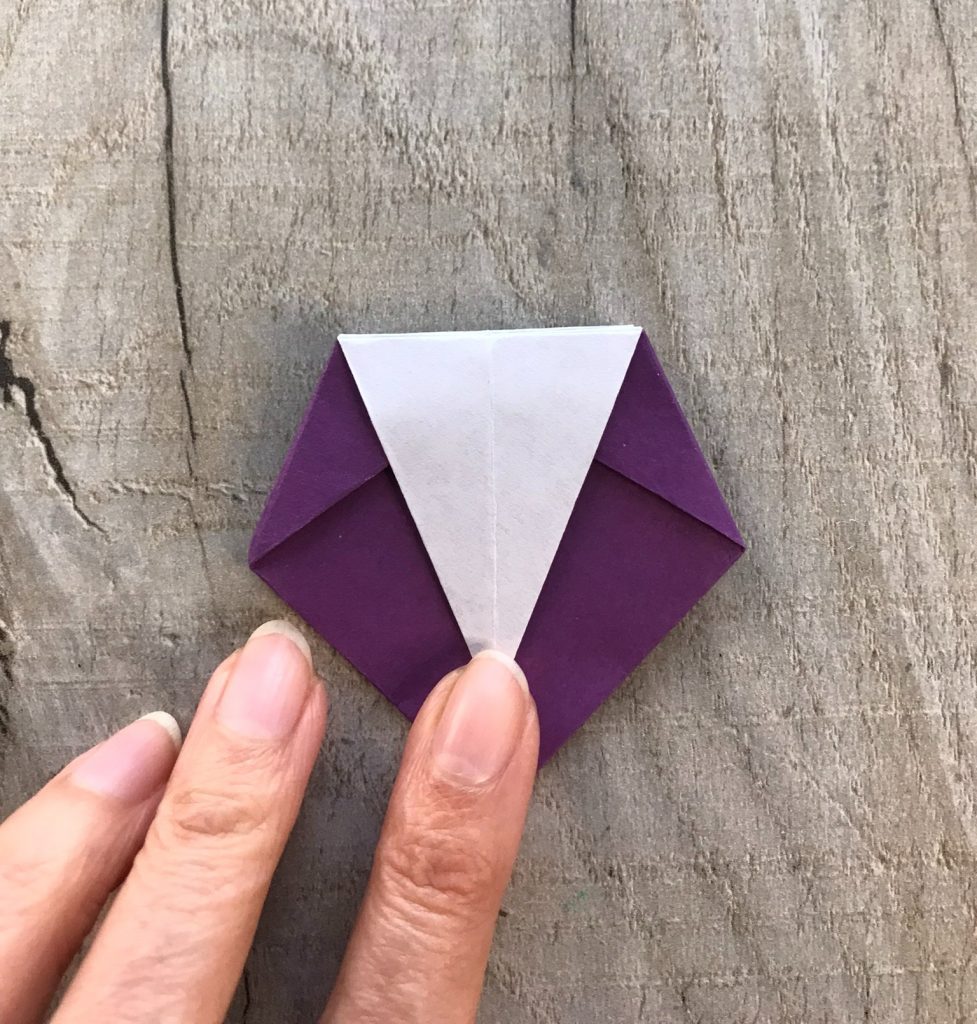
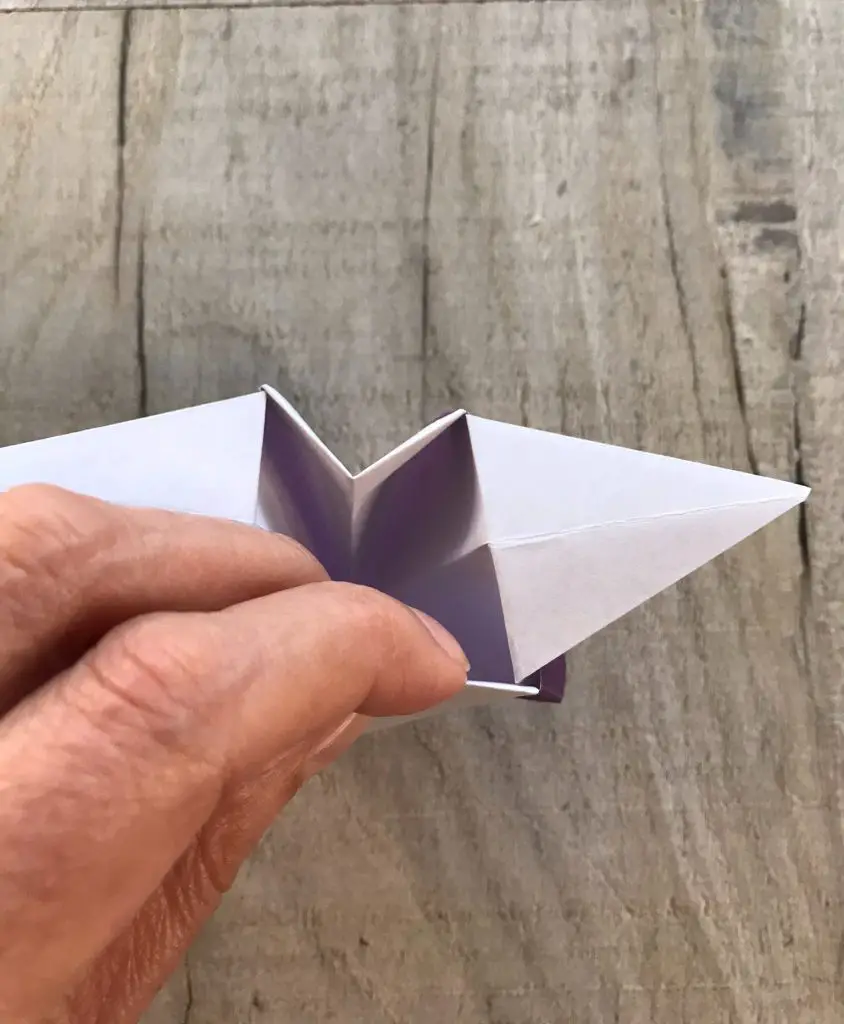
Turn the paper around so that the white points are pointing away from you and fold the top layer only down.
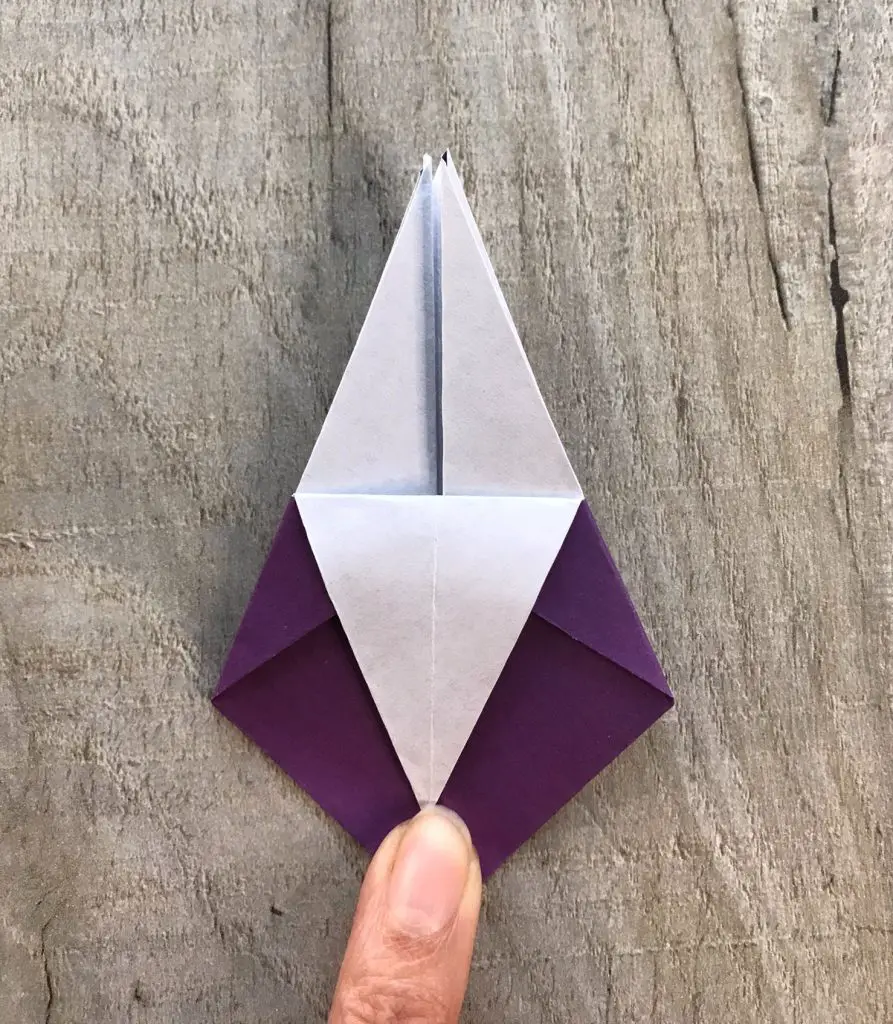
Work your way around the shape repeating this step with all 4 points. You are effectively turning the paper through 90 degrees and then folding the next point down until they are all folded.
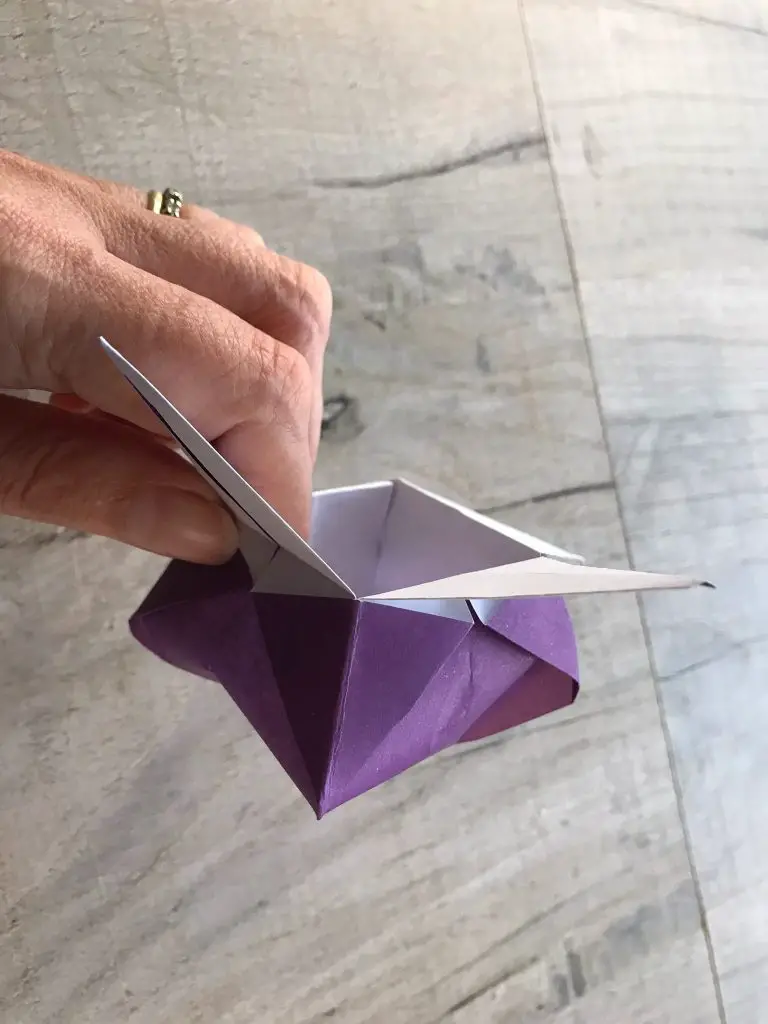
Open up your Origami Star Box
Now, it is time for the magic! Carefully open up the top of your box and use your finger to open it up more. You will find that your box is very rounded and you need to carefully push the paper out and form creases (as strong as you like) so that it sits down with a flat bottom.
Then adjust your star points so that they stick out.
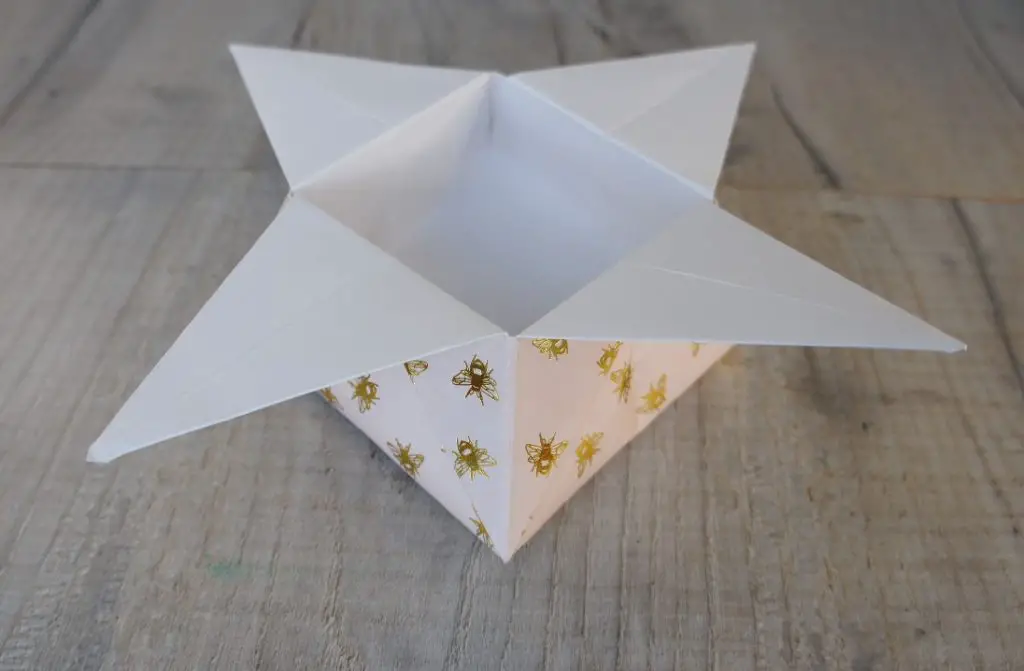
Enjoy your Origami Star Box
Well done, you have completed your Origami star box and you can now make many more! This is one I made from scrapbooking paper which was quite thick and was 12″ square. It is really quite sturdy and will easily hold a few treats!
If you have enjoyed having a go at Origami then check out some of my other Origami tutorials:
Simple Origami Rose
Origami Seed Packets
3D Origami Tulip and matching stem.
Let me know in the comments below what you use your Origami Star Boxes for so that we can share ideas!