Easy Patchwork Bag – How to Sew
As an Amazon Associate I earn from qualifying purchases
Patchwork bags are adorable and never go out of fashion. You could make one to store your latest craft project in, to do the shopping or take your packed lunch to work. You could even make a small one as a gift bag. I have made them all different sizes. This tutorial shows you how to make a simple, fully lined patchwork bag.
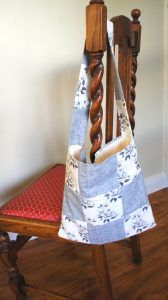
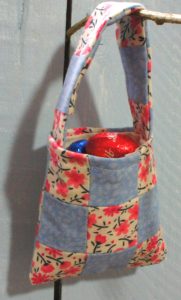
I use a technique called strip quilting which makes the patchwork bag quick to make. The small pink and blue gift bag used strips 7cm (2.75″) wide and the large shopping bag used strips 17cm (6.7″) wide. You could, of course, add more strips or perhaps a border around the outside.
This page contains affiliate links meaning I earn a little commission if you use those links at no cost to you. I only recommend brands I use and trust.
You will need:
This makes a bag that measures 30cm square (12″square):
2 craft quarters (45cm x 50cm) or equivalent (excellent selection at Amazon)
Lining fabric 32cm x 64cm (13″ x 26″). I used calico but any cotton will work well.
Thread
Sewing Machine
Rotary cutter and self healing board (great kit available at Amazon)
Iron (optional)
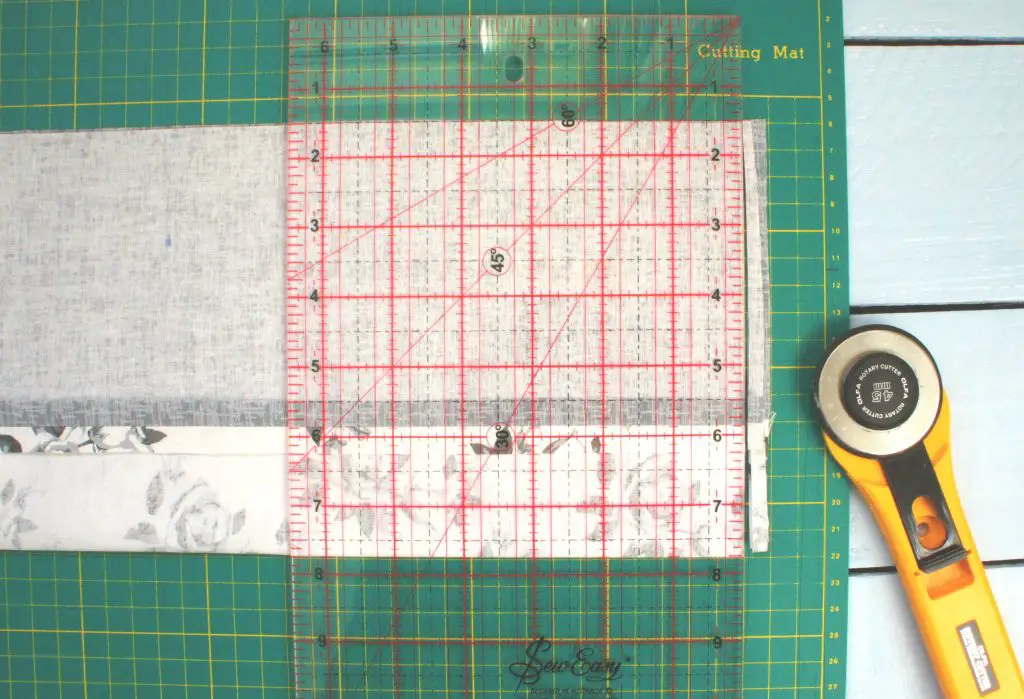
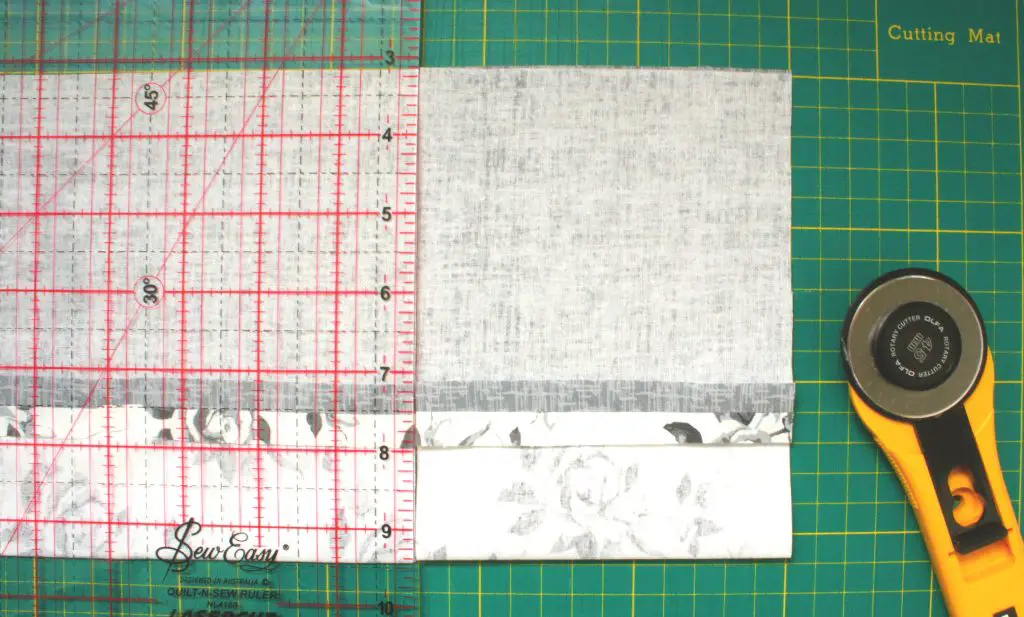
Step 1 – Cutting the fabric:
Fold one of the fat quarters so that it can be easily cut on the board. Make sure that you are working from an edge that is at right angles to the ‘fold’. Cut a neat edge to start with. Then cut three strips 12cm (4.75″)wide. Repeat with the other fat quarter. Accuracy with measurements is important. I shall refer to my fabrics as plain and patterned.
This image shows you how to layout your fabric ‘square’ with the mat.
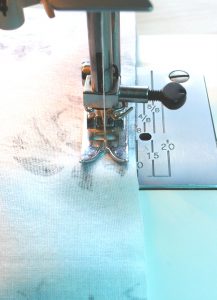
Step 2 – Sew the strips together:
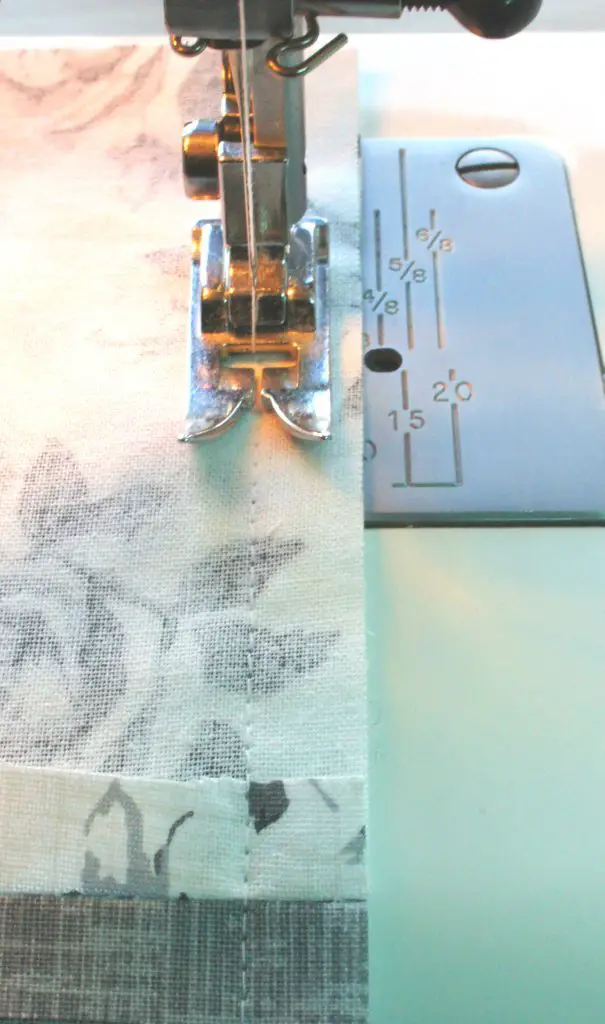
Sew one strip of plain fabric to one strip of patterned fabric along a long edge ensuring that you maintain a 1cm (0.4″) seam allowance (right sides facing). You can use your sewing machine plate to maintain an accurate seam allowance.
Then sew another length of plain fabric along the other long edge of the patterned fabric. You should then have a piece of sewn fabric that looks like this.
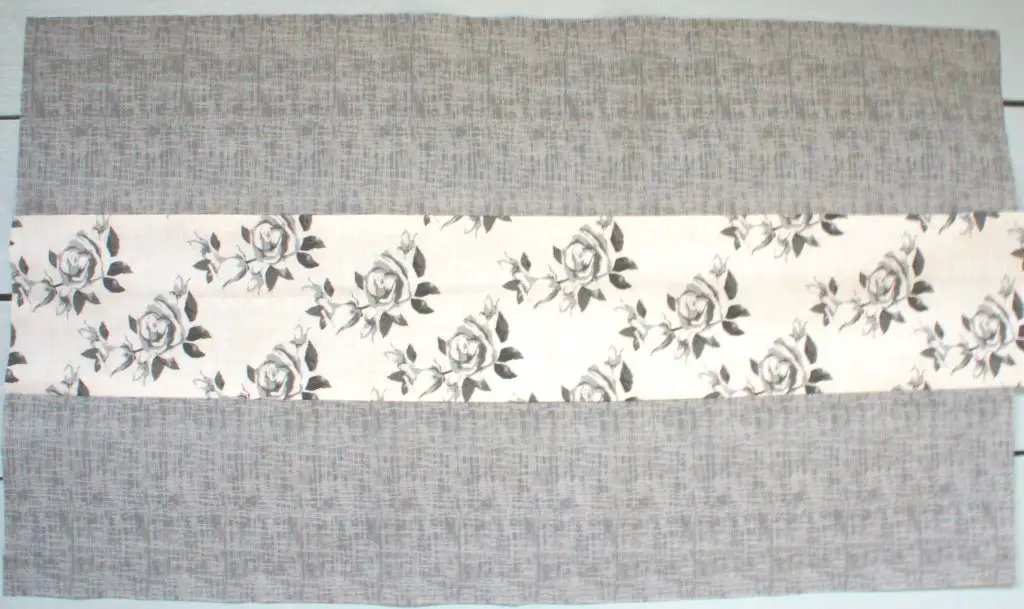
Press your seam allowances open. If you do not have access to an iron then run your fingernail firmly along the seam allowances.
Repeat this process with the other three strips to form a piece of fabric as shown below.
Again, press the seam allowances open.
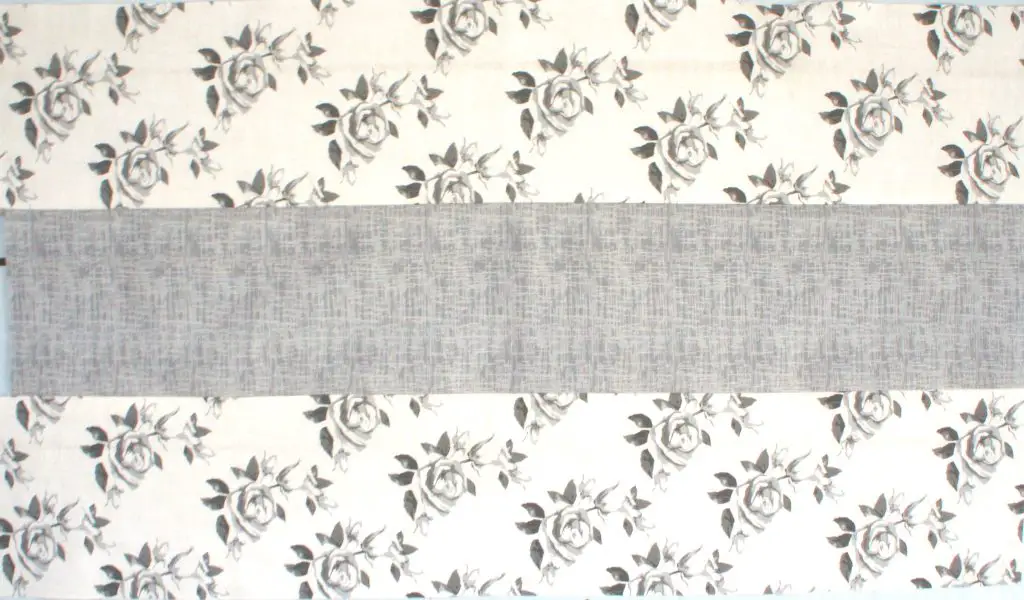
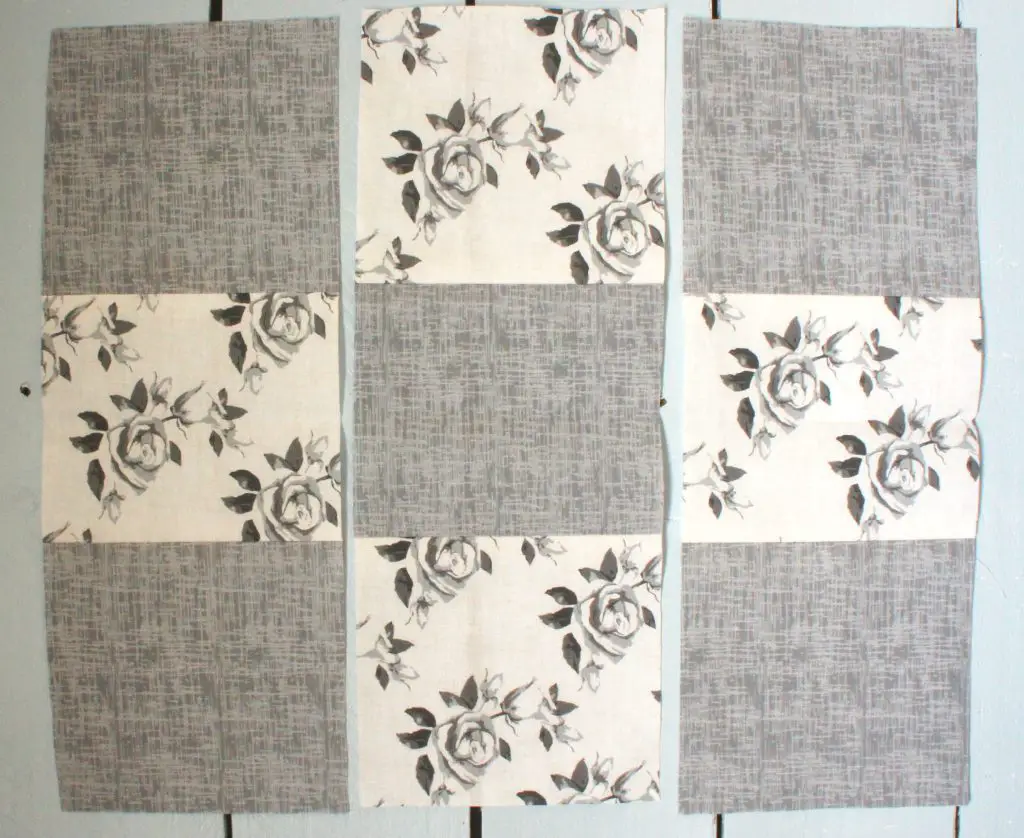
Step 3 – Cut strips:
Take each piece of fabric in turn and fold it so that you can cut strips that contain all three fabric strips. Place the fold along a horizontal line on your cutting board. Use the rotary cutter to cut a ‘square end’ into the fabric. Measure 12cm (4.7″)and cut again. Measure a further 12cm (4.7″)and repeat. Repeat again. You should have three strips of fabric that alternate in fabric.
Repeat with the other fabric panel that you sewed.
Step 4 – Make the panels:
Lay out your strips of fabric to form two patchwork panels as shown.
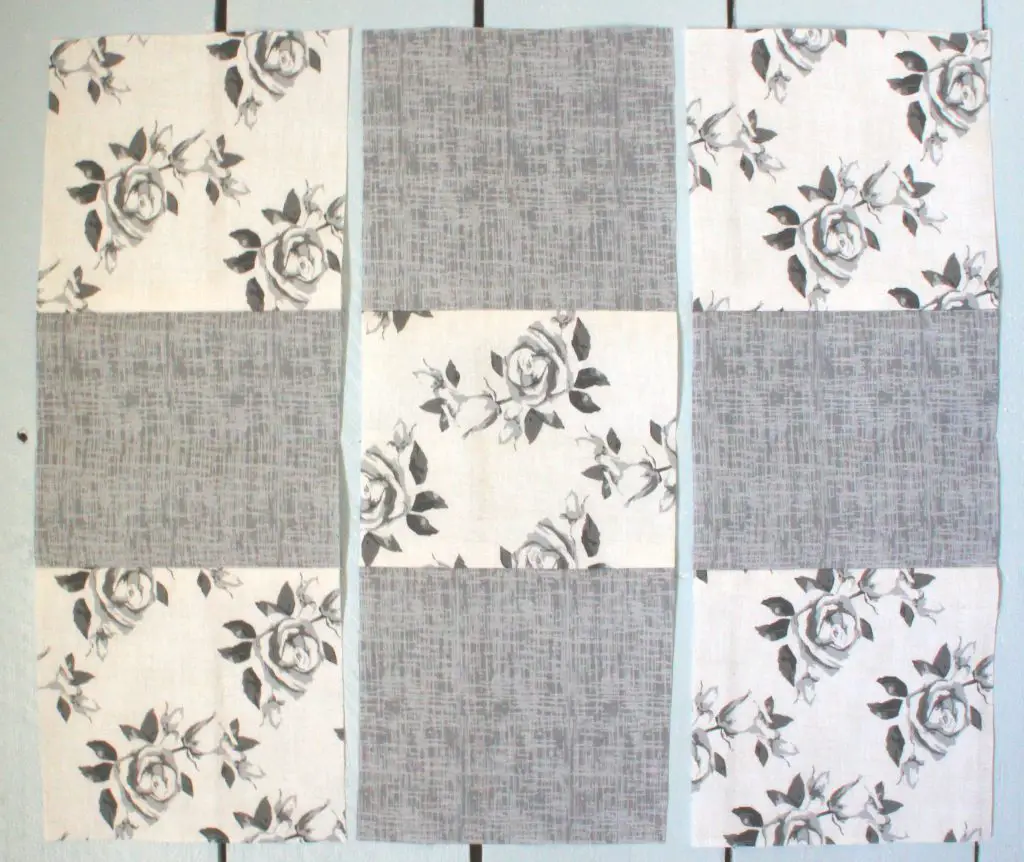
Now sew these panels. Make sure that right sides are facing, seams match up and that you maintain a 1cm (0.4″) seam allowance. It may be advisable to pin the strips first, matching the seams.
Once sewn they should look like this:
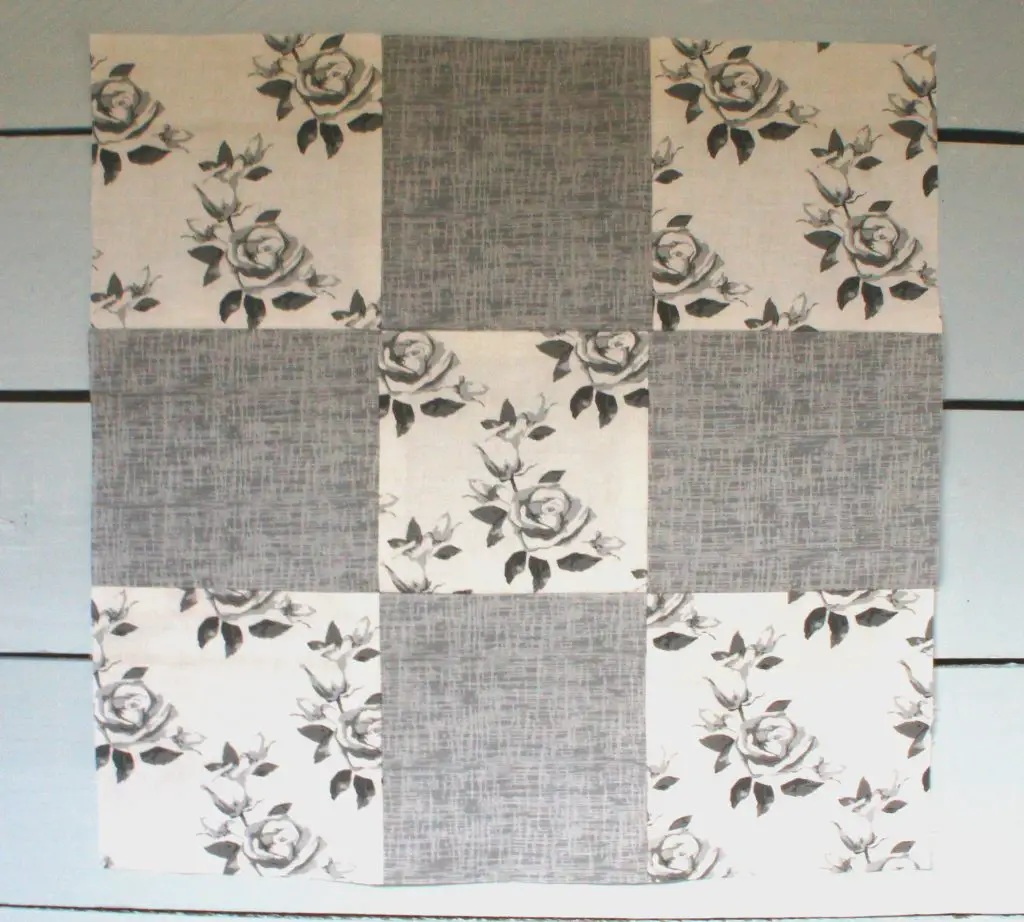
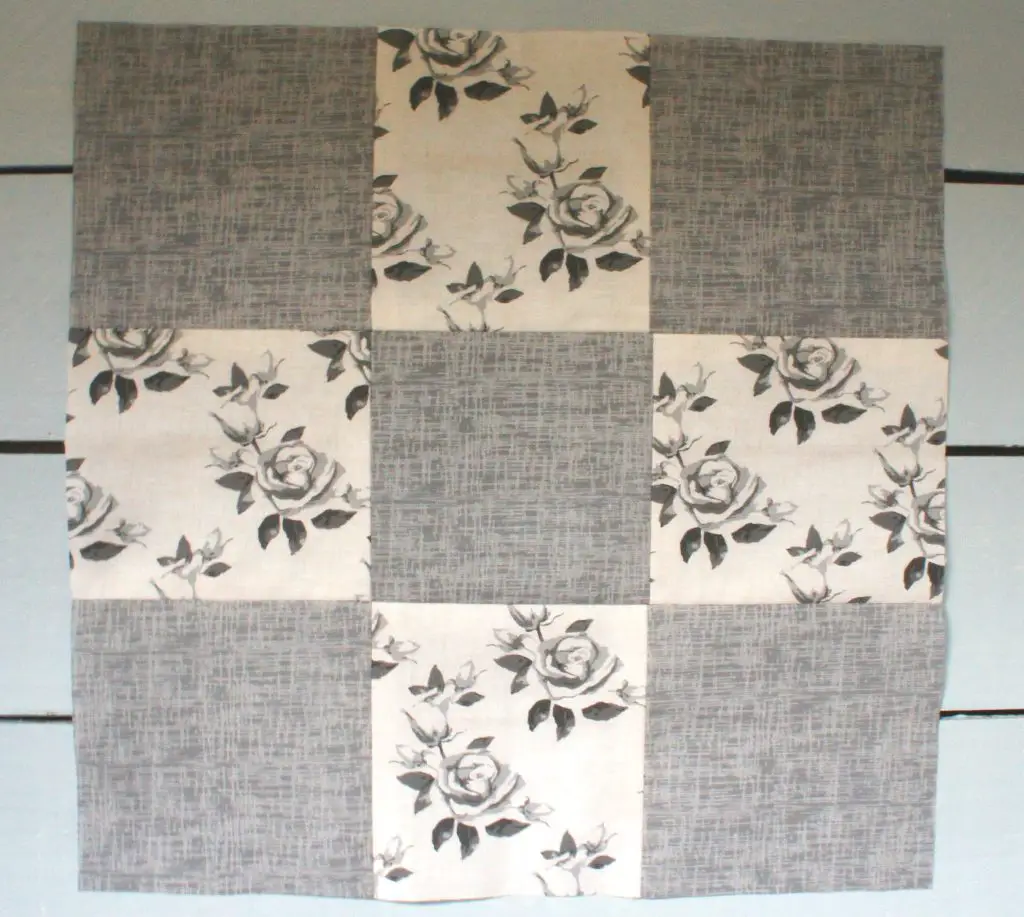
You can now see how your bag is going to look.
Step 5 – Make the bag:
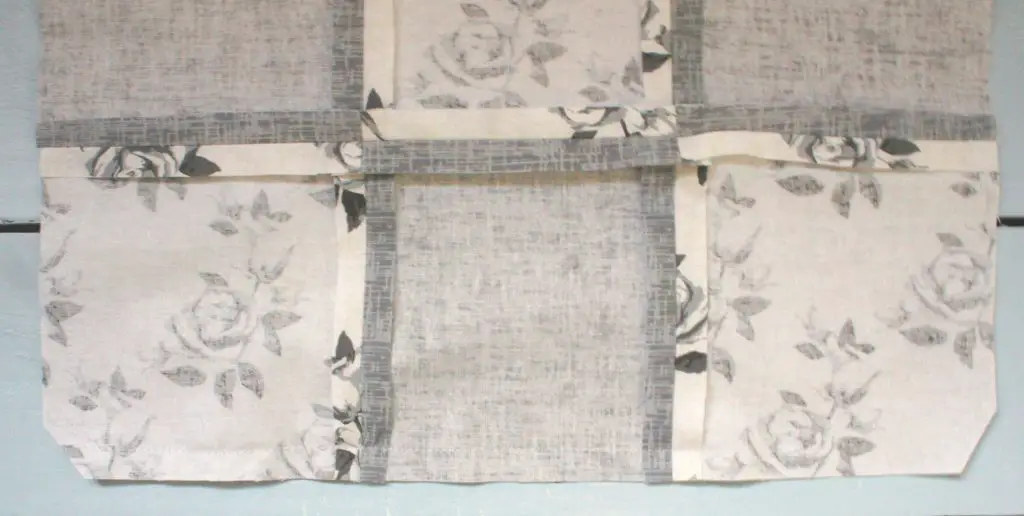
Place the two panels with right sides facing. Pin around 3 edges to form the bag. Ensure that you match up the seams as you go. Sew around the three sides maintaining your 1cm (0.4″) seam allowance.
Snip the corners to reduce bulk.
Turn the bag the right way out and put it to one side.
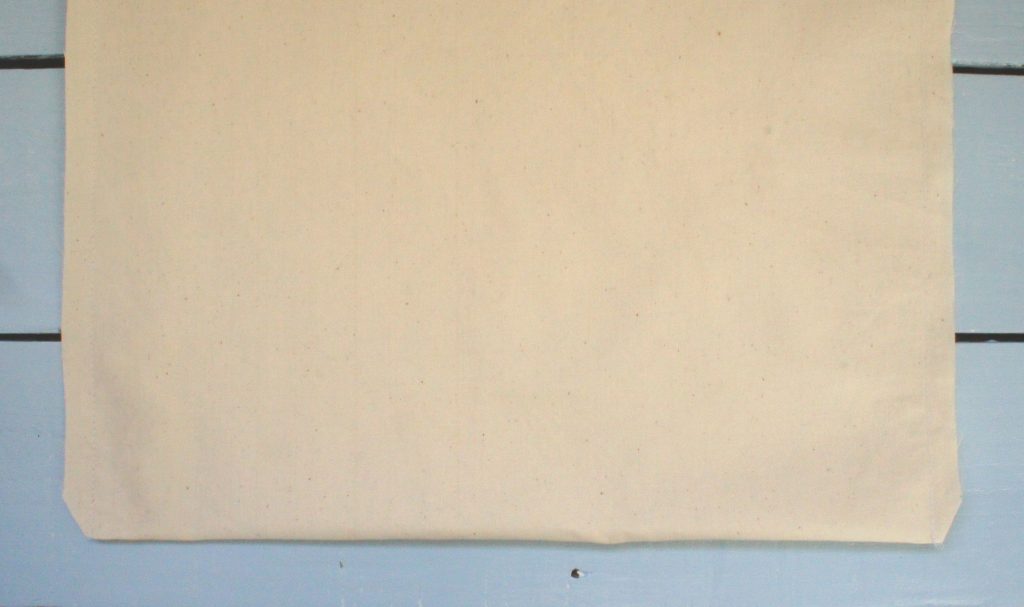
Step 6 – Make the lining:
Now take your piece of lining material and fold it in half. Sew along either side of the lining maintaining a 1cm (0.4″) seam allowance to form a bag. Snip the corners as you did for the bag.
Step 7 – Make the handle:
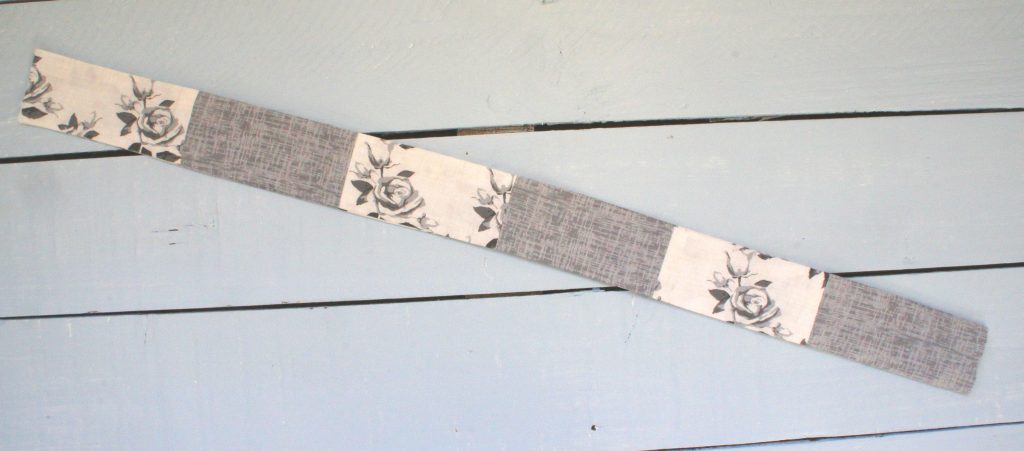
Return to the fabric strips that you sewed earlier and did not use in the main bag pieces. Using your rotary cutter, cut two more strips 12cm (4.7″) wide from each. You should now have four strips of fabric each made up of 3 squares. Note; mine are still folded from cutting in the picture.
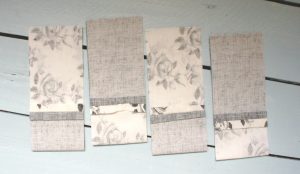
It is up to you how you choose to sew these, it depends on the effect you prefer. I sewed one of each type to the other to form a long strip and then sewed those two long strips together (right sides facing at all times). In my large bag I just used a long strip of each colour and did not patchwork the handle.
Turn the handle the right way out.
This was the result.
It is identical on both sides.
Step 8 – Complete the patchwork bag:
You now just need to sew the bag, lining and handle together.
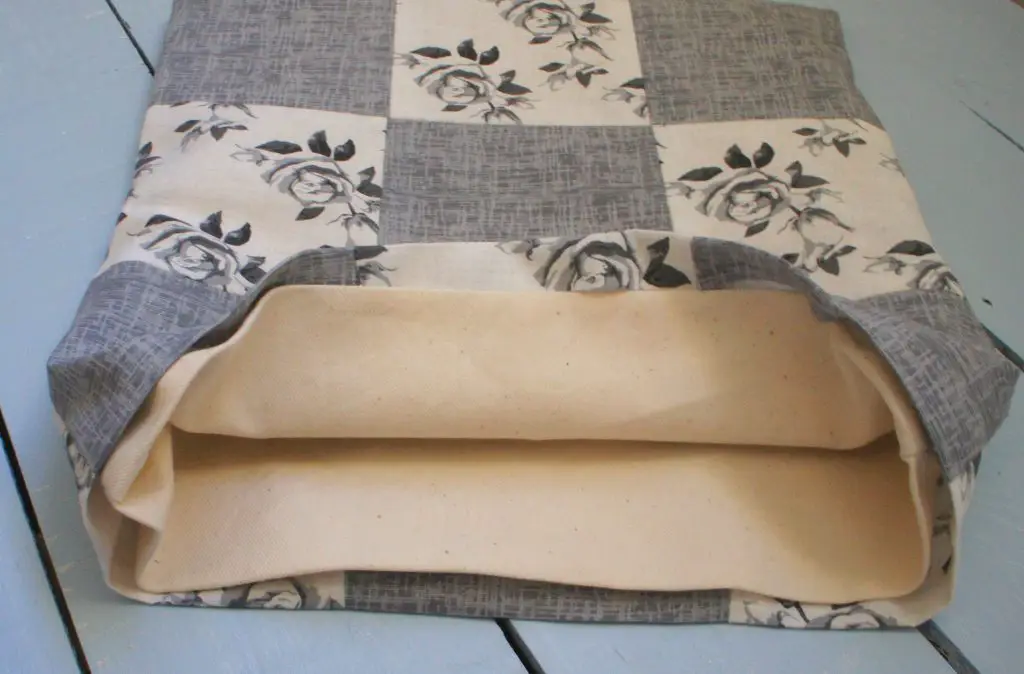
Place the lining inside the bag. Make sure that the seams are facing each other so that they will be invisible once the bag is completed. Fold over 1cm (0.4″) along the top edge of both the lining and bag. If you prefer, you can press this hem before placing the lining inside the bag.
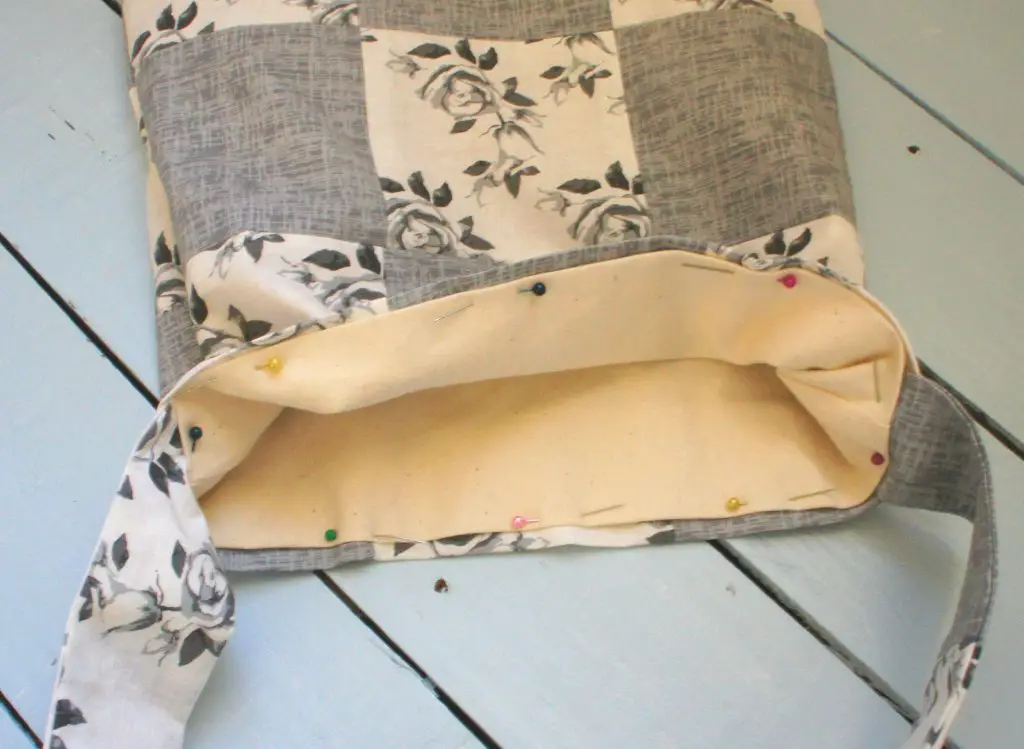
Pin all the way around ensuring that seams match up and that all raw edges are enclosed.
Now, position the handle so that it is inserted between the lining and the bag at both side seams. Perhaps insert it by approximately 2cm (0.8″). You will need to re-pin those sections to achieve this.

Ensure that everything sits flat and that the handle is secure at both sides.
Now sew around the edge that you have pinned. I recommend that you back sew over the handles so that they have three rows of sewing over them to make sure that they are secure. If you are planning to carry very heavy items then it may be worth sewing a diamond within a rectangle to secure the whole of the inserted section of handle.
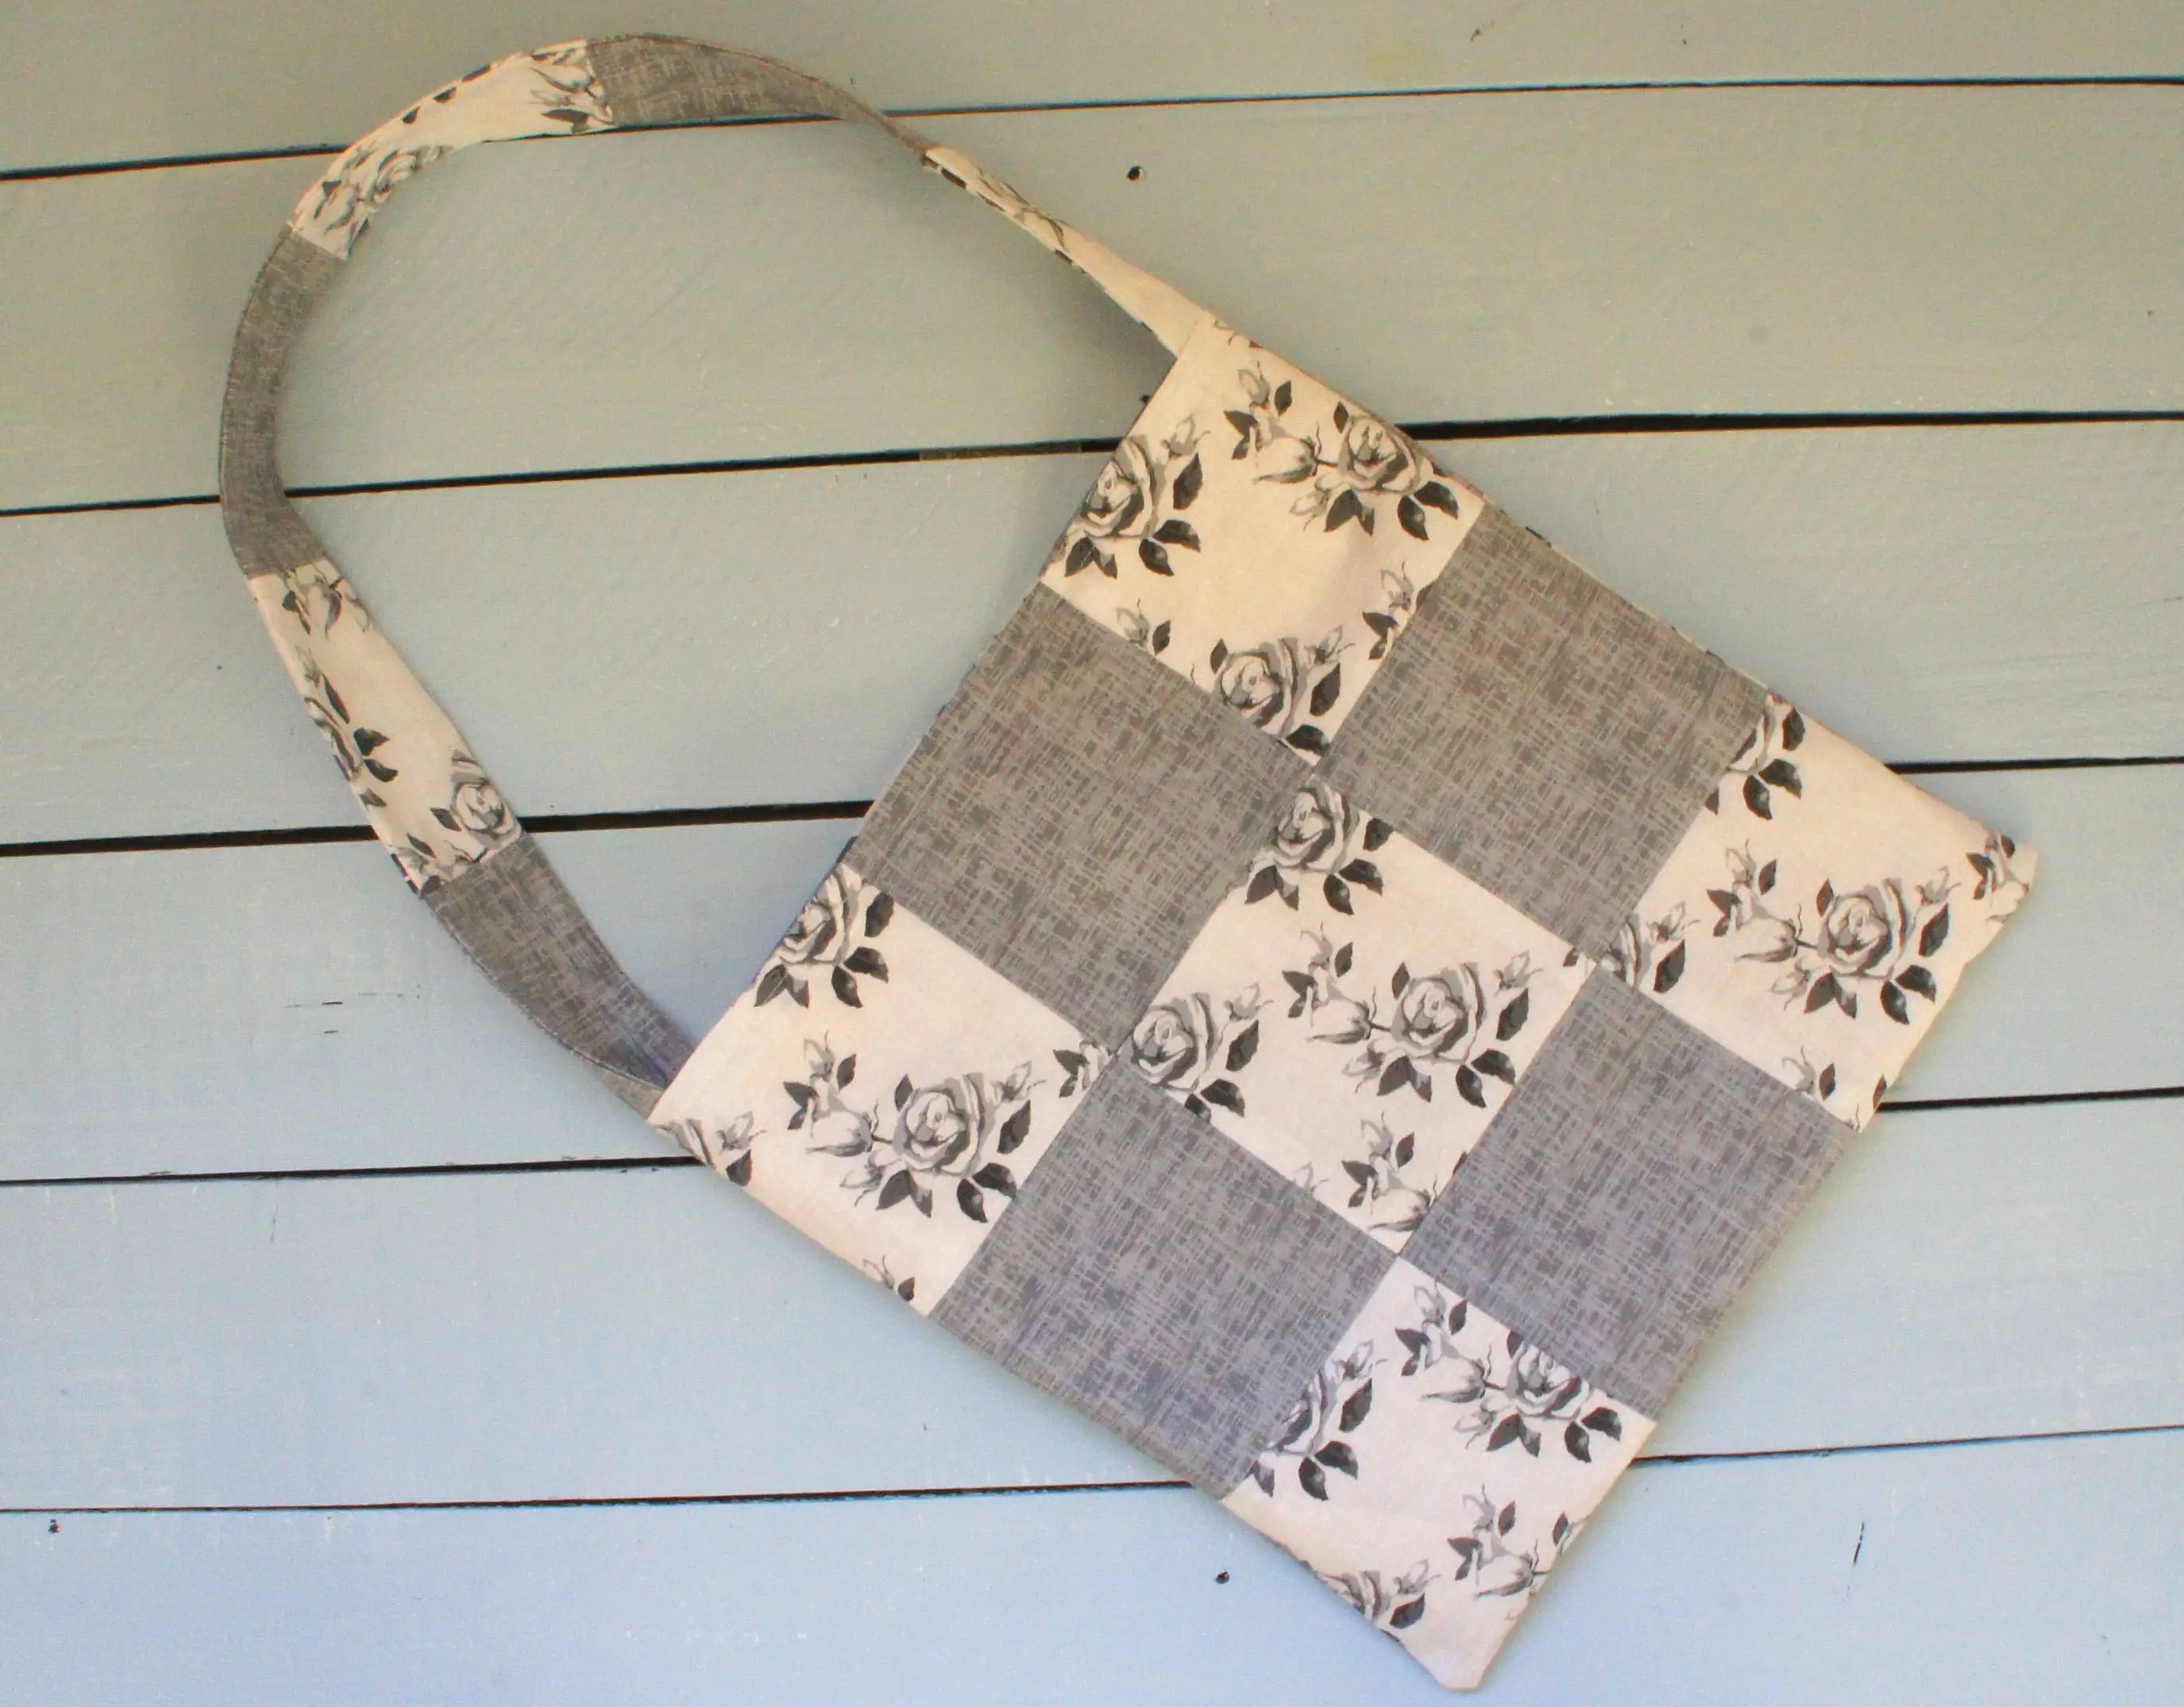
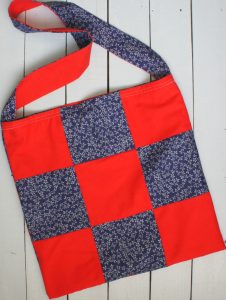
You now have a completed patchwork bag! Well done!

I hope that you are pleased with your patchwork bag and have realised that strip quilting is really quite straightforward once you have done a bit of it. It is also very quick compared to other forms of patchwork.
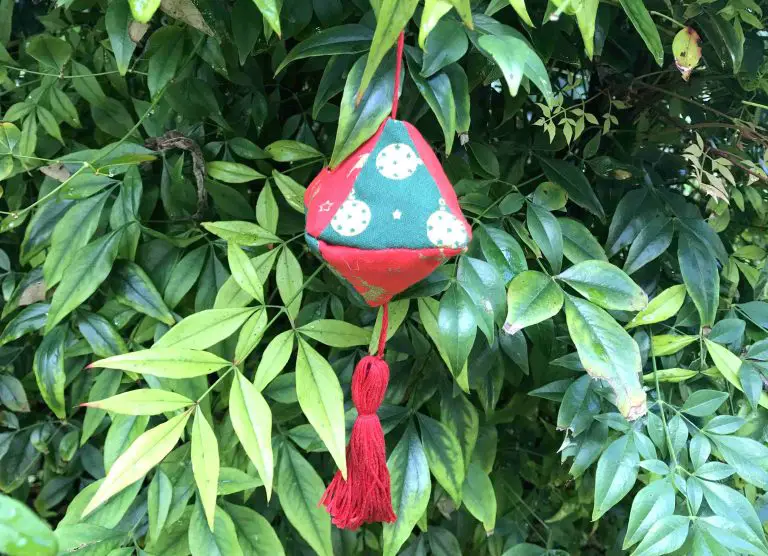
Here are the small gift bag and shopping bag that I have made using this technique. Good luck with yours whatever size it is! I would love to hear how you get on in the comments section below.
If you enjoy sewing take a look at my other sewing tutorials:
Simple bag including free pattern
How to make easy peasy cushion covers
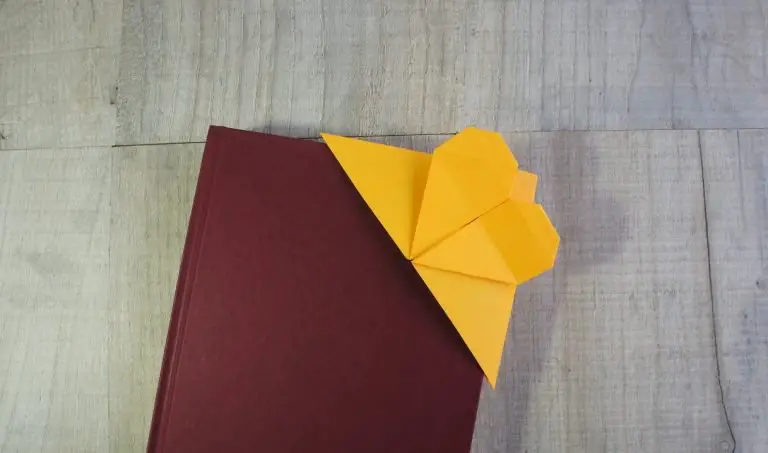
Sew a fabric corner bookmark
Cathedral Window Patchwork Technique
Remember to follow me on Pinterest for lots more great ideas and pin this tutorial for later.