Traditional Norwegian Christmas Tree Decorations in under 30 minutes!
As an Amazon Associate I earn from qualifying purchases
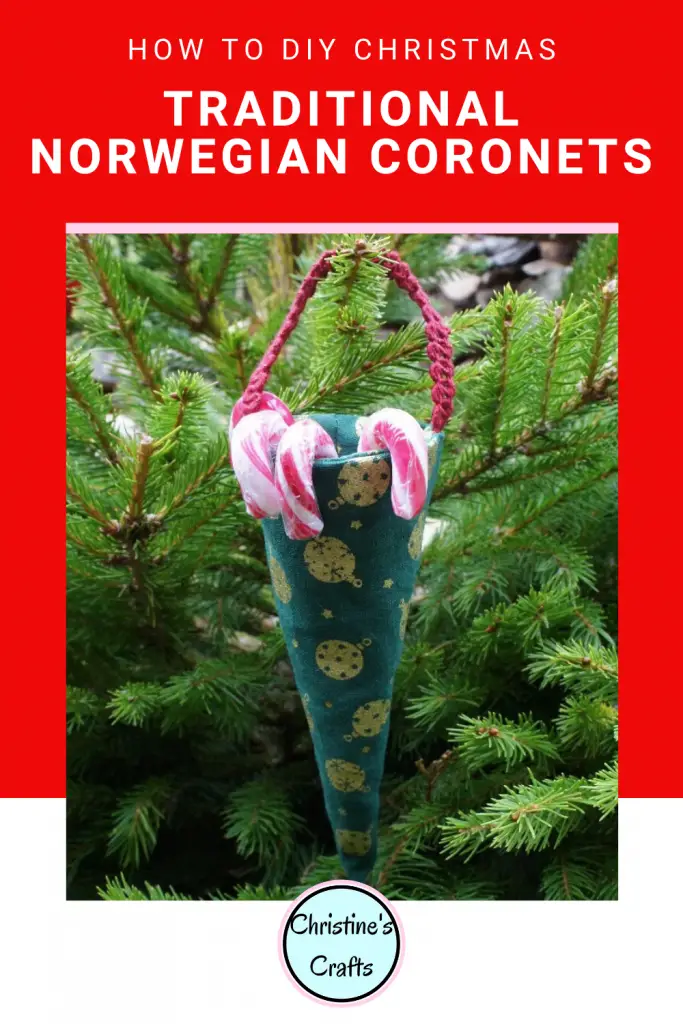
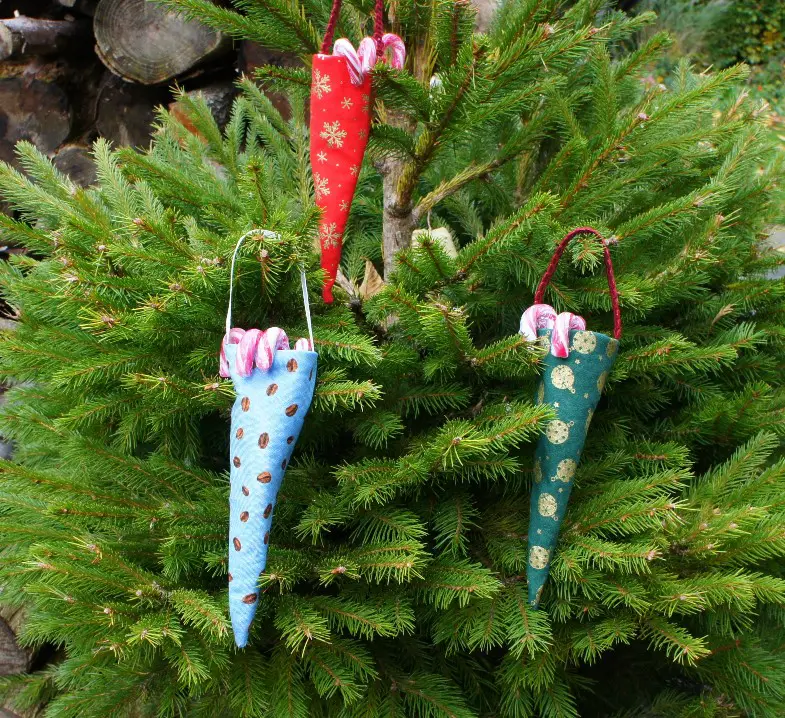
If you like your Christmas tree decorations to be traditional then how about these traditional Norwegian Christmas tree decorations or ornaments known as ‘coronets’. They can also be known as ‘kraemmerhus’. Coronets can actually be made any size and are a great substitute for a Christmas stocking. The ones in this tutorial are designed for your tree. If you want large, stocking sized, ones then simply scale up the free template.
They can easily be filled with candy or small presents and gifted to children and/or visitors to your home. They look great while they are hanging on your tree and people will love their special gift.
This tutorial includes a free template so that you can make yours now!
This page contains affiliate links meaning I earn a little commission if you use those links at no cost to you. I only recommend brands I use and trust.
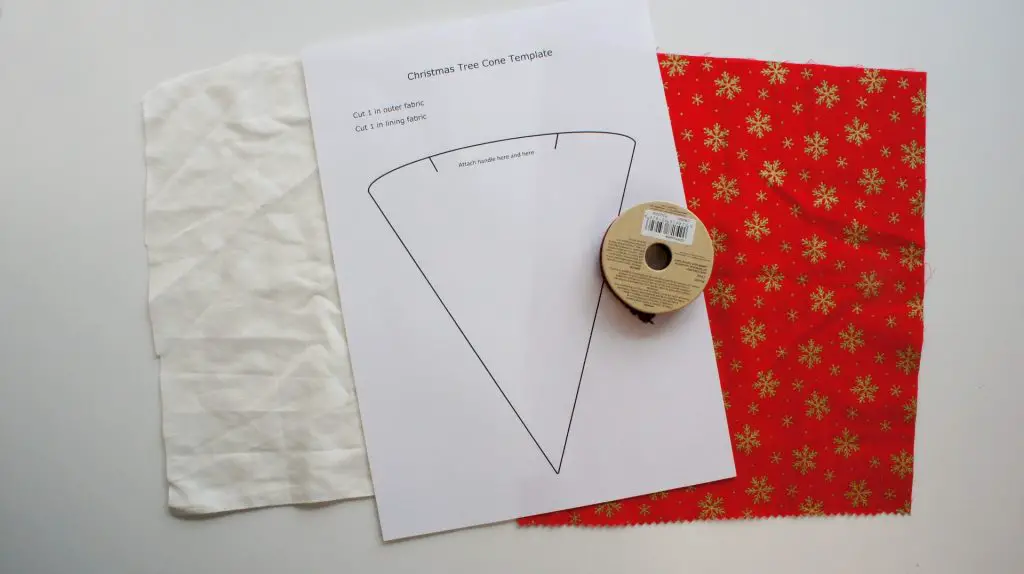
You will need:
Pattern template available here for free
Fabric for outer and lining
Ribbon or similar
Candy or gifts to put in your coronets


Video Instructions
This video is also available on my YouTube channel.
Cut out your Fabric and Ribbon
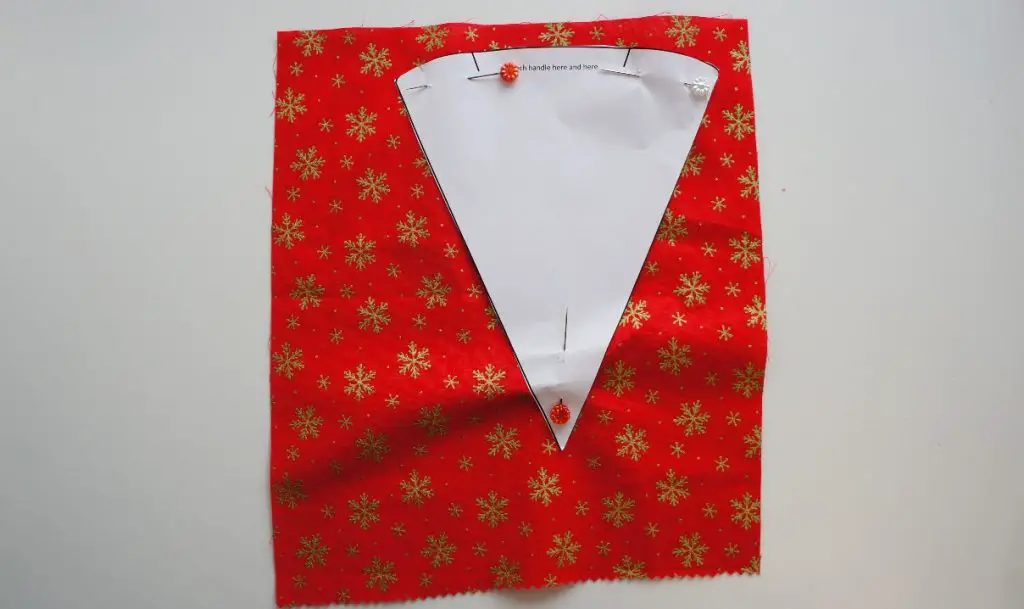
Firstly print off your template and cut it out. Then pin it to your selected fabric for your coronet and cut out the piece. The seam allowance is included. Repeat this with your lining fabric. You could cut both out at the same time if you place the fabrics on top of each other and pin the template though both layers.
It is up to you whether you use the same fabric for both or a different one for your lining. Both ways look great!
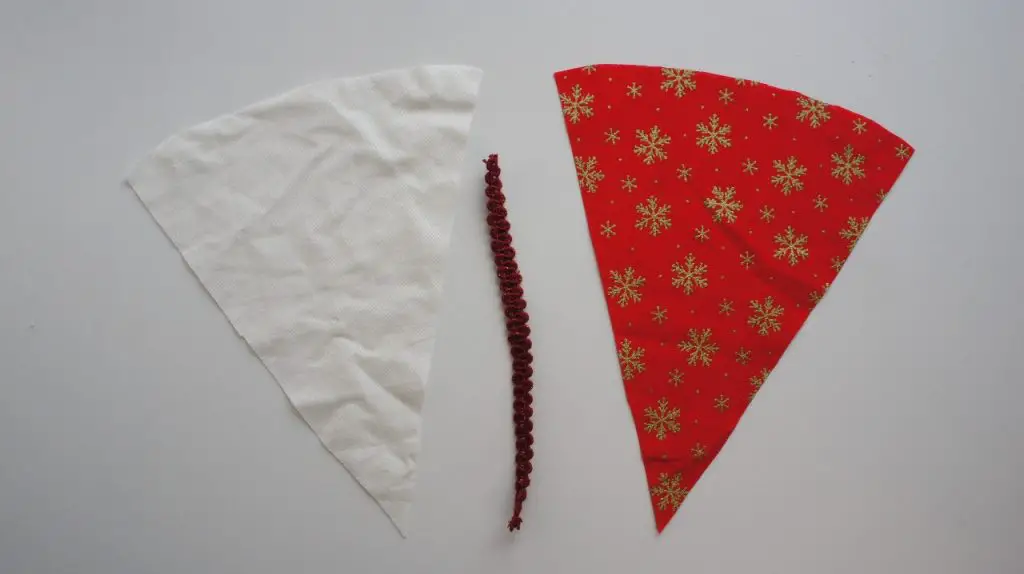
Cut your ribbon to the length you would like your handle to be. I cut mine an inch shorter than the edge of the coronet as shown below.
Attach the handle to your Coronet
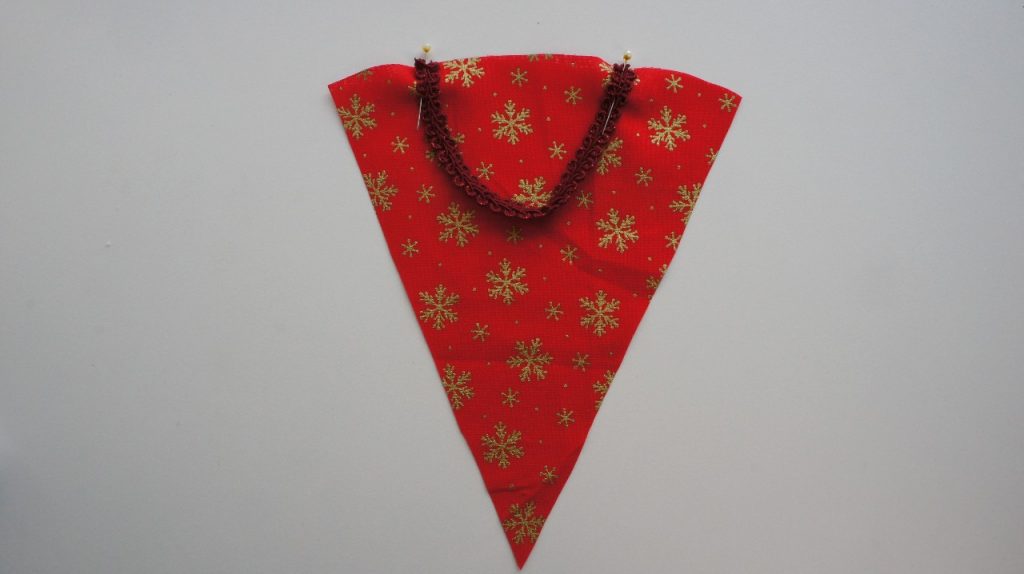
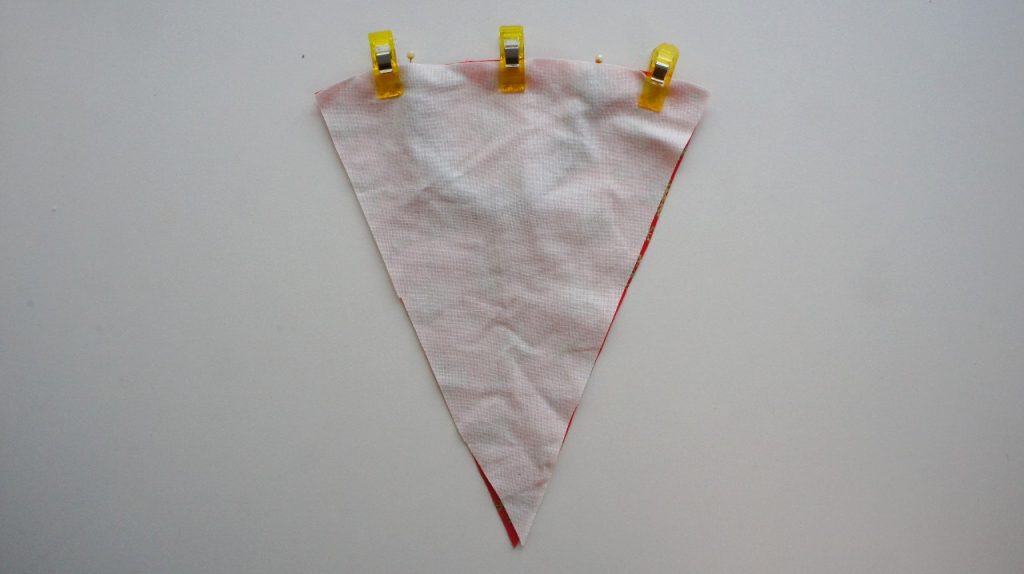
Take the main fabric piece and using the template mark where the handles should attach. You can do this using a pen or similar or just mark them with a pin. Then place your handle onto your fabric piece and pin it in the correct place. Make sure that the handle loops down onto the fabric and is not twisted. It should be onto the right side of the fabric.
Place the lining piece down on top of the handle and main coronet piece. Both right sides of fabric should be facing each other. Pin along the curved edge enclosing the handle.
Sew along the curved edge using approximately 3/8″ seam allowance.
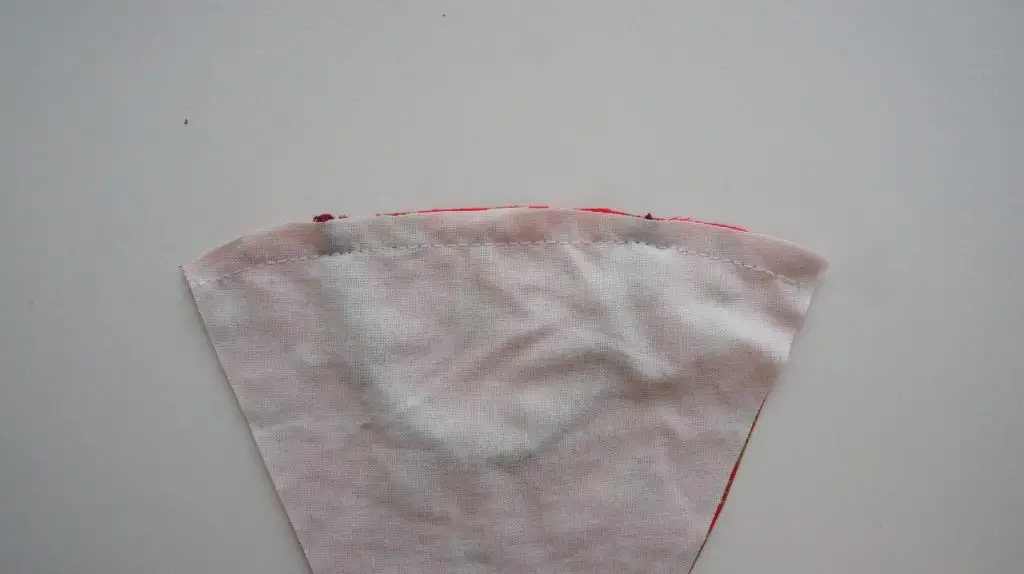
Open up the seam and press it open. This helps to reduce the bulk when you move onto the next step.
Sew the Coronet
Fold the coronet in half along its length with right sides together. Match up the the two ends of your seam exactly and pin them together. Move along the edges making sure that they match and pin them together. Work all the way along from one point to the other.
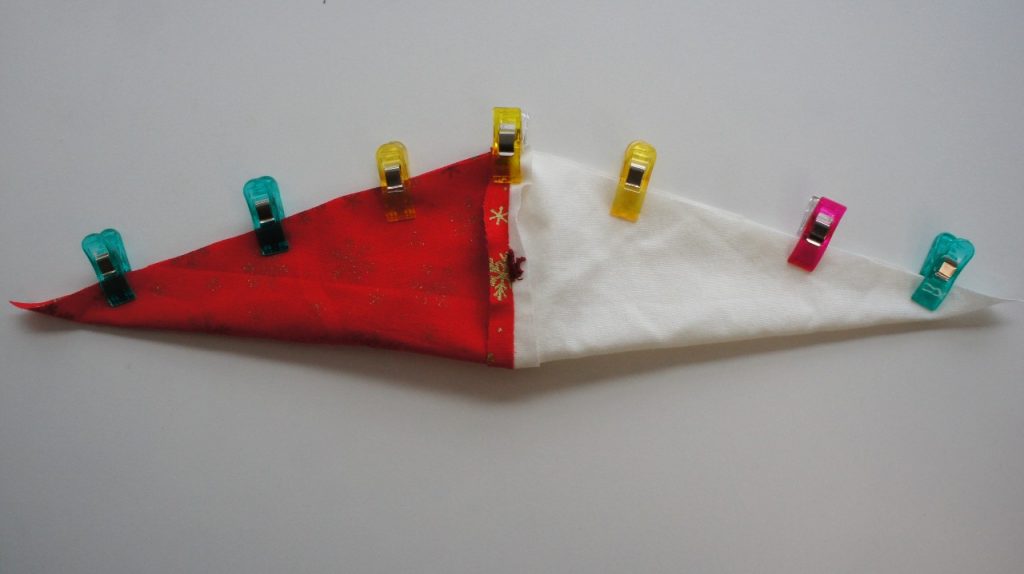
Sew along this seam BUT make sure that you leave a gap of at least a couple of inches on the lining half so that you can turn it the right way out. It is important that you sew both points and leave the gap part way along the seam. Remember that the whole thing is going to pass through the hole you leave.
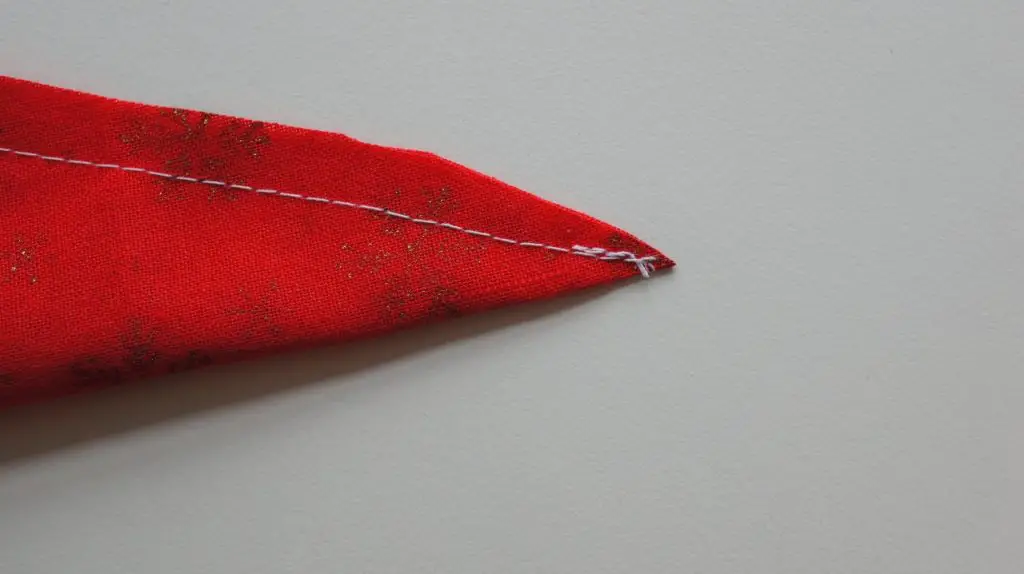
In order to have good points it is important that you trim the seam that you have just made. I recommend trimming it close to the stitches (but not too close) at both points. Plus, I also trimmed some of the bulk out where the two seams met.
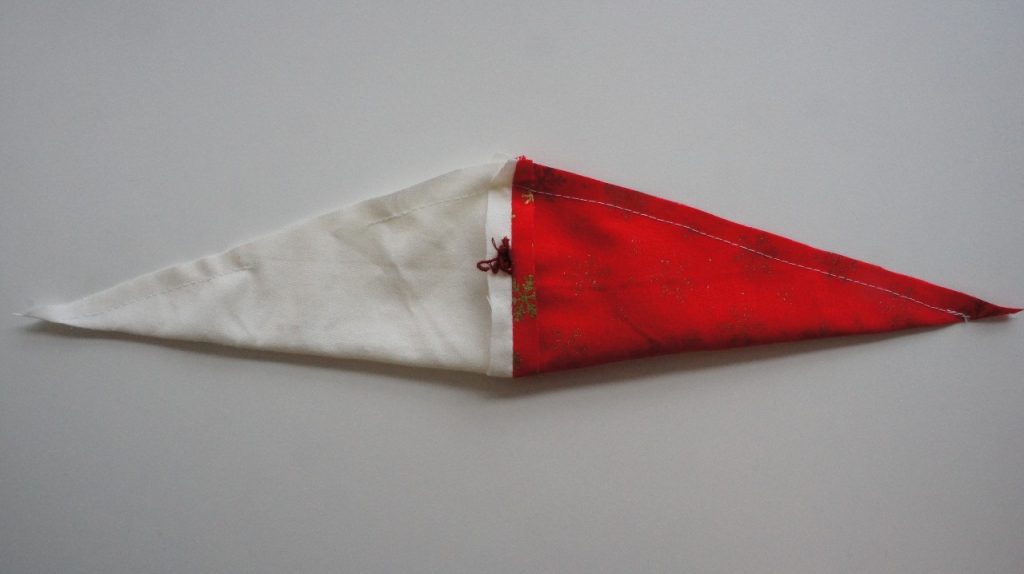
Turn your coronet the right way out through the hole in the seam that you left. It is important to make sure that the point of the outer fabric is properly turned out and I recommend using something that is quite small but not too pointed to do it. You want a clear point but a sharp point may rip through your seam or fabric.
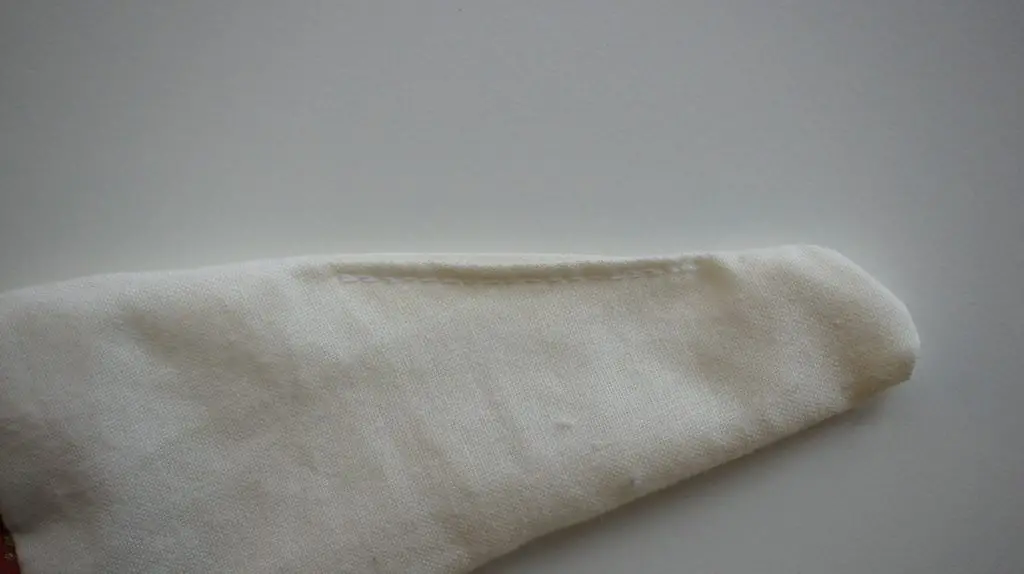
Do not take so much care turning out the lining point. This is because it will be inside out inside the outer layer. Then pin and sew the hole closed. You can do this by hand with a slip stitch so that it is invisible or a machine seam like I have done here. Notice that I have not pushed the lining point fully through.
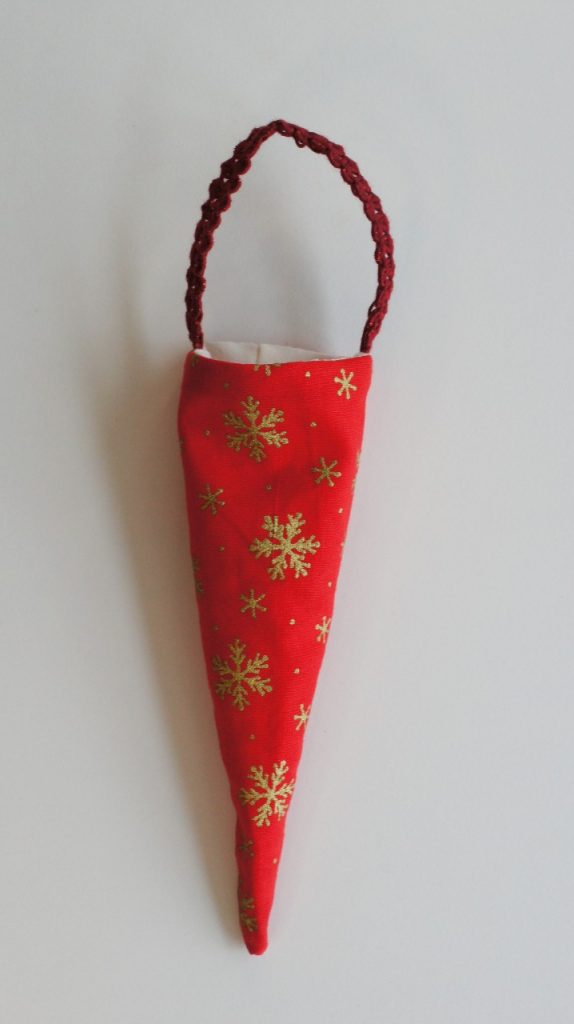
Then poke the lining so that it is inside the outer layer and smooth it into place. Make sure that your lining lies flat and that the point is down inside the outer point You have now finished your traditional Norwegian Christmas tree decorations and you can fill them with lots of goodies!
And finally for your Traditional Christmas Tree…
How about making a whole load of these and really using up all those scraps of fabric. One for every family member and visitor? I love them and will definitely have them on my tree this year!
If you are looking for more Christmas tree decorations or ornaments then take a look at these. There is something for everyone:
Christmas Tree Hanging Diamonds
Popsicle stick Christmas Sled Decoration
Christmas Fabric Bauble (no sew)
Remember to pin this tutorial for later and you can follow me on Pinterest as Christine’s Crafts for even more great inspiration.