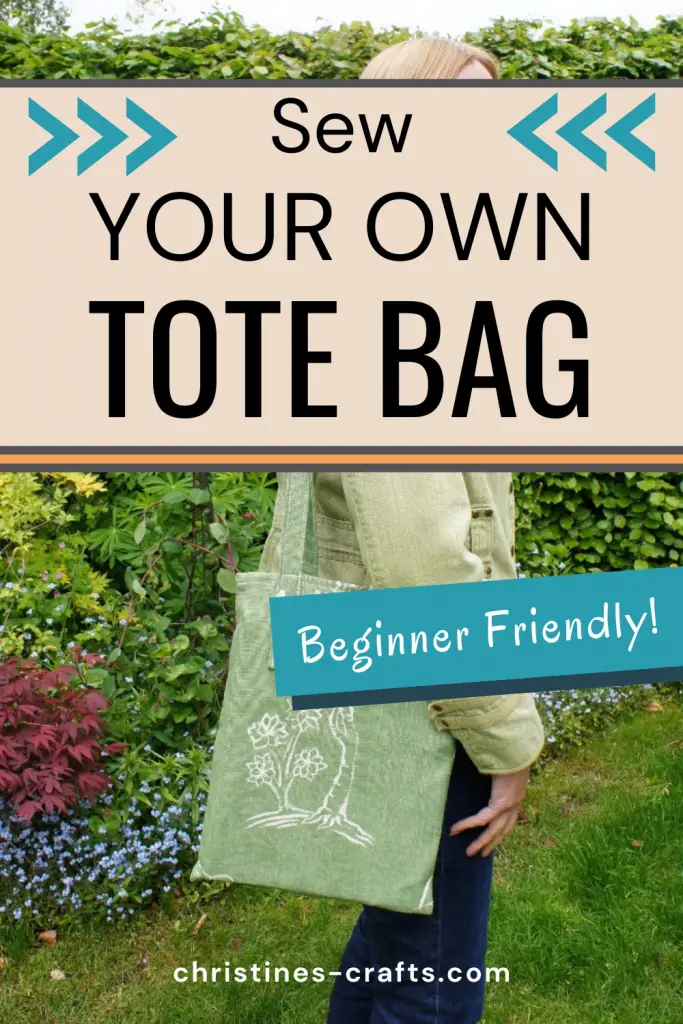
How to Sew a Simple, Easy Tote Bag with Pattern
As an Amazon Associate I earn from qualifying purchases
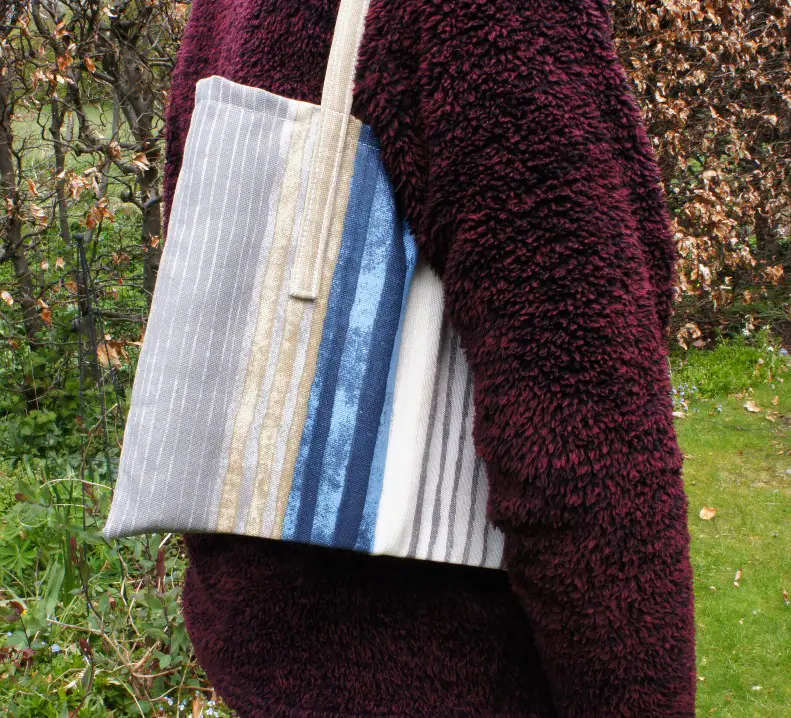
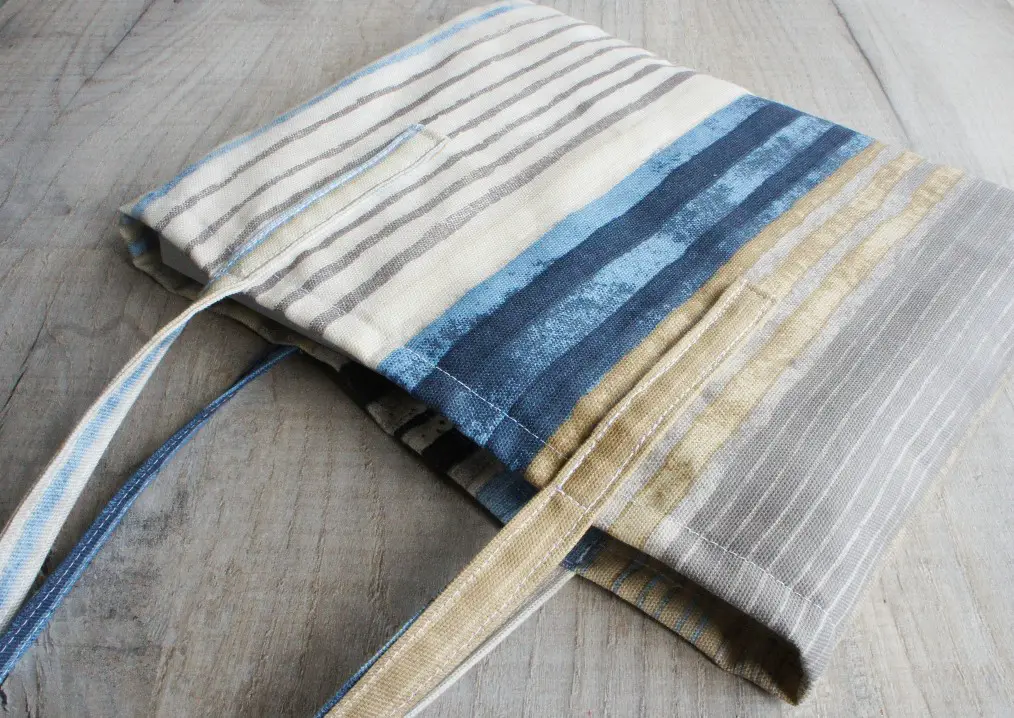
Everyone loves a tote bag. They are so stylish and practical. They are great for so many activities such as carrying study materials, school books, shopping, craft supplies, etc. This super simple easy tote bag is so quick to make and really does require only basic sewing skills.
In this tutorial I will show you how to make a cute little bag that is 12″ wide and 10″ tall. However you can make this bag any size you like and at the end I will show you how I made a bag that is the prefect size for a folder I use. You really can create a unique bag.
If you would like to make a zippered tote bag with hidden pocket then check out my pattern that is available.
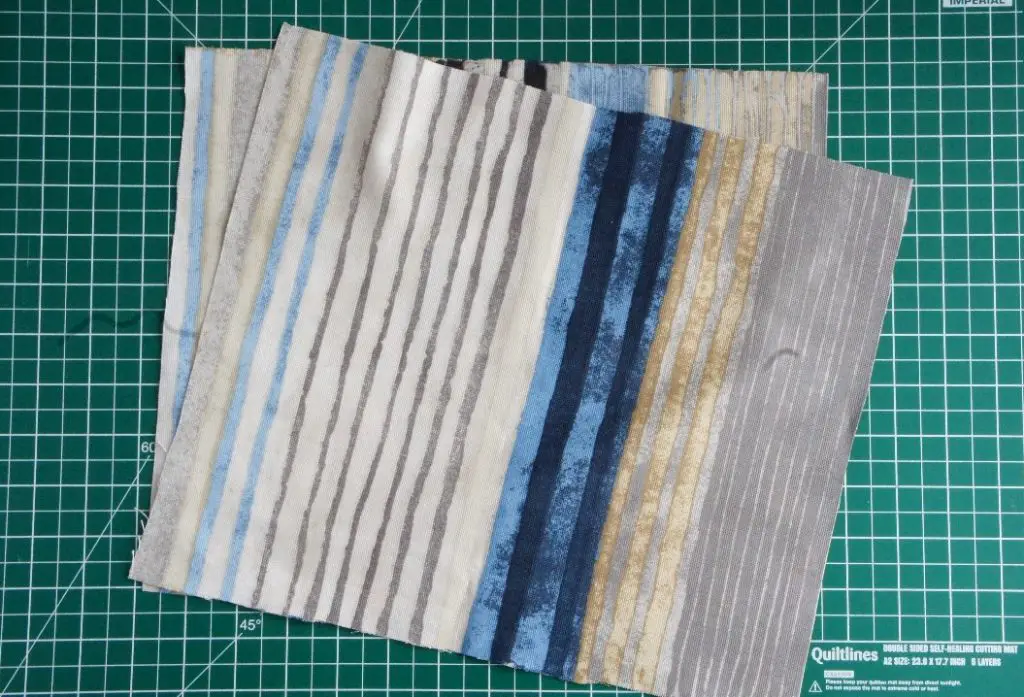
You Will Need
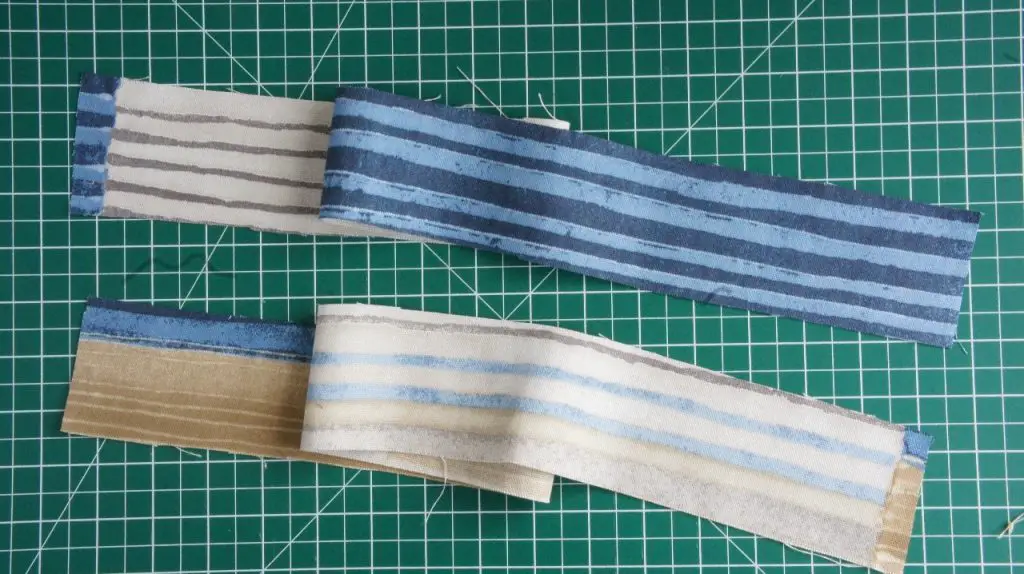
2 Pieces of your chosen fabric 13″ wide by 11.5″ tall
2 Pieces of your chosen fabric 3″ wide by 25″ long
Thread and Sewing machine (you could sew these by hand but it would take a while)
If you would like a printable pdf version of this tutorial simply sign up to my regular newsletter using the ‘Join our Crafting Group’ form on this page. You will also gain access to many other great resources that I update regularly.
If you like a video tutorial then scroll down to the Video Tutorial at the end of these written instructions.
Make the Bag Body
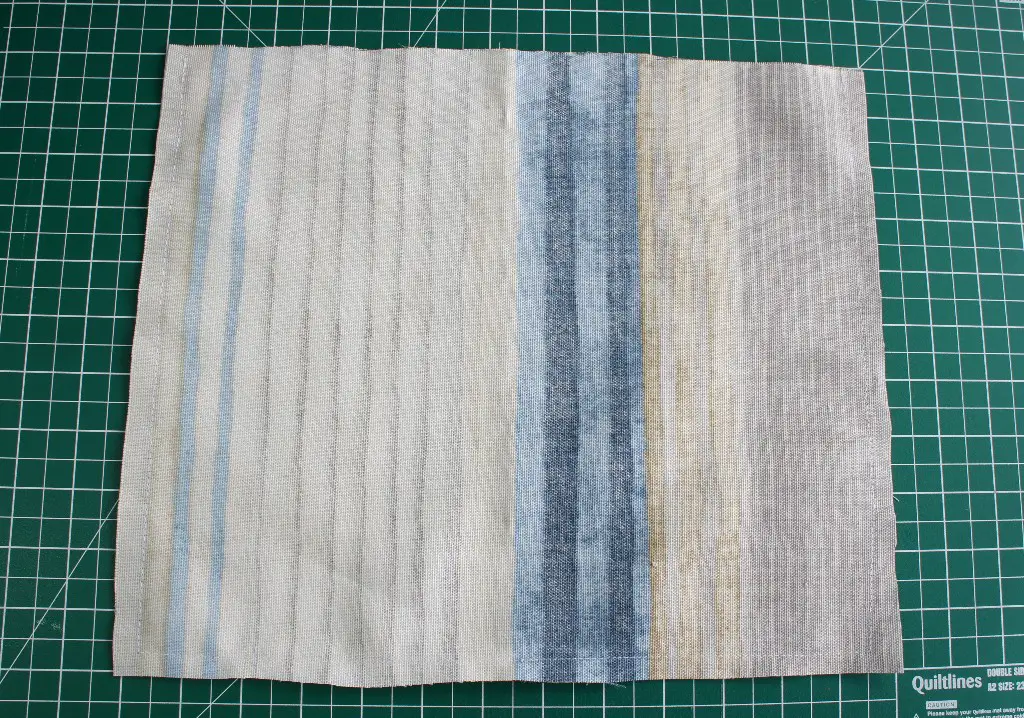
Place your 2 bag pieces together with right sides facing each other and pin around 3 sides. Make sure you leave one of the 13″ sides open. Sew around these 3 sides using a 0.5″ seam allowance. That means to sew 0.5″ from the edge of your fabric.
Now clip the bottom 2 corners to reduce the bulk as shown in the picture below. Make sure that you cut close to the stitches but do not cut them or your bag will fall apart.
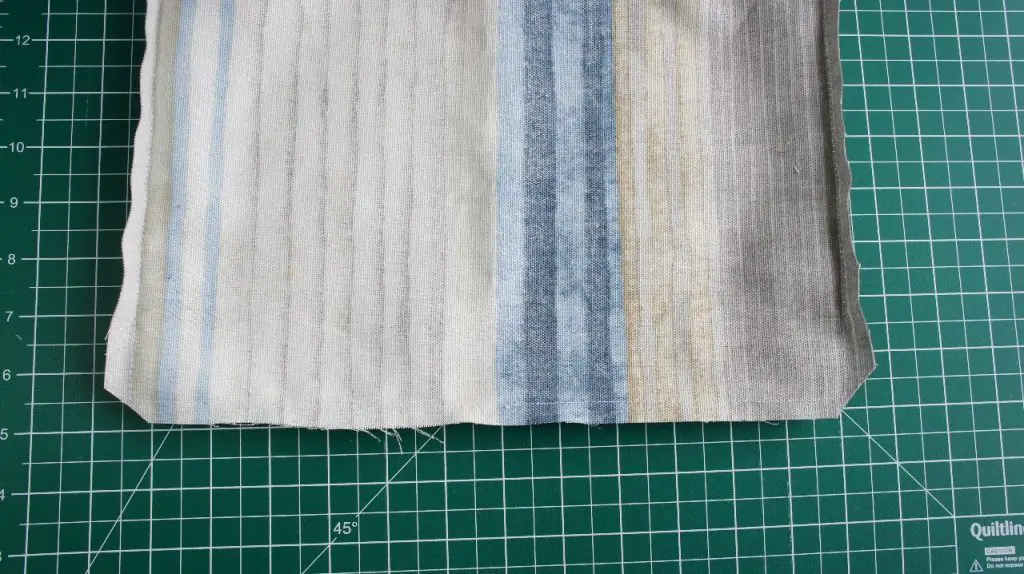
Press the seams that you have sewn open. This will also help to reduce the bulk.
All the way around the top of the bag (the side that is not sewn) turn a hem from the right side onto the wrong side that is 0.5″ deep. Repeat this so that you enclose the raw edge. Pin it in place as you go. It can help to press your hem so that it stays in place but this is not essential.
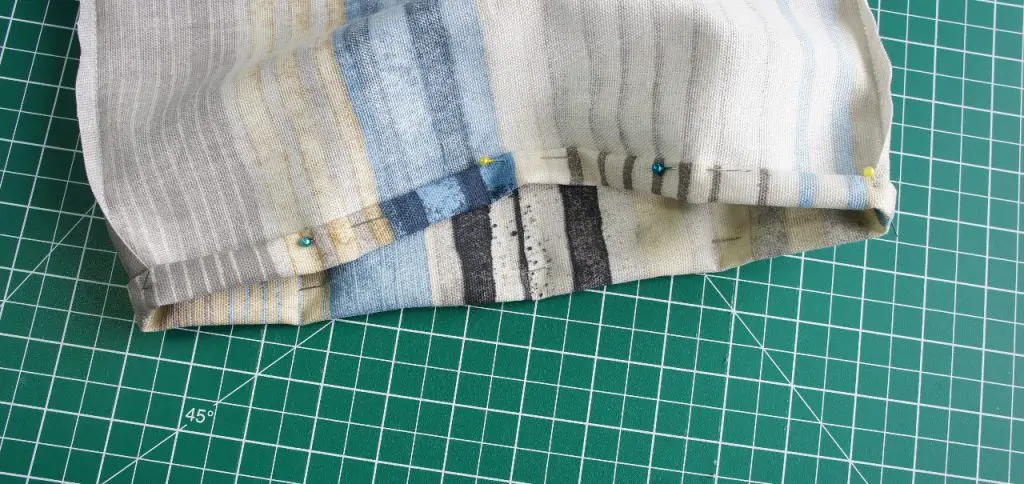
Sew the hem in place. You have now formed your bag and all that is left is to add some handles.
Make & Attach Handles
Take one handle piece and fold it in half lengthwise. Press along the fold.
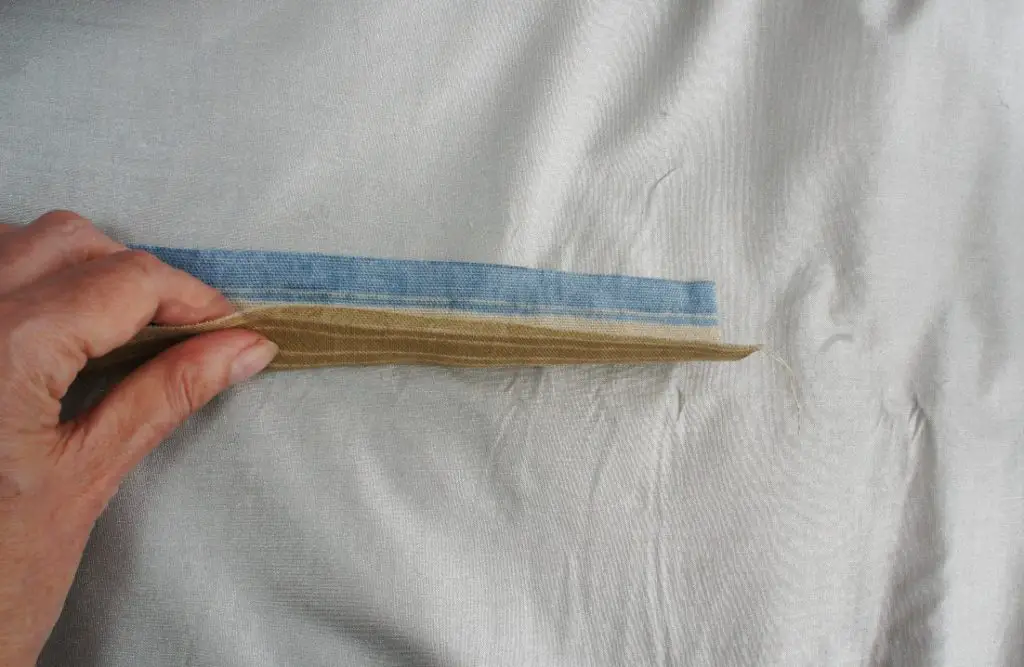
Open up the fabric and fold one long edge into the centre fold that you have already made. It should reach the fold but not cross it. If in doubt, stay a little bit short of the centre.
Then repeat on the other side of the handle so that both sides are folded into the centre. Finally fold it back along the centre line so that the raw edges are enclosed. Press again and your handle is ready to sew.
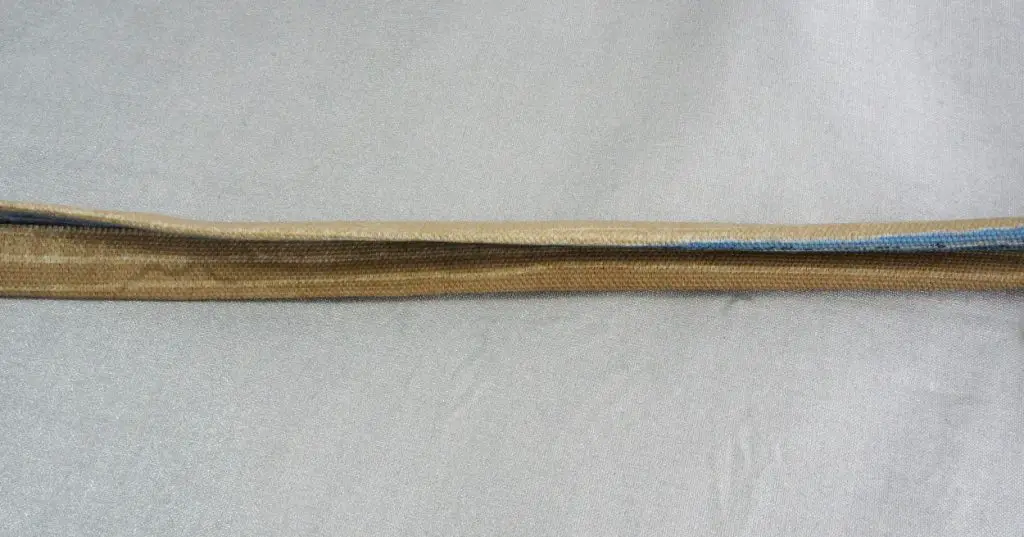
Repeat for the other handle.
Now both handles are pressed it is time to sew them. Simply run a straight seam along both long edges of the handles. These will hold the handles closed and will look stylish and professional. It is up to you how close to the edge you top stitch your handles but I usually sew mine 1/8″ from the edge.
Attach the Handles to the Bag
All that is left to do is to attach the handles to the bag. Start by pressing a 0.5″ turn on each end of the handles so that you will not have any raw edges showing when you sew them to the bag.
Then on each side of the bag measure 3″ in from the edge of the bag and 4″ down from the top of the bag. That is where you pin the folded end of the handle so that the raw edge is enclosed. Repeat for the other end of the handle on the same side of the bag but from the other side seam. Ensure that you do not twist the handle as you do this. It should be clear from the picture below.
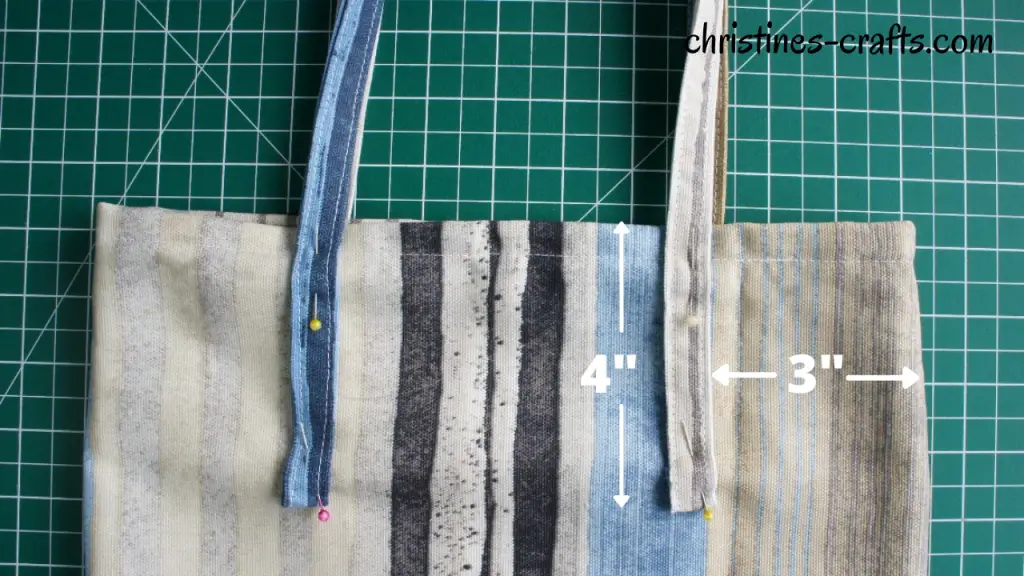
Repeat for the other handle on the other side of the bag. Check that they line up and your measurements are correct. Check that your folded short edges are folded in correctly.
Once you are happy with your handles sew them in place. Sew a rectangle around the edge of the handle where it is on the bag. Be careful not to trap any other parts of the bag in as you go. It can be a bit fiddly so just keep checking that all is well.
Video Tutorial
Well Done You Have Completed your Tote Bag
You have completed your simple easy tote bag. Now you have come this far you should think about customising bags for the future. You could add a fastener at the top of the bag or a pocket on the inside or outside. You can also make them any size you like. How cute are these for gift bags that the recipient can use again and again? Great for the environment to re-use items.
If you would like a printable pdf version of this tutorial simply sign up to my regular newsletter using the form on this page. You will also gain access to many other great resources that I update regularly.
If you feel ready to move onto a bag with a zipper then check out my sewing pattern and make one of these.
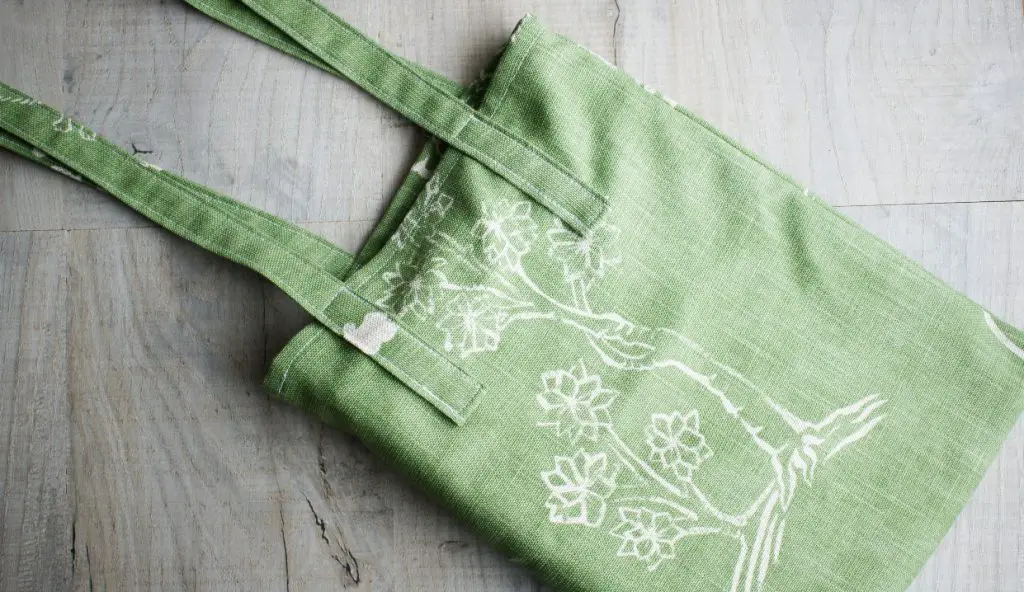
Tote Bag Adaptations
I made this green bag to hold a folder I regularly use. If you want to make a bag for a particular item then this is what I did:
I measured the folder to be 9.5″ wide and 12″ tall.
Then I cut out my bag pieces to be 12.5″ wide by 16″ tall. Basically I added 3″ to the width and 4″ to the height.
I also increased the width and length of the handles. I wanted the handles to be 1″ wide so I cut out the fabric to be 4″ wide and I increased the length to 20″ long.
Then I simply made the bag in exactly the same way as the one above. I may add a snap fastener to the top but I haven’t decided yet.
More Great Sewing Projects
If you enjoy sewing then how about some of my other projects on this website:
Remember to let me know in the comments below how you get on making your tote bag.