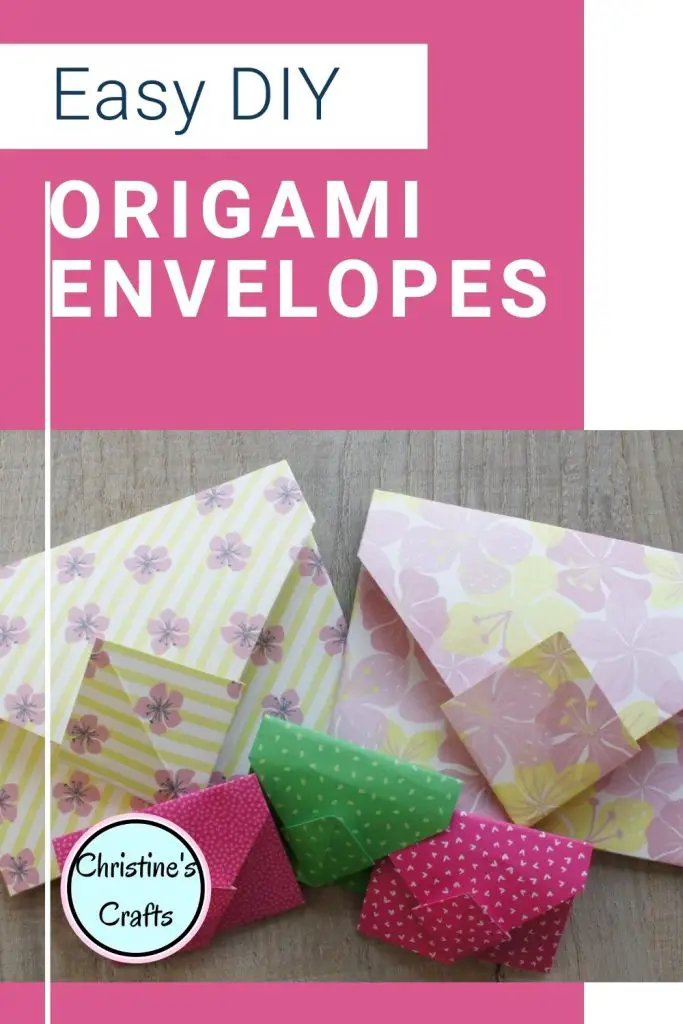
How to Make a Cute Origami Envelope with no Tape or Glue
As an Amazon Associate I earn from qualifying purchases
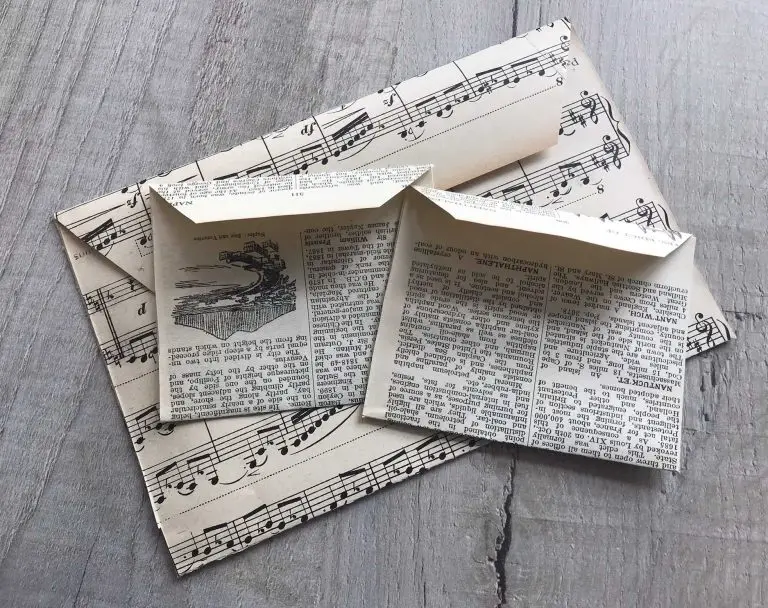
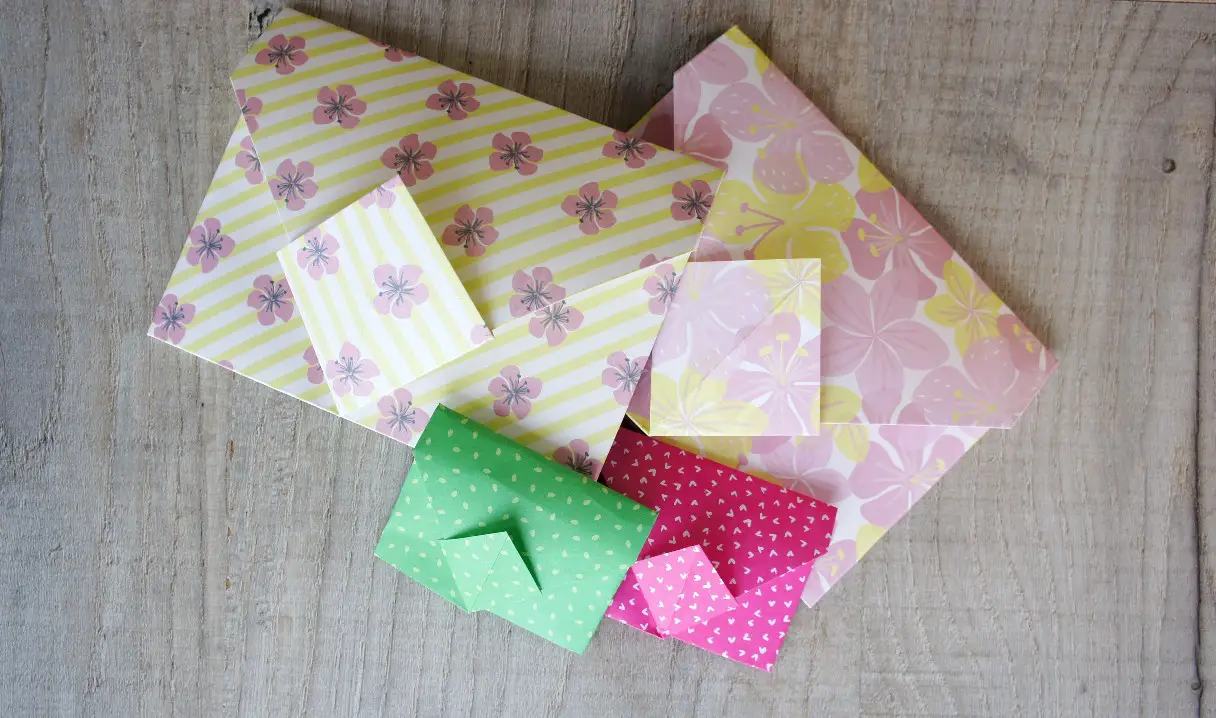
Ever wondered how to make your own cute Origami envelope without using any tape or glue? Well, check out these lovely envelopes. You can make them any size you like and use thin paper, thick card or anything in between.
I have made them with lots of different papers from copier paper to scrapbooking paper and they all work really well. So personalise that card or gift with an Origami envelope.
NOTE: they may not be robust enough to use in the postal service but they are great for hand deliveries.
This page contains affiliate links meaning I earn a little commission if you use those links at no cost to you. I only recommend brands I use and trust.
General Origami Tips
- Ensure all folds are accurate
- Press all folds firmly
- Running your fingernail along a crease makes it a sharp crease
- Ensure your paper is the same way round as mine at every step
- If you want to learn some basic origami folds take a look at The Beginner’s Guide to Origami
You will need:
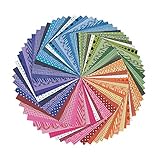
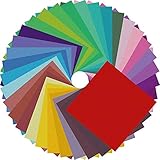
Square of paper:
I suggest scrapbook paper
Origami Envelope Video Tutorial
This video is also available on my YouTube Channel.
Fold the Origami Envelope
Main Envelope
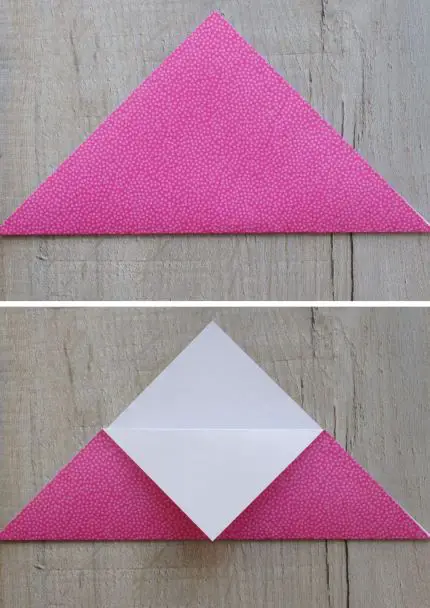
Decide which side of your paper is going inside the envelope and make sure that is facing up. Now fold your square of paper in half along the diagonal to form a triangle. Take the top triangle only and fold the point down towards the folded edge.
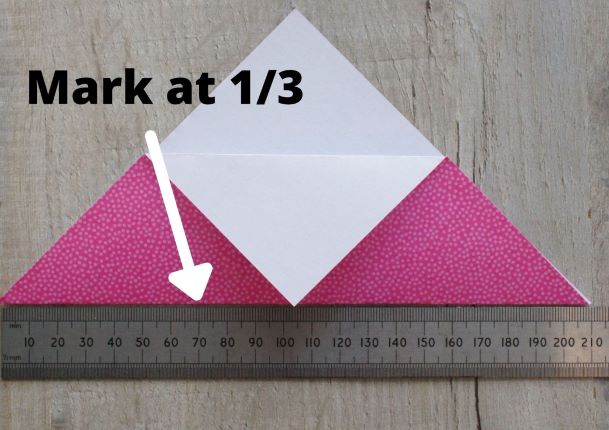
Measure the length of the bottom of your triangle (the long folded edge) and then mark with a pencil a third of the way along the edge. Divide your measurement by 3 and that is how far along to mark.
It doesn’t matter which point you mark from.
Now take the point from the opposite side of the triangle and fold it over until it reaches the mark that you made. Line it up exactly and then fold it firmly.
Then take the remaining point and fold it across until it reaches the other side (the fold that you just made). You should now have something that is starting to look like an envelope.
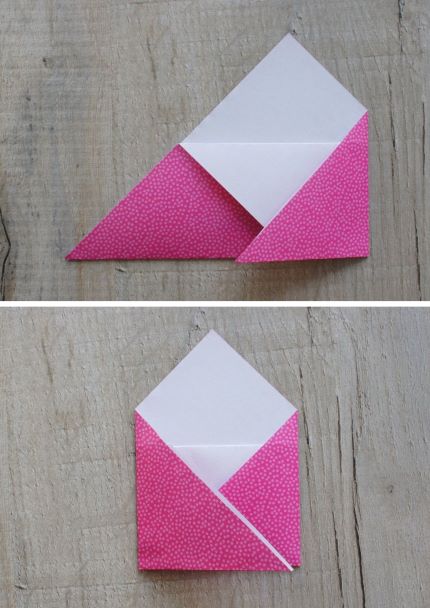
Form the Diamond
Take the point that you just folded over and fold it back on itself so that it reaches the edge of the envelope. Now take the triangle that you have just formed and bring it back to the centre of the envelope. It should now be pointing up towards you. Open up the little pocket and flatten it down onto the envelope to form a diamond. This will allow you to close the envelope.
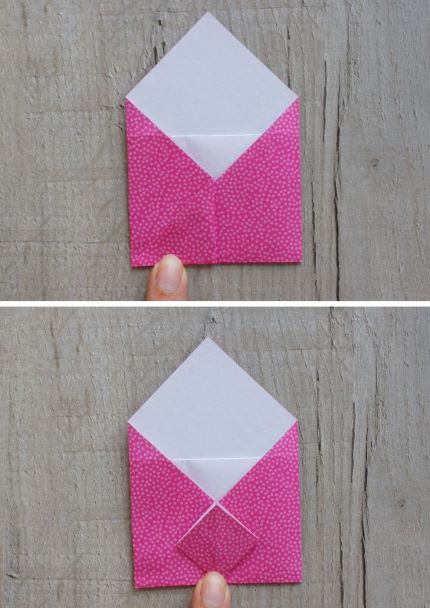
Complete your Origami Envelope
All that you need to do now is fold the top point of your envelope down so that it reaches the bottom of the envelope. Then tuck that point into the diamond and your envelope is complete. Your diamond may well not want to lie flat so I recommend placing your envelope under a heavy book or something similar to persuade it.
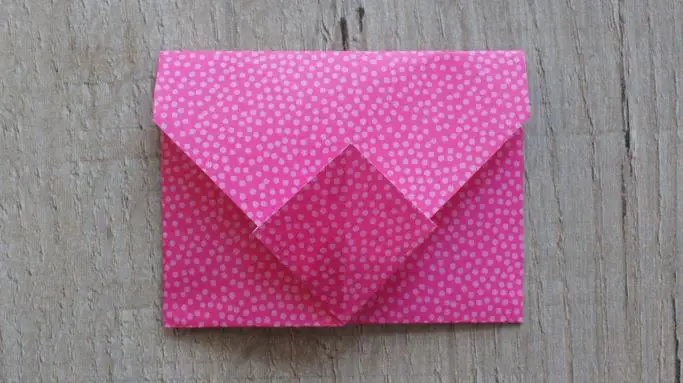
Now you know how easy they are to make you can make loads of them. They are great for party invitations, thank you notes, etc. Try making them with different papers and see how different they are. You can even make cute tiny envelopes for dolls, etc to use!
If you have enjoyed your Origami project then check out some of my other Origami tutorials. They are all suitable for beginners.
Origami Lotus Flower
Origami Seed Packets
Let me know in the comments below how you get on with your envelopes and any ideas you have for them!