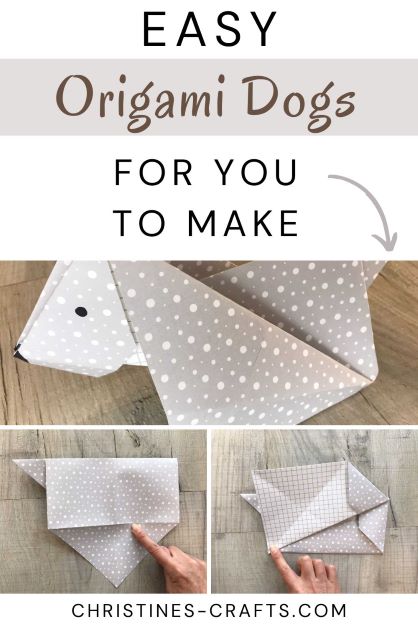
How to Fold a Super Easy Origami Dog for Kids and Adults
As an Amazon Associate I earn from qualifying purchases
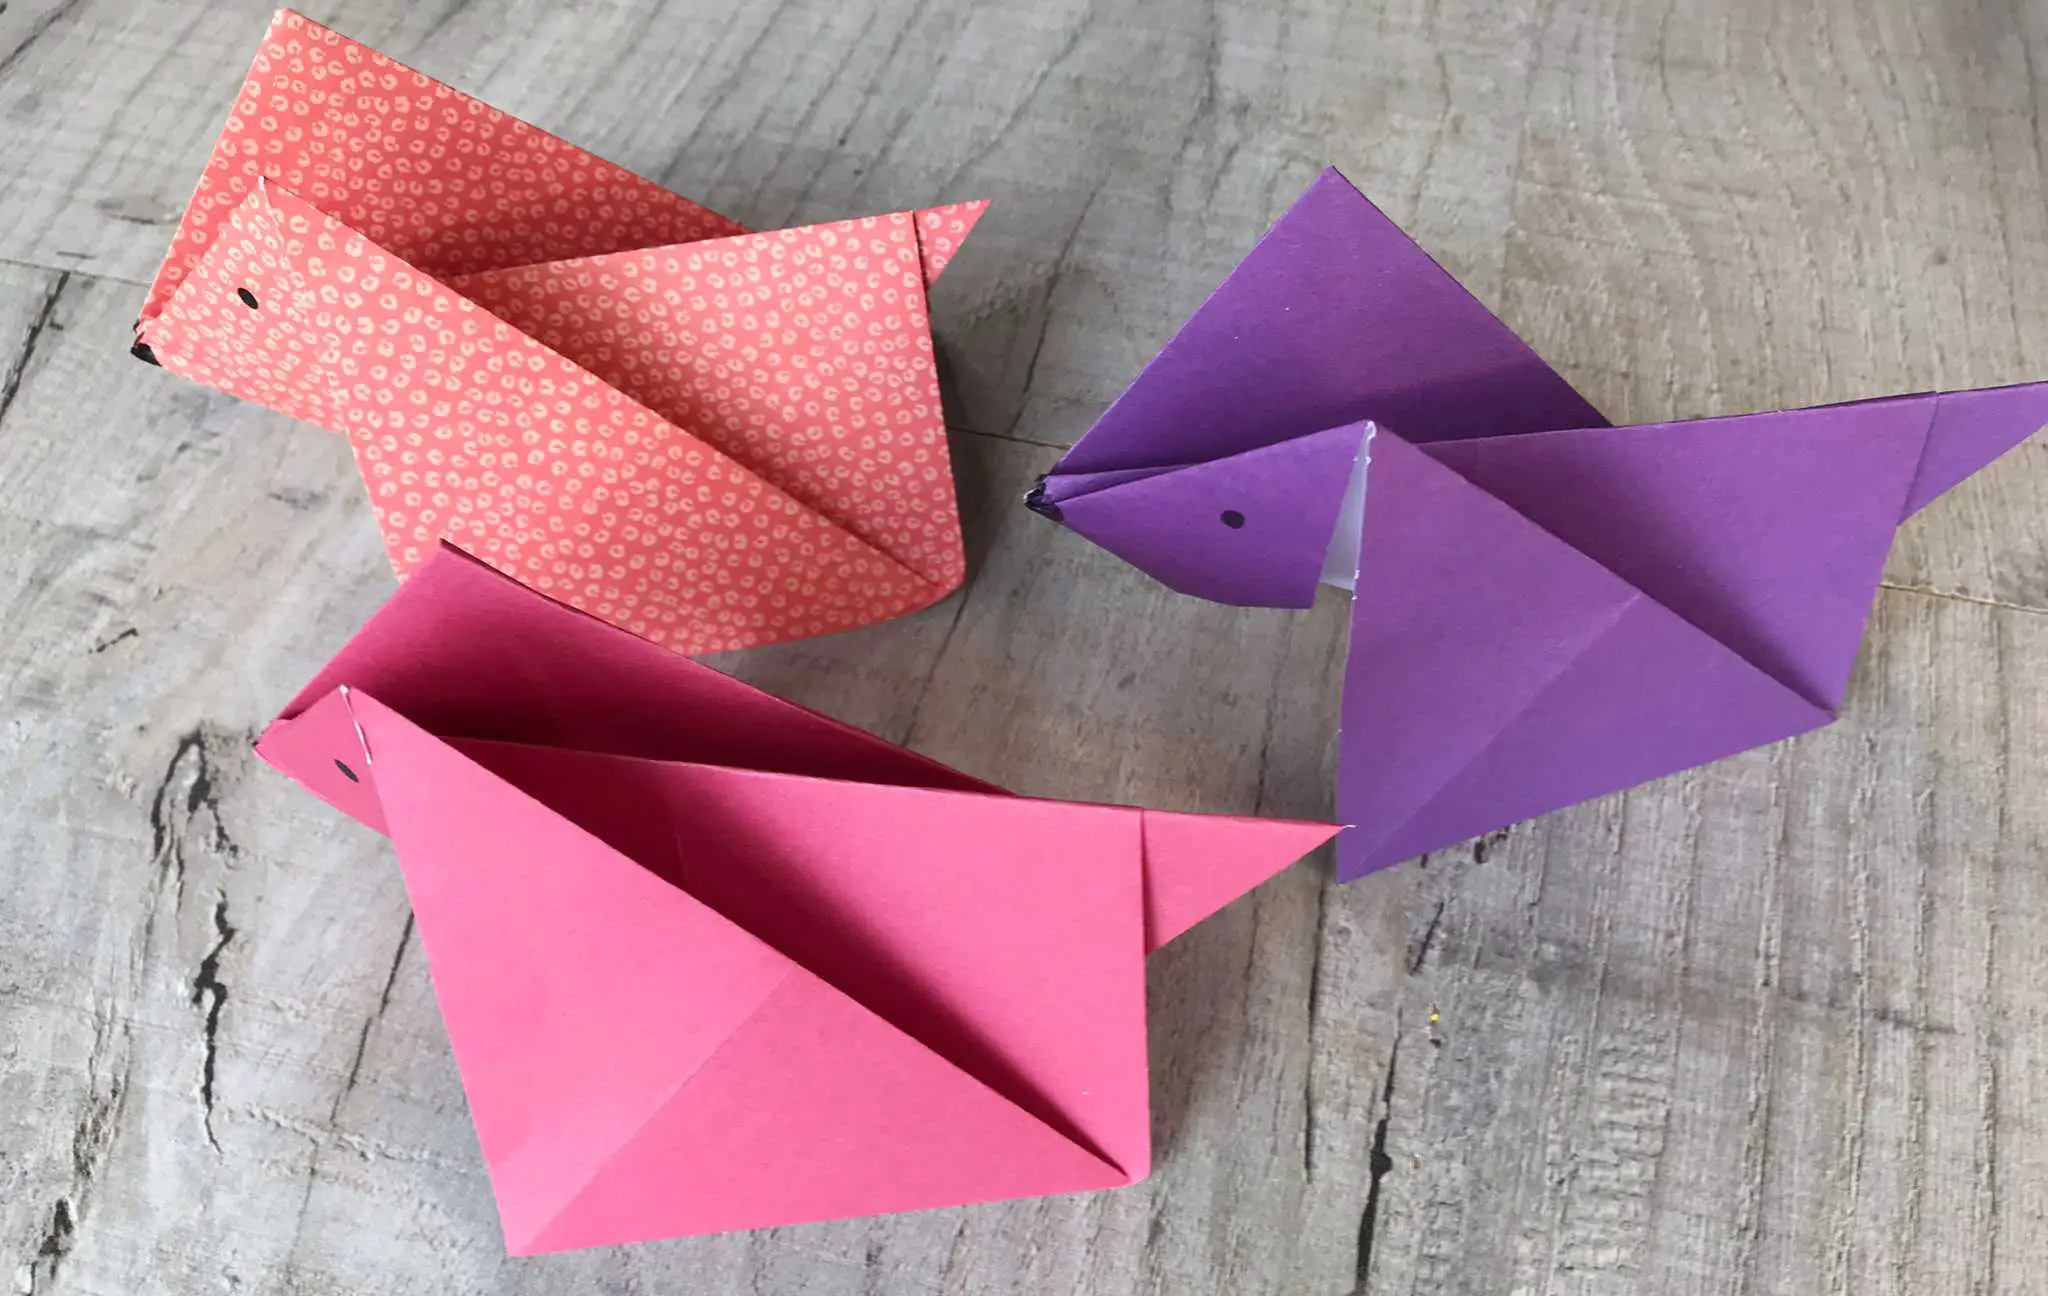
These cute Origami dogs are so quick and easy to make. Great for entertaining the kids or grandkids or even a large group at an event. You do not need anything special or any previous Origami experience. Just follow along and make your own Origami dog now.
If you prefer video instructions then watch the 5 minute video.
This page contains affiliate links meaning I earn a little commission if you use those links at no cost to you. I only recommend brands I use and trust.
General Origami Tips
- Ensure all folds are accurate
- Press all folds firmly
- Running your fingernail along a crease makes it a sharp crease
- Ensure your paper is the same way round as mine at every step
- If you want to learn some basic origami folds take a look at The Beginner’s Guide to Origami
You will need:
A square of paper
I suggest scrapbook paper
Or Origami paper
A black pen (and whatever else you want to decorate your dog)

Video Tutorial for an Origami Dog
This video is also available on my YouTube channel.
Fold your Origami Dog
Step 1:
Place your paper with the decorative side down (if the paper has a decorative side). Fold the square of paper in half, corner to corner, so that it forms a triangle. Open the square of paper out again and repeat with the opposite corners. Open your square out and it should have a cross folded on it. This show you the centre of the paper.
Next fold each corner into the centre in turn to form a smaller square.

Step 2:
Open up one of the points and fold it into the crease that you made previously. Then fold it all back in to re-form the smaller square that you made.
Open up the opposite point and fold it back so that it sticks out beyond the ‘square’. This is going to form the tail of your dog so the further it sticks out the longer your dog’s tail will be.

Now fold your ‘square’ in half.
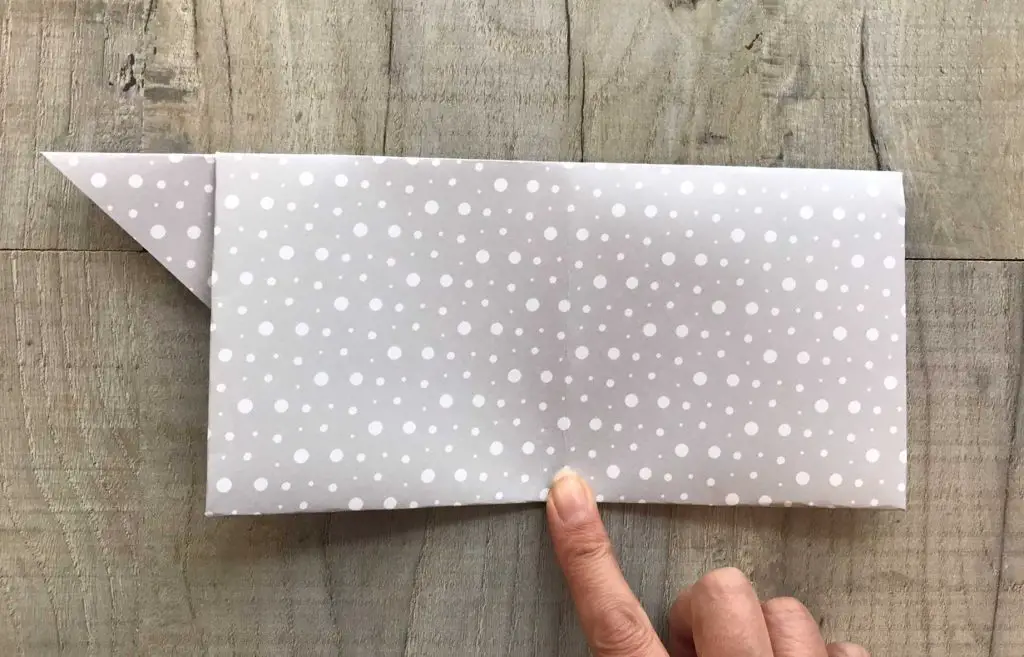
Step 3:
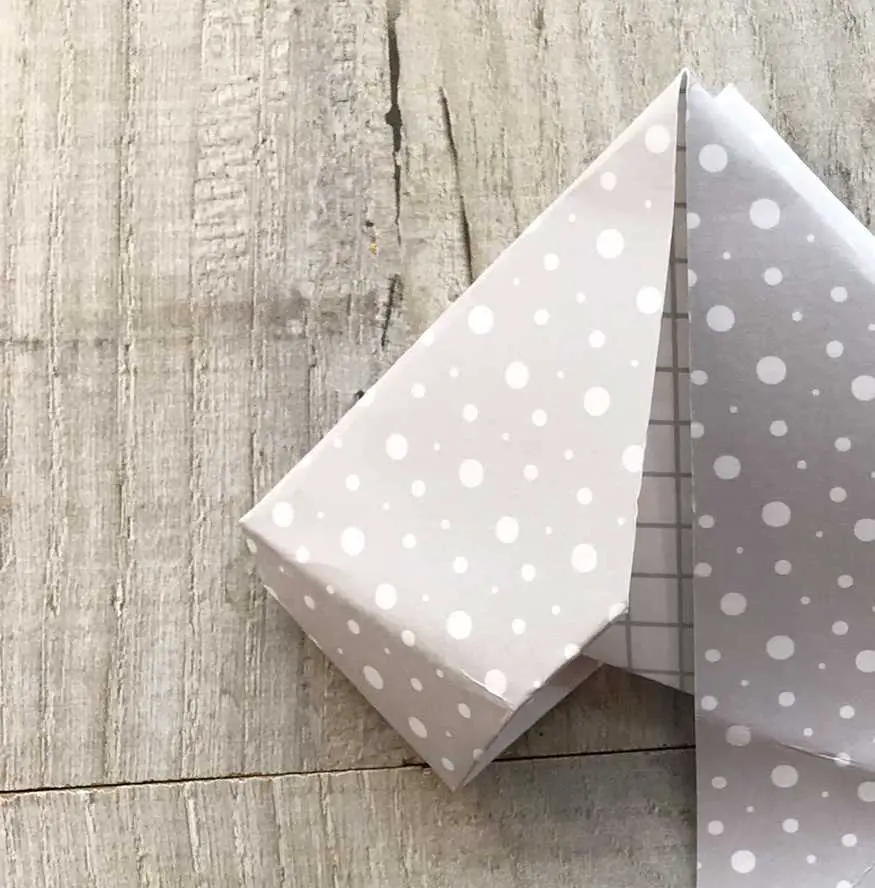
Open up the front flap so that the point comes out and now points down. Fold that point up diagonally as shown so that it folds from the bottom corner on the ‘tail’ end of the dog up to the top corner at the head end.
Then, fold that point back down along the existing crease so that it forms the side of the dog.
Turn your dog over and repeat this step on the opposite side.

Step 4:
Open up the dogs head and invert the fold so that the nose is formed. This can be a bit tricky and you may not get a good corner. It could end up a little bit rounded but I decided that I liked that as it is a nose!
Now you are ready to decorate your dog. I simply added 2 eyes and a black nose but you can add whatever you like.
TOP TIP: If your dog tends to open up too much and fall a bit flat simply use a bit of tape or blu-tac inside to hold it together. It could just be the stiffness of your paper that does not hold up very well. This problem is also more likely if you add more decorations such as ribbons or buttons.

And so…
You have completed your Origami Dog, well done! So, how about trying some more simple Origami projects? Check out some more at:
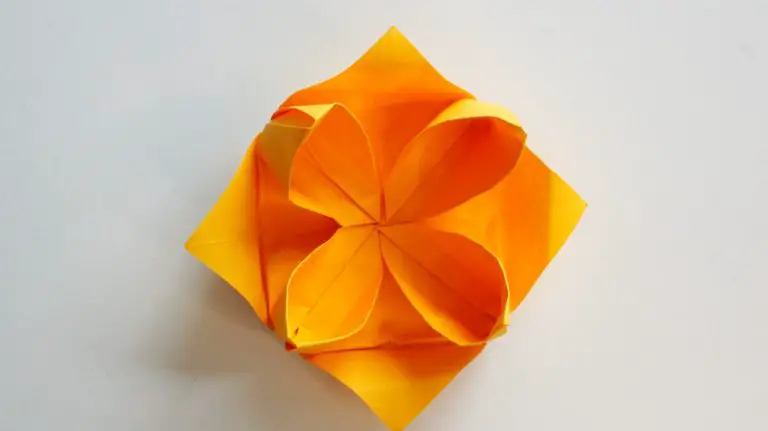
Origami Crane with Flapping Wings
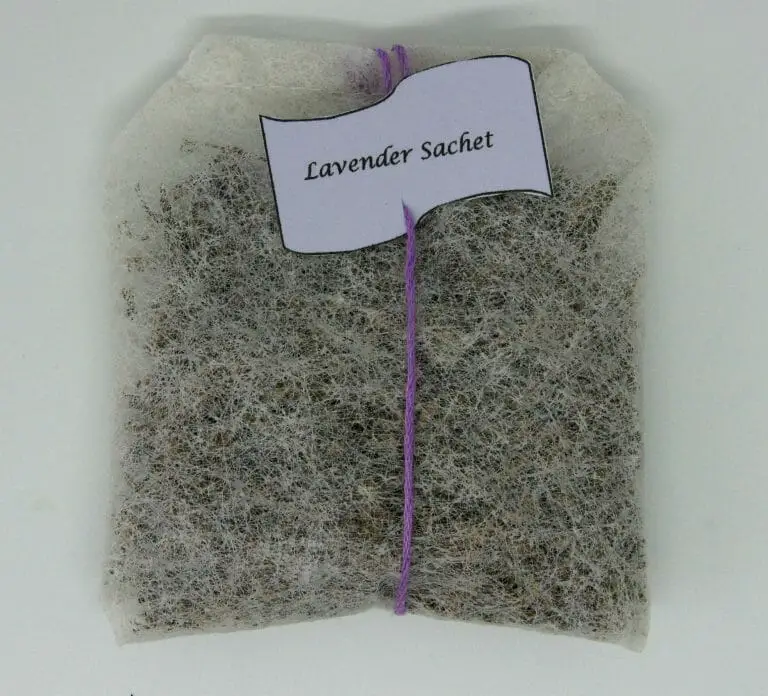
Origami Envelope
Please leave me a comment below about how you get on with your Origami dog and if you have any suggestions to develop them.
You can also find me on Pinterest for more great inspiration at Christine’s Crafts.