How to Make Quick and Easy Origami Seed Packets
As an Amazon Associate I earn from qualifying purchases
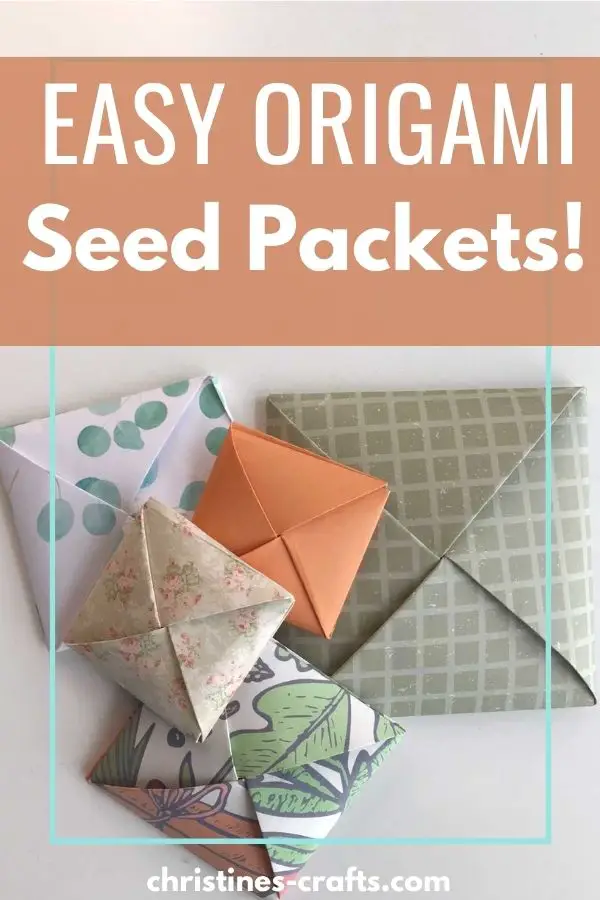
If you are a gardener you probably use seeds to a greater or lesser extent. Perhaps you harvest your own. Well, how about using cute Origami seed packets for your seeds? They are so quick and easy to make yet lock your seeds in securely with no tape or glue. Great DIY seed packets!
They are so sweet for gifting seeds to friends or indeed as seed packets for wedding favours. How great would it be to gift all your guests some wild flower seeds and know that they will all enjoy flowers as a result of your wedding? You could use paper that matches your wedding decor and personalise each packet.
You could even use these seed packets for other things like notes or small gifts. They are perfect for jewellery.
If you like to watch a video tutorial then you are in luck as there is one of those here too.
This page contains affiliate links meaning I earn a little commission if you use those links at no cost to you. I only recommend brands I use and trust.
So, let’s get started.
You will need:
- Square of paper – any paper will do but here is a link to Origami paper if you want to use that.
- Sizing – 8″ paper gives 2.75″ packet, 6″ paper gives 2″ packet, 12″ paper gives 4″ packet

General Origami Tips
- Ensure all folds are accurate
- Press all folds firmly
- Running your fingernail along a crease makes it a sharp crease
- Ensure your paper is the same way round as mine at every step
- If you want to learn some basic origami folds take a look at The Beginner’s Guide to Origami
Origami Seed Packet Video Tutorial
This video is also available on my YouTube channel.
Preliminary Folds for the Seed Packet
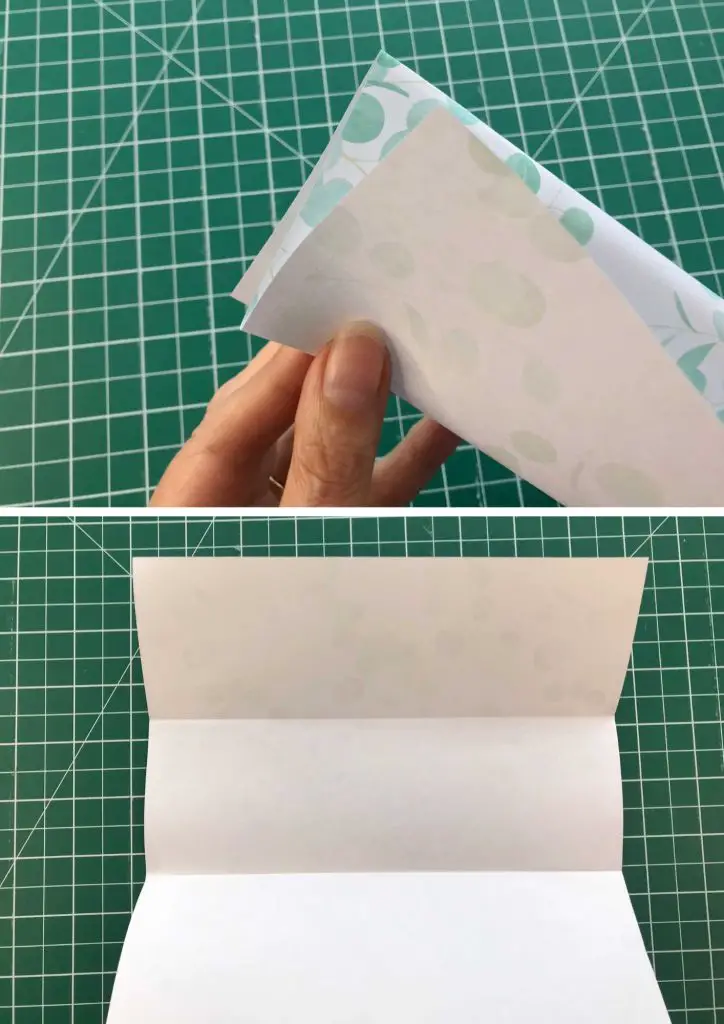
If your paper is patterned or coloured on one side then place that side down onto the table. Take your square of paper and loosely fold it into thirds. Nip one end of the paper to mark the thirds. Open up the paper and fold along where you marked. You have effectively split your paper into thirds.
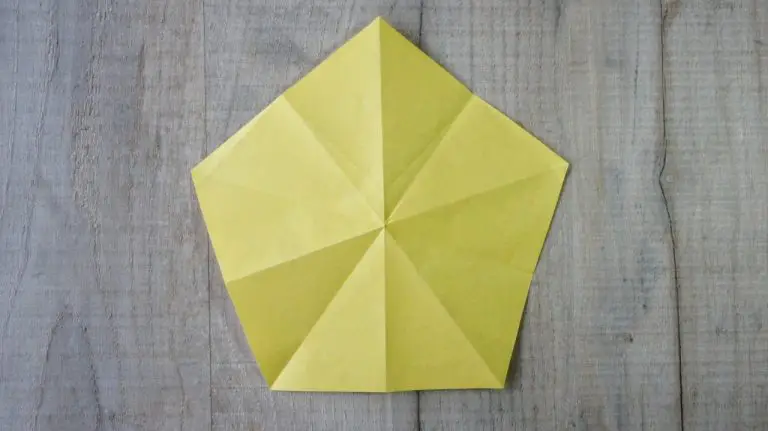
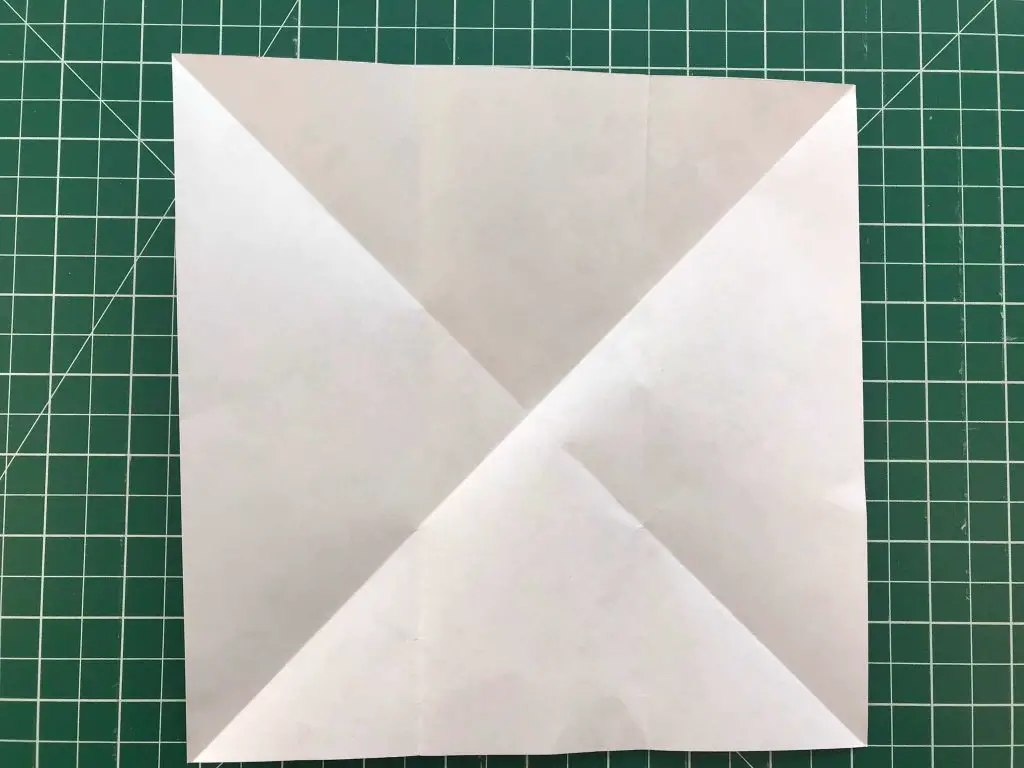
Fold the paper in half so that one corner covers the opposite corner. You will form a triangle. Open up the paper and repeat with the other two corners. Your paper should now look like this.
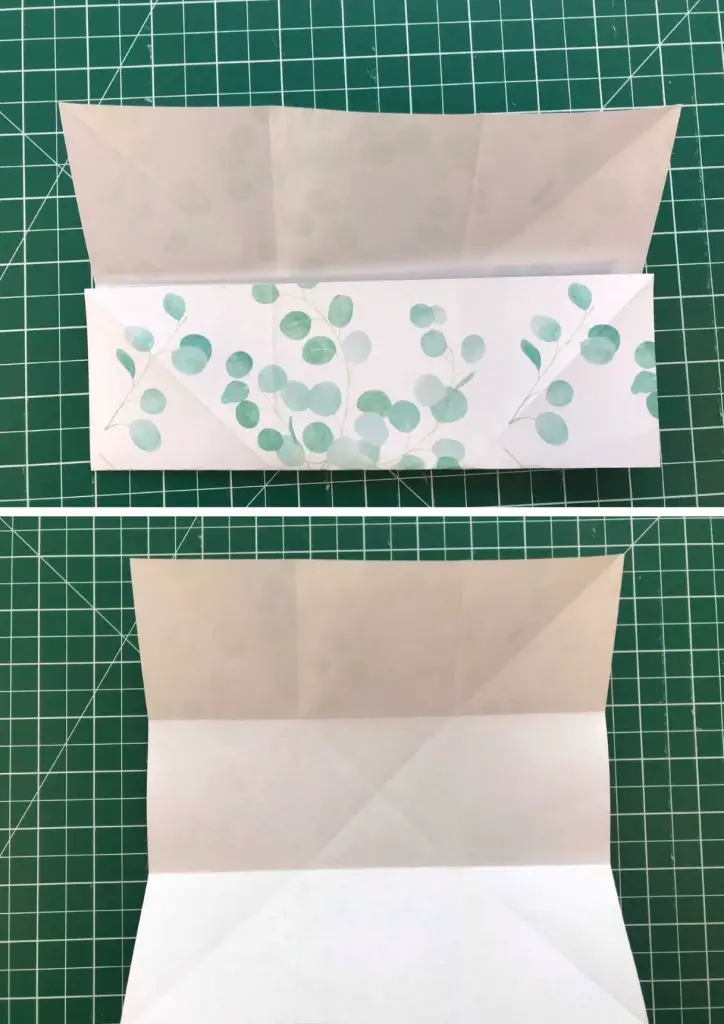
Turn your paper through 90 degrees (a right angle). Look where the diagonal folds cross the horizontal lines. Fold the opposite edge up to meet these points. Open it up and repeat for the other side. You will now have split the square into thirds in the opposite direction.
You have completed your preliminary folds. Now it is time to make your seed packet.
Fold the Inner Seed Packet
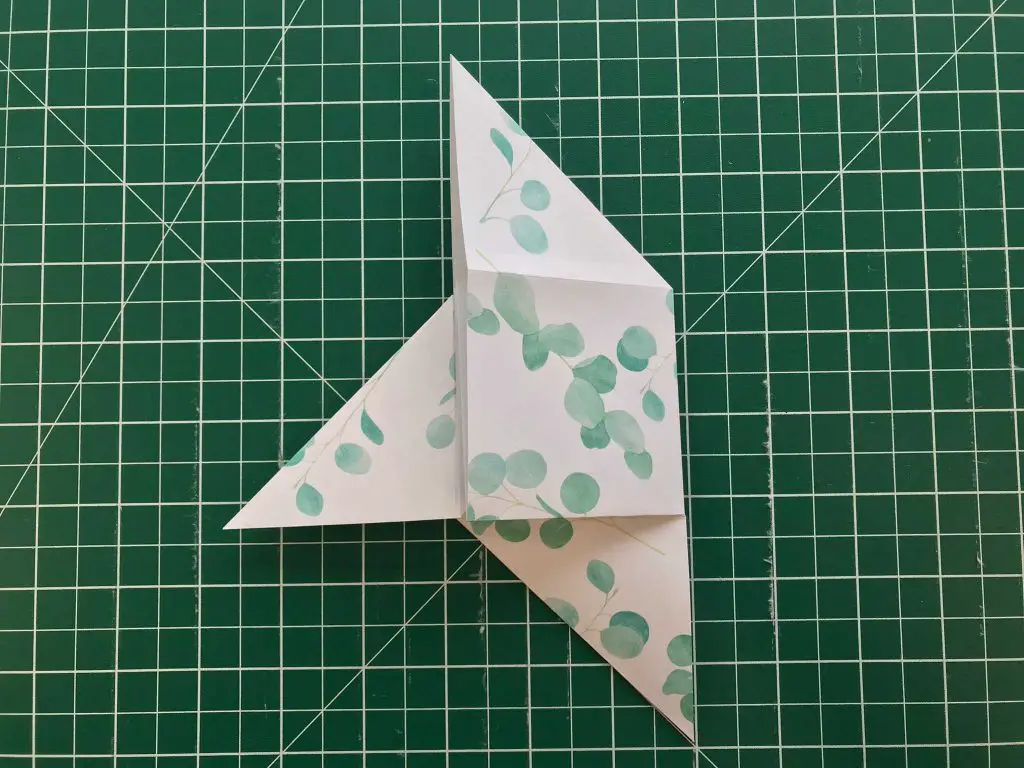
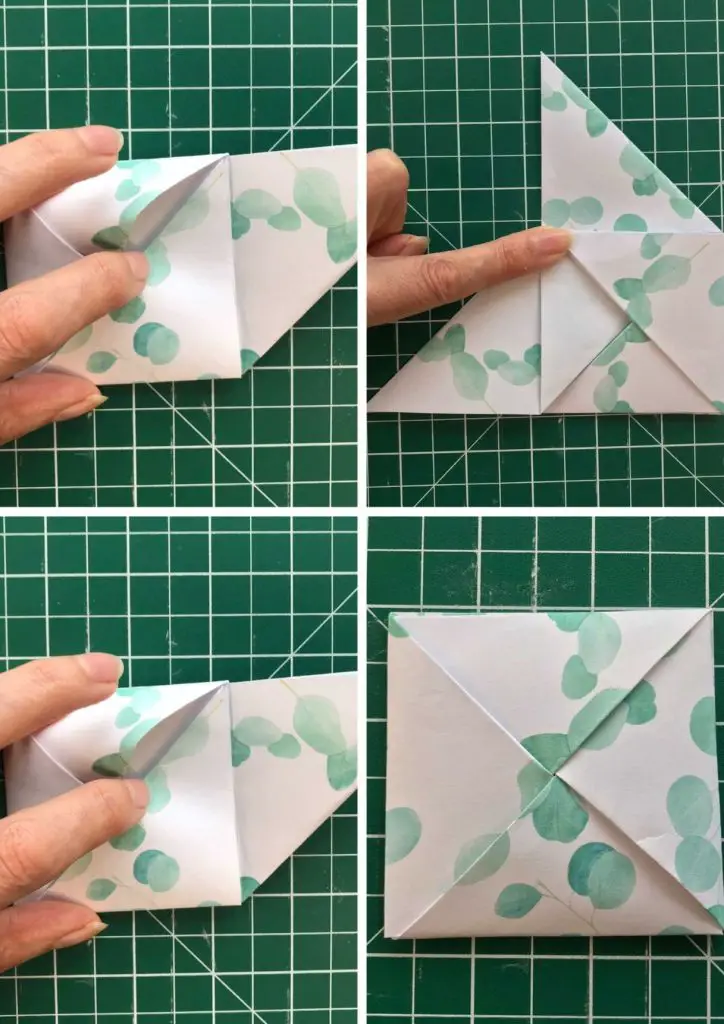
Fold down the top third of your square of paper. Take the point marked A and fold it to point B. Press the fold firmly.
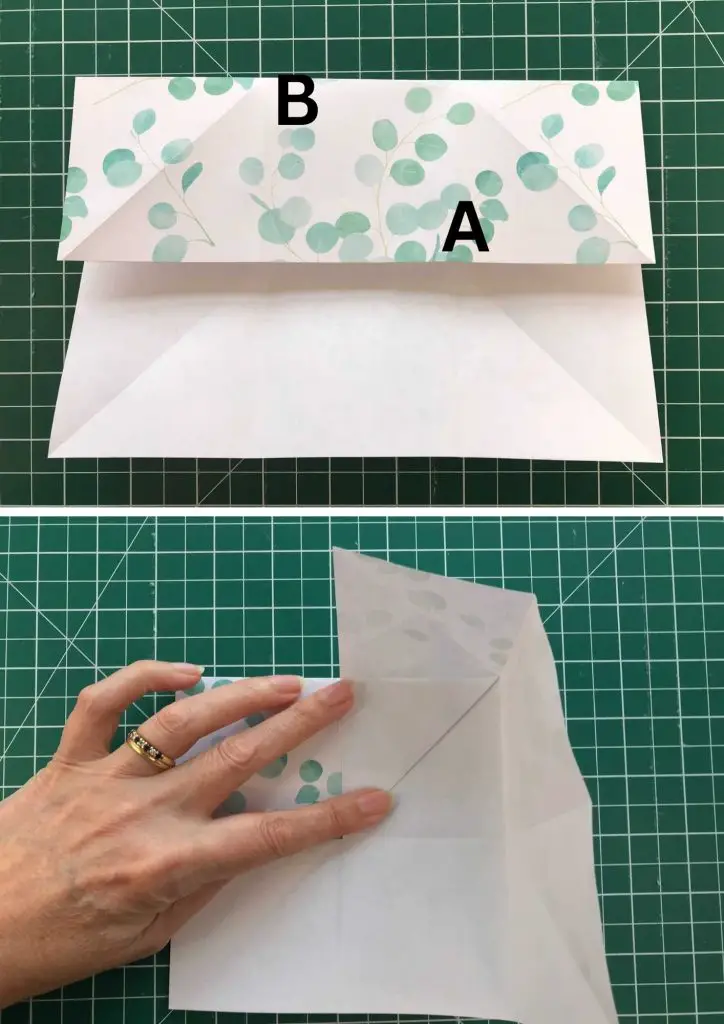
Then flatten down the raised paper to form your first point.

Rotate the paper through ninety degrees and repeat this step.
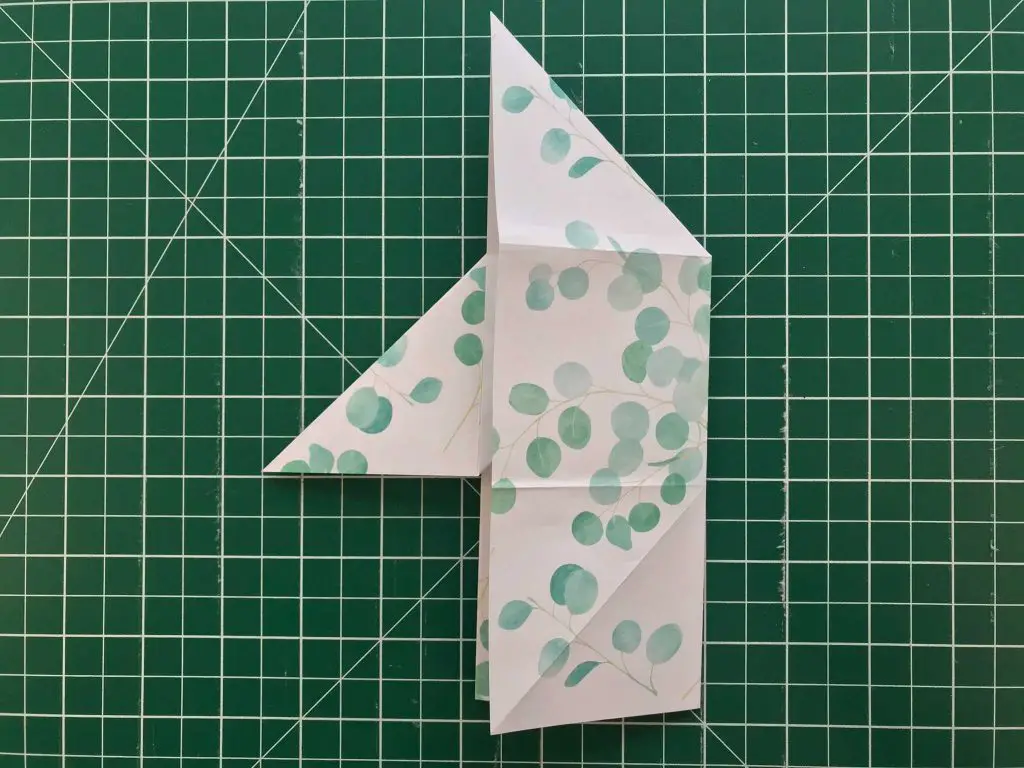
Rotate through ninety degrees again and repeat this step again. You should now have 3 points.
Open up the section that you just folded flat and fold the inner section of paper back as shown.
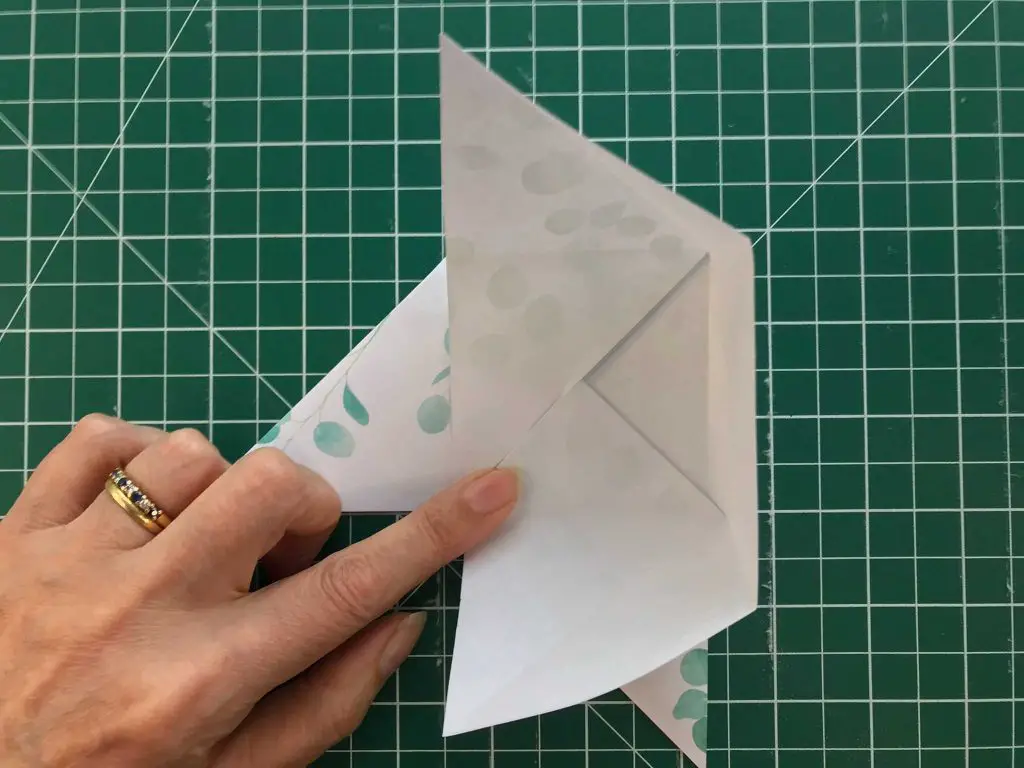
Then flatten the raised paper down like this.
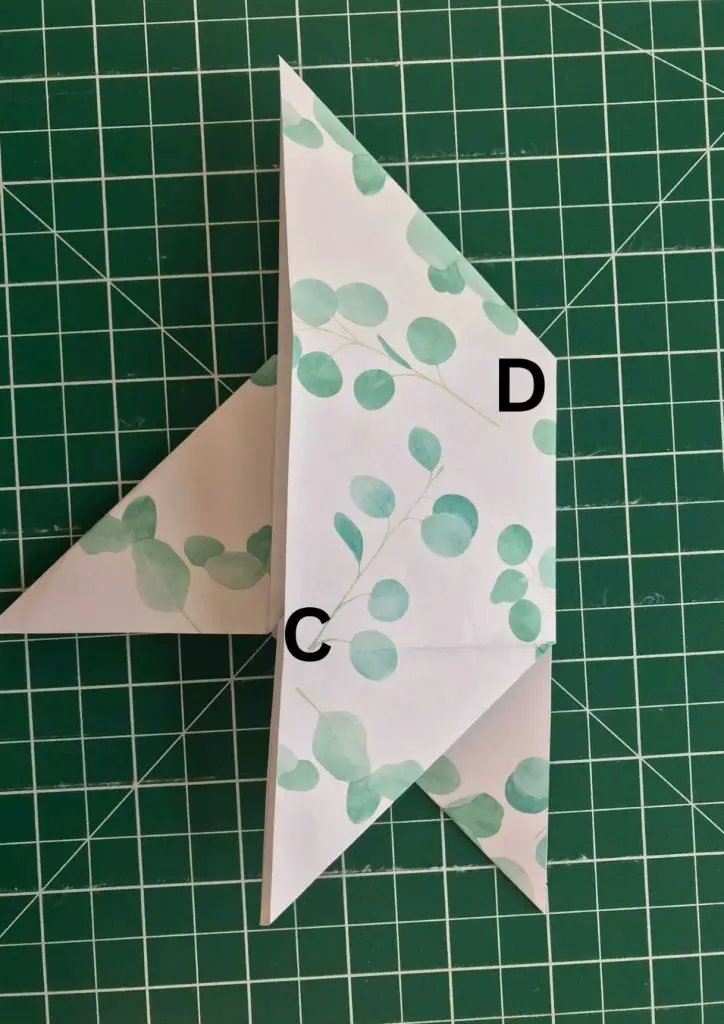
Fold point C over onto point D and then flatten the paper to form the final point.
Congratulations, you now have your basic packet formed and you should be able to open and close it easily. If you have any trouble closing it you may need to firm your folds more so that they always return.
Secure your Seed Packet
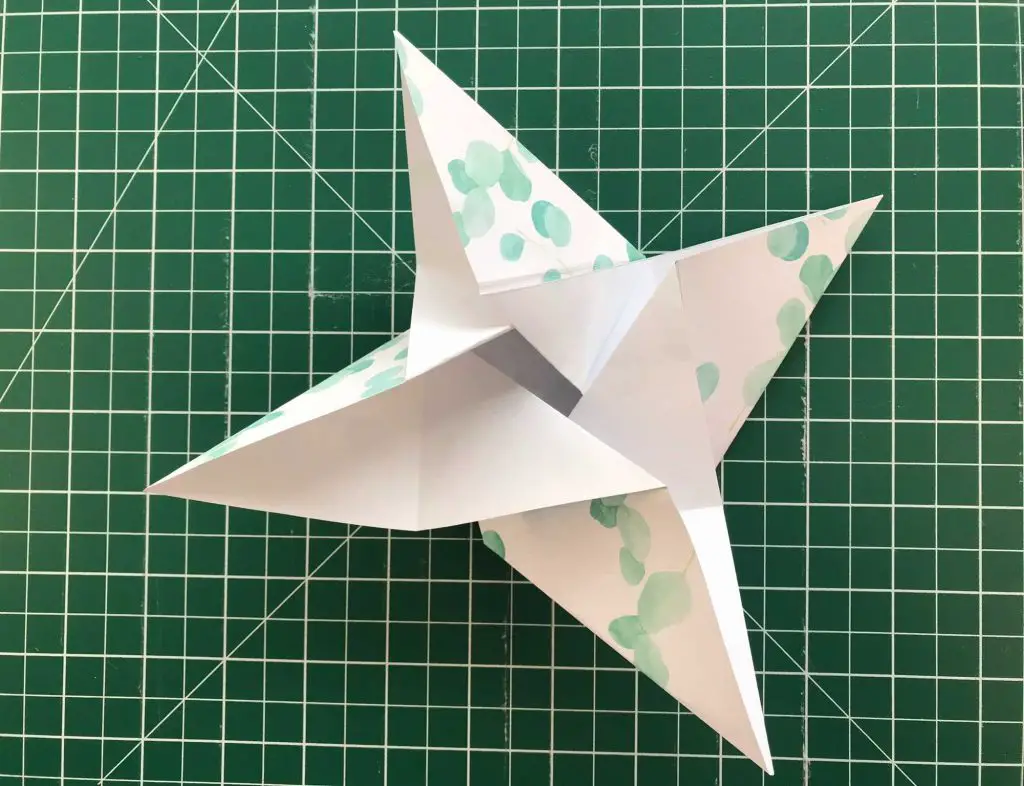
Now you simply lock your Origami seed packet closed. Take one point and fold it onto the central square (the packet). Fold the next two points onto the square in turn moving anti-clockwise around the seed packet.
When you fold the final point in tuck it under the first point that you folded over and it should ‘lock’ them all in place.
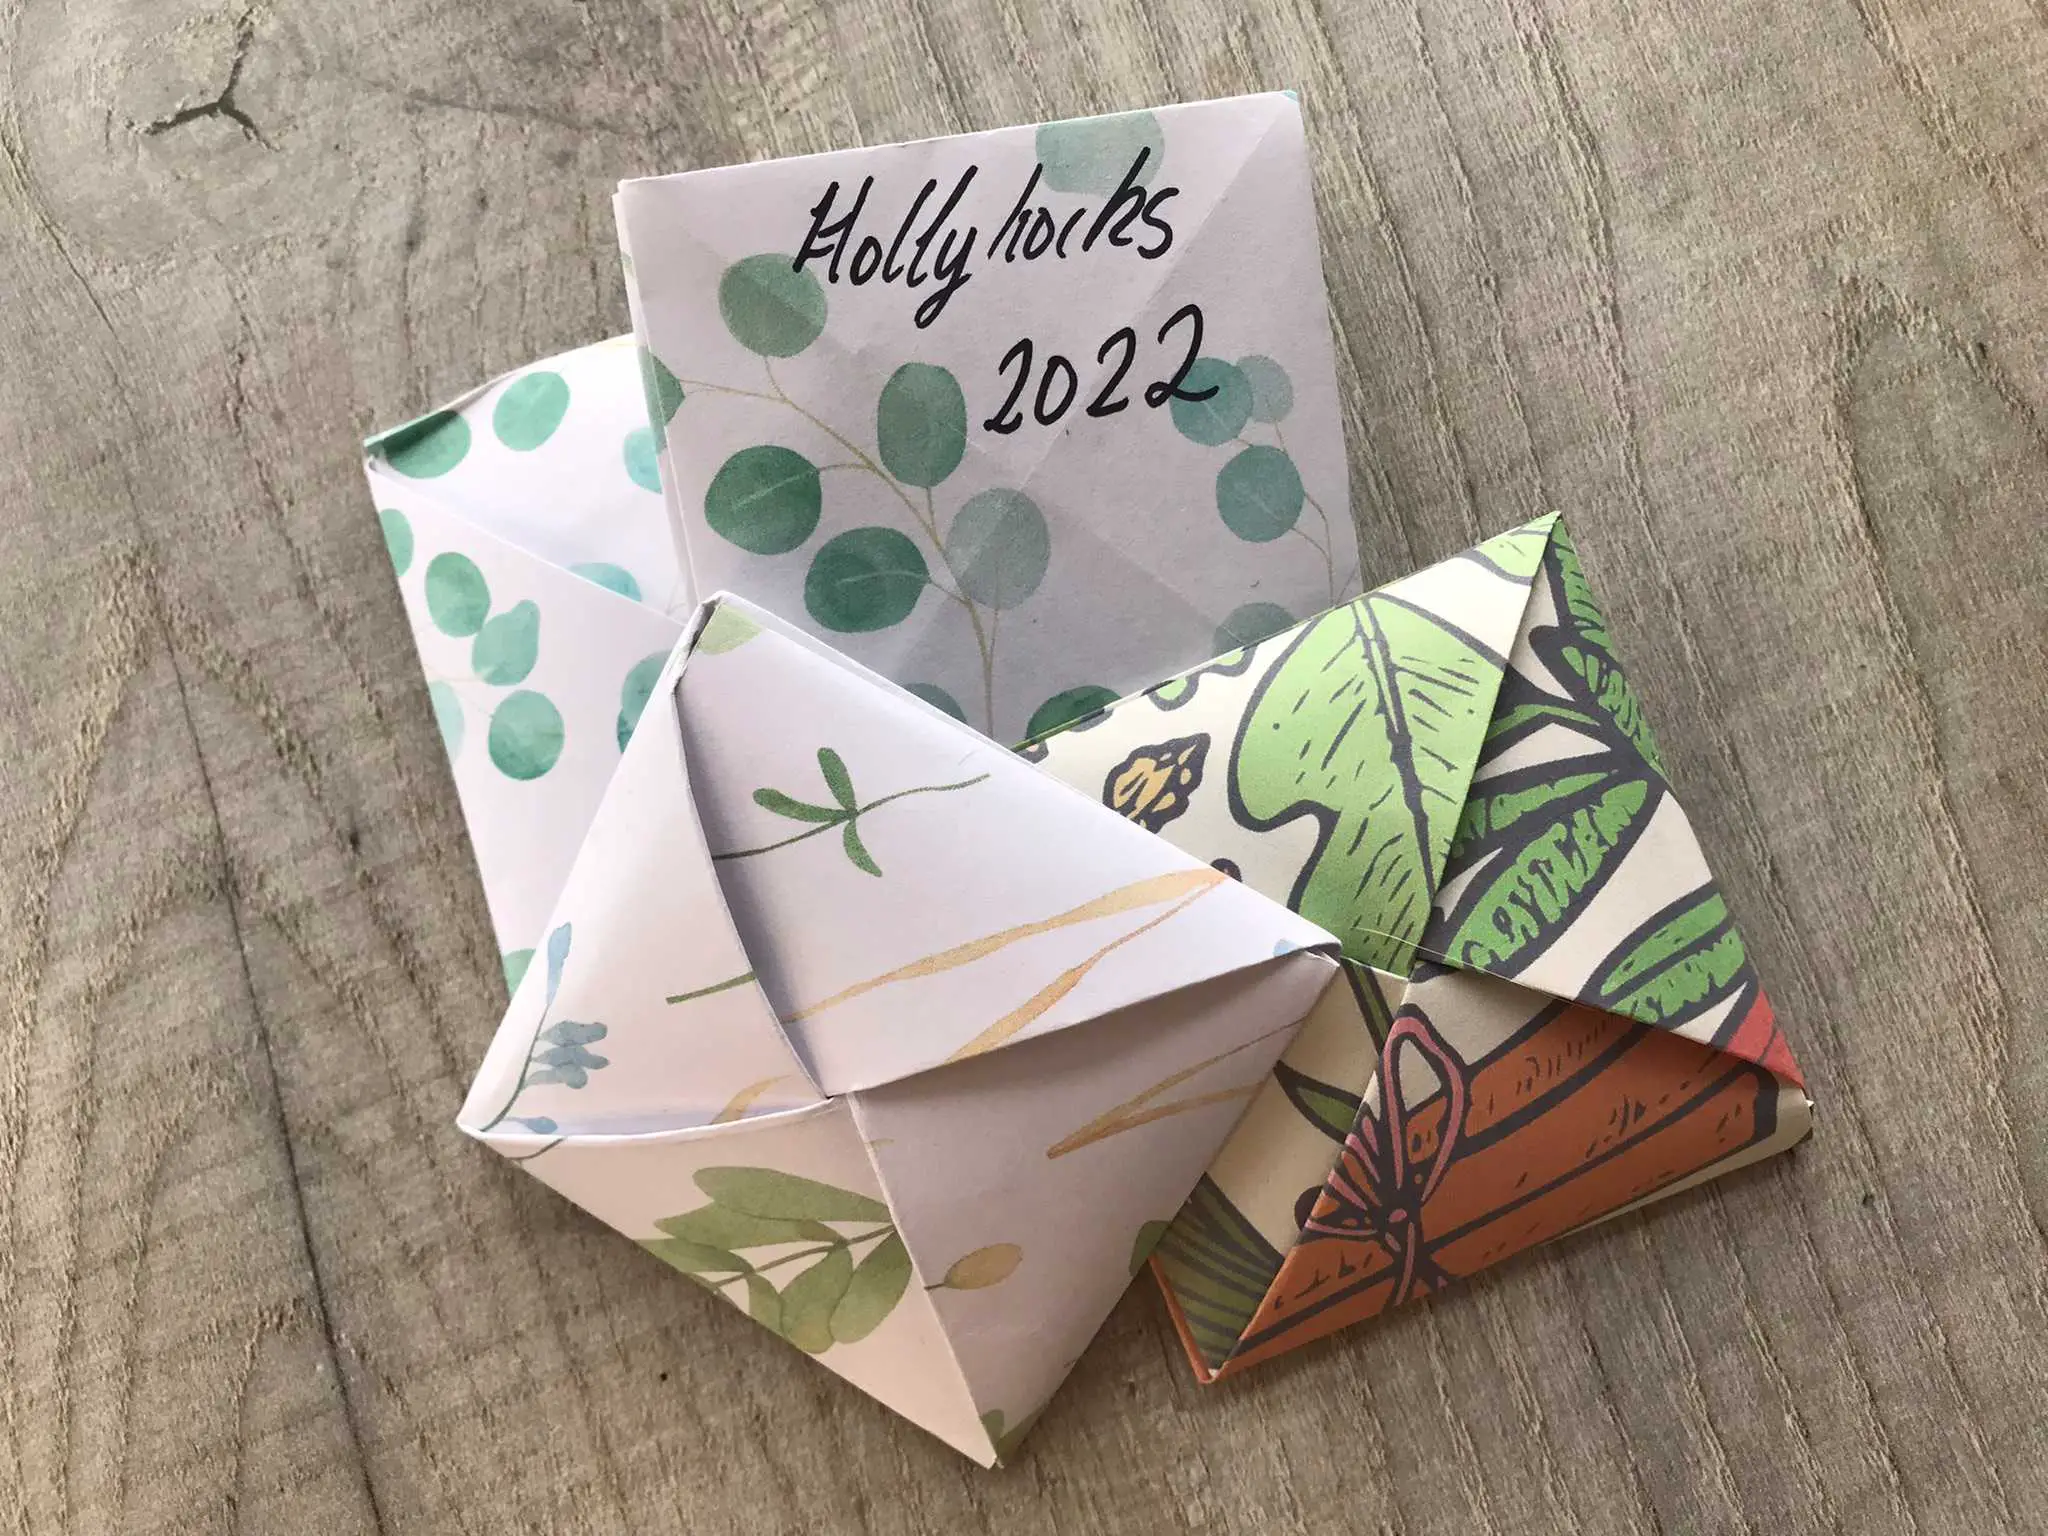
And then …
You have completed your first Origami seed packet but I am sure it will not be your last. Enjoy making many more and perhaps the best bit, sharing them with others.
If you are looking for some more Origami projects then look no further than my whole section of Origami projects including Christmas decorations, envelopes and corner bookmarks.
Enjoy your Origami seed packets and do now worry too much if it is not perfect, the seeds will not care! Please let me know below what you make your Origami seed packets for especially if you found another use for them.