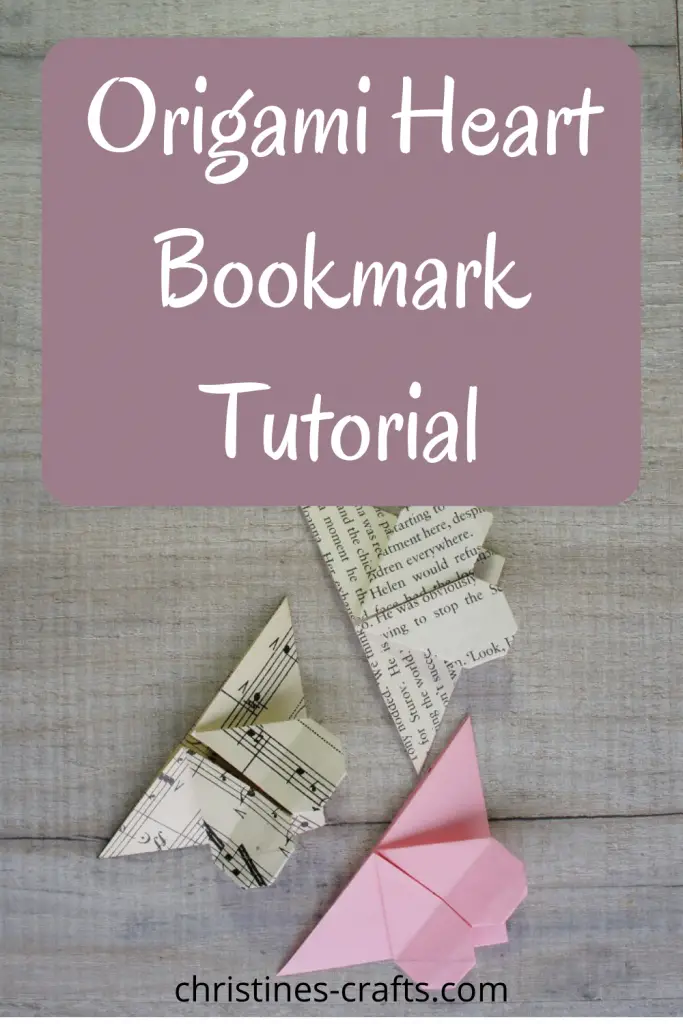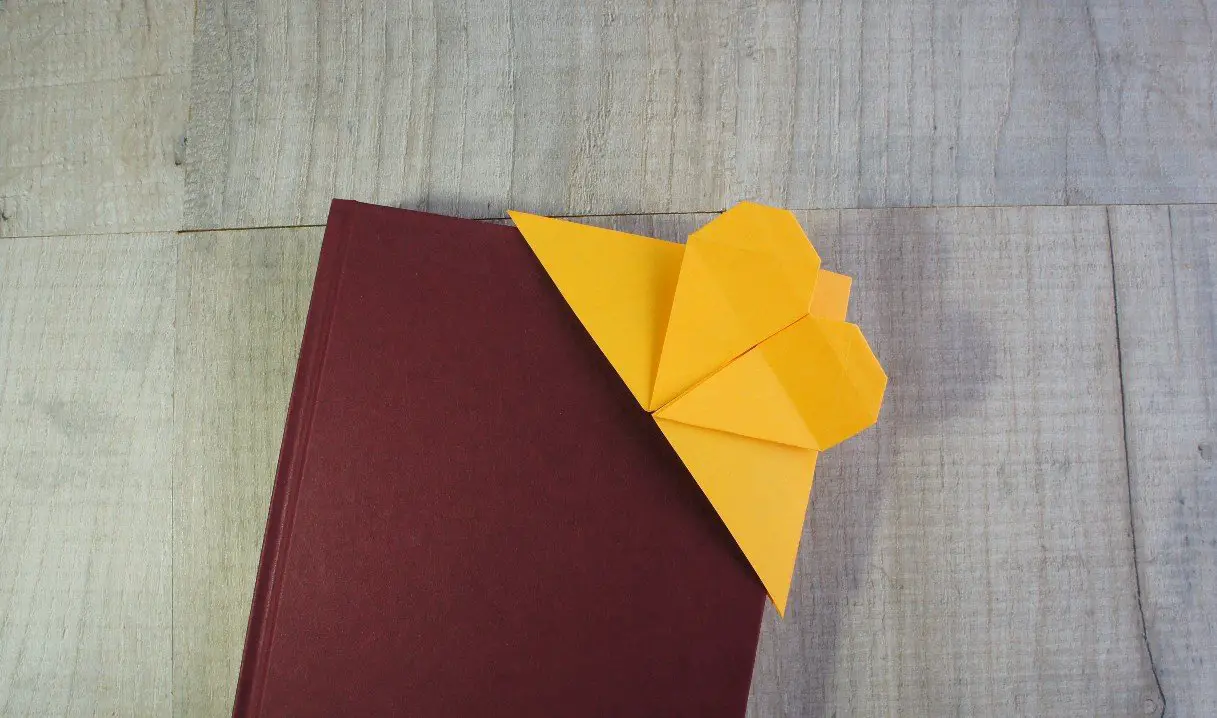
How to Make an Origami Heart Corner Bookmark
As an Amazon Associate I earn from qualifying purchases
This origami heart corner bookmark is so pretty and surprisingly easy to make. They look great in many different papers including origami paper, wrapping paper, old book pages and old music scores. You can write a personalised message on one or add decorations from your craft supplies.
Fabulous gift idea for Valentine’s Day, Mothers Day or indeed any celebration for a bookworm.
If you would like a handmade Valentine’s Day card to go with your heart bookmark then take a look at these 3d cards.
Don’t worry if you have never done Origami before. You do not need any experience. This step by step tutorial is all you need.
Origami is simply the Japanese art of folding squares of paper into representational shapes. You can create many different items and it can be an addictive craft so you have been warned.
General Origami Tips
- Ensure all folds are accurate
- Press all folds firmly
- Running your fingernail along a crease makes it a sharp crease
- Upon completion press under a book if not sitting flat
- Ensure your paper is the same way round as mine at every step
- If you want to learn some basic origami folds take a look at The Beginner’s Guide to Origami
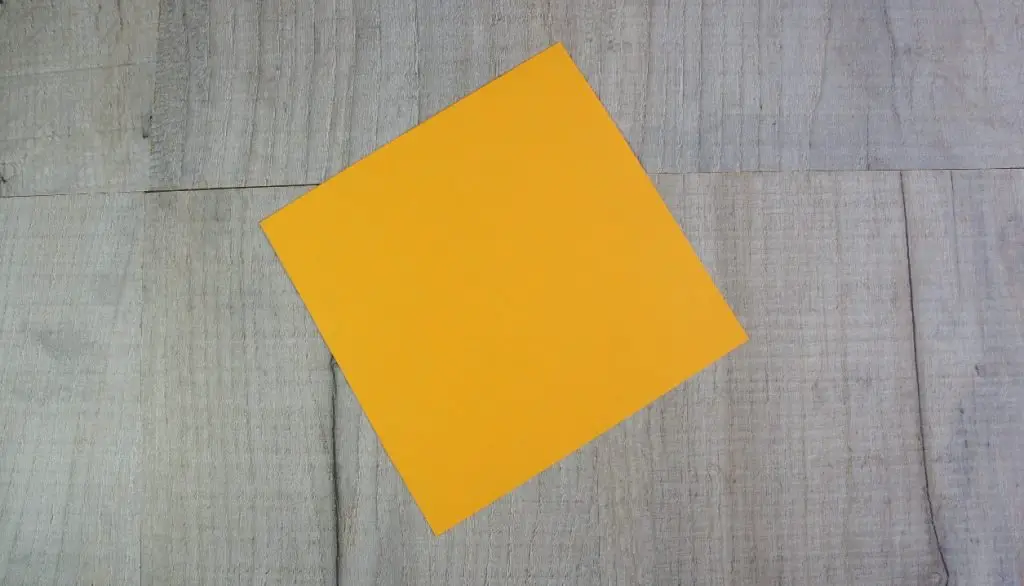
You will need
A square of paper, I made mine using 4″ by 4″ (10cm by 10cm)
Video Instructions
This video is also available on my YouTube channel
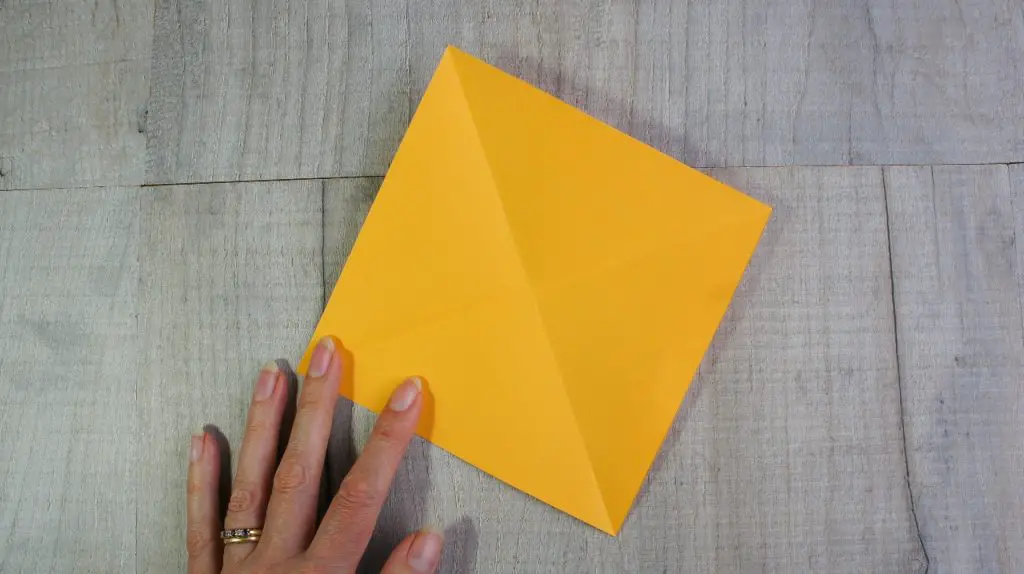
First Diagonal Folds
Fold your square of paper in half from one corner to the other. Open it back up and fold the other 2 corners together. Open it back up and you should have a cross on your paper.
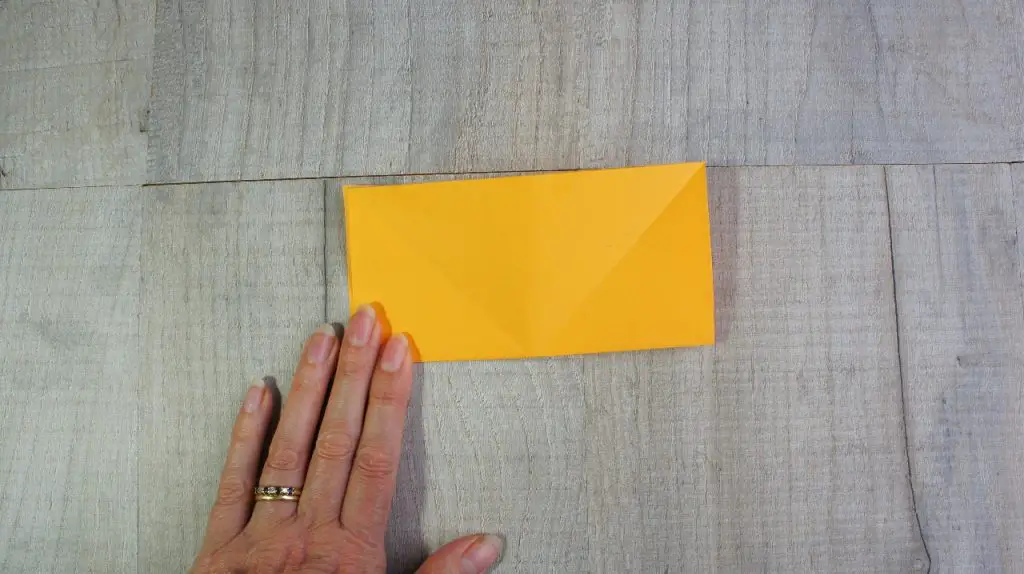
Fold Paper in Half Again
Turn your paper over so that the back of the folds face up. Now fold your square in half again but taking one edge to the other so that the resulting shape is a rectangle. Open it back up again.
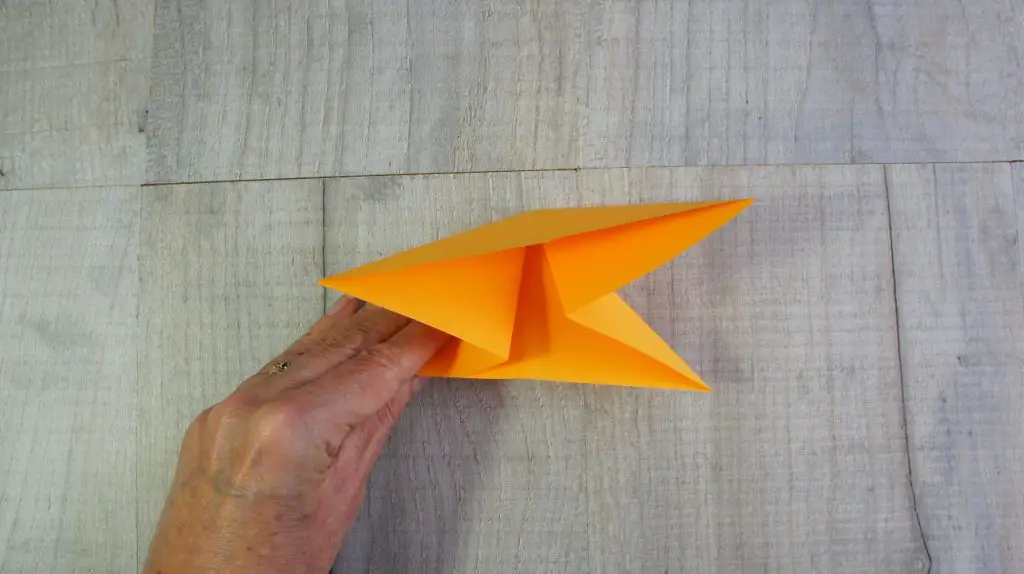
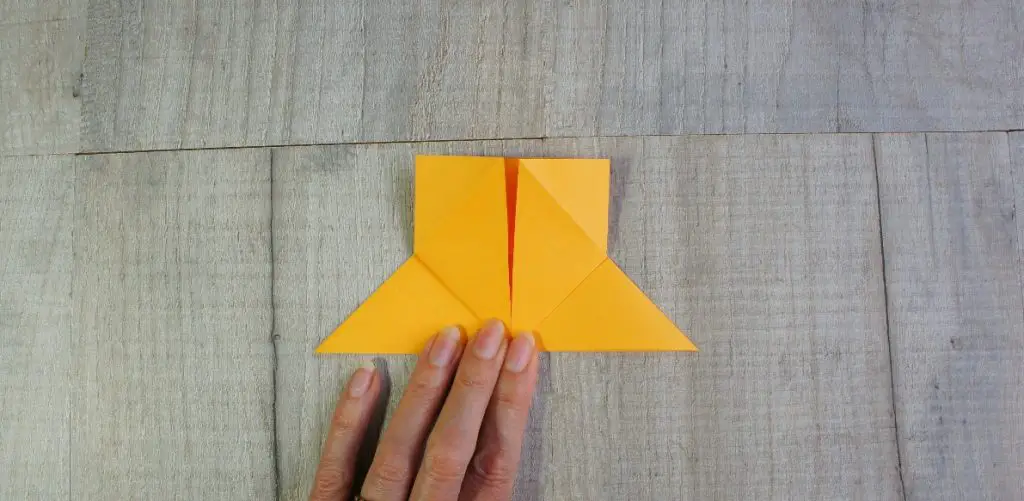
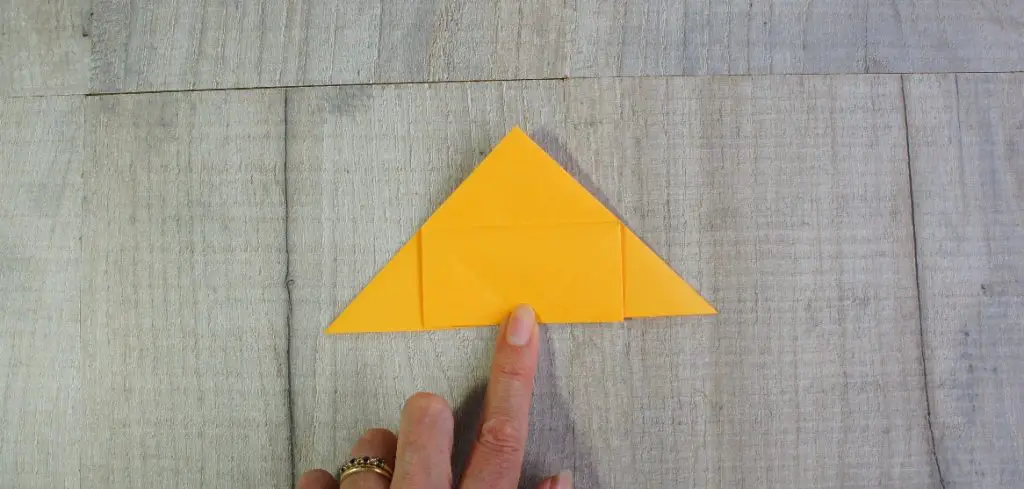
Make a Water Bomb Base
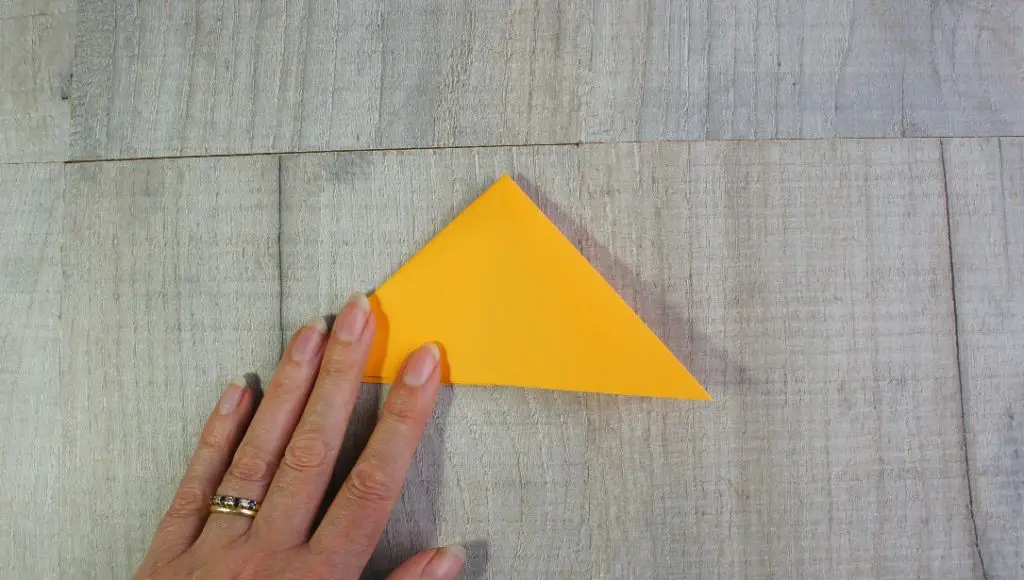
That is the Origami term for what you are about to do. Turn your square over. The fold you just made will make the sides of the square want to fold inwards. Encourage them and use your first diagonal folds to form a triangle. Hopefully the pictures will help you with this.
This triangle is the corner that forms your bookmark.
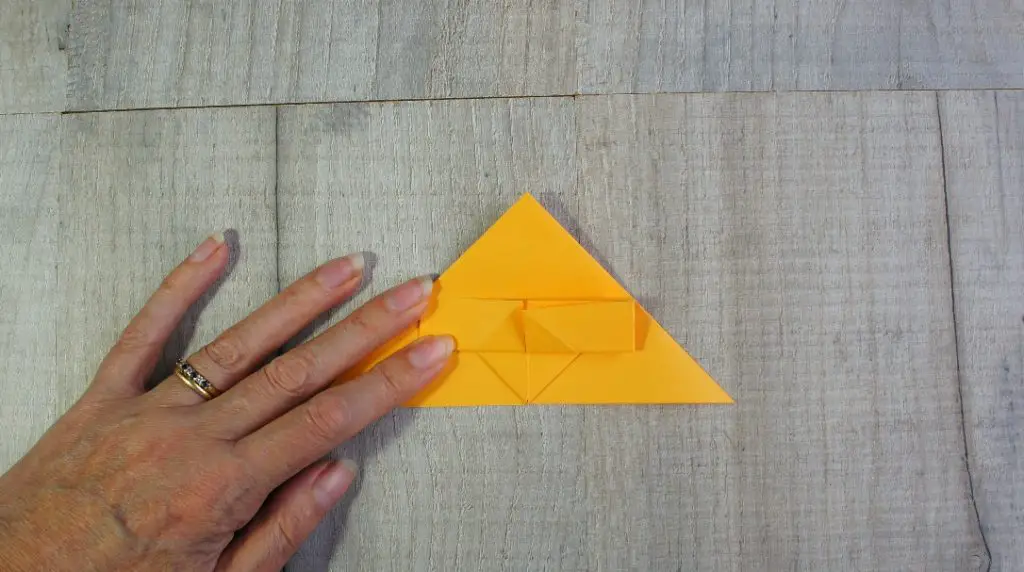
Preparatory Folds
These fold are ones you will make and then open up so that the following steps are possible.
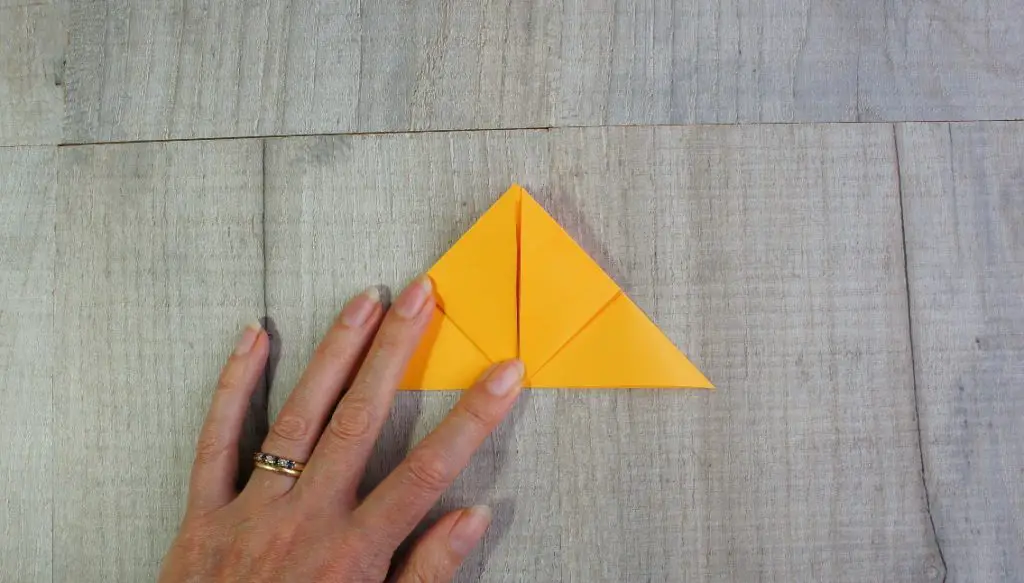
Take the bottom right hand point, just the top one, and fold it up to the point at the top of your triangle.
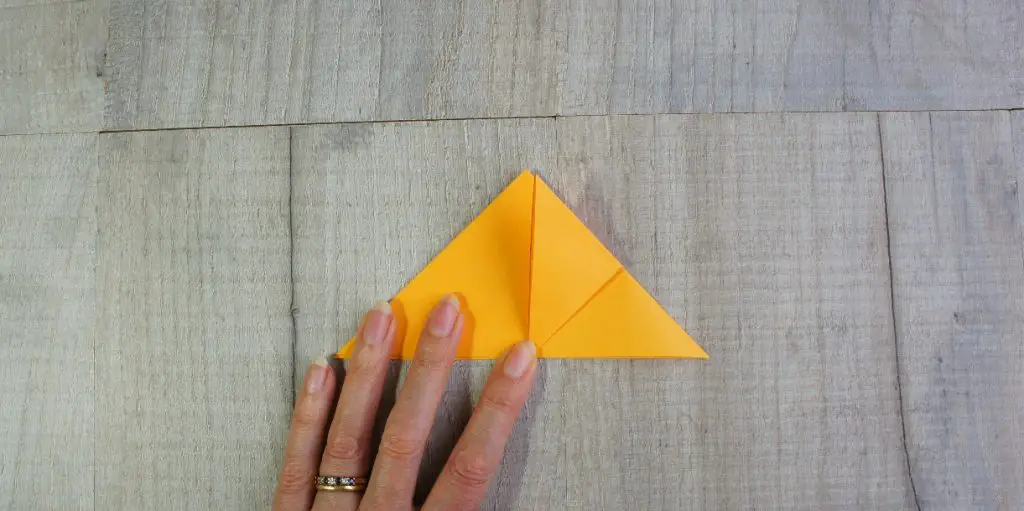
Repeat for the left hand bottom corner and then release them both.
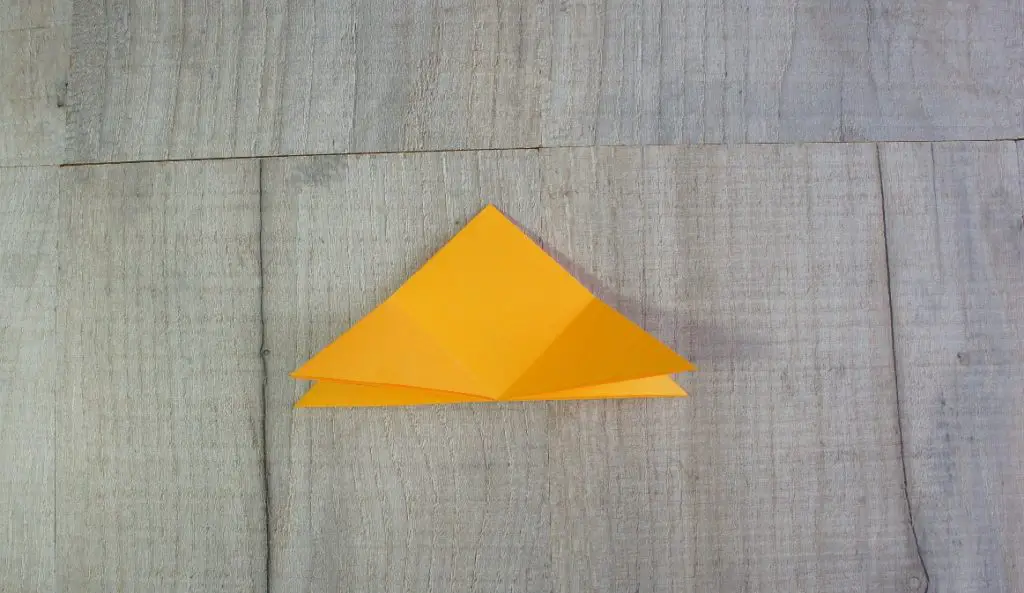
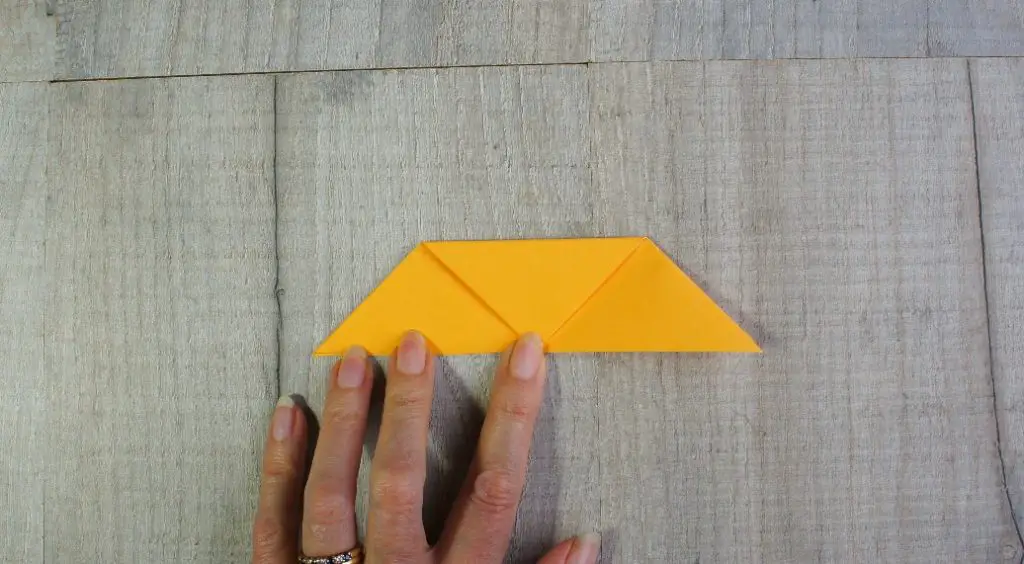
Take the top point and fold it down so that it just touches the bottom of the triangle. Then open it up again.
Make the Heart
Take the top layer of paper at the bottom of the triangle and pull it up to the top of the triangle. It will fold along the horizontal fold that you have already made and it will pull the two points from either side up away from the triangle. This is fine!
In turn pull each point up to the top of the triangle in the centre. If it is tricky poke your finger into the pocket to make it lie flat once you squash it.
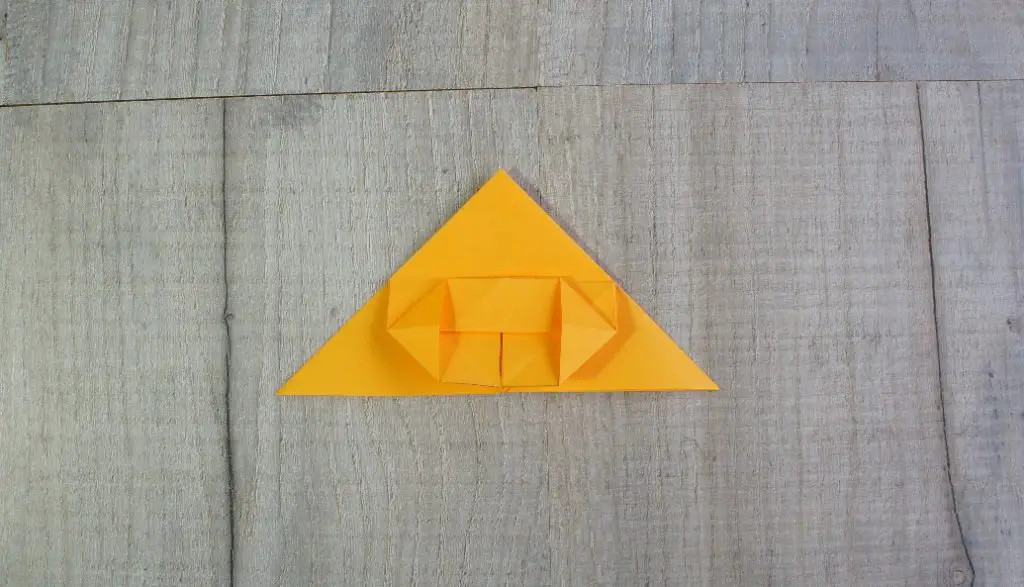
Now fold the whole top section that you just made down to the bottom of the triangle. This will form the rounded top part of your heart.
Fold that top layer that you just folded down back up but only as far as the fold across the centre of the triangle.
You are now going to do another squash fold! Open up that small left hand rectangle fold that you can see. Slide your finger in the pocket and then squash it flat.
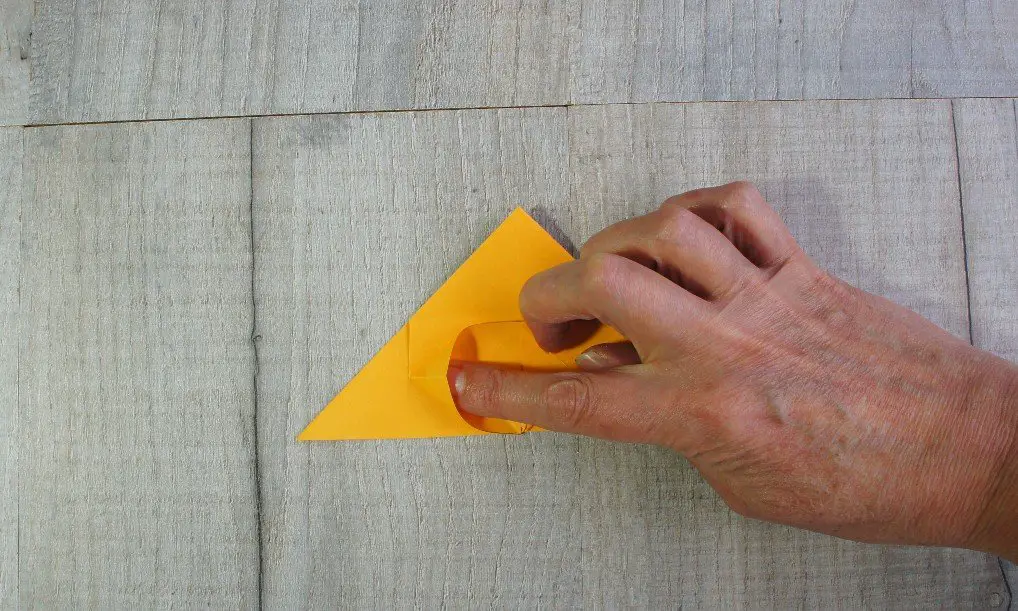
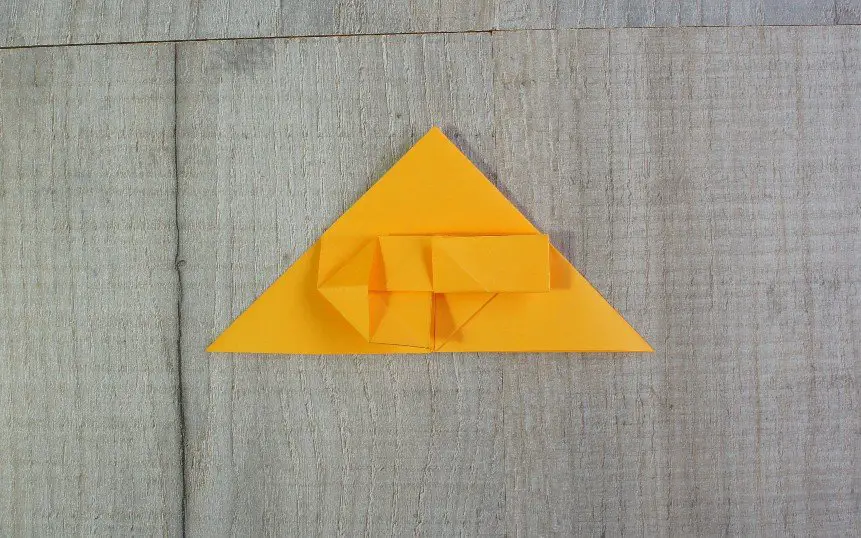
Repeat for the right hand side
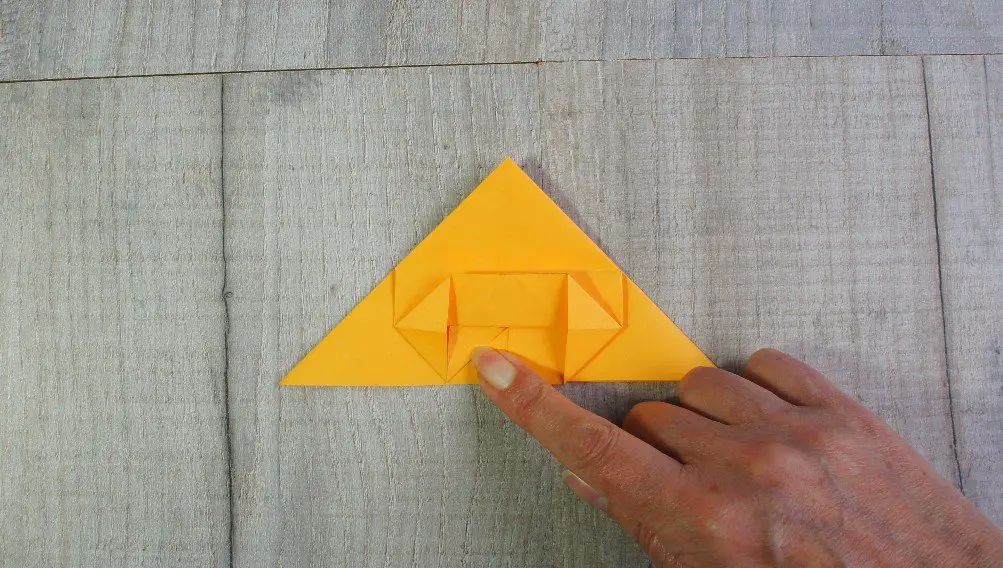
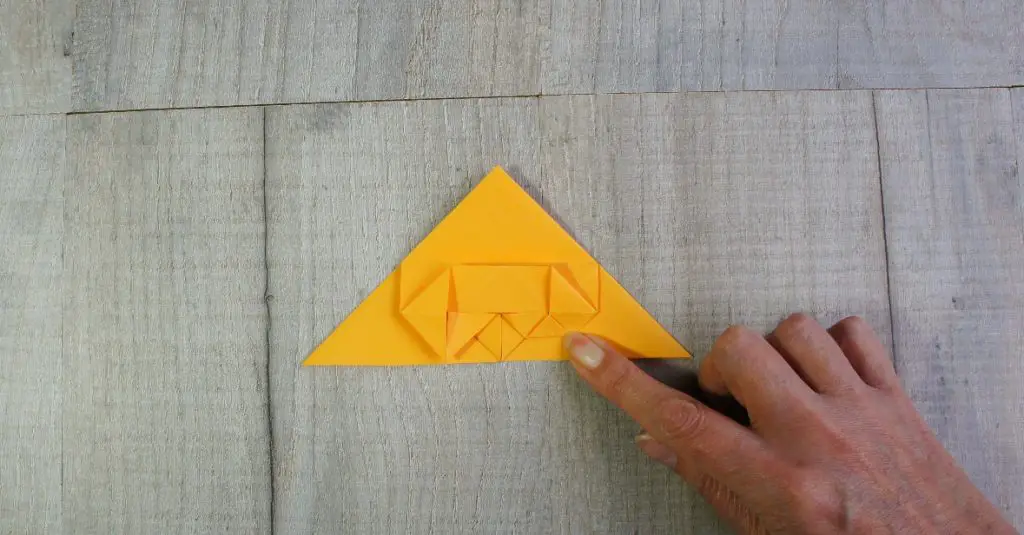
In turn take the small squares at the bottom of the shape and fold them in half so that the points fold out towards the pockets that you just made.
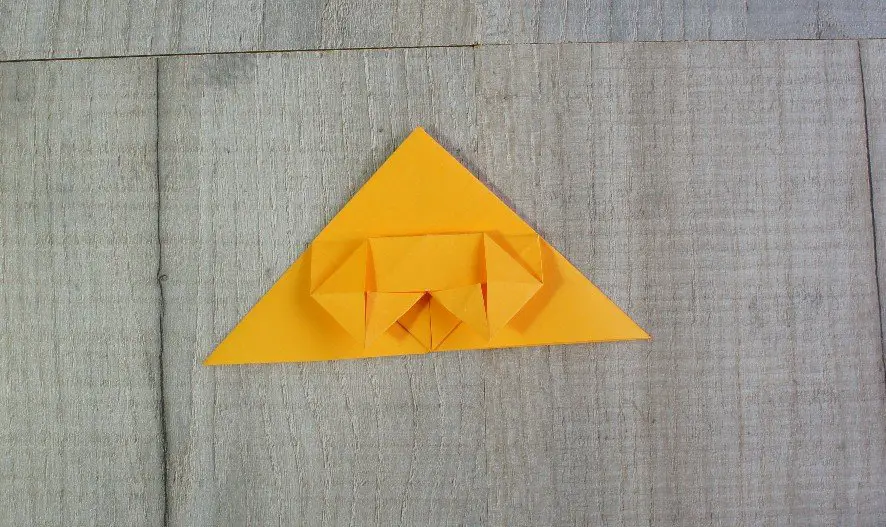
Fold both of the small points that you have just made up to the centre of the overlapped section as shown in this picture.
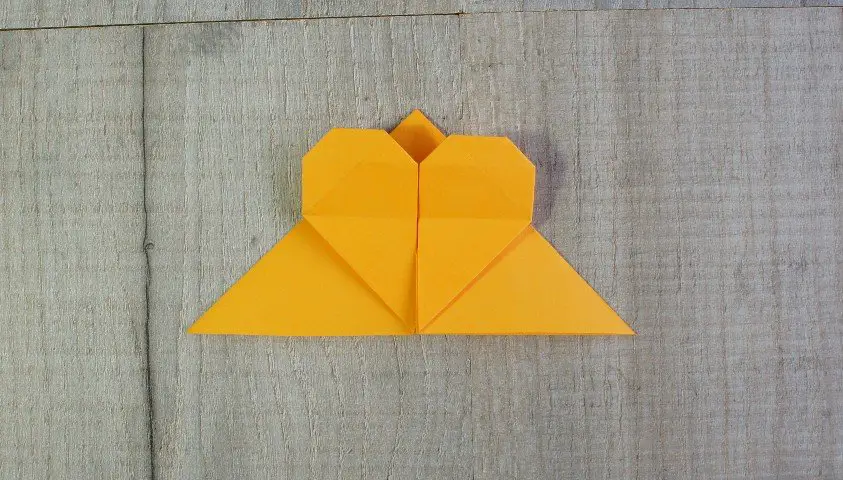
Finally fold the whole top section up to reveal your completed heart and Origami heart corner bookmark.
Summary and Further Crafts
I hope that you have enjoyed making your heart corner bookmark using Origami techniques. You can now use it, gift it or decorate it further.
Let me know your ideas for embellishments in the comments below.
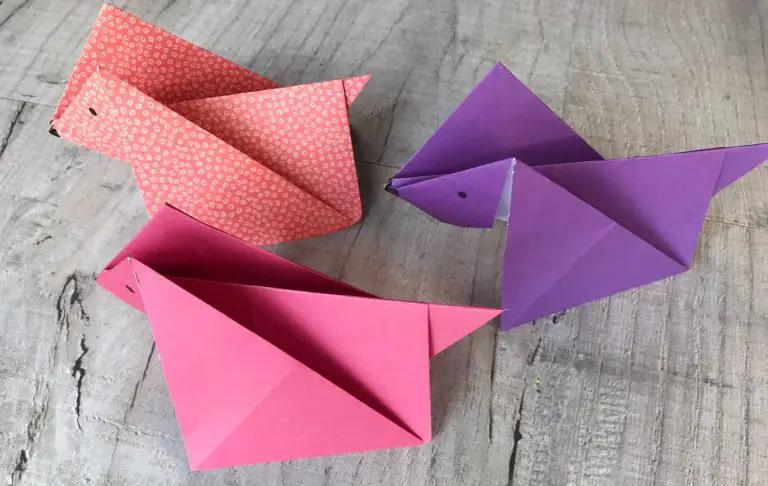
If you enjoy crafting with paper then take a look at some of my other tutorials:
Origami Crane with Flapping Wings
How to make a 5 pointed star – Origami tutorial
Simple Origami Rose
Origami Seed Packets
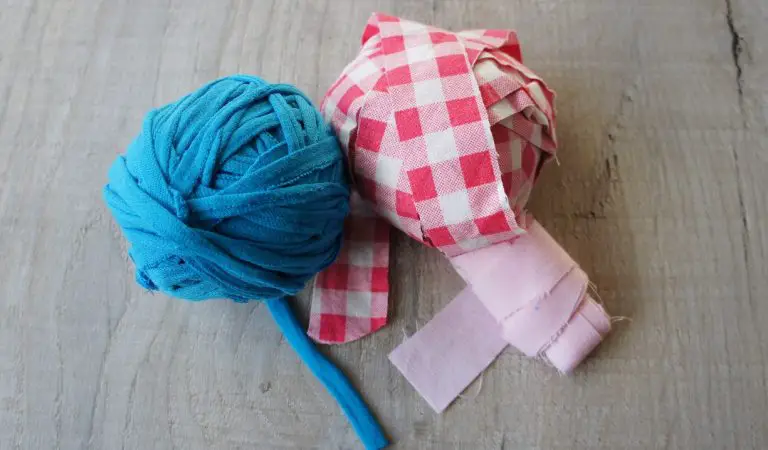
Gorgeous Flowers from old Magazines
Tried and Tested Paper Flower Tutorials