Easter Felt Rabbits – Easy to Make Tutorial
As an Amazon Associate I earn from qualifying purchases
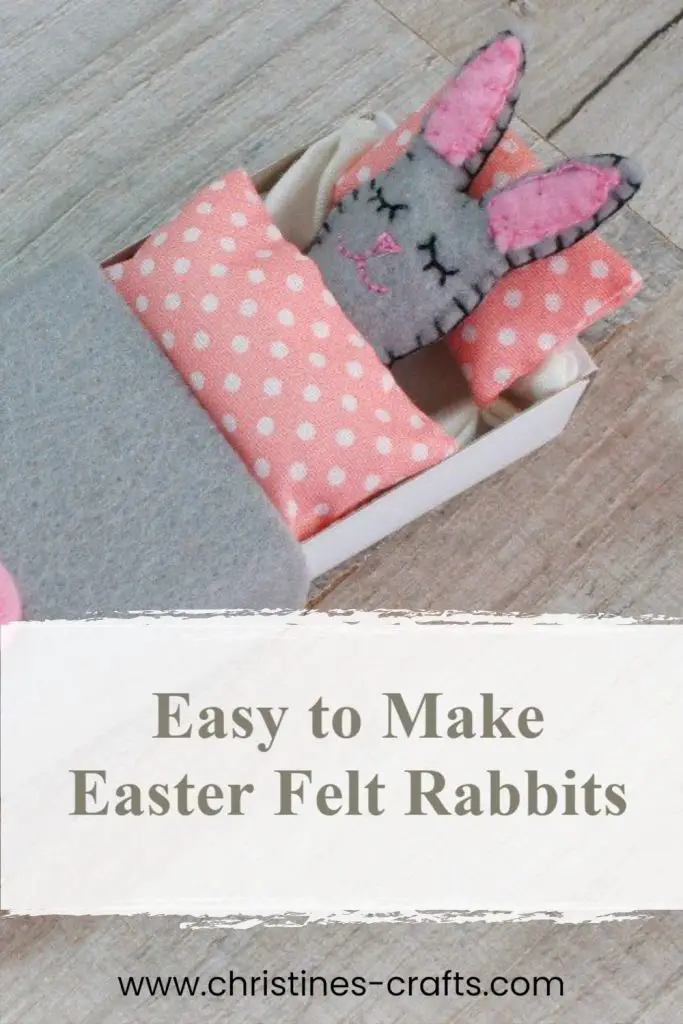
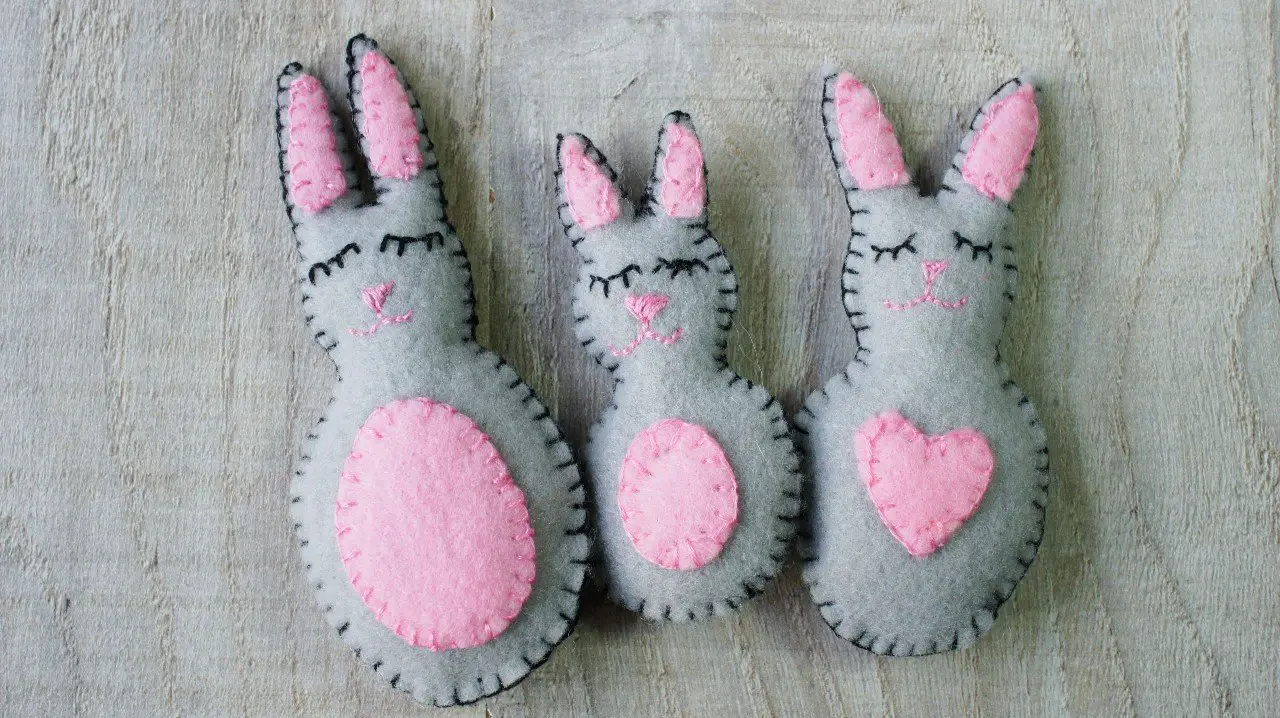
How cute are these Easter felt rabbits? Well, to be honest, they are cute and suitable all year round – no need to wait for Easter! They are really easy to make and they are all hand sewn so no sewing machine needed. You can also get older kids to make them and learn some hand sewing stitches.
The rabbit has become associated with Easter in the same way that many traditions start. They are a combination of old religions and new. The rabbit symbolised new life in old religions that worshipped many gods and goddesses. The Easter Bunny was borne out of folklore and now the story says that the Easter Bunny brings Easter eggs to children.
Another great Easter bunny craft on this channel is Easter bunny ears treat bags. Check them out and gift the cutest gifts this year.
Why not make your own DIY felt rabbit family? This tutorial includes a free felt rabbit pattern. So, let’s get started and make some cute felt rabbits.
If you like to watch a craft tutorial then please scroll down to the bottom of these instructions for a great video!
This page contains affiliate links meaning I earn a small commission if you use those links at no cost to you. I only recommend brands I use and trust.
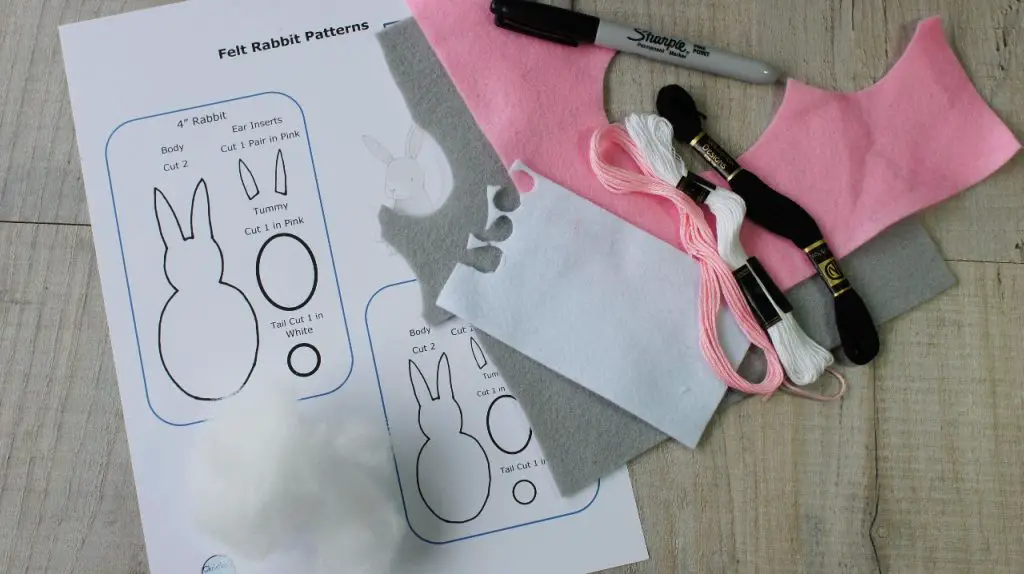
You will need:
Felt in 3 different colours (Amazon suggestion)
Embroidery Thread (Like this from Amazon)
Needle
Toy Filling (really small amount)
Pattern Sheet – available free to download here.
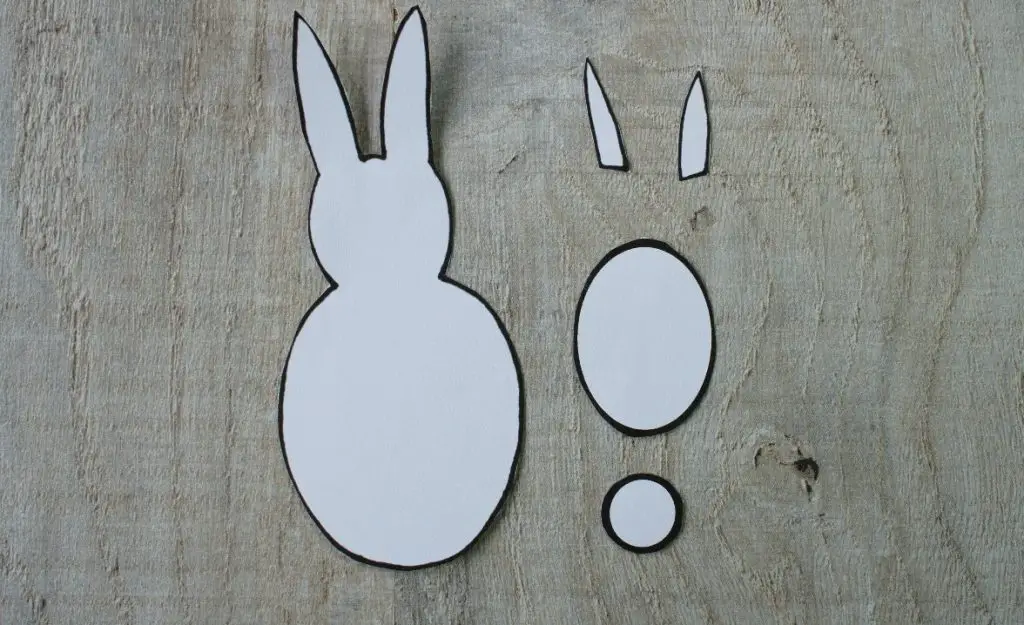
Cut out your Felt Rabbit Pieces
Decide on the size of rabbit that you want. If you want a larger rabbit simply scale up the pattern using your printer or a photocopier. Cut out the paper pieces so that you have them all (one body, tummy, tail and two ears).
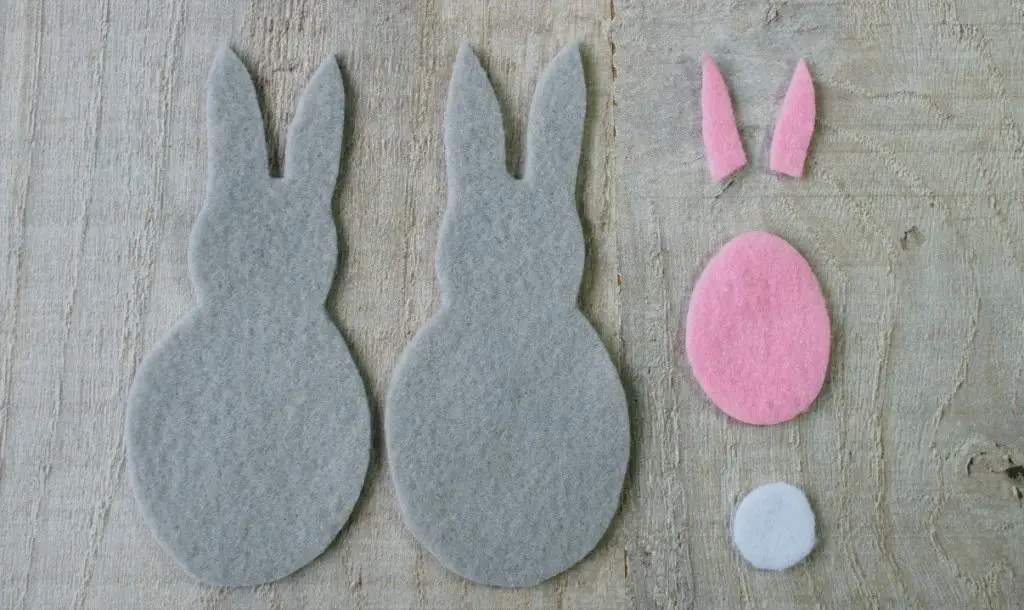
Place the pattern piece on your felt and draw around your pattern pieces. Remember that you need 2 bodies. The colours are up to you!
TIP: Use an air erasing marker or something that will not show up very well later. Then if you do not cut off all the pen it will not show on your rabbit. I have used a permanent marker so that it shows up in the video and tutorial instructions.
Cut out all your pieces!
Give your Rabbit a Face
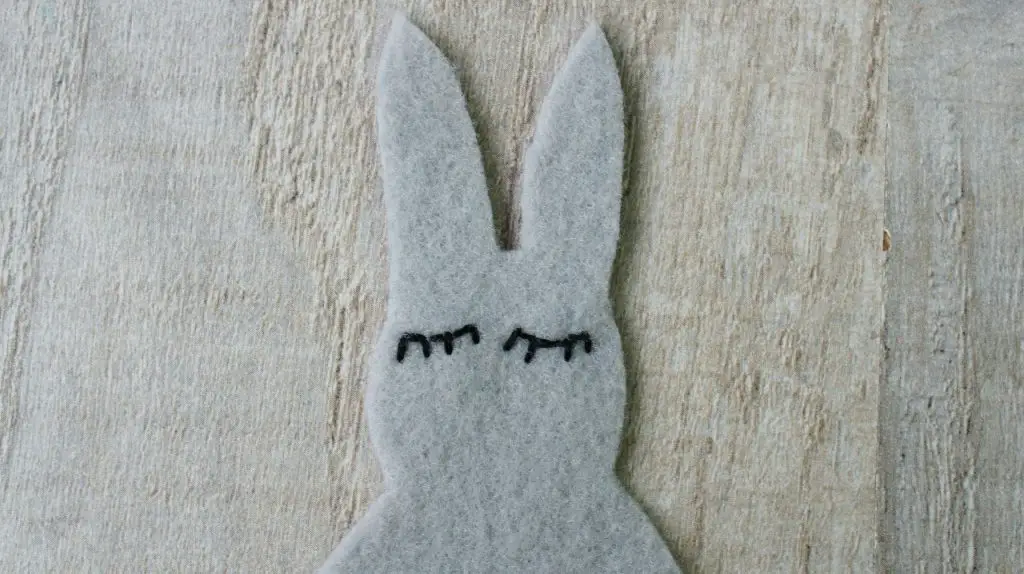
The first task is to give your rabbit a face. Take one of the body pieces and move the others away for the moment. Thread your needle with some black embroidery thread.
On the head of your rabbit sew a few (I used 4) stitches in a small arc to produce an eye.
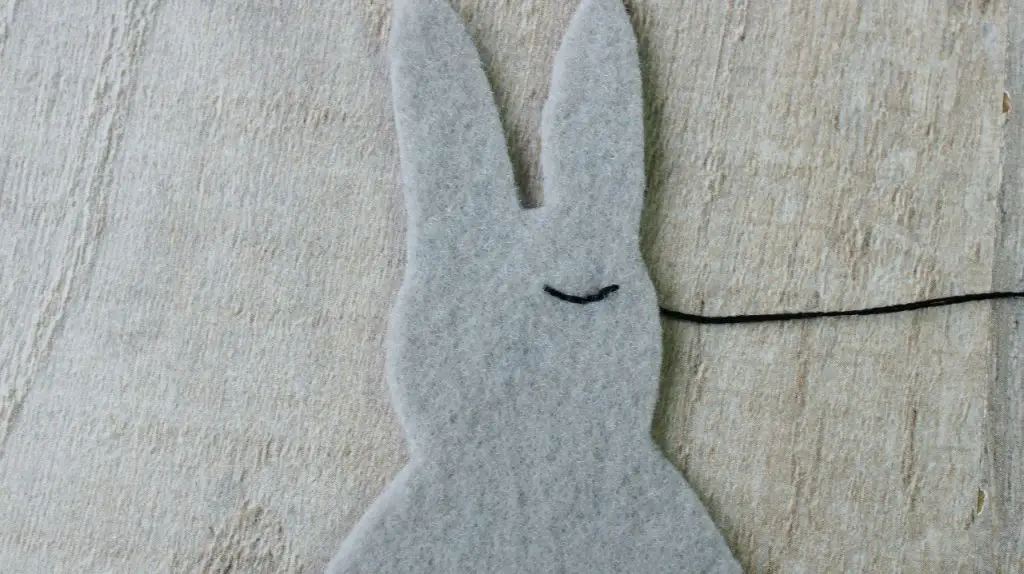
Then add 4 eyelashes using simple straight stitches.

Now repeat for the other eye! Take the thread through to the back of the felt and fasten it off. Do not worry if they are not completely identical, mine never are!
Thread your needle with pink yarn for the nose and mouth (or your chosen colour). Bring the needle through from the back of the felt under the eyes to start the nose. Use small stitches to form a triangle.
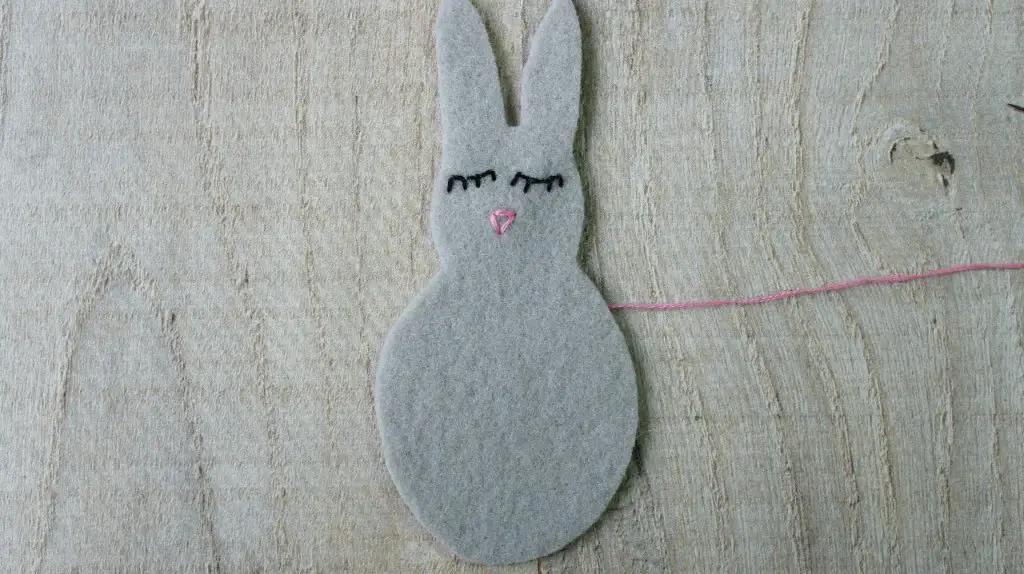
Now work small stitches across the triangle until it is filled in. It is up to you whether you work over your triangle or inside it, whatever you think looks best. I often end up with a few of both types.
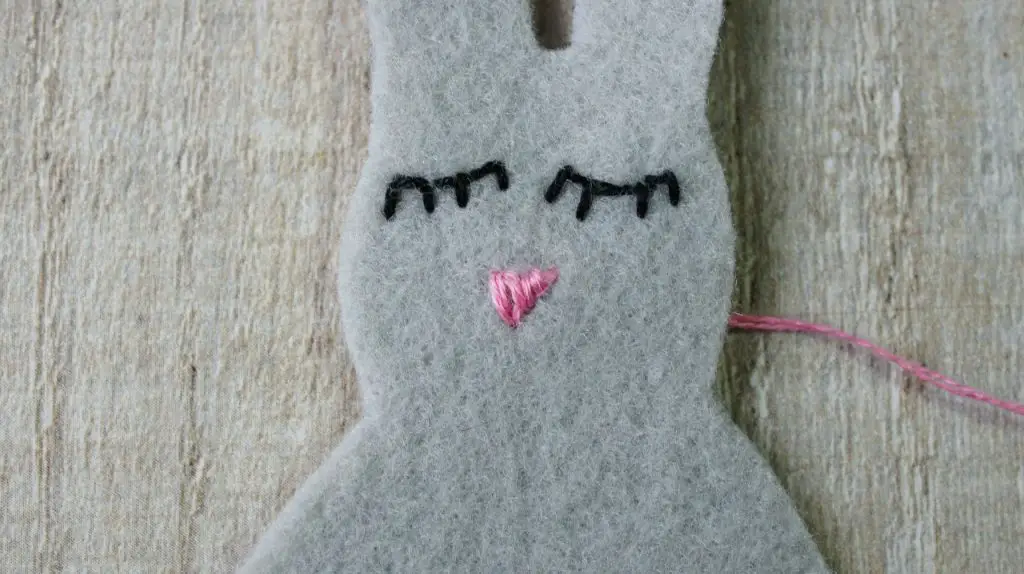
Now add your smile! Simply use small stitches and backstitch to form the mouth into the shape you like. Take the thread to the back of the felt and fasten it off.

Add the Rabbit’s Tummy & Ears
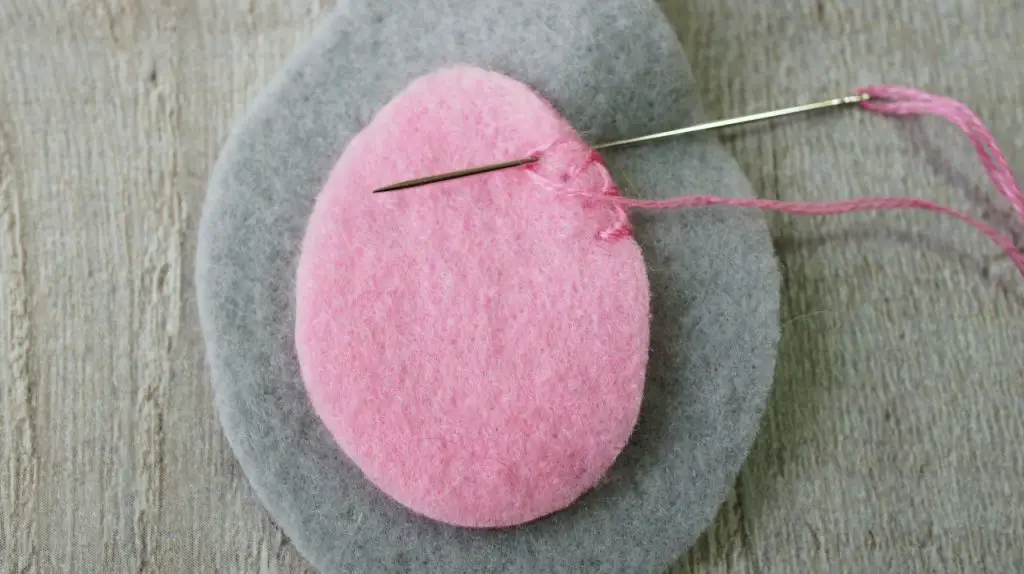
Place the tummy piece onto the body front that you added the face to. Position it centrally so that you are happy with it. Then, fasten down using blanket stitch. Use small stitches and work steadily around the tummy until you have gone all the way around.
You are going to use blanket stitch for the rest of the rabbit so it is worth mastering it. If you need help with blanket stitch then check out the full step by step guide and video.
Now repeat this with the two ears. Place them both on your rabbit to make sure you get the right one on each ear. If you are not happy with them simply cut them down until you are. Once you are happy sew them in place using blanket stitch.
Sew on a Tail (Scut)
Yes, a rabbit’s tail really is called a scut. We have always called them bobtails! Anyway, take the other body piece (the back) and sew your small round tail in place using blanket stitch.

Complete your Rabbit
Now both body pieces are complete it is time to sew them together. You are going to do this with a blanket stitch. You can use a matching or contrasting thread. I recommend starting along one side of the tummy and working up and over the ears first.

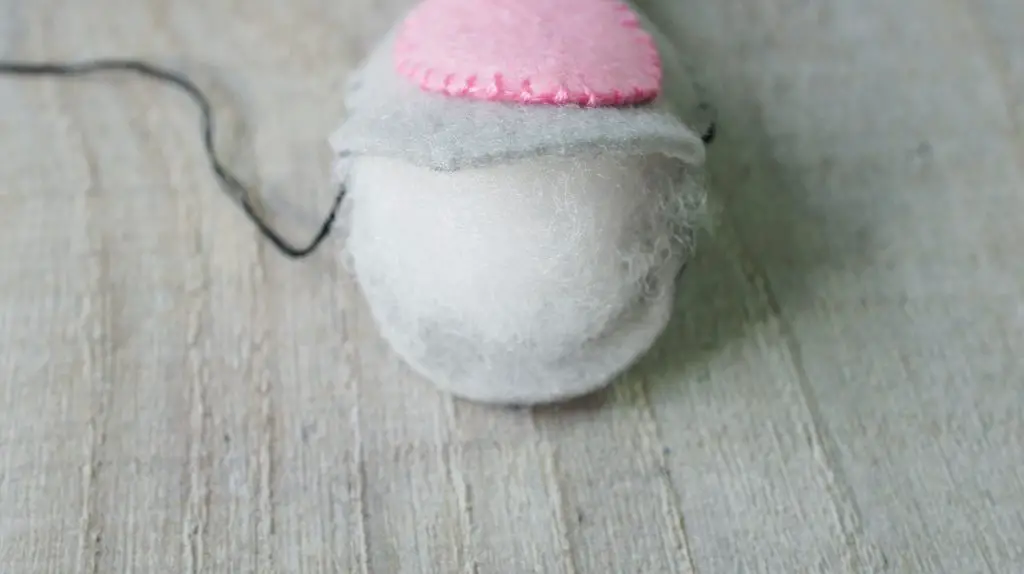
As you work your way around the ears you must add toy filling as you go if you want any in there. I recommend only adding a tiny bit and then completing the sewing around them.
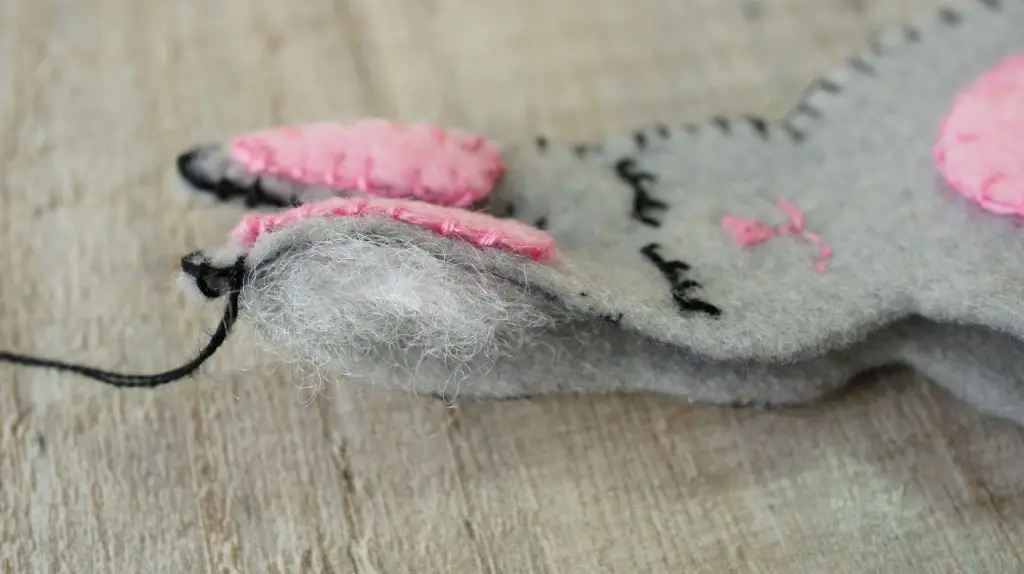
Continue with this approach as you work your way down the head and body. Sew a little way and then add a little filling and continue until you have added as much filling as you want and completed the stitching all the way around.
Fasten off your thread and then you are finished. Now you can make as many as you like and ‘grow’ a whole bunny family!
Summary
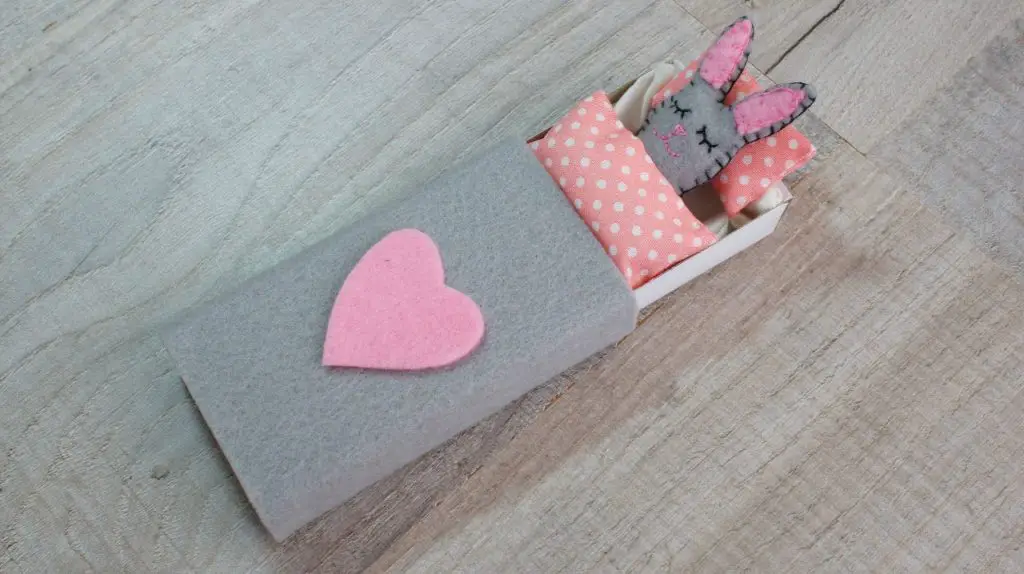
These little felt rabbits are cute just as they are but you can play around with them. You will notice that one of mine has a heart for a tummy rather than an oval.
They are also a great size for living in a large matchbox. I took a large matchbox and covered it in matching felt. Then I made a small sheet, pillow and duvet and immediately I have a little bed and carry case for my rabbit. I think that it is adorable!
You could fasten them up on a string to make a garland or make sure that you do not add too much stuffing and send them out in the post to friends and family as Easter gifts. How about using one as an Easter decoration? Let me know in the comments below any more great ideas that you have.
I have loads of great craft tutorials for you to have a go at. How about:
Easter Chicks made from Pompoms
How to make a Fabric Corner Bookmark
I hope that you feel inspired and make a loads of cute felt rabbits. If you want even more inspiration then check me out on Pinterest where I curate even more great craft ideas.