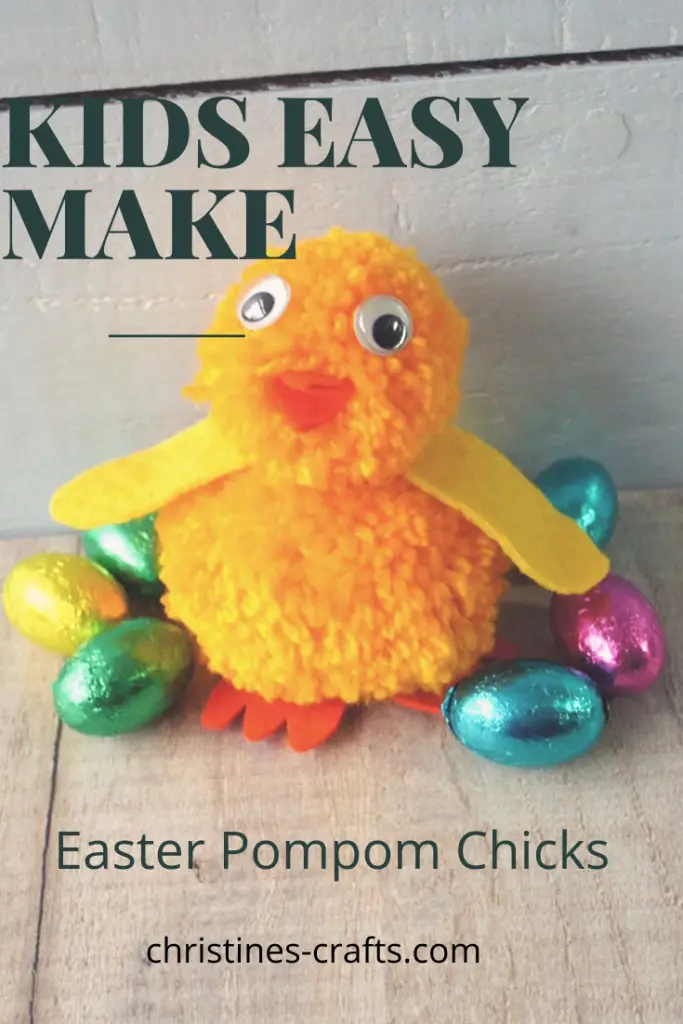
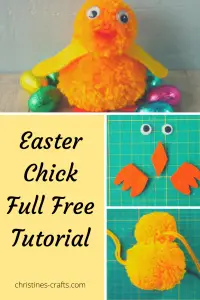
Easter Chick made from Pompoms
As an Amazon Associate I earn from qualifying purchases
Easter is a great time of year and one of the traditional symbols of Easter is the Easter chick. This has come about because of the connection between Easter and eggs. The eggs represent new life and are also associated with the Easter Bunny bringing them. This Easter chick is so easy to make with pompoms and is really cute. He can be used as a gift or a decoration, perhaps with some eggs. It is a great craft for kids to get involved in and they can all personalise theirs with different coloured wings or different eyes, etc
If you want to know how to make the pompoms then take a look at ‘How to make Pompoms using yarn and cardboard‘.
So jump in and get started to make your own Easter chick with his own cheeky personality!
This page contains affiliate links meaning I earn a small commission if you use those links at no cost to you. I only recommend brands I use and trust.
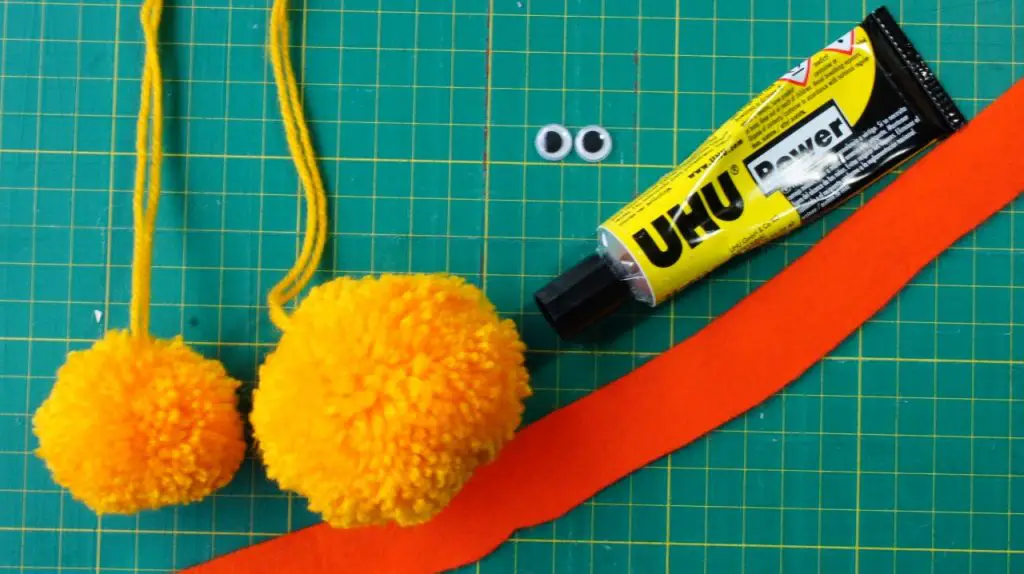
You Will Need:
2 Yellow pompoms of slightly different sizes (mine are 2.5″ and 1.5″ diameter) or (mine are 6.5cm and 4cm) Yellow pompoms are available on line but usually in large quantities of the same size.
2 eyes (or black and white felt)
Orange felt for beak and feet
OPTIONAL – Yellow felt for wings
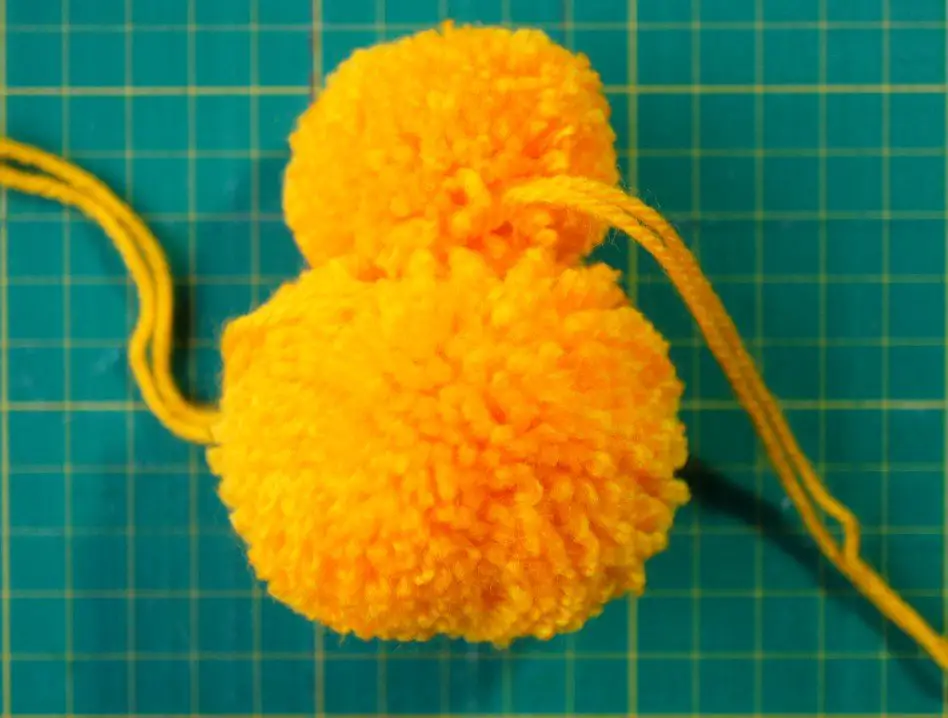
Step 1 – Attaching the pompoms:
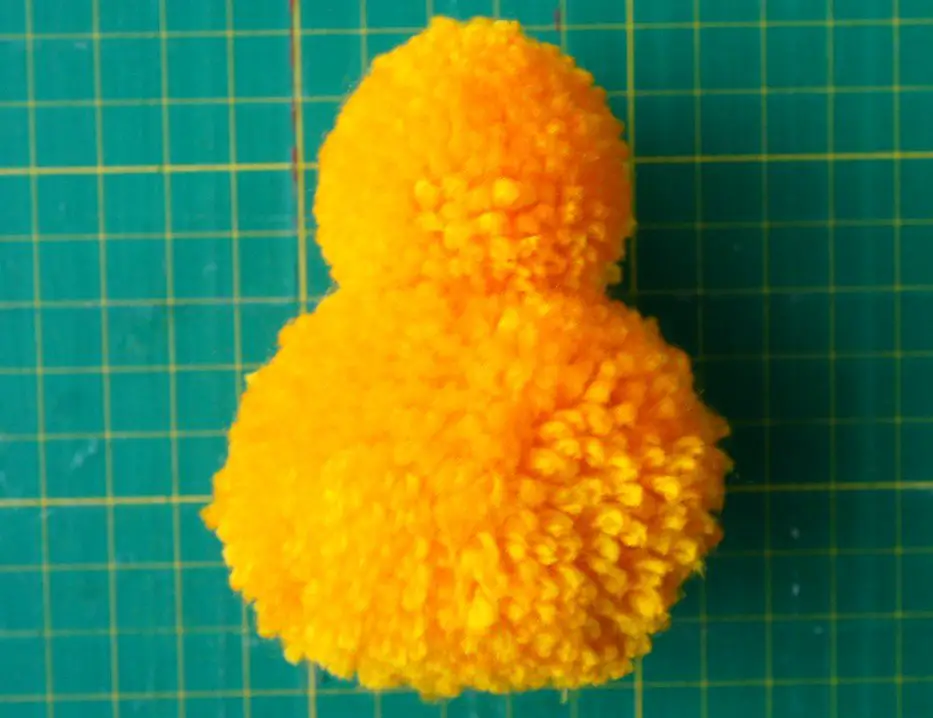
If you have made your own pompoms and kept the long ‘tying off’ length of yarn then you can knot the two pompoms together using those lengths of yarn. That is what I have done. You can then also glue them if you are concerned about the knots holding. Trim the remaining lengths of yarn to match the pompoms.
If you already have pompoms then simply glue them together.
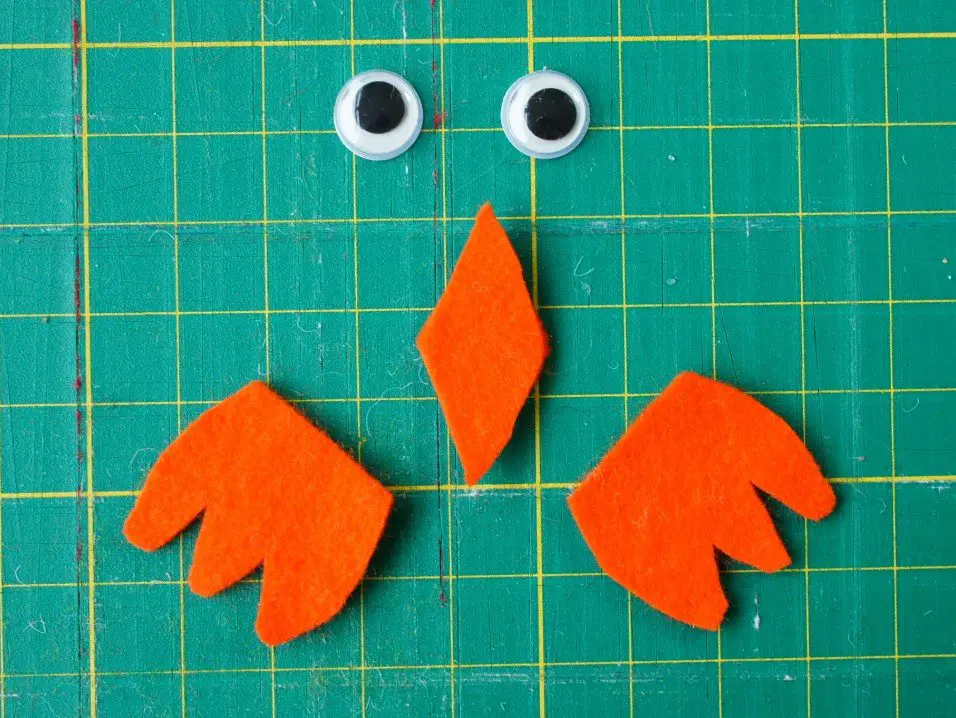
Step 2 – Eyes and Feet
Next your chick needs some eyes, a beak and some feet. If you have some googly eyes they are great but if not simply cut out some white discs and smaller black discs from felt. Attach the black discs to the centre of the white ones and you now have eyes.
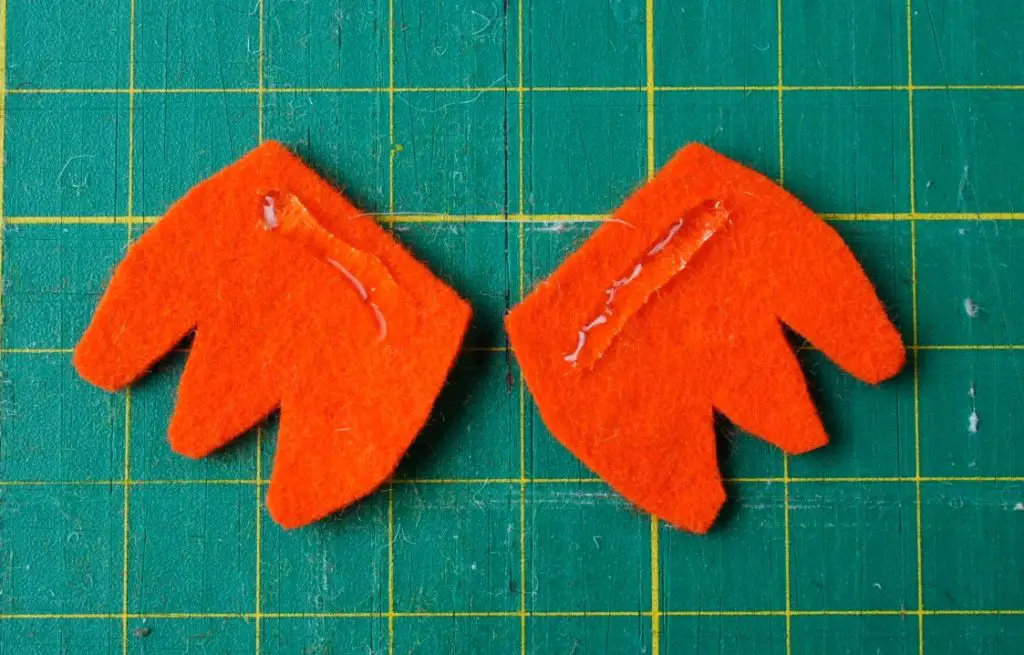
From the orange felt you need to cut a diamond shape for the beak and two feet. Experiment with the size of beak and feet you like. They just have to look right on your chick.
Now glue the feet to the base of the larger pompom.
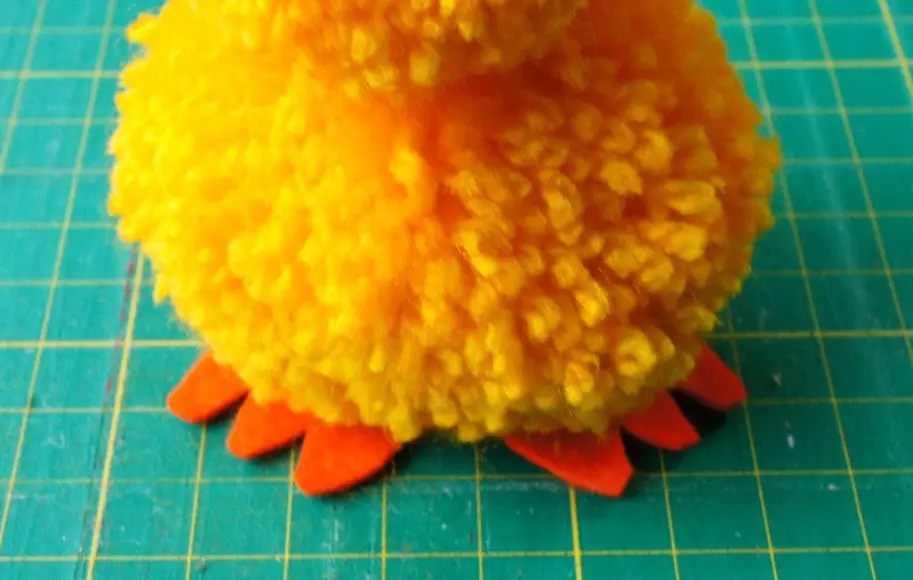
Glue on the eyes and beak so that you get the expression you want. I glued the eyes on first. Then fold the diamond for the beak in half and glue along the fold. Push it into the smaller pompom to suit the eyes.

You now have a completed chick unless you want to add wings.
Step 3 – Adding the Wings
If you would like your chick to have wings then simply cut 2 wings as shown in the picture from the yellow felt. To get identical wings simply fold the felt in half and cut them both out at the same time. Just have a go and try them against your chick. You can keep cutting them down until they are the right size.

Glue the straight end of the wing into the gap between the head and body pompoms on the side of the chick. Repeat for the other side.
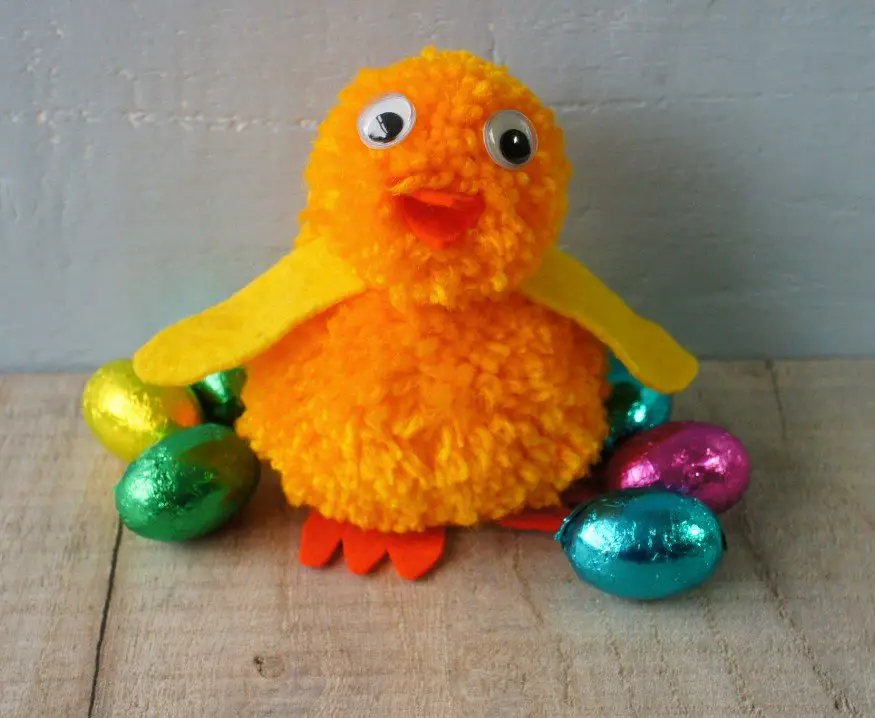
You have now completed your chick!
These are so easy to make and if you already have the pompoms then they are really quick to make. They are therefore great for a kids group to make. Everyone gets one to take home.
So be inspired and prepare for Easter!
If you love crafting check out some of my other tutorials:
Make your own fabric greeting cards
8 Spooky and Fun Halloween Crafts for Kids
You can follow me on social media for even more inspiration using the icons. Remember to pin this tutorial for later on Pinterest!