How to Make Your Own Abstract Geometric Art
As an Amazon Associate I earn from qualifying purchases
Geometric art can be very striking and it looks contemporary in any setting. However it can be very expensive to purchase so what about making your own. At this point I must point out that I am not an artist and I am just going to show you what I did to make some art and how easy it is. I am not suggesting that my work would meet critical acclaim!
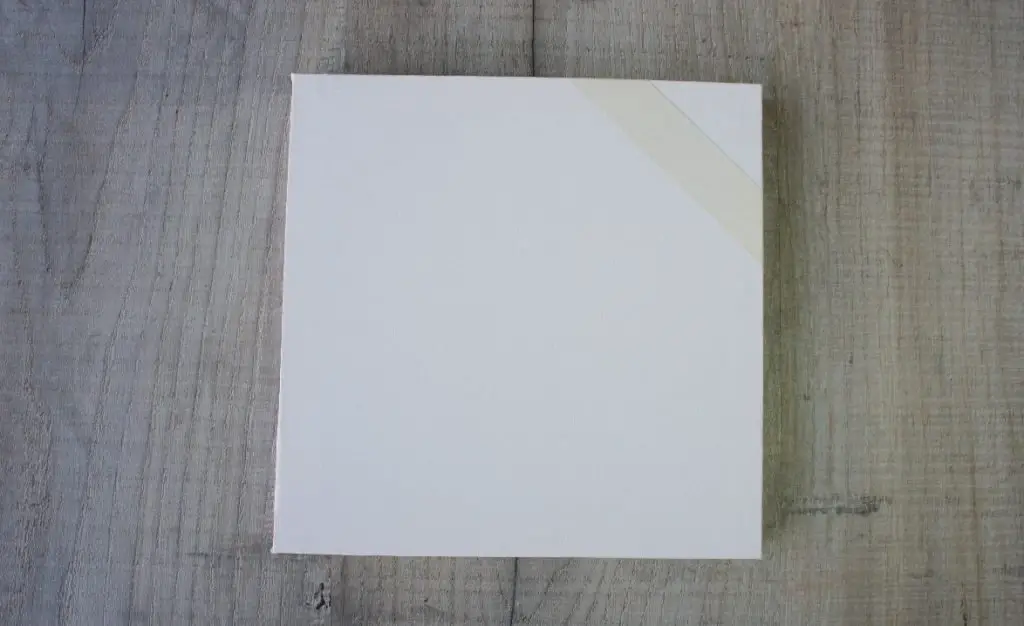
In this tutorial I am making a small piece of art on a canvas that is 8 inches square. The technique will work on any size canvas and you could easily and cheaply make several that work together.
If you are interested in a more fluid style of painting then perhaps you should try acrylic pour painting. It is so much fun but rather messy! You can learn all about how I got on acrylic pour painting and watch me do my art here.
What is Abstract Geometric Art?
Well, abstract art is art that exists quite independently from the real world. It may or may not represent the real world but it will be made up from shape, form, colour and lines.
Geometric art is art made up from geometric shapes. Think about your days in the Mathematics classroom. It can consist of lines, circles, polygons, etc. If it is a mathematical shape then it can be included in geometric art. Some geometric art utilises repetition but much of it does not.
I am no expert in any art field but this is how I understand it. I welcome your contributions below in the comments section.
The main question to ask yourself is do you like it? If so, then that is all that matters!
This page contains affiliate links meaning I earn a small commission if you use those links at no cost to you. I only recommend brands I use and trust.
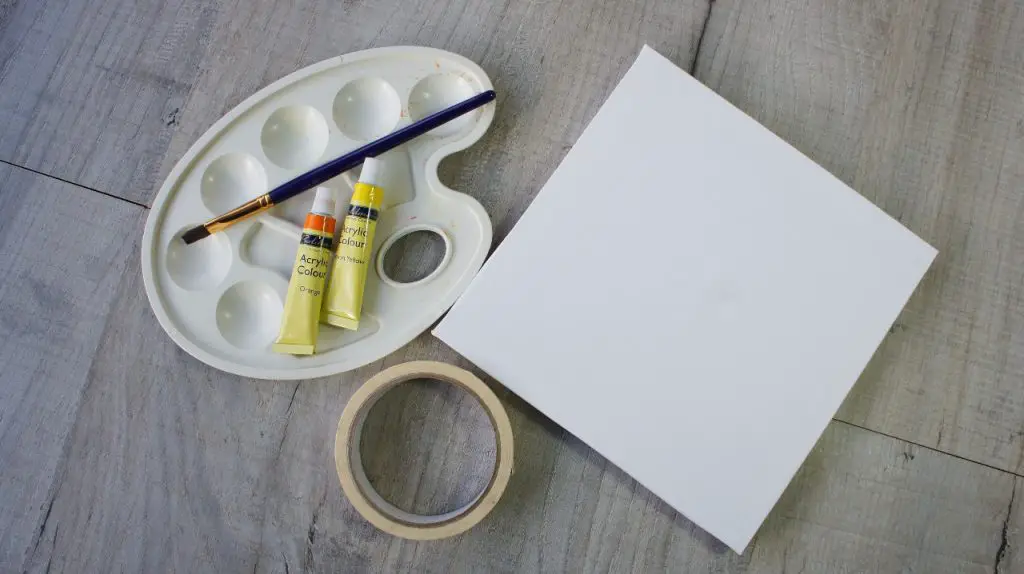
What do you need?
Canvas (available from Amazon) The size is up to you.
Acrylic Paint (available from Amazon)
Masking (decorators) tape (available from Amazon)
Paintbrush
If you prefer a video tutorial then scroll down to the bottom of this one and watch my video of geometric art.
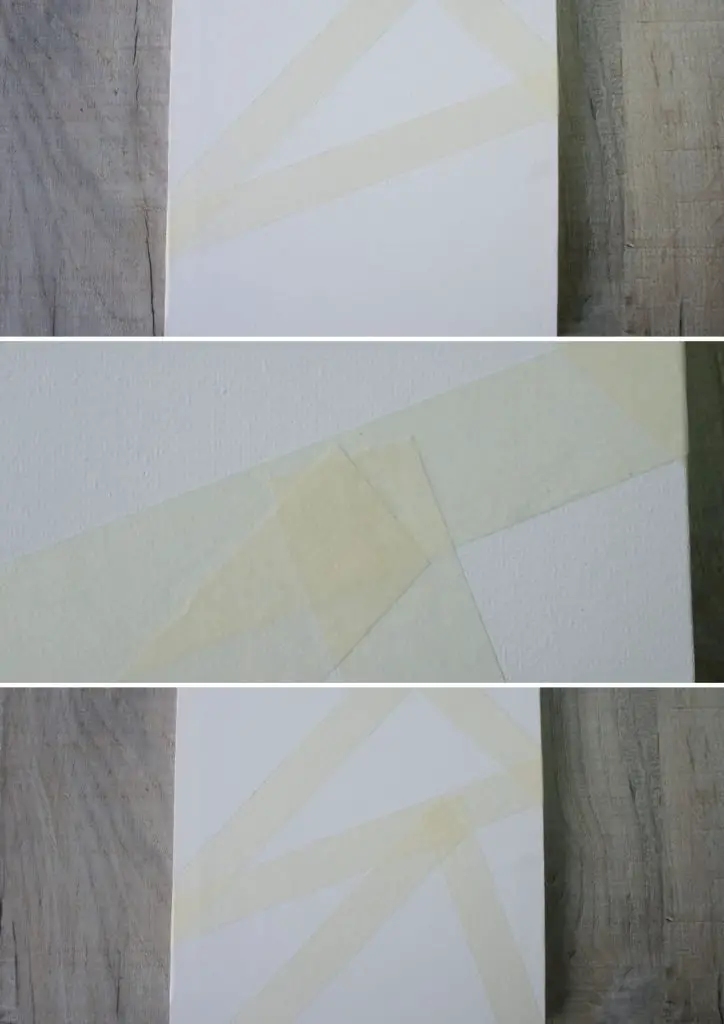
Tape up the Canvas
The first step is to decide on your design. You could just make it up as you go along or you could find a design online that you would like to do something similar to.
Then start applying tape to the areas that will remain white. Decide on your first position and then cut a length of tape that will reach across the canvas and wrap around to the back. Place the tape in position and then wrap it carefully around the back
IMPORTANT: Make sure that you press the tape firmly down and that the edges are smooth so that no paint can get under the tape. Take extra care on the corners to avoid any wrinkles.
Repeat this process for all the lengths of tape that you want to use.
It is worth taking a bit of time to decide what order the tapes should be applied. For example if one does not reach all the way to the edge of the canvas then the one it goes to needs to be in place first.
Paint the Canvas
I used acrylic paint on my canvas and it is great paint to use. I have not tried other types of paint so I cannot comment on them. The acrylic paint covered well and is quite thick so it was not running under my tape edges.
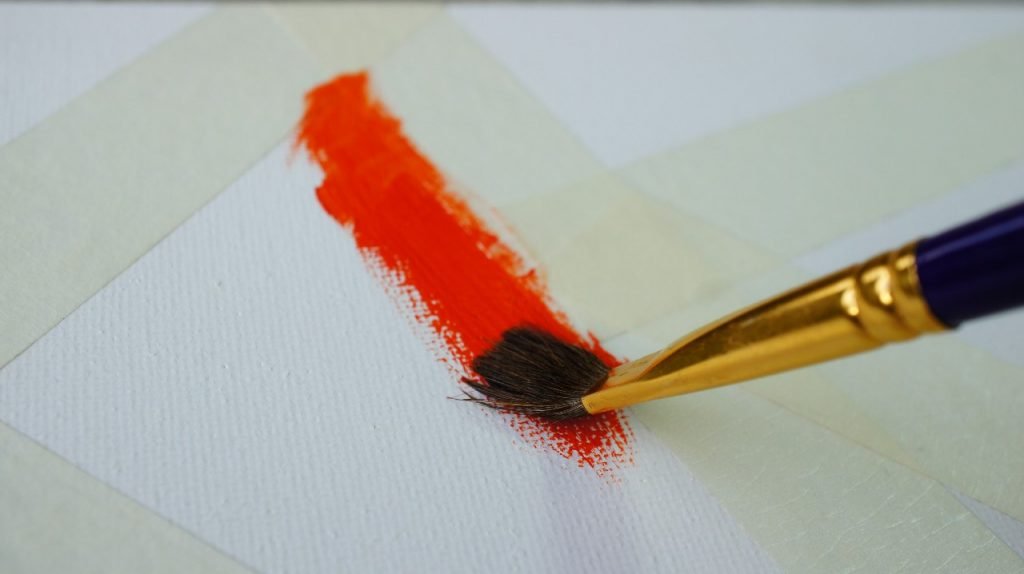
Try and paint along the tape edges rather than up to them. This should help to avoid the paint bleeding under the tape. Work systematically covering each area in an order that works for you.
I have used all one colour but there is nothing stopping you using as many colours as you like. This is your masterpiece!
Continue the colour around the sides of the canvas as they will be on display too.
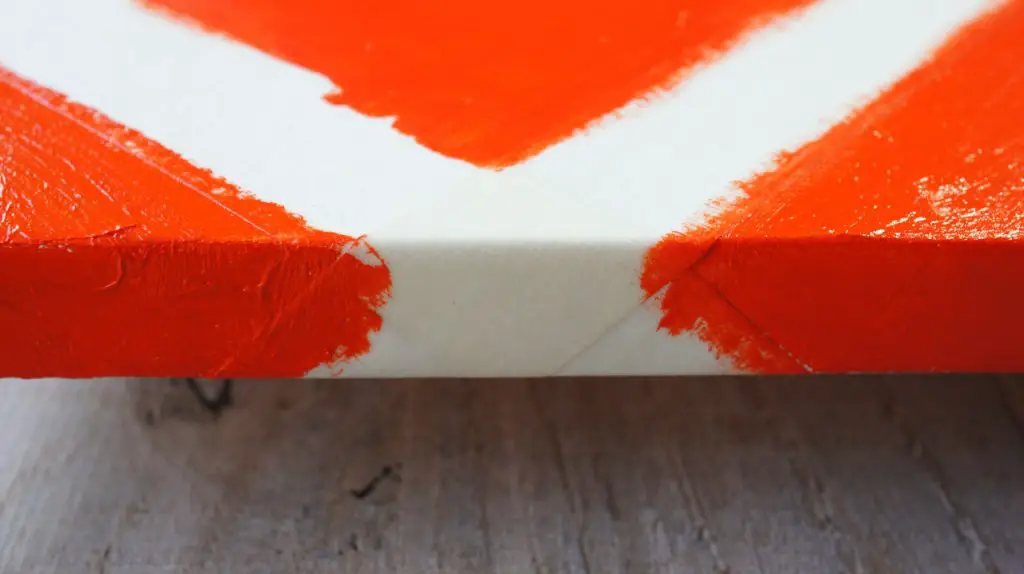
You will see that I have placed my canvas on some small boxes to raise it up. This allows you to paint all the way to the back of the canvas and not paint your workbench.
Once you have covered all the areas to your satisfaction leave it to dry and clean up your brush.
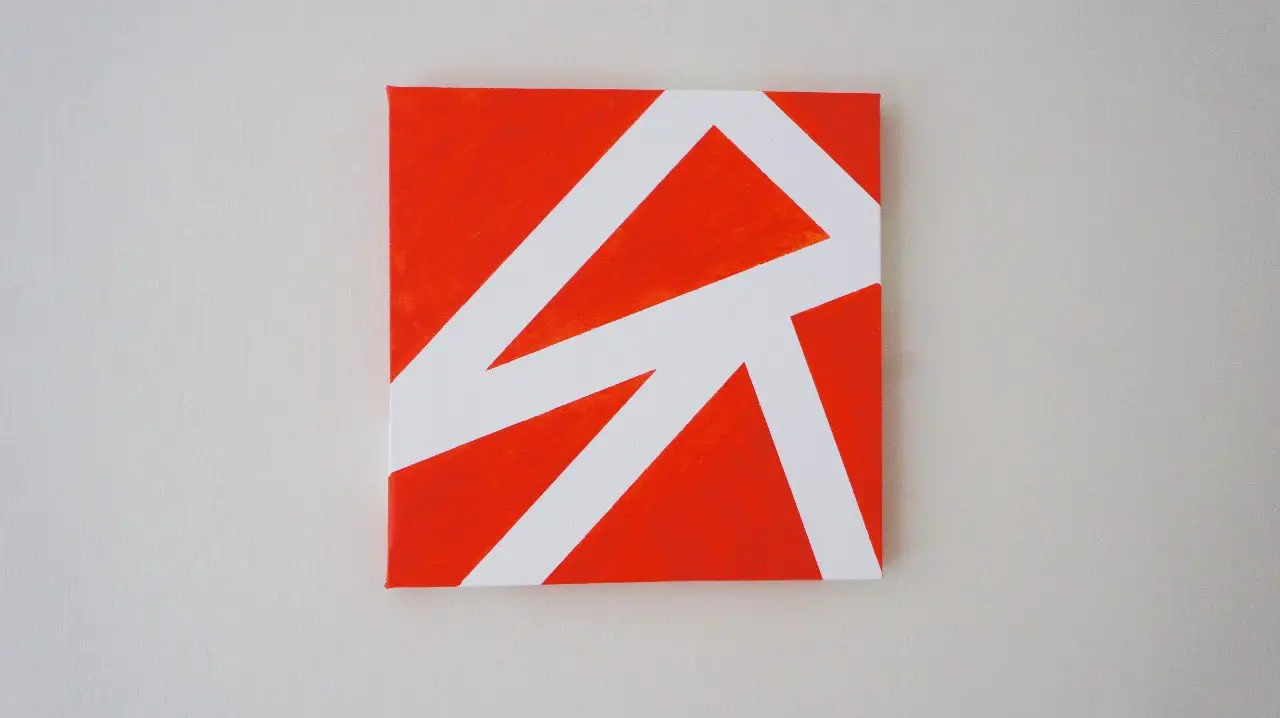
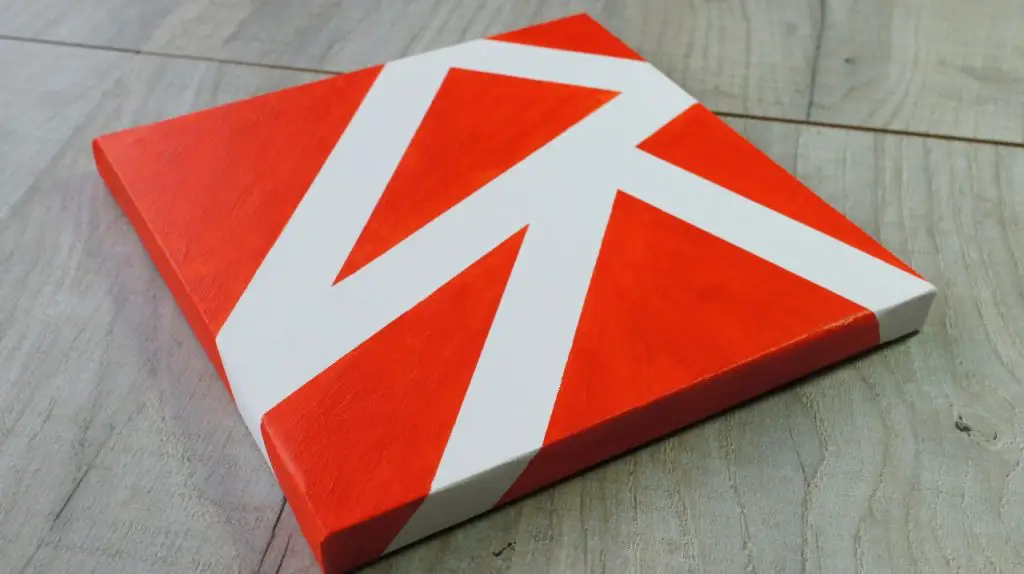
Finally – Geometric Art
Once the paint is completely dry it is time to remove the tape. Carefully peel each length away from the canvas making sure that you do them in the right order. Remember that some are overlapping!
You should now have a piece of art ready to hang on your wall!
Well done on completing your art and I hope that you will enjoy it for many years. You may want to think about varnishing it but I have not varnished mine so I am afraid that I cannot offer you any advice there.
I made another picture in blue that you can see in the video below if you like to watch tutorials. Notice that the paint was thinner and I did not take enough care on getting the tape edges down. This shows in the finished piece!
If you like making your own home decor then take a look at some of my other tutorials:
Diamond Painting – An Introduction
All about Painting By Numbers for Adults
Please comment below to let me know what you think of this tutorial and how you get on producing your own geometric art.