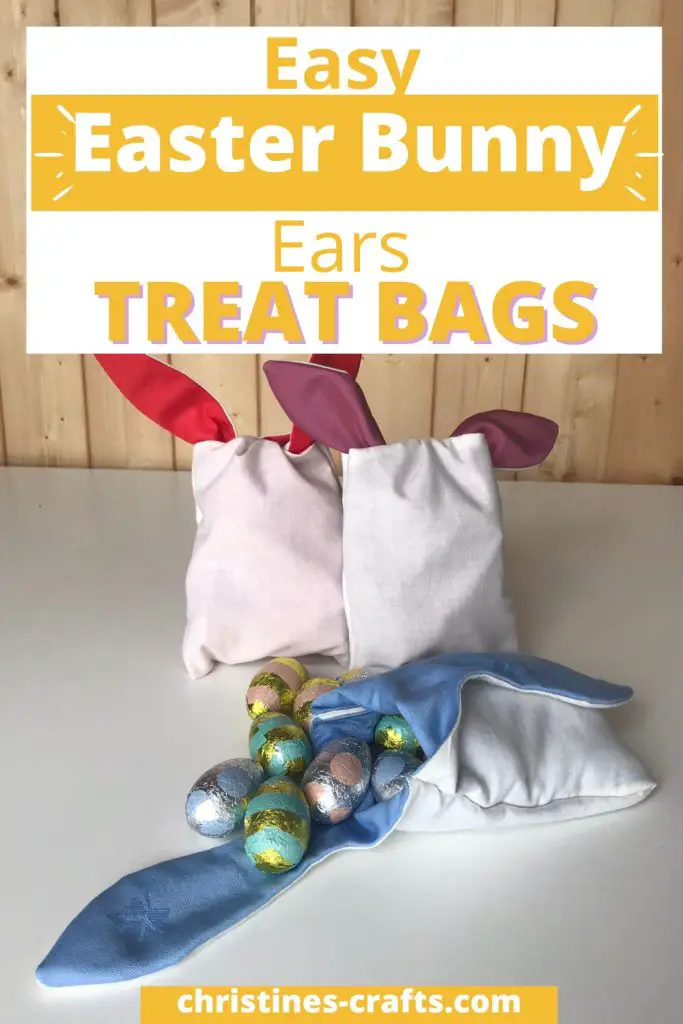
Adorable Easter Treat Bags with Bunny Ears – Easy to Sew
As an Amazon Associate I earn from qualifying purchases
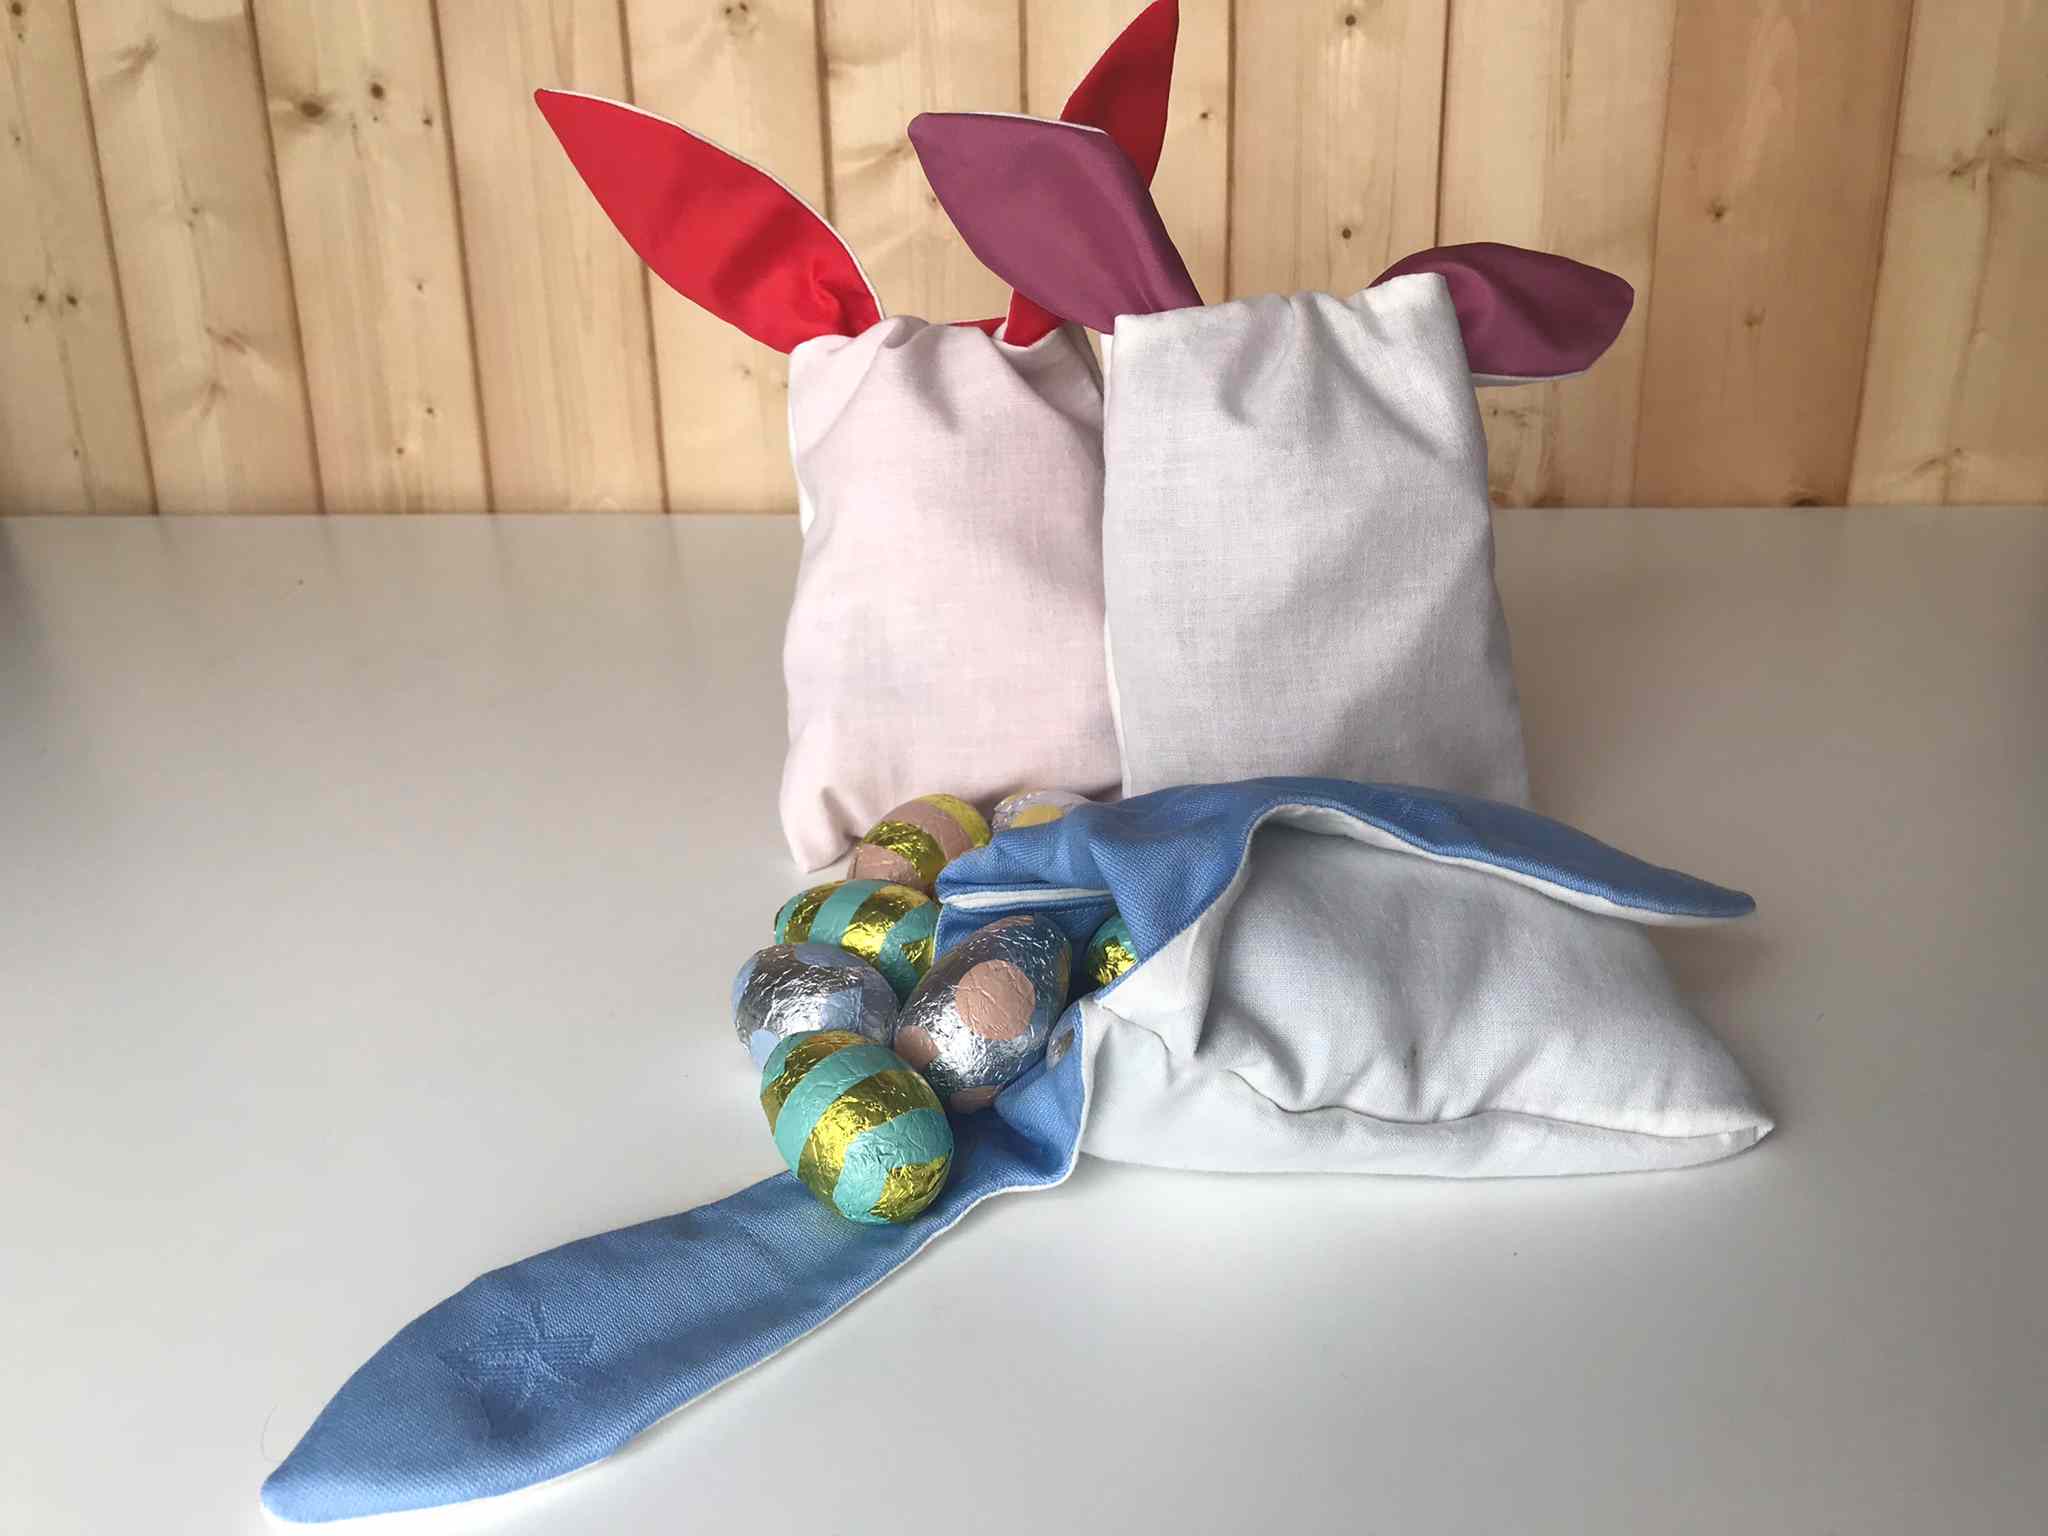
These adorable Easter bunny treat bags are just what you are looking for this year. These Easter bags are just so cute and they are really easy to sew. So, if you create Easter goodie bags each year think about making your bags really special this year (with bunny ears).
DIY Easter gifts are always special and you could use these bags for any treats, chocolate eggs, puzzles, small books, etc. You could even make a larger version if you have larger gifts, simply scale it up.
So, let’s get started on your Easter gift bags.
You will need:
- Main fabric piece 26″ by 7″(or 2 pieces 13″ by 7″)
- Lining Fabric pieces as for main fabric
- Sewing Equipment
- Pattern (available free here)
Video Tutorial for Bunny Ears Treat Bags
This video is also available on my YouTube channel.
Prepare your fabric
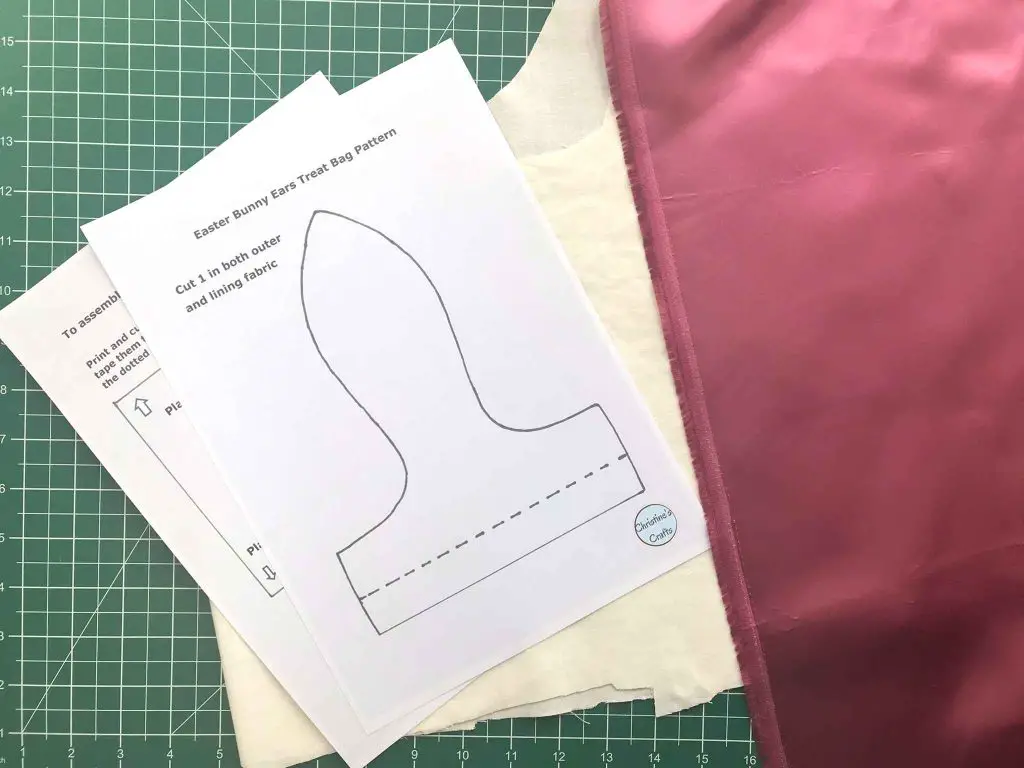
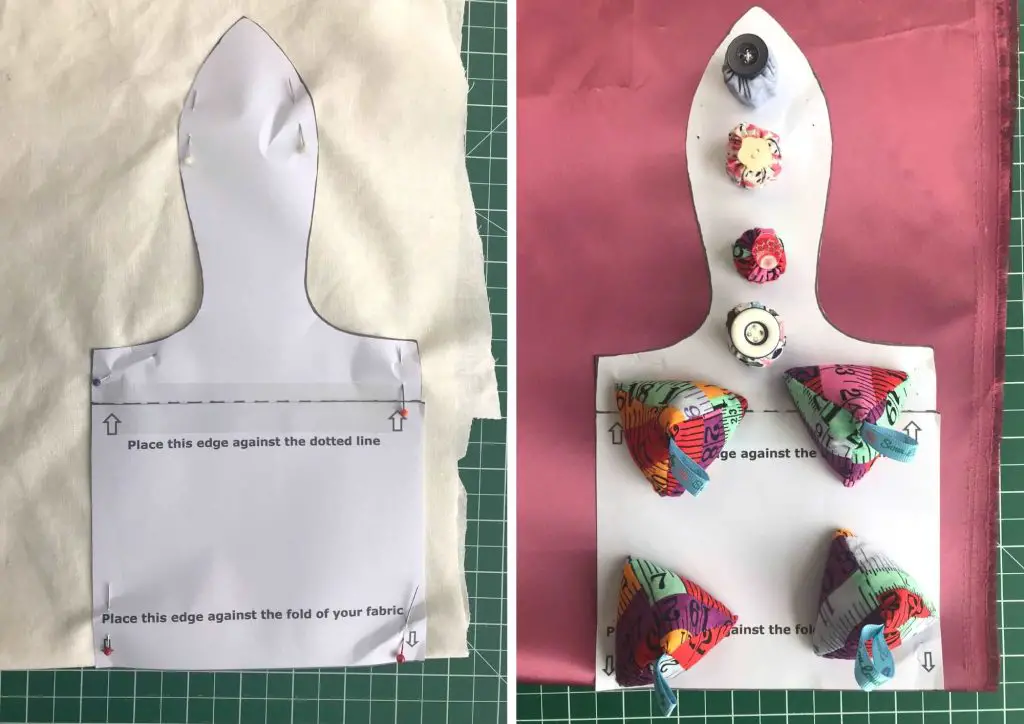
Print off and cut out your pattern. There is a 1″ square test box to see if it has come out the right size. Size is not crucial so if your square is slightly bigger or smaller do not worry about it. It is just a guide to help you as I know we all use different sized paper around the world.
Cut out the two pattern pieces and glue or tape them together so that the rectangular piece meets the dotted line as identified on the pattern piece.
Fold your main fabric in half and place your pattern piece on the fabric so that the straight end of your pattern piece is against the fold of your fabric. Pin it in place and cut it out. If you are using a fine fabric pins may damage it. In that case you can use pattern weights to hold your pattern in place. If you want to make some take a look at my pattern weights tutorial. The seam allowance is included so cut directly around the pattern piece.
If you have 2 pieces of fabric simply place one on top of the other, pin the pattern piece on and cut around the pattern piece BUT leave an extra 0.5″ where the fold should be. This will be your seam allowance for sewing the two pieces together.
Repeat for the lining fabric.
Sew your Bunny Ears Treat Bag
This first instruction is only for you if you could not put your pattern piece against a fold!!
Sew your pieces together
If you have 2 pieces of lining fabric and 2 pieces of main fabric this step is for you. Take your two main fabric pieces and place them on top of each other with right sides facing. Pin and sew along the straight edge directly opposite the bunny ears.
Repeat for the lining pieces. You will now have two pieces of fabric, one main fabric and one lining. It will look as if you worked using a fold in your original fabric except you have a seam in the middle of your pieces.
Sew your Main Fabric and Lining together
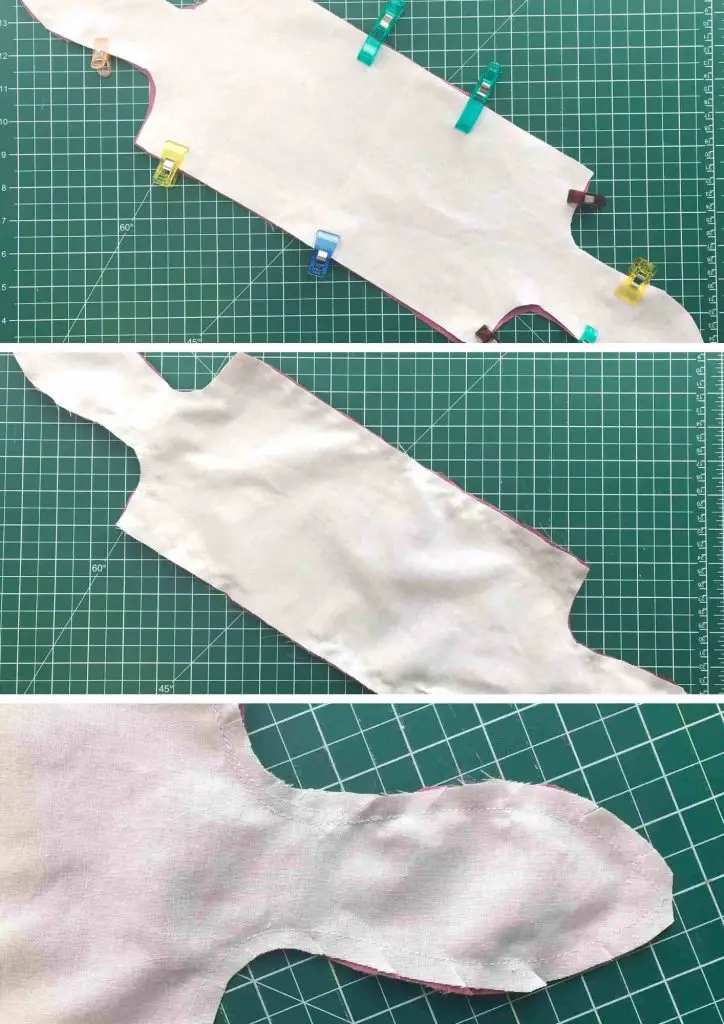
Place your main fabric piece and lining piece directly on top of each other so that the right sides are facing each other. Pin or clip them together. You need to leave a gap of 3″ to 4″ on one long straight side so I recommend marking that in some way now using your pins or clips.
Then sew around the shape using a 3/8″ seam allowance (approximately) making sure you leave your gap for turning the shape out.
Clip the corners off and snip into the curves so that when you turn it out you do not have too much bulk and you curves will lie flat.
Turn out your Bag Piece
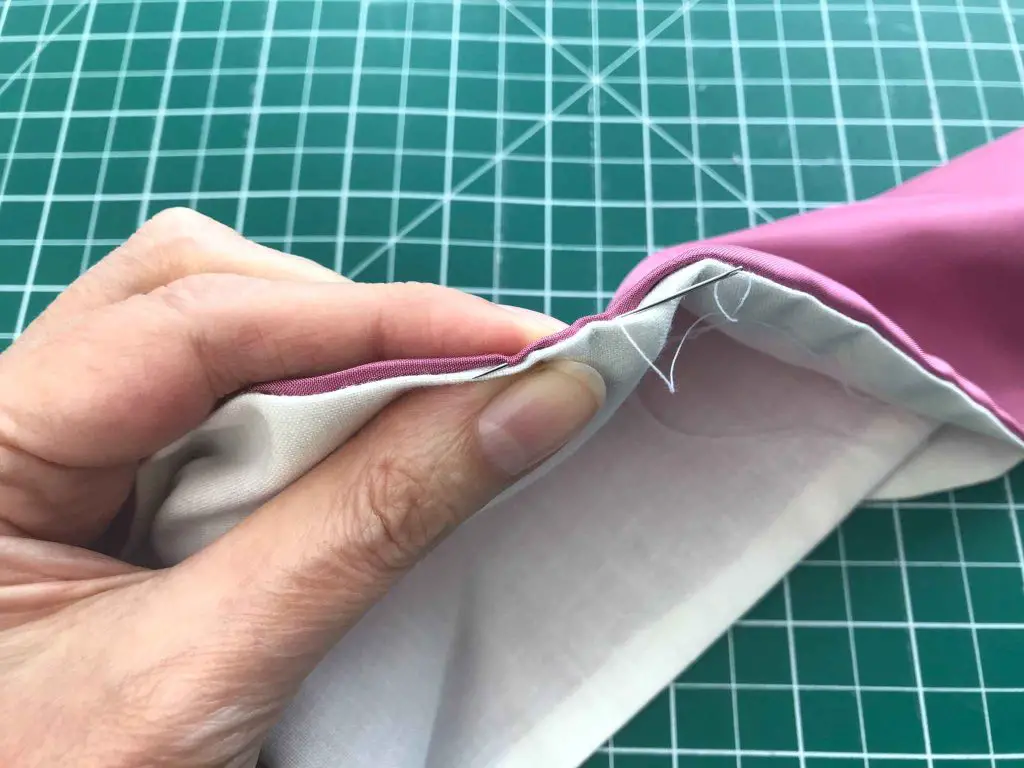
Turn your bag piece out through the hole that you left. Make sure that you carefully poke the corners and the tips of the bunny ears out. I use a chopstick for this but a blunt pencil can also work well.
Press your bag piece carefully. Then sew up the hole that you left. You can simply pin or clip the two edges together and machine sew it closed (it will be inside your finished bag) or you can slip stitch (ladder stitch) the two edges together to form an invisible seam.
Complete your Bunny Ears Easter Treat Bag
Now to finish your Easter DIY gift bag. Simply fold your piece in half so that the lining fabric is on the outside and pin or clip along the straight edges. Sew them in place.
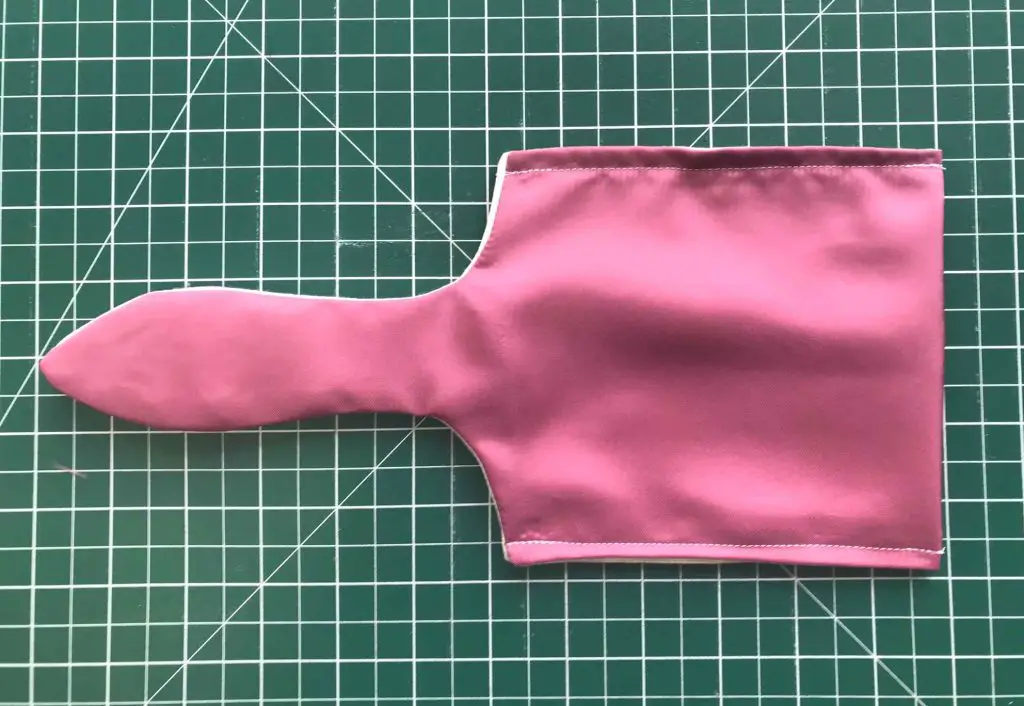
Turn the bag out and poke out the bottom corners. You have finished your Easter treat bag. All you need to do now is add your Easter treats and fasten the bag by using a half bow to fasten the two ears together.
Top Tips
- Use a bright fabric for the lining to get bright bunny ears.
- Decorate the bag pieces before starting sewing (eg add a bunny face)
- Use clips and pattern weights for fine fabrics
- Make different sized bags for different sized gifts
And next …
I hope that you have really enjoyed making your bunny ears Easter treat bags. They are so much nicer than a plastic bag or basket.
This website has a whole section of sewing tutorials for you to have a go at so please take a look and hopefully find something you would love to make.
If you are looking for more Easter makes then I recommend trying some cute Easter bunnies that you hand sew out of felt – you can create a whole family!
Or how about a cute Easter chick made out of pompoms? Who could resist and they are so easy to make with the kids.
If you prefer Easter baskets for your treats try upcycling old food containers into cute Easter baskets.
Have a great Easter and if it is not Easter time right now make sure you pin this tutorial on Pinterest so that you can find it again.