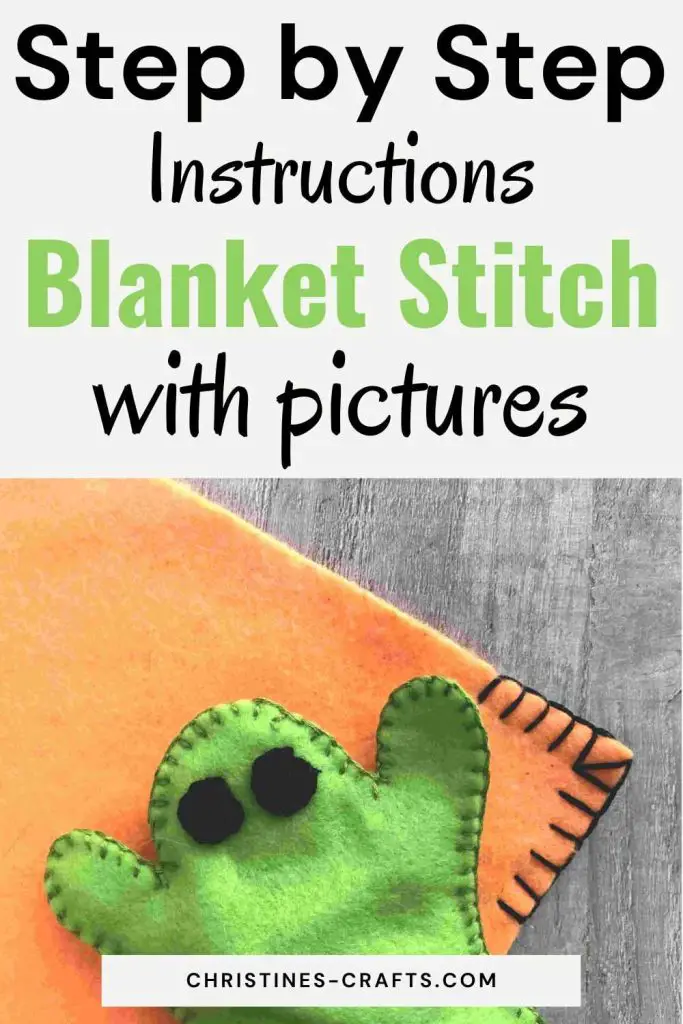
How to Do Blanket Stitch: A Step-by-Step Guide with Pictures
As an Amazon Associate I earn from qualifying purchases
The blanket stitch is a versatile and easy-to-learn stitch that can be used for a variety of sewing projects. It is a decorative stitch that can be used to embellish edges, join seams, and create appliqués. It is also a strong and durable stitch, making it ideal for sewing functional items such as bags, aprons, and quilts.
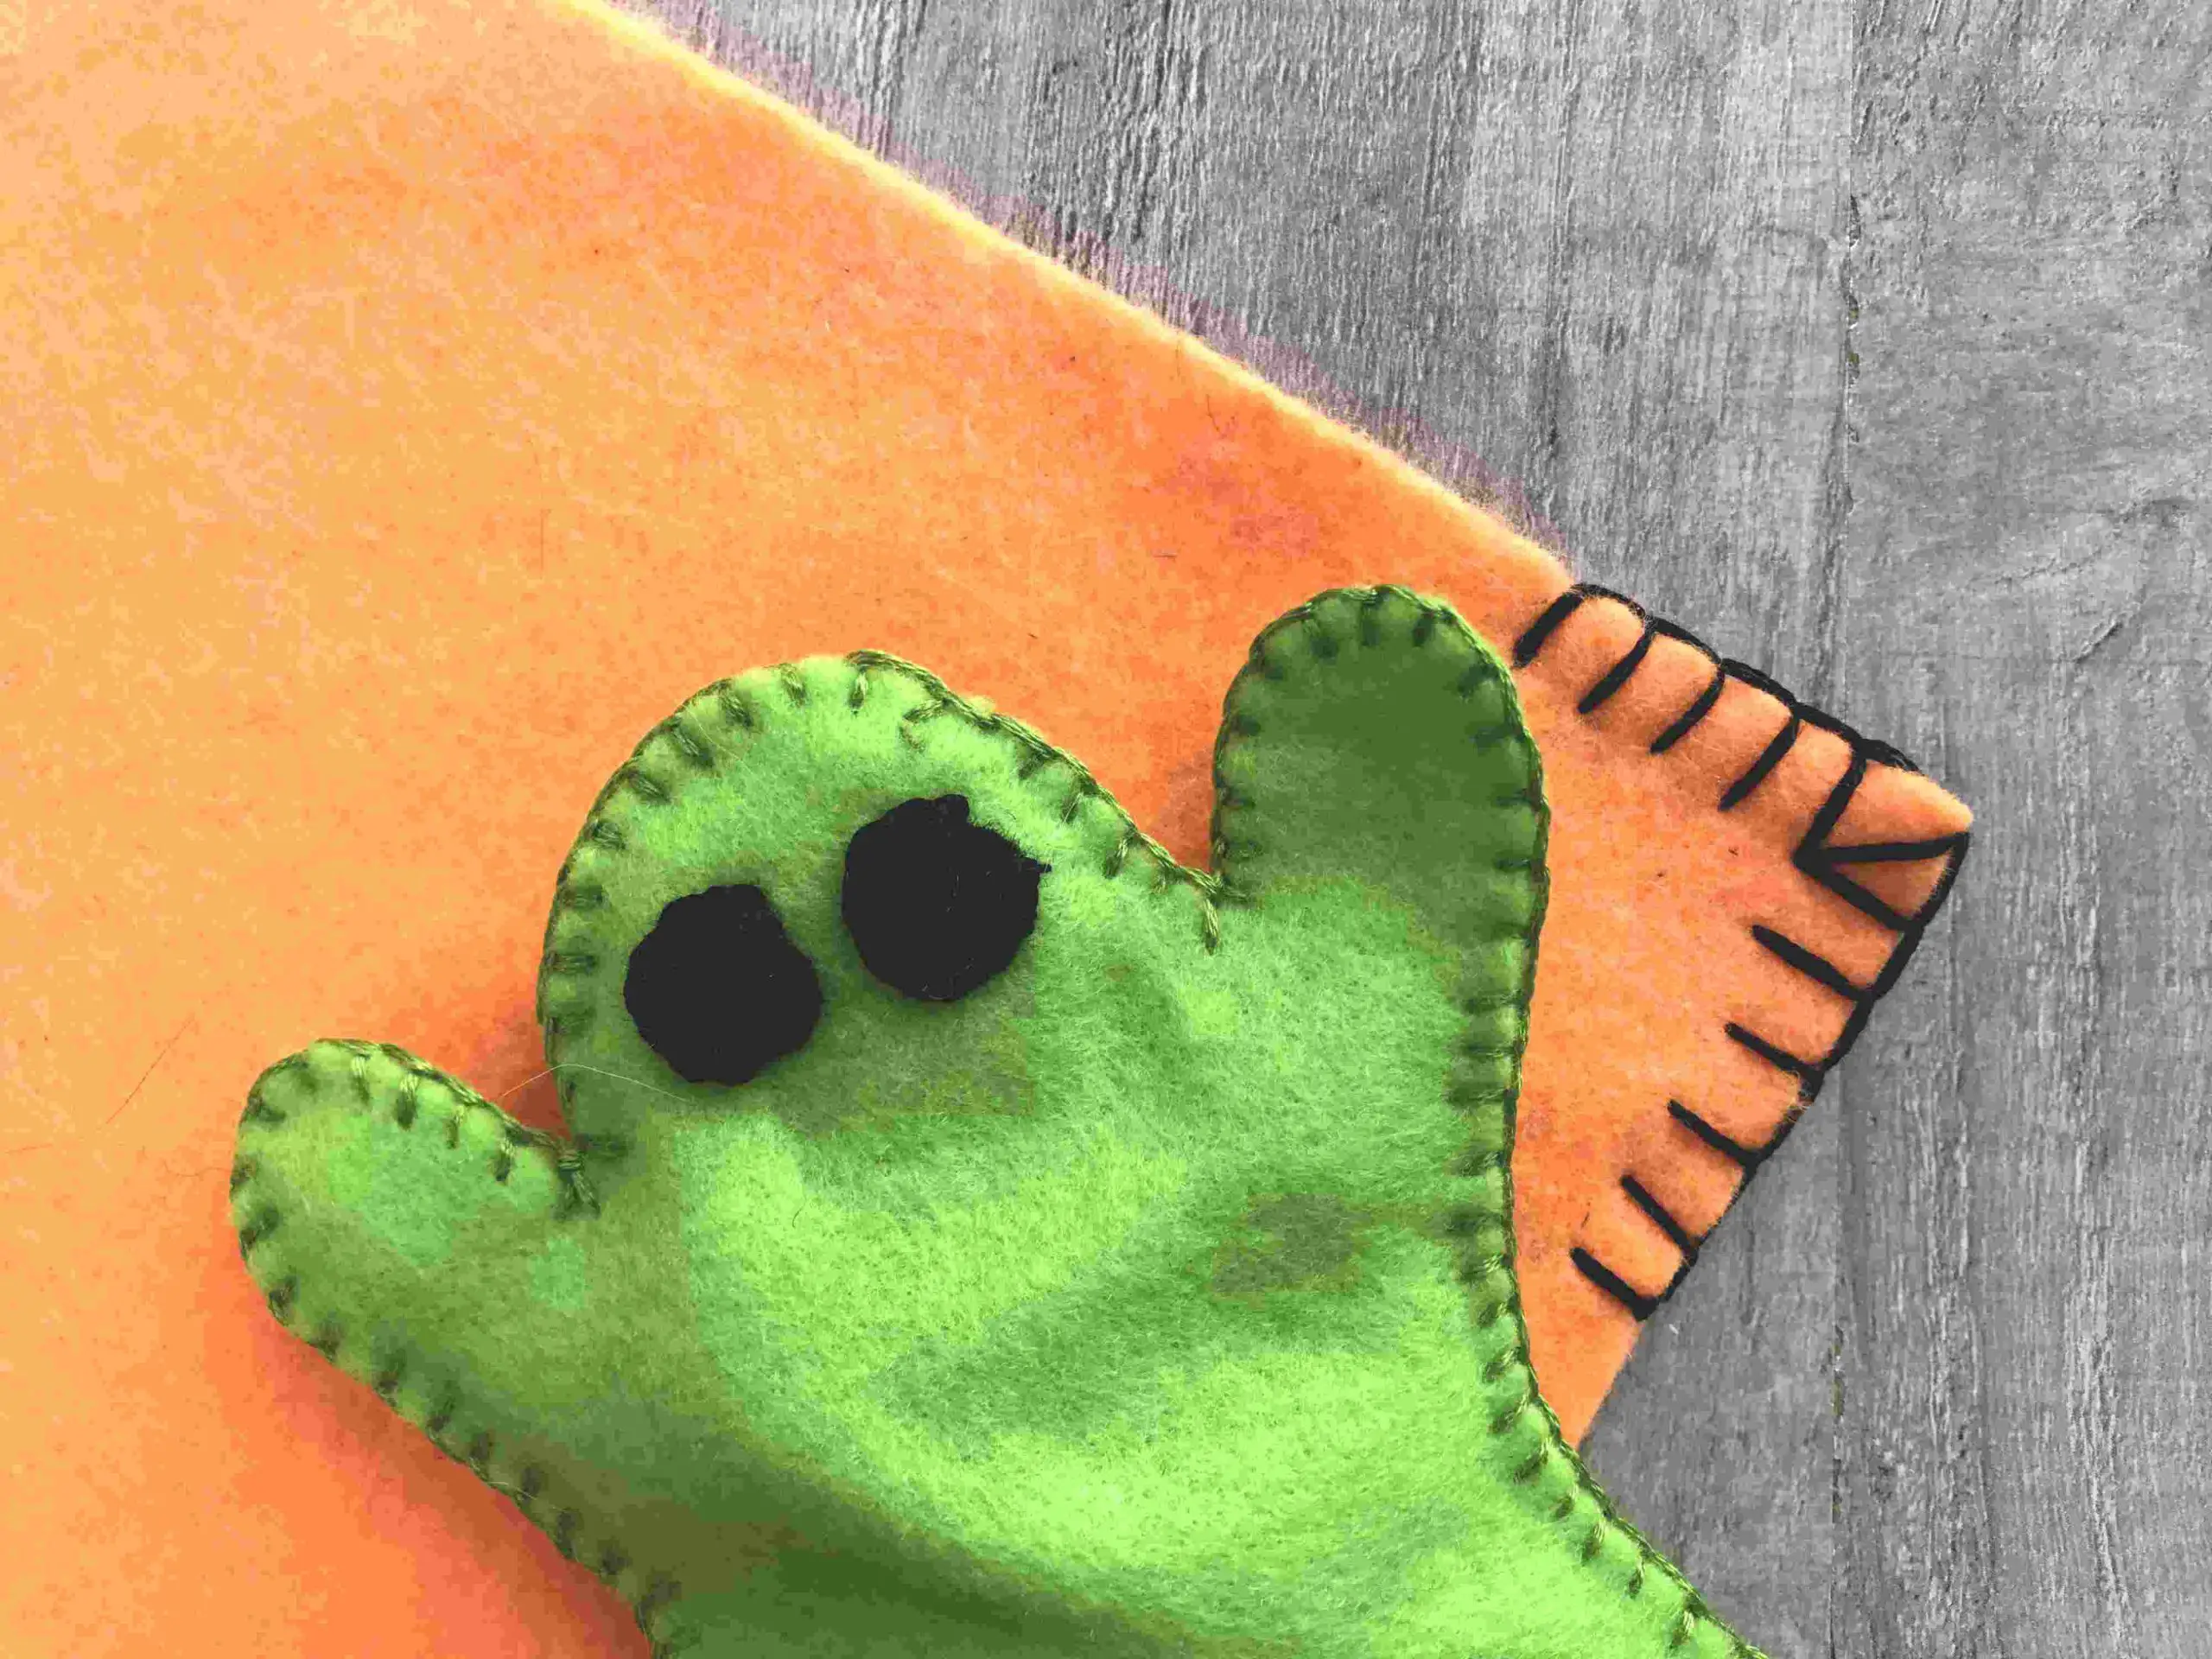
I love blanket stitch by hand for sewing felt items and making it part of the decoration. If you would like to make a beanbag frog using blanket stitch then you can follow my tutorial with free pattern template here.
Key Advantages of Blanket Stitch
There are some very real advantages to using blanket stitch including:
- Easy to learn: Blanket stitch is a simple stitch to learn, even for beginners.
- Versatile: Blanket stitch can be used for a variety of sewing projects, from embellishing edges to sewing functional items.
- Strong and durable: Blanket stitch is a strong and durable stitch, making it ideal for sewing items that will be used frequently.
- Decorative: Blanket stitch is a decorative stitch that can be used to add a touch of style to sewing projects.
So, let’s get started.
Video Tutorial for Blanket Stitching
This video for blanket stitch is also available on my YouTube channel.
Step By Step Instructions for Blanket Stitch
Getting Started
In this guide I am going to use blanket stitch to join two pieces together. This is not the only use for blanket stitch and you can adapt it for applique, etc. I am sewing two pieces of felt together using embroidery thread (as I did for the beanbag frog).
Pin or clip your two pieces of felt (fabric) together. I will refer to them as felt as that is what I am using but the instructions apply to whatever fabric you are using. You can work from left to right or right to left with this stitch but I will be demonstrating from left to right.
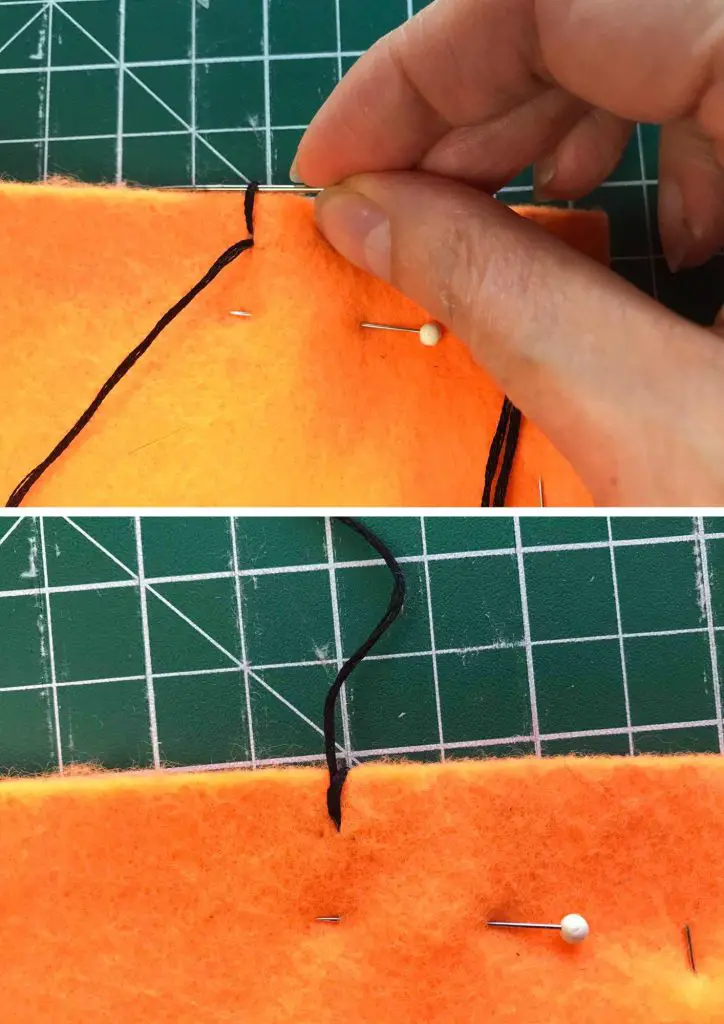
Take a reasonable length of embroidery thread and thread your needle. Put a small knot in one end of the thread. Push your needle through the top layer of felt from the inside where you want your stitches to start. This will trap the knot in between your layers of felt (hidden).
Choosing where to push your needle through is an important decision. It sets the size of your stitches. Make sure your needle comes up the distance away from the edge that you want your stitches to be.
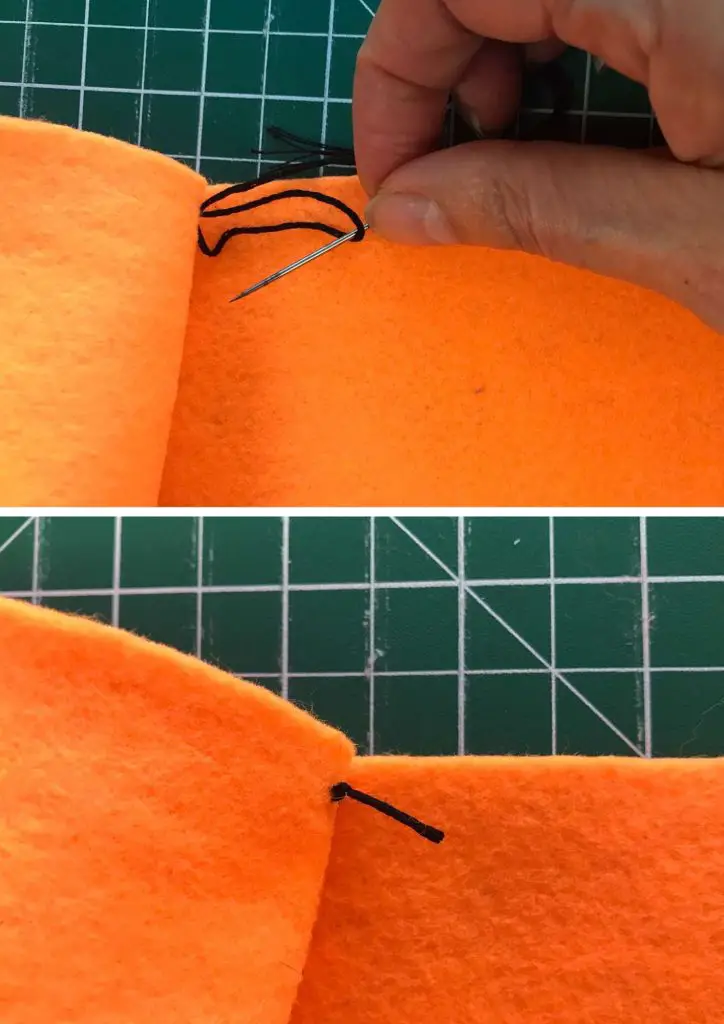
Then take the needle over the 2 layers of felt and come up through both layers from underneath so that the needle comes up in the same place as the thread came out of the top layer. Pull it so that the stitch lies flat.
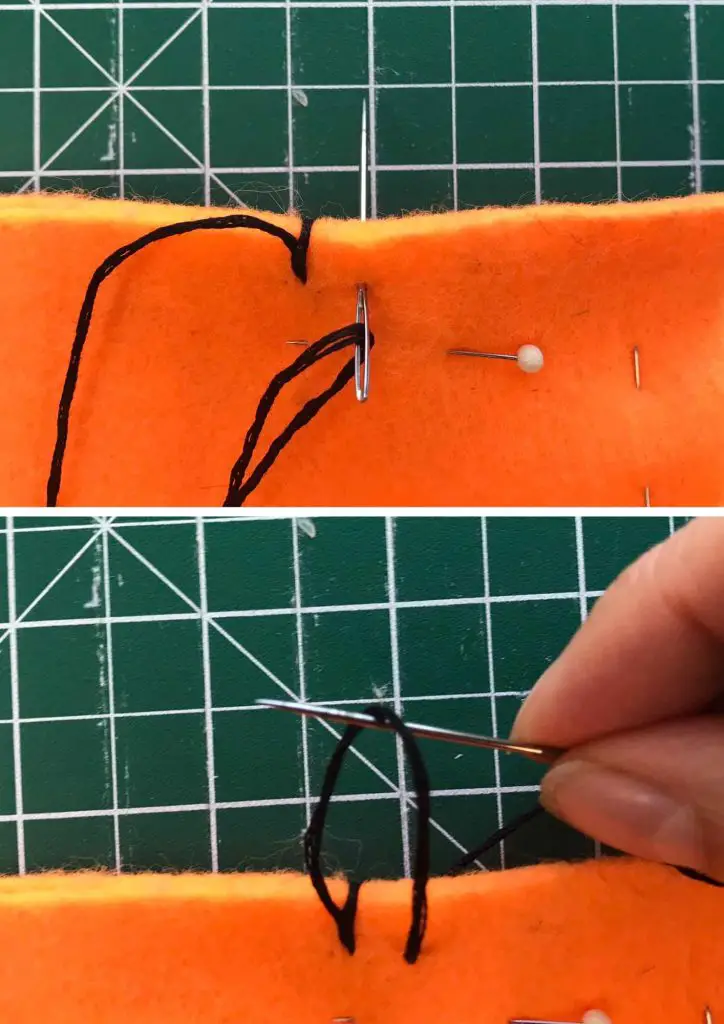
Then take your needle from right to left through that loop that you made. This will make sure your first stitches are correct and you do not get one that is diagonal.
Continuing your Blanket Stitch
Take your needle and punch it through the felt layers from front to back where you want your next stitch. Try to keep all your stitches the same size and the same distance apart. Pull the thread through BUT before it gets too small make sure that you pass the needle through the loop that you have made. This forms your first full blanket stitch.
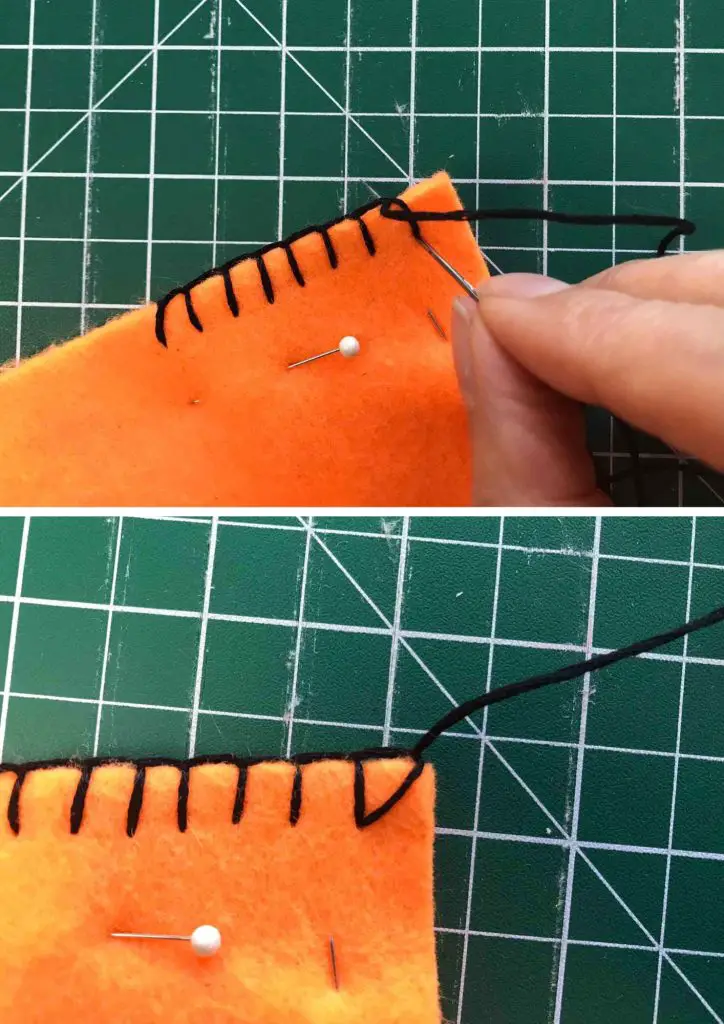
Keep repeating this for all the blanket stitch you want to do.
How to do a Blanket Stitch Corner
The above process is great until you reach a corner on one of your projects. Do not fear, they are easy to do right and make look professional.
As you approach the corner do your stitch as normal but then do your next stitch in exactly the same hole. You may need to adjust your loop a little so that it sits perfectly on the corner.
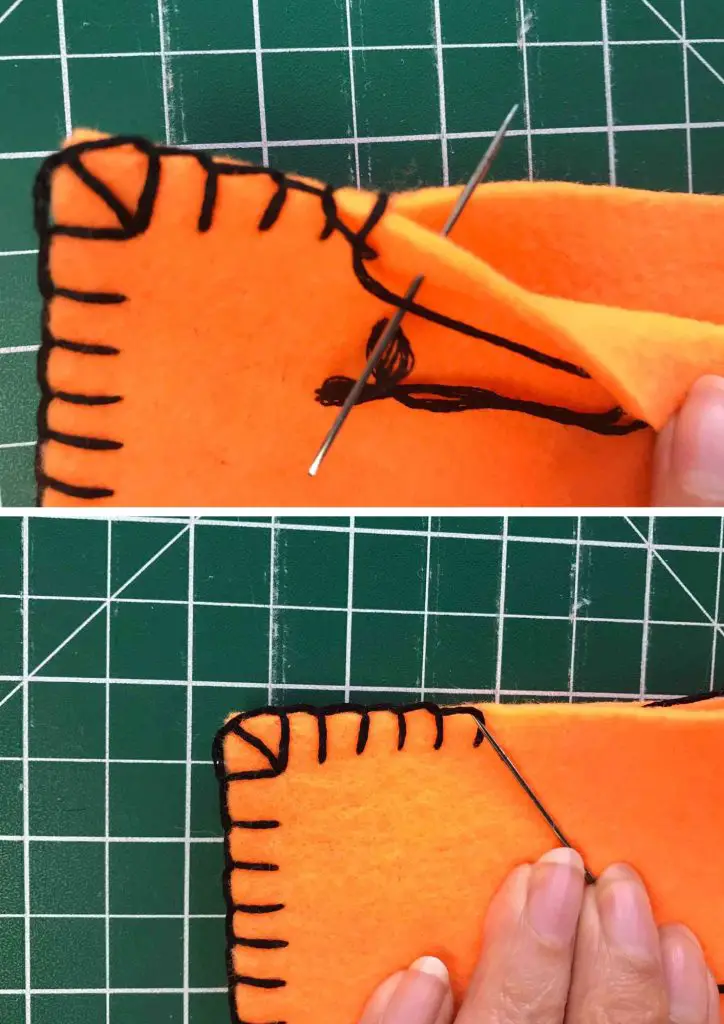
Then do another stitch in exactly the same hole. This will mean that you are round the corner and you can carry on with your blanket stitch as before.

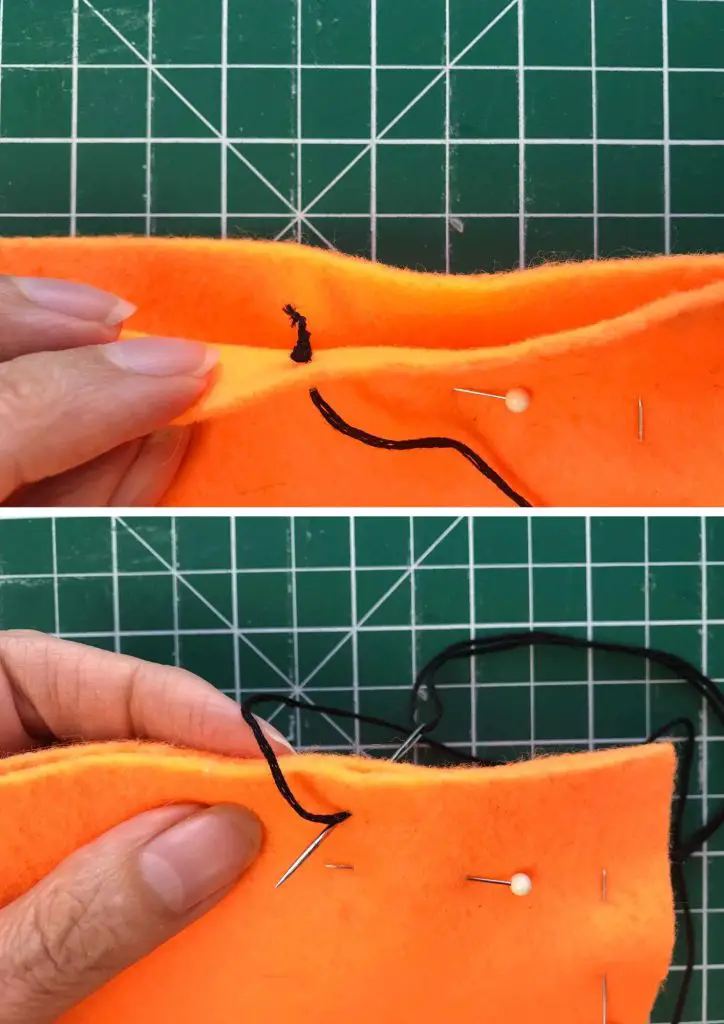
Starting a New Thread
It is very likely that you will run out of thread and need to start a new one. If that happens simply follow this method to finish your thread off and start a new one.
Start your next stitch but instead of going through both layers just go through the top layer. Pull the thread through BUT only enough so that you can form the loop that would be required for a full blanket stitch.
On the inside of the top layer of felt do a tiny stitch and then pass the needle through the loop. Be careful not to pull the thread through and lose your loop that you left. This will give you a small knot and you can then cut off the thread, leaving a small amount to help prevent it pulling through.
Thread your needle up with a new length of thread and put a knot in one end. Push the needle through from inside the sewing to the outside of the bottom layer only in the same place as you did your knot in the top layer. The knots should line up!
Then pass your needle through the loop that you left and your stitching should look perfect, as if you haven’t swapped to a new thread. Then carry on as you were before.

Fastening off your Thread
Once you have completed your stitching you need to finish off your thread. Simply pass your needle through the last stitch that you made and then pass your needle through the loop that you form before it pulls tight. This will form a small knot to secure your thread.
Then push your needle through the gap between the two layers next to your stitch. Push the needle out again some distance away in the top layer. Make sure that you do not catch the bottom layer and make a stitch you did not want! Cut the thread very close to the felt. This extra length will stop your knot pulling undone.
Top Tips
Here are some tips for doing your blanket stitch successfully:
- Use a sharp needle and a thread that is the appropriate weight for your fabric.
- Keep the stitches evenly spaced and the tension consistent.
- If you are using a lightweight fabric, you may want to use a backing fabric to prevent the stitches from puckering.
- Think about the colour of your thread – matching or contrast?
And next …
So, you have all the skills to sew your blanket stitch and now you just need some projects. As I have mentioned you could make a beanbag frog.
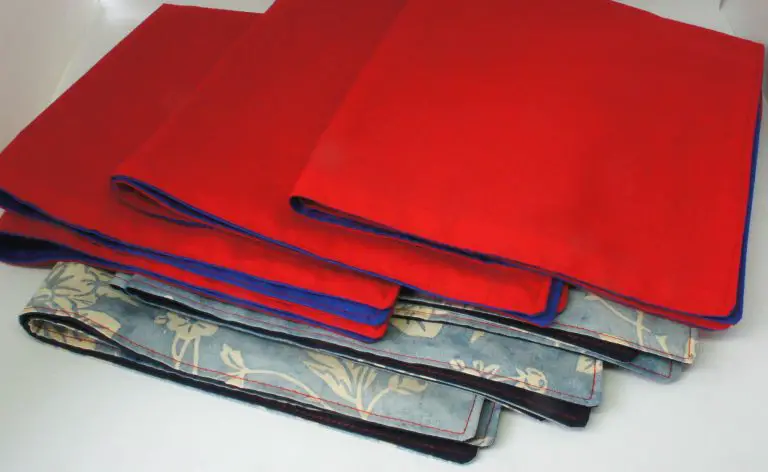
You could also sew some lavender hearts. These are great for Valentine’s Day but make a welcome gift at any time.
Or, how about some cute Easter Bunnies that you can glue or sew. I must say that the ones sewn with blanket stitch are the cutest!
Whatever you sew I hope that these instructions help you to achieve a great finish. Let us know in the comments below if you have any great project ideas using blanket stitch.