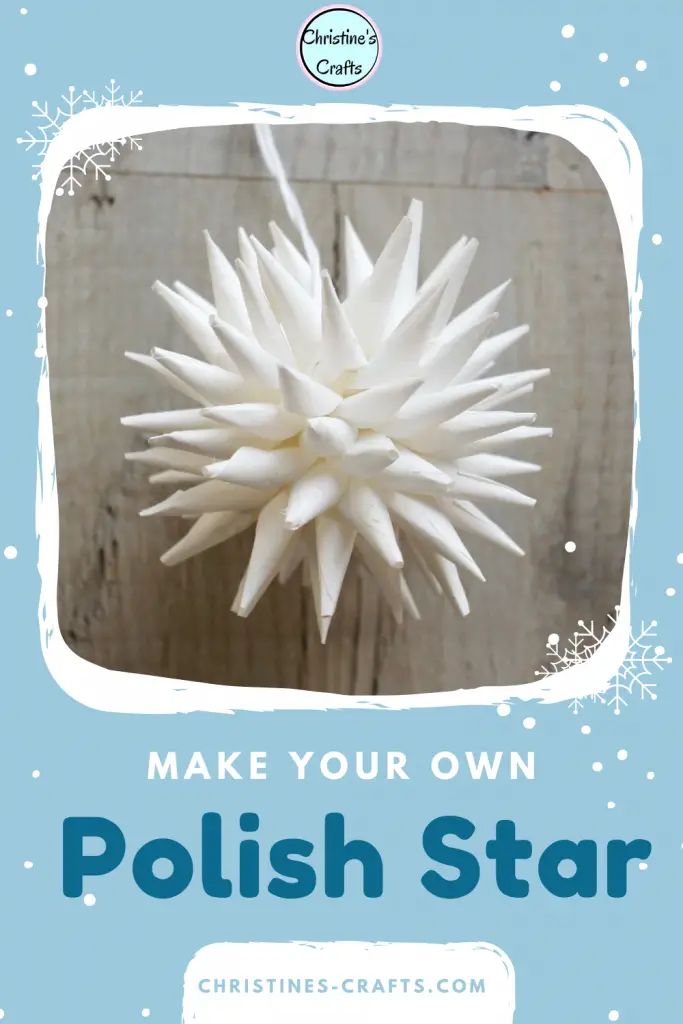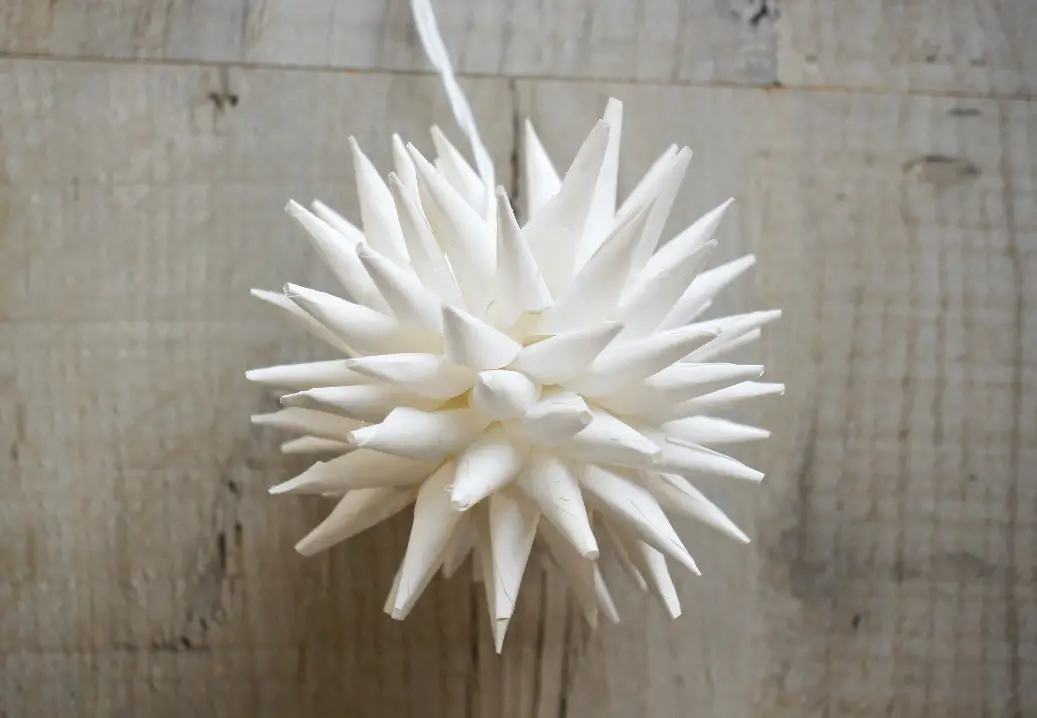
Paper Polish Star Christmas Ornament to Make
As an Amazon Associate I earn from qualifying purchases
How would you like to make some really pretty Christmas decorations in any colour you like for virtually no cost? Well. Polish Stars are the way to go. You can use any paper you like, even copier paper like I have used here. You could always add glitter to your star if you want some sparkle (but it is banned in my house!).
They are not the quickest ornament to make but they are so pretty and inexpensive that you can make many of them for a dramatic effect. Or how about making a large one and hanging it in a window this Christmas?
If you like watching a craft tutorial then scroll down to find video instructions.
This page contains affiliate links meaning I earn a small commission if you use those links at no cost to you. I only recommend brands I use and trust.
You will need:
Paper (2 sheets of copier paper is all I used)
Tacky Glue or similar
Embroidery Thread (or similar) to hang your star
2 beads or small buttons
Needle
An Old Pencil (it will get very gluey)
Scissors


Make your Paper Circles
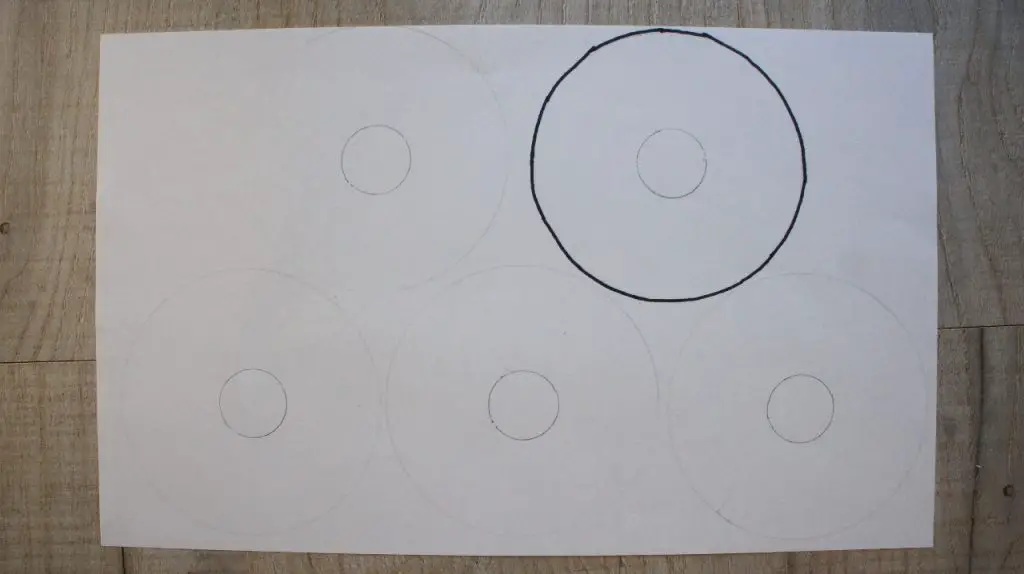
You will need 10 paper circles. My Polish Star is approximately 4″ across and the circles I used were also 4″ across. I got 5 on each piece of A4 paper.
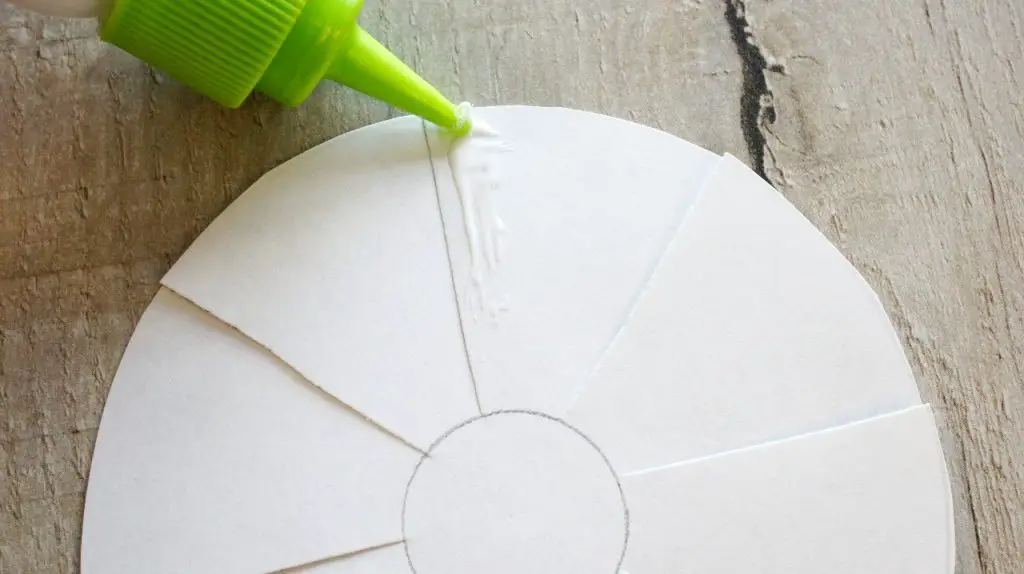
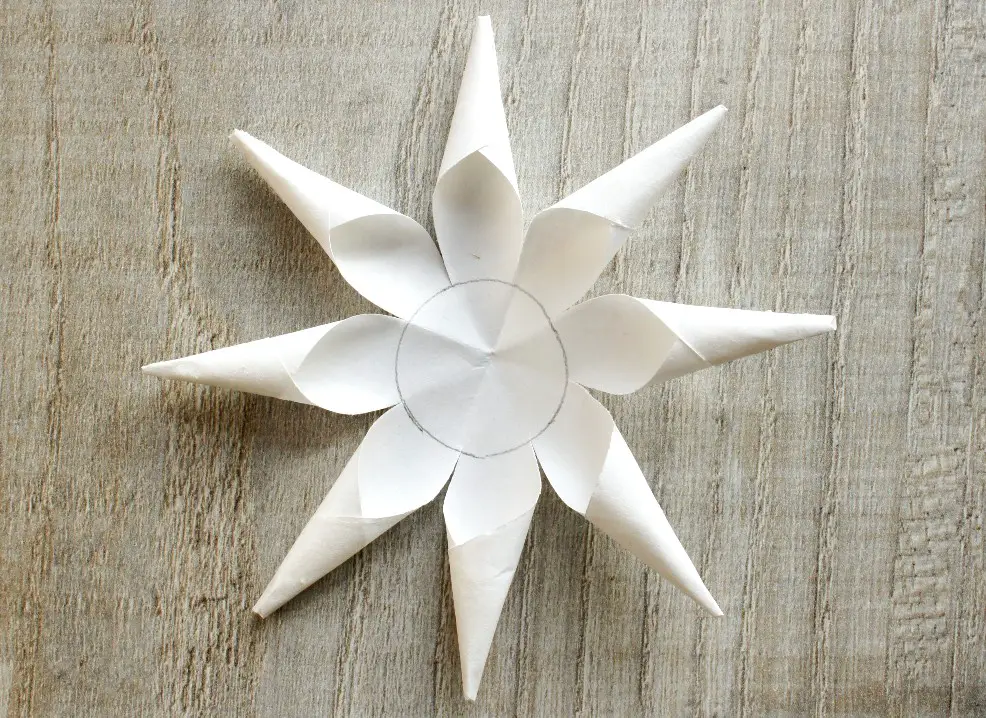
Once you have drawn your circles you need to draw a smaller circle in the centre of each. This circle should be approximately 1″ across. I used a 10p piece to draw round here in the UK. Do not worry if it is not exactly in the centre, no-one will ever know!
I have marked one up with a marker pen in case you have trouble seeing my pencil lines.
Cut out all your outer circles

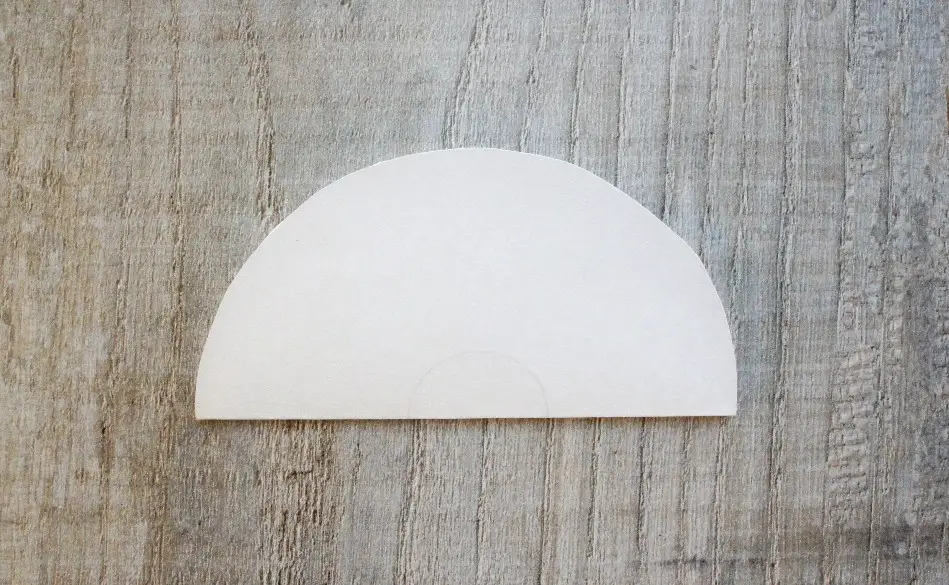
Each circle now needs cutting and the easiest way to mark them up is to fold them as follows:
Fold the circle in half and then half again and then half again. You have now divided it into eighths! Open it up again and it is ready for cutting.
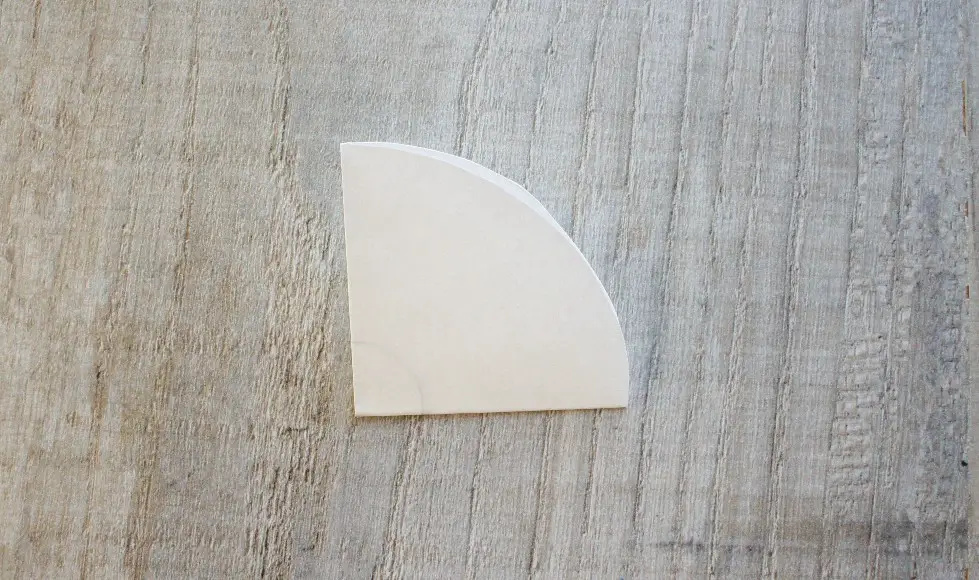
Now cut from the outer edge into the inner circle along all the folds that you made. TIP: If you lie the circle son top of each other you can cut more than one at once.
Repeat for all 10 circles. They should look like this.

Form the Polish Star Points
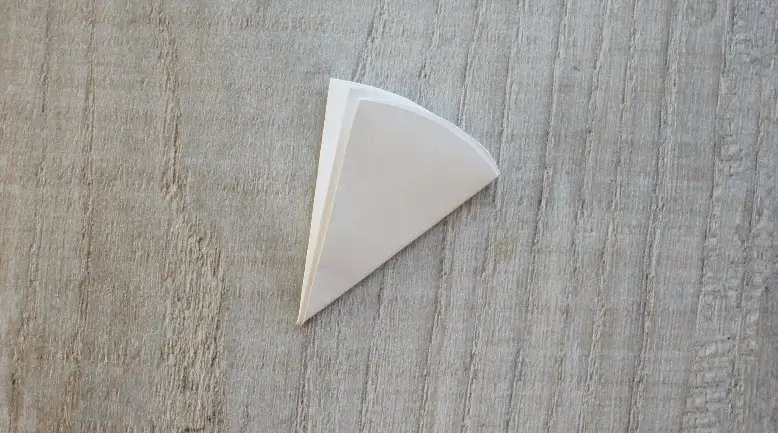
You now need to form a point on the end of each of the sections of paper that you have cut. The easiest way to do this is using a pencil.
Firstly apply some glue along one edge of the section.
Then roll the section of paper around your pencil to form a point and press it down so that the glue holds it in place.
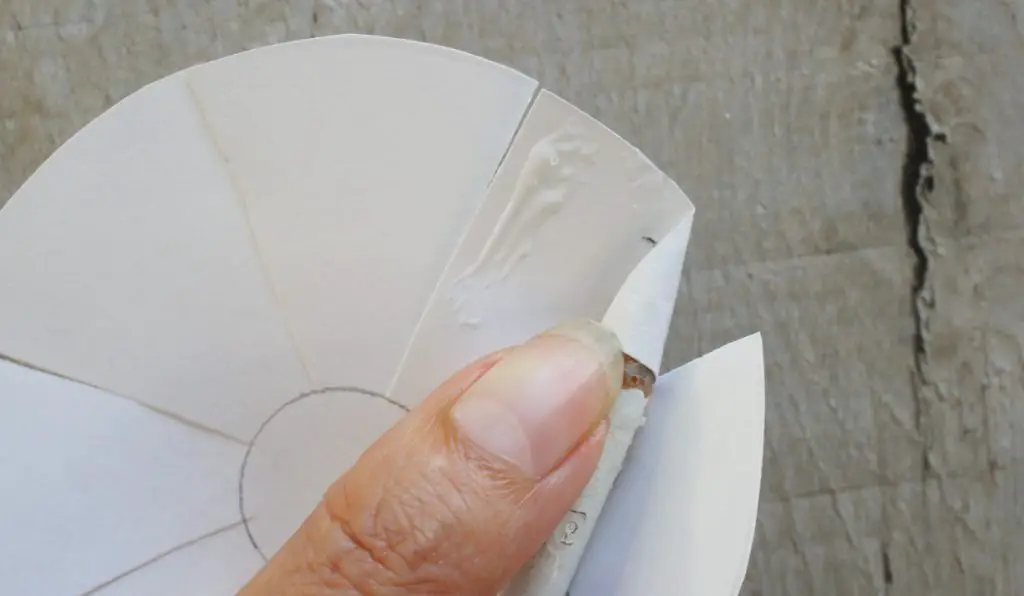
Carefully twist the pencil and remove it (before your glue dries fixing it in place for all time!). You should now have one point formed like this.
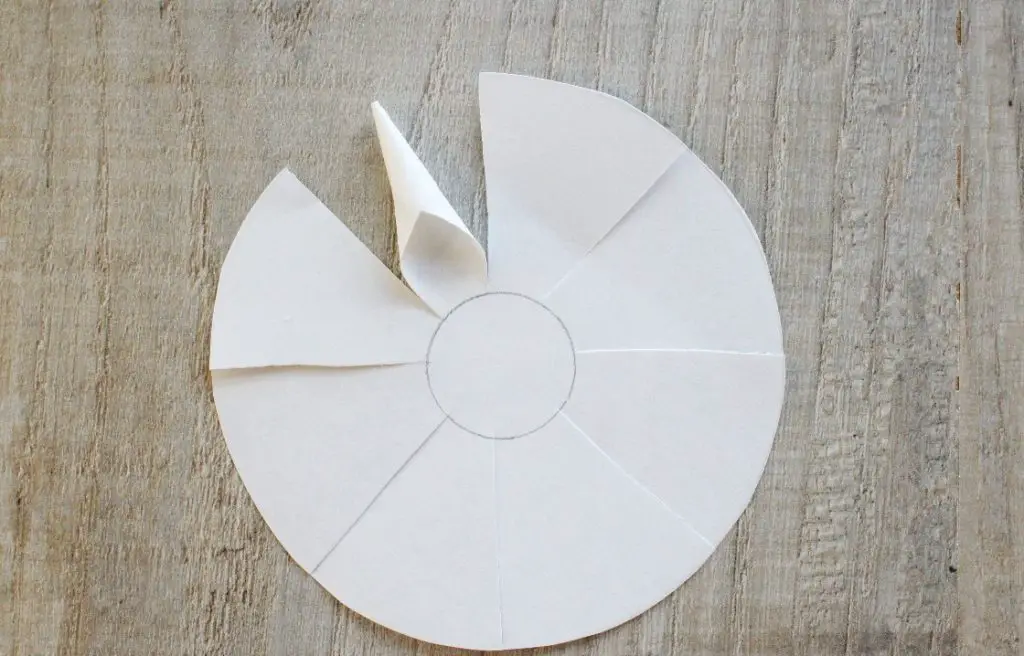
Repeat for all the other sections of the circle until it looks like this.
Repeat for all 10 circles. This takes a little time but it does get easier the more you do. You get into a rhythm.
Create your Polish Star
This is where the magic happens and your Polish Star appears.
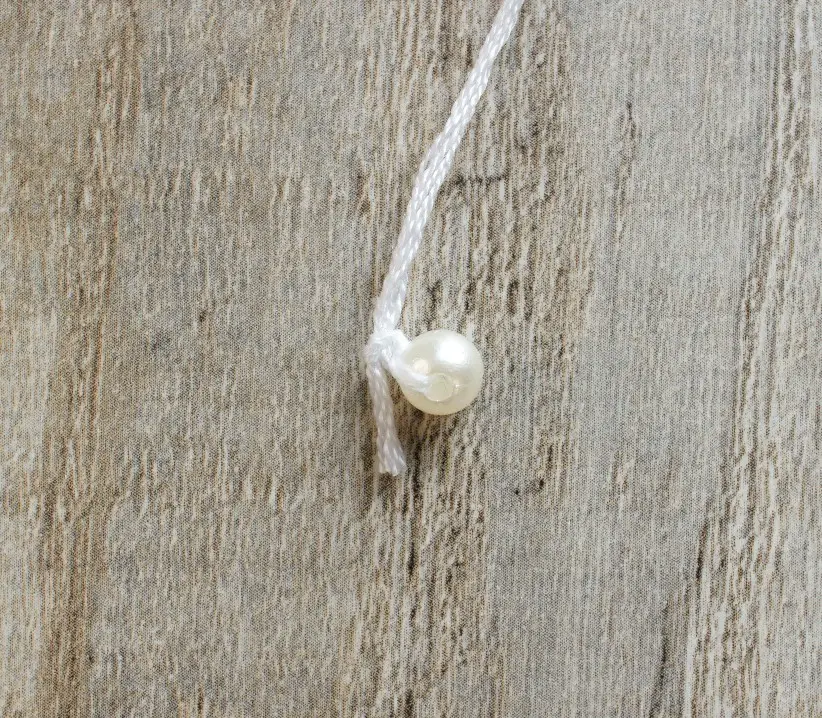
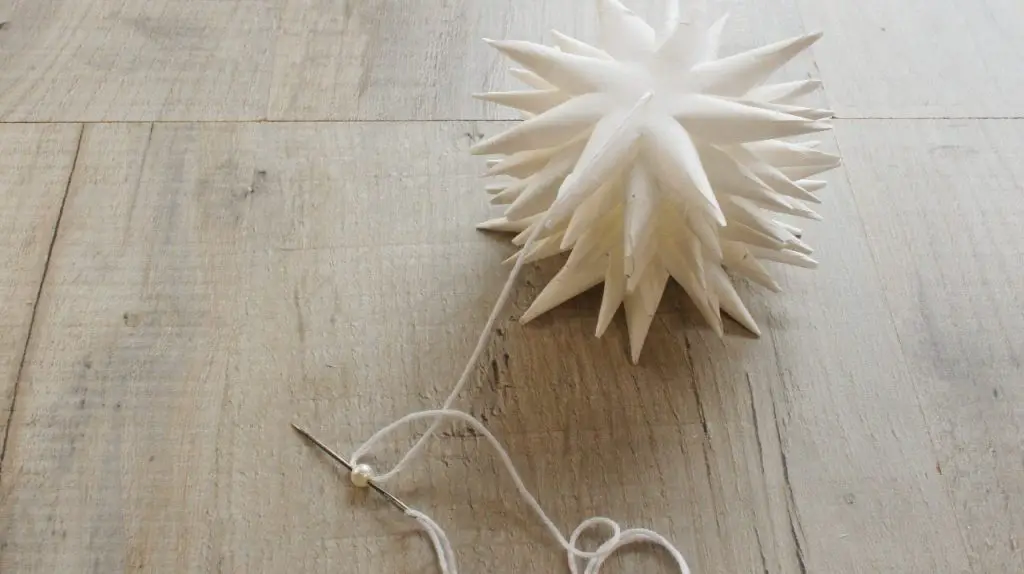
Decide how long you want your hanging thread to be and double it (plus a little bit for knots). Cut your embroidery thread this length. Thread it through your needle.
Now thread it through one of your beads (or buttons) and tie the bead on securely.
Next, take your needle and thread it through one of your paper discs full of points from the bottom of the disc as shown below. Pull it through until the bead is pressed against the disc.

Then thread another disc onto the needle and thread too BUT make sure it is facing the opposite way. By that I mean pass the needle through it from the front.
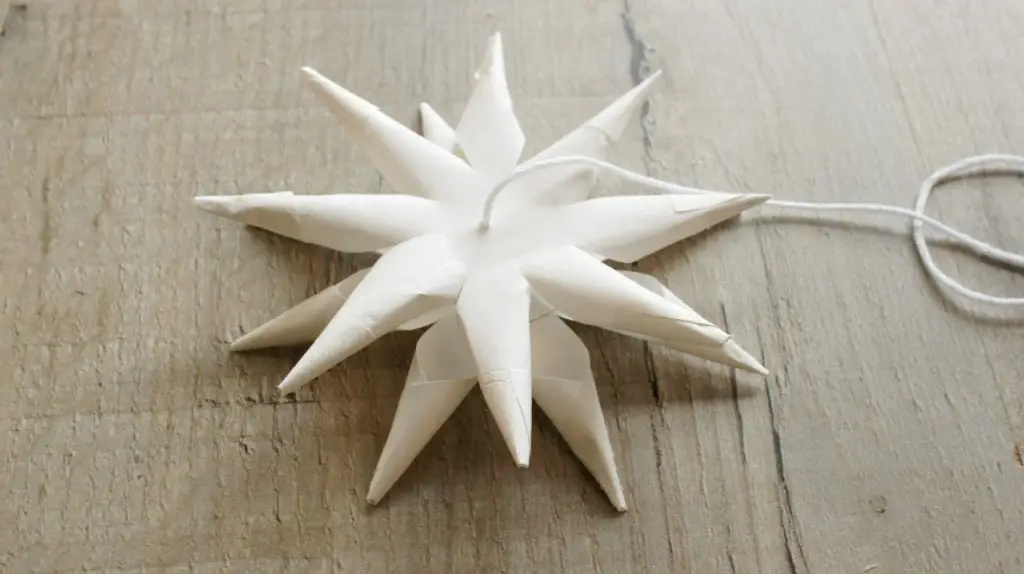
Repeat for the other 8 discs until you have a stack. Take care not to catch your thread on the points as you work.
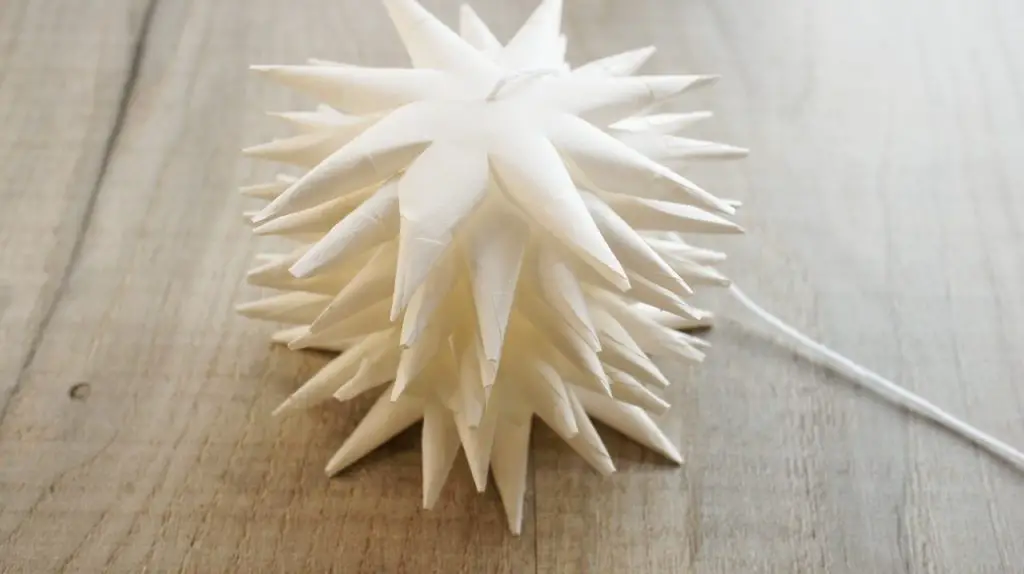
Thread the other bead onto your needle and thread. If you pull it tight against the discs the magic will happen. However, you want to hold it there so I suggest that first you thread the needle through the bead again in the same direction so that the thread loops around it.
Now when you pull it tight against the discs it should stay there. Your Polish Star is complete. All that is left to do is to form a loop in your embroidery thread by knotting the thread near the bead.
Video Instructions for Polish Star Ornament
And so to Christmas
Congratulations you have a completed Polish Star ornament and you can now make as many more as you want. If you would like some ideas for other Christmas decorations then check out these tutorials:
Christmas Decorations for Knitters
If you are looking for even more inspiration then check out my Pinterest account and follow me there at Christine’s Crafts.