How to Creatively Design your Own Delightful Iris Folding Patterns
As an Amazon Associate I earn from qualifying purchases
Have you ever seen fabulous iris folding pictures and wanted to make your own? If you want to know how to do iris folding then look at my iris folding tutorial here. Perhaps you have produced your own using online patterns but wanted to create your own iris folding patterns. Then this tutorial will show you exactly how to make your own patterns and you will be surprised how easy it is once you get going.
In this tutorial I will show you how to make a square iris folding pattern but you can repeat the process with any shape you like. If you like watching a craft then scroll down to the video instructions at the end of the tutorial.
This page contains affiliate links meaning I earn a small commission if you use those links at no cost to you. I only recommend brands I use and trust.
You will need


Create your First Iris Layer
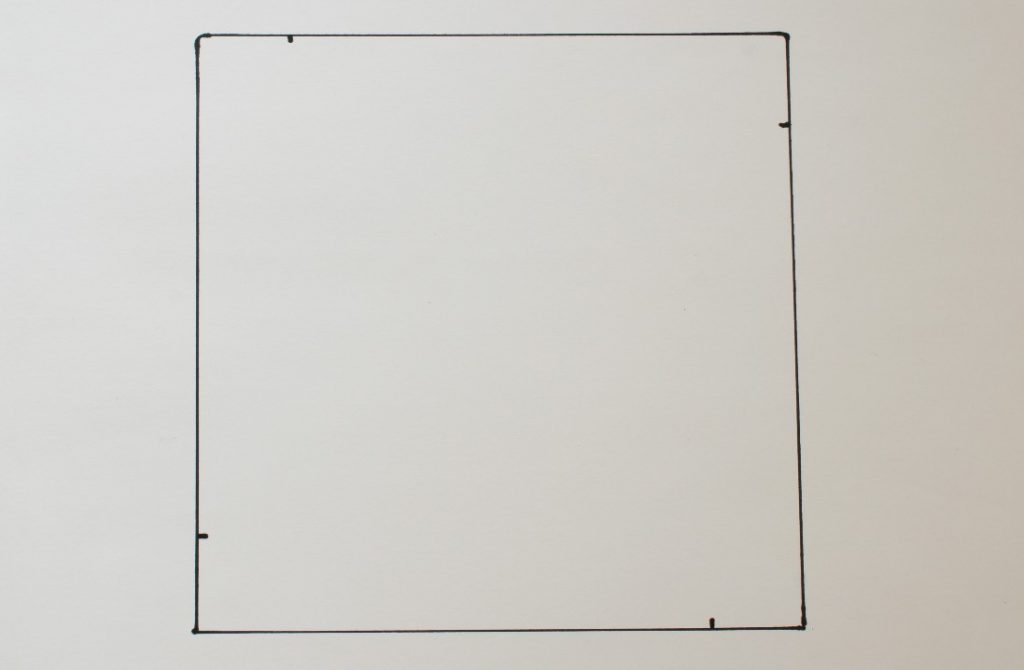
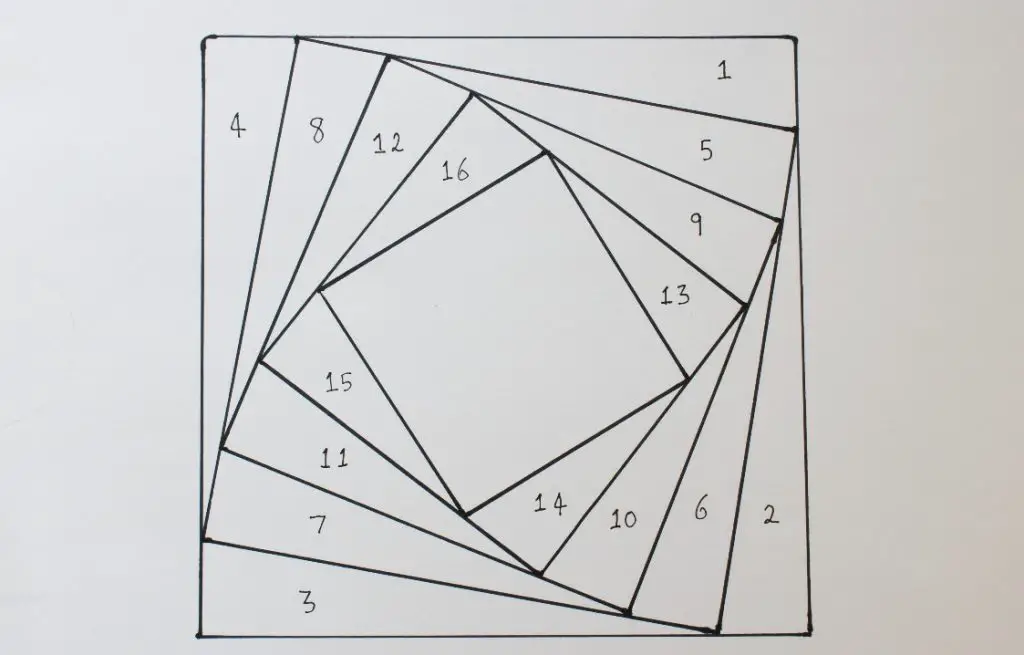
Once you have your shape, in this case a square, you need to decide how wide to make your iris triangles at their widest point. The decision you make is how far to measure along the side of the shape. In this example I have used 1 inch and it makes a great pattern. If you use a smaller measurement you will get a more detailed iris pattern with more layers.
In turn, measure your chosen distance from each corner of the shape along the side and mark it as shown.
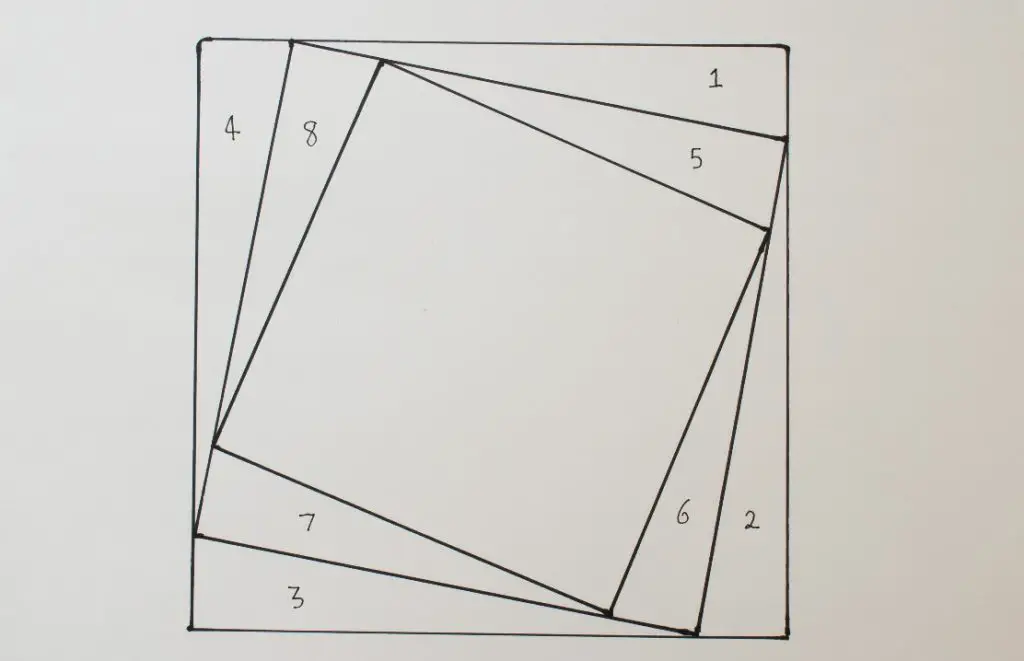
Using your ruler, join these marks to form a square that is smaller than the original. Obviously the new shape should be the same as your original shape but smaller. Label your triangles in increasing number order in a clockwise direction. This is the order in which you will add your layers when using it.

Create your Remaining Layers
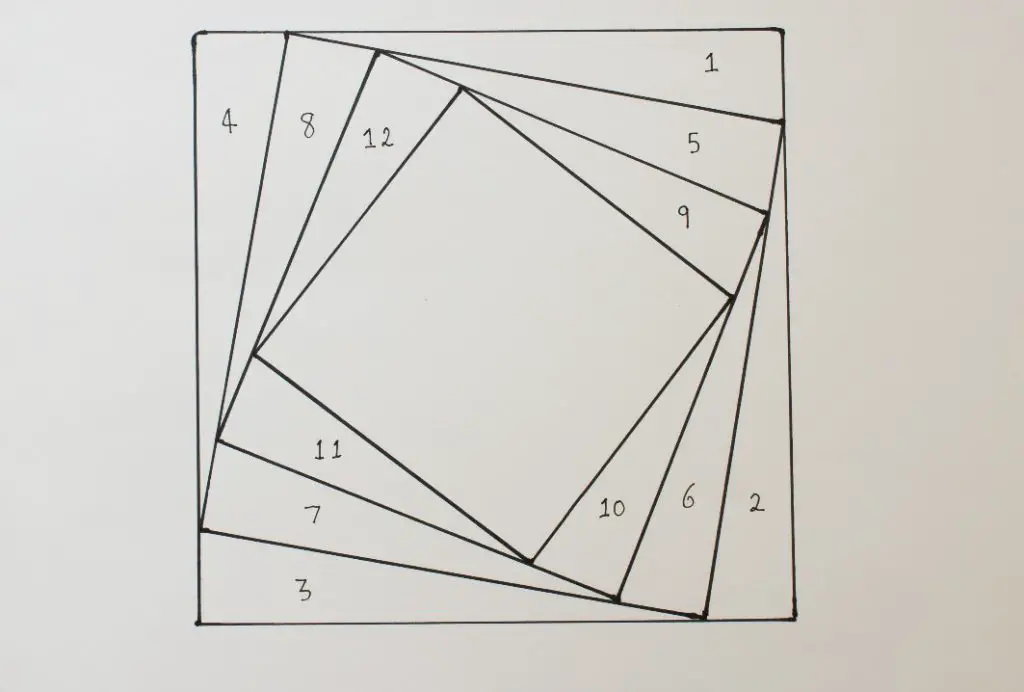
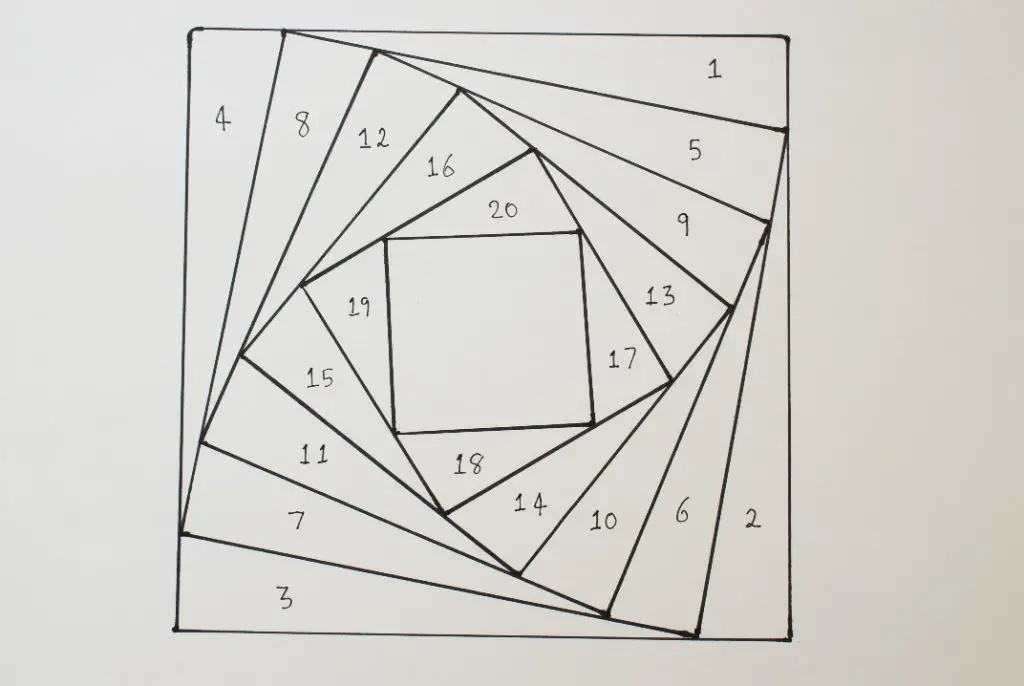
You are now going to repeat that process until you are happy with the number of layers you have made.
Take your pen and ruler and measure your 1 inch along each side of the inner square and mark them. Then join them together forming another square inside the others. Label your new triangle layers continuing your number sequence.
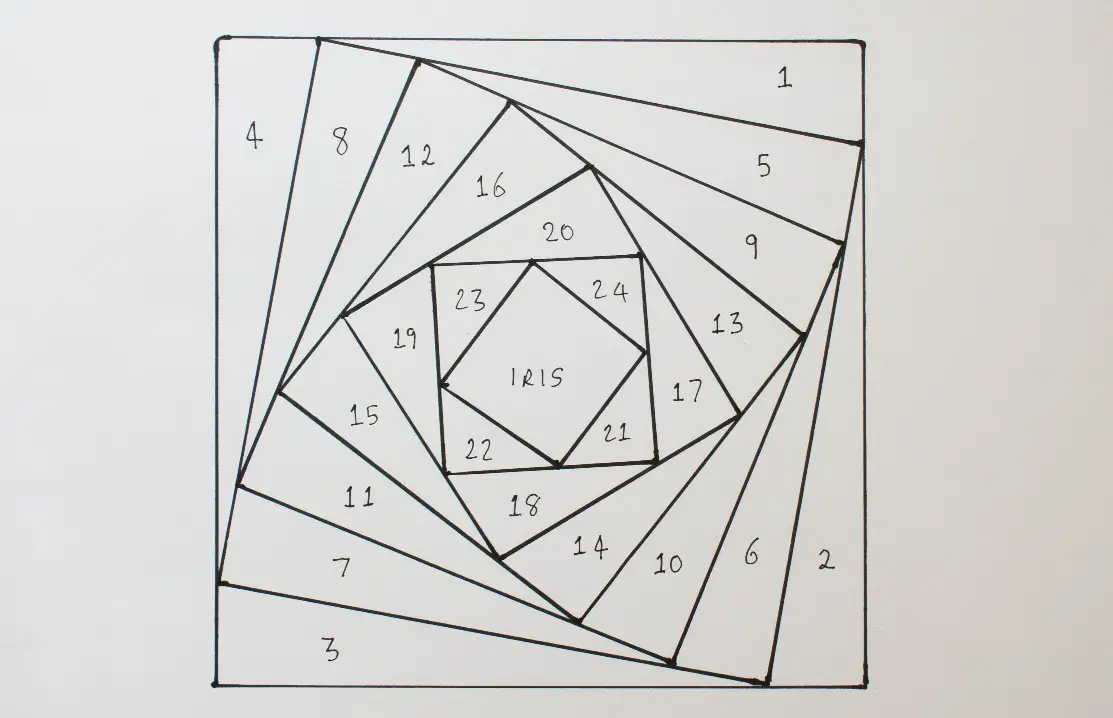
Repeat this process until you are happy with size of the square (or your shape) in the centre of the design. This may depend on what you want to place in the iris. If you want a photo in there then leave a larger iris than if you are just leaving a plain colour in there.
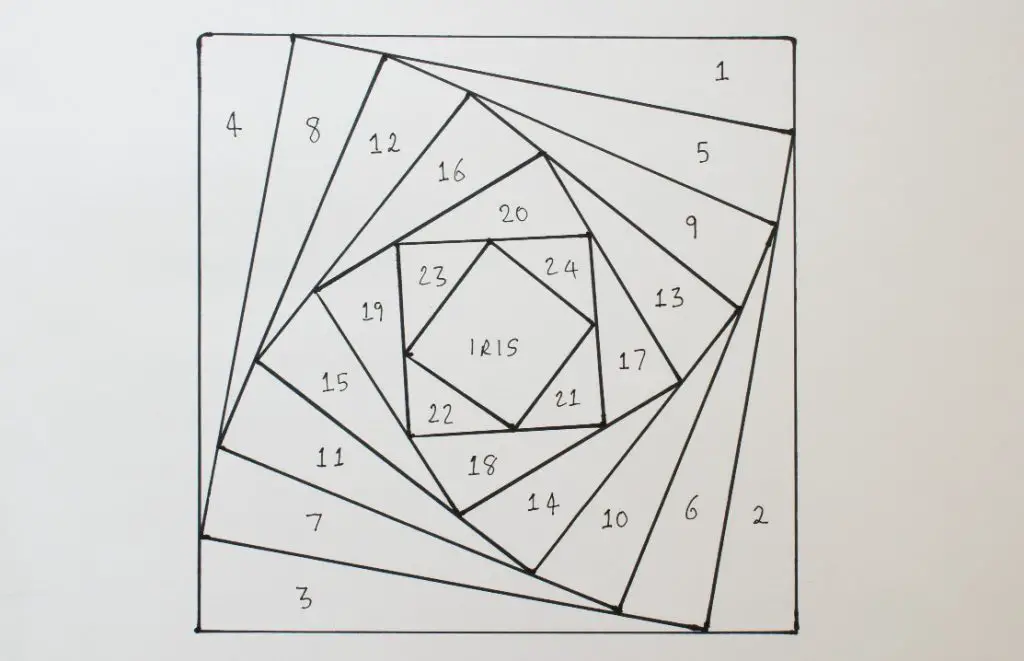
Once you have completed your layers label the centre as the iris. Check that you have labelled all your triangles in number order to help you use your pattern.
Well done, you have now completed your first iris folding pattern. I am sure it will be the first of many! If you want to download the three patterns I have made for a square, circle and triangle then sign up below to gain access to my Resource library now.
Video Tutorial
Keep Creating
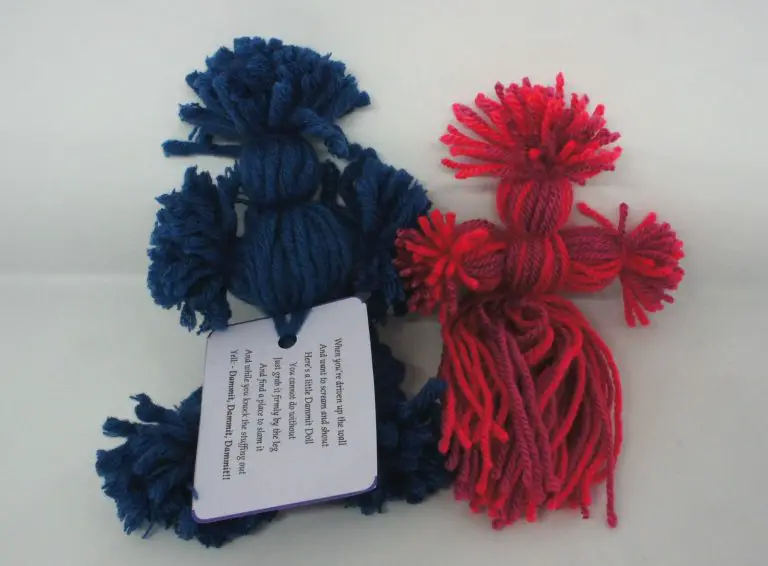
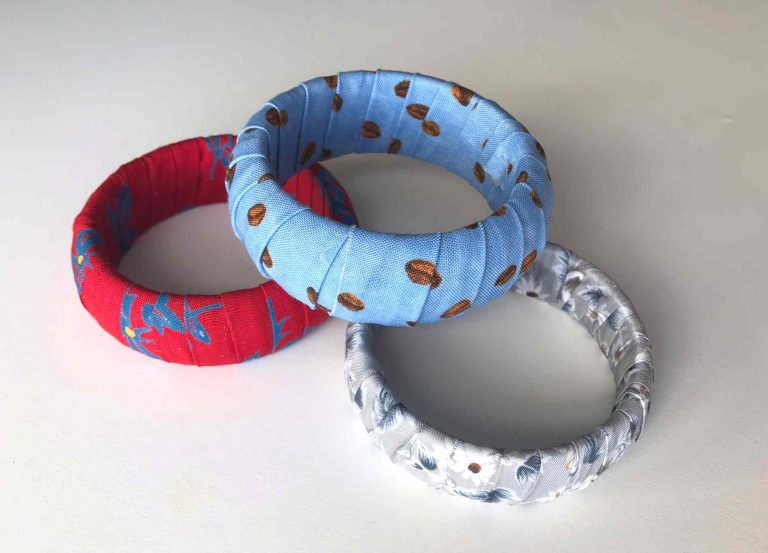
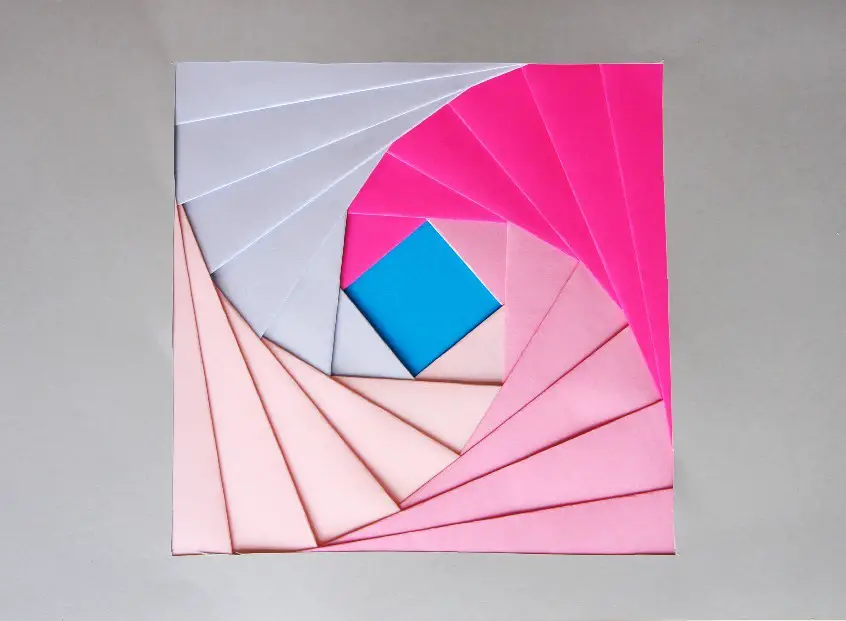
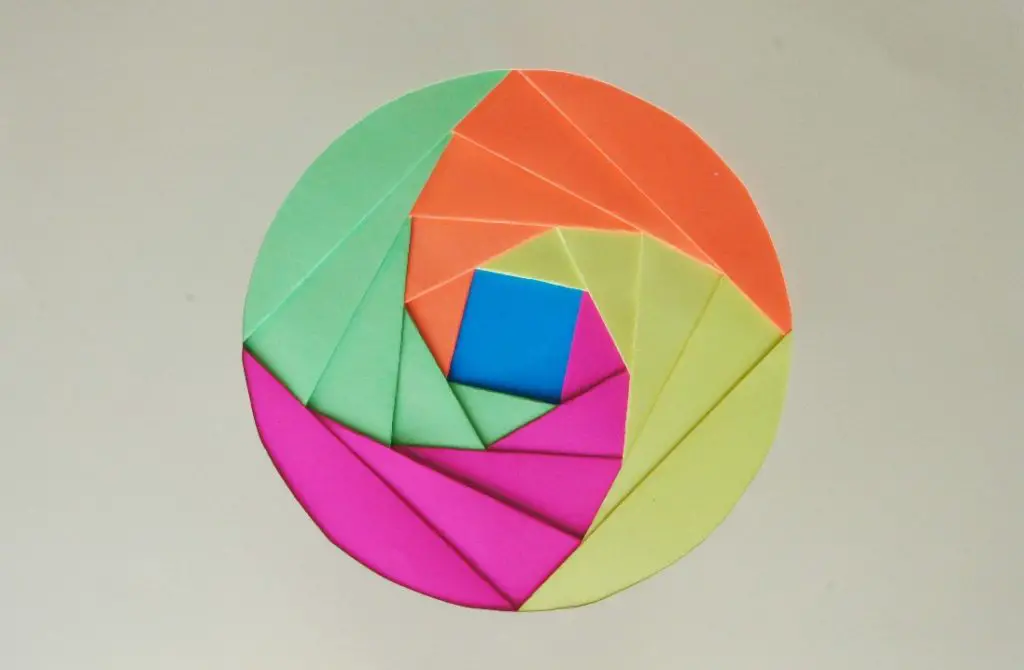
Here are the designs that I have done using these patterns that I have made. Just to give you some ideas and inspiration.

If you want some guidance on completing your iris folding pictures then take a look at the full tutorial here.
If you would like some more creative ideas with paper then check out:
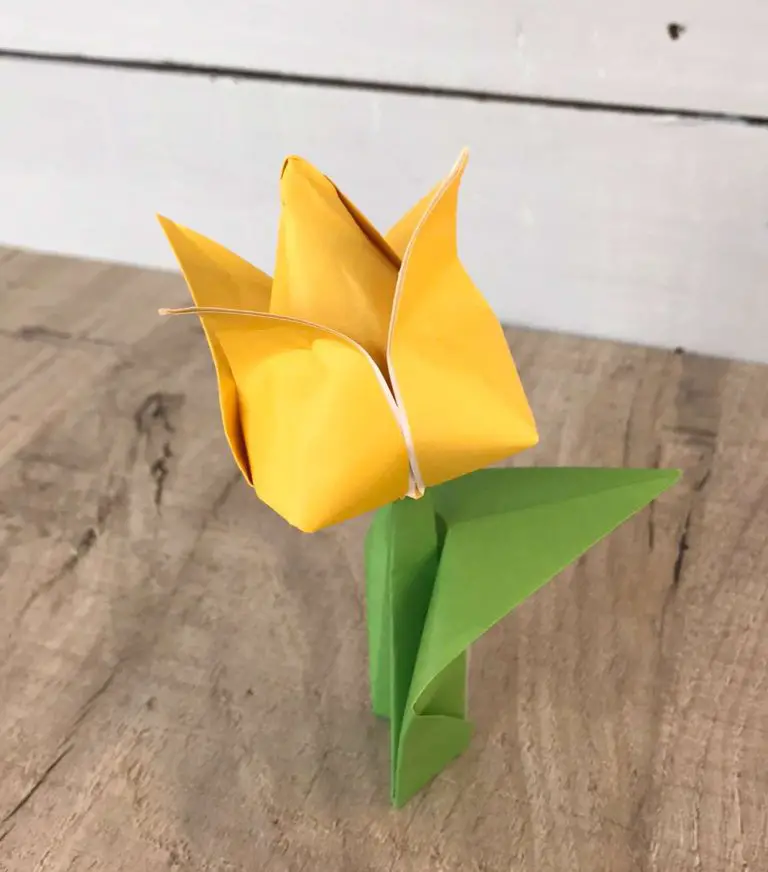
Paper Flower Tutorials that I have tested
Create an Origami Heart Corner Bookmark
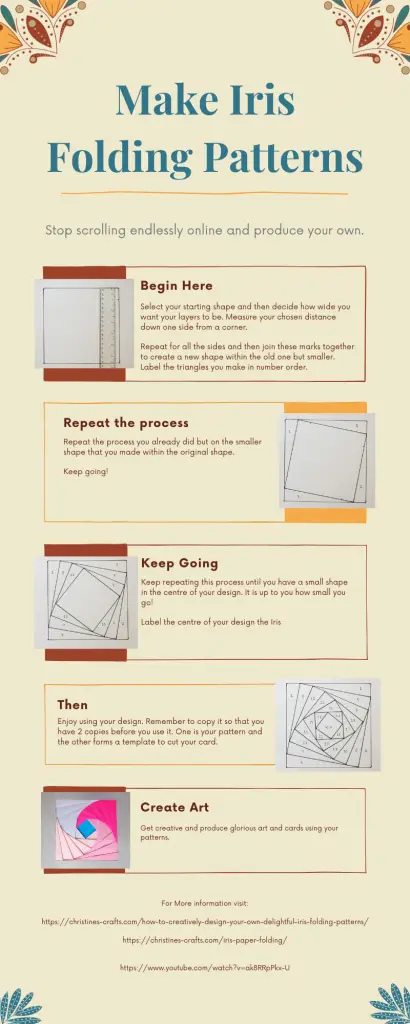
Enjoy creating your iris folding patterns and let me know how you get on in the comments section below. If you find it useful you can also use this Infographic as a handy reminder.