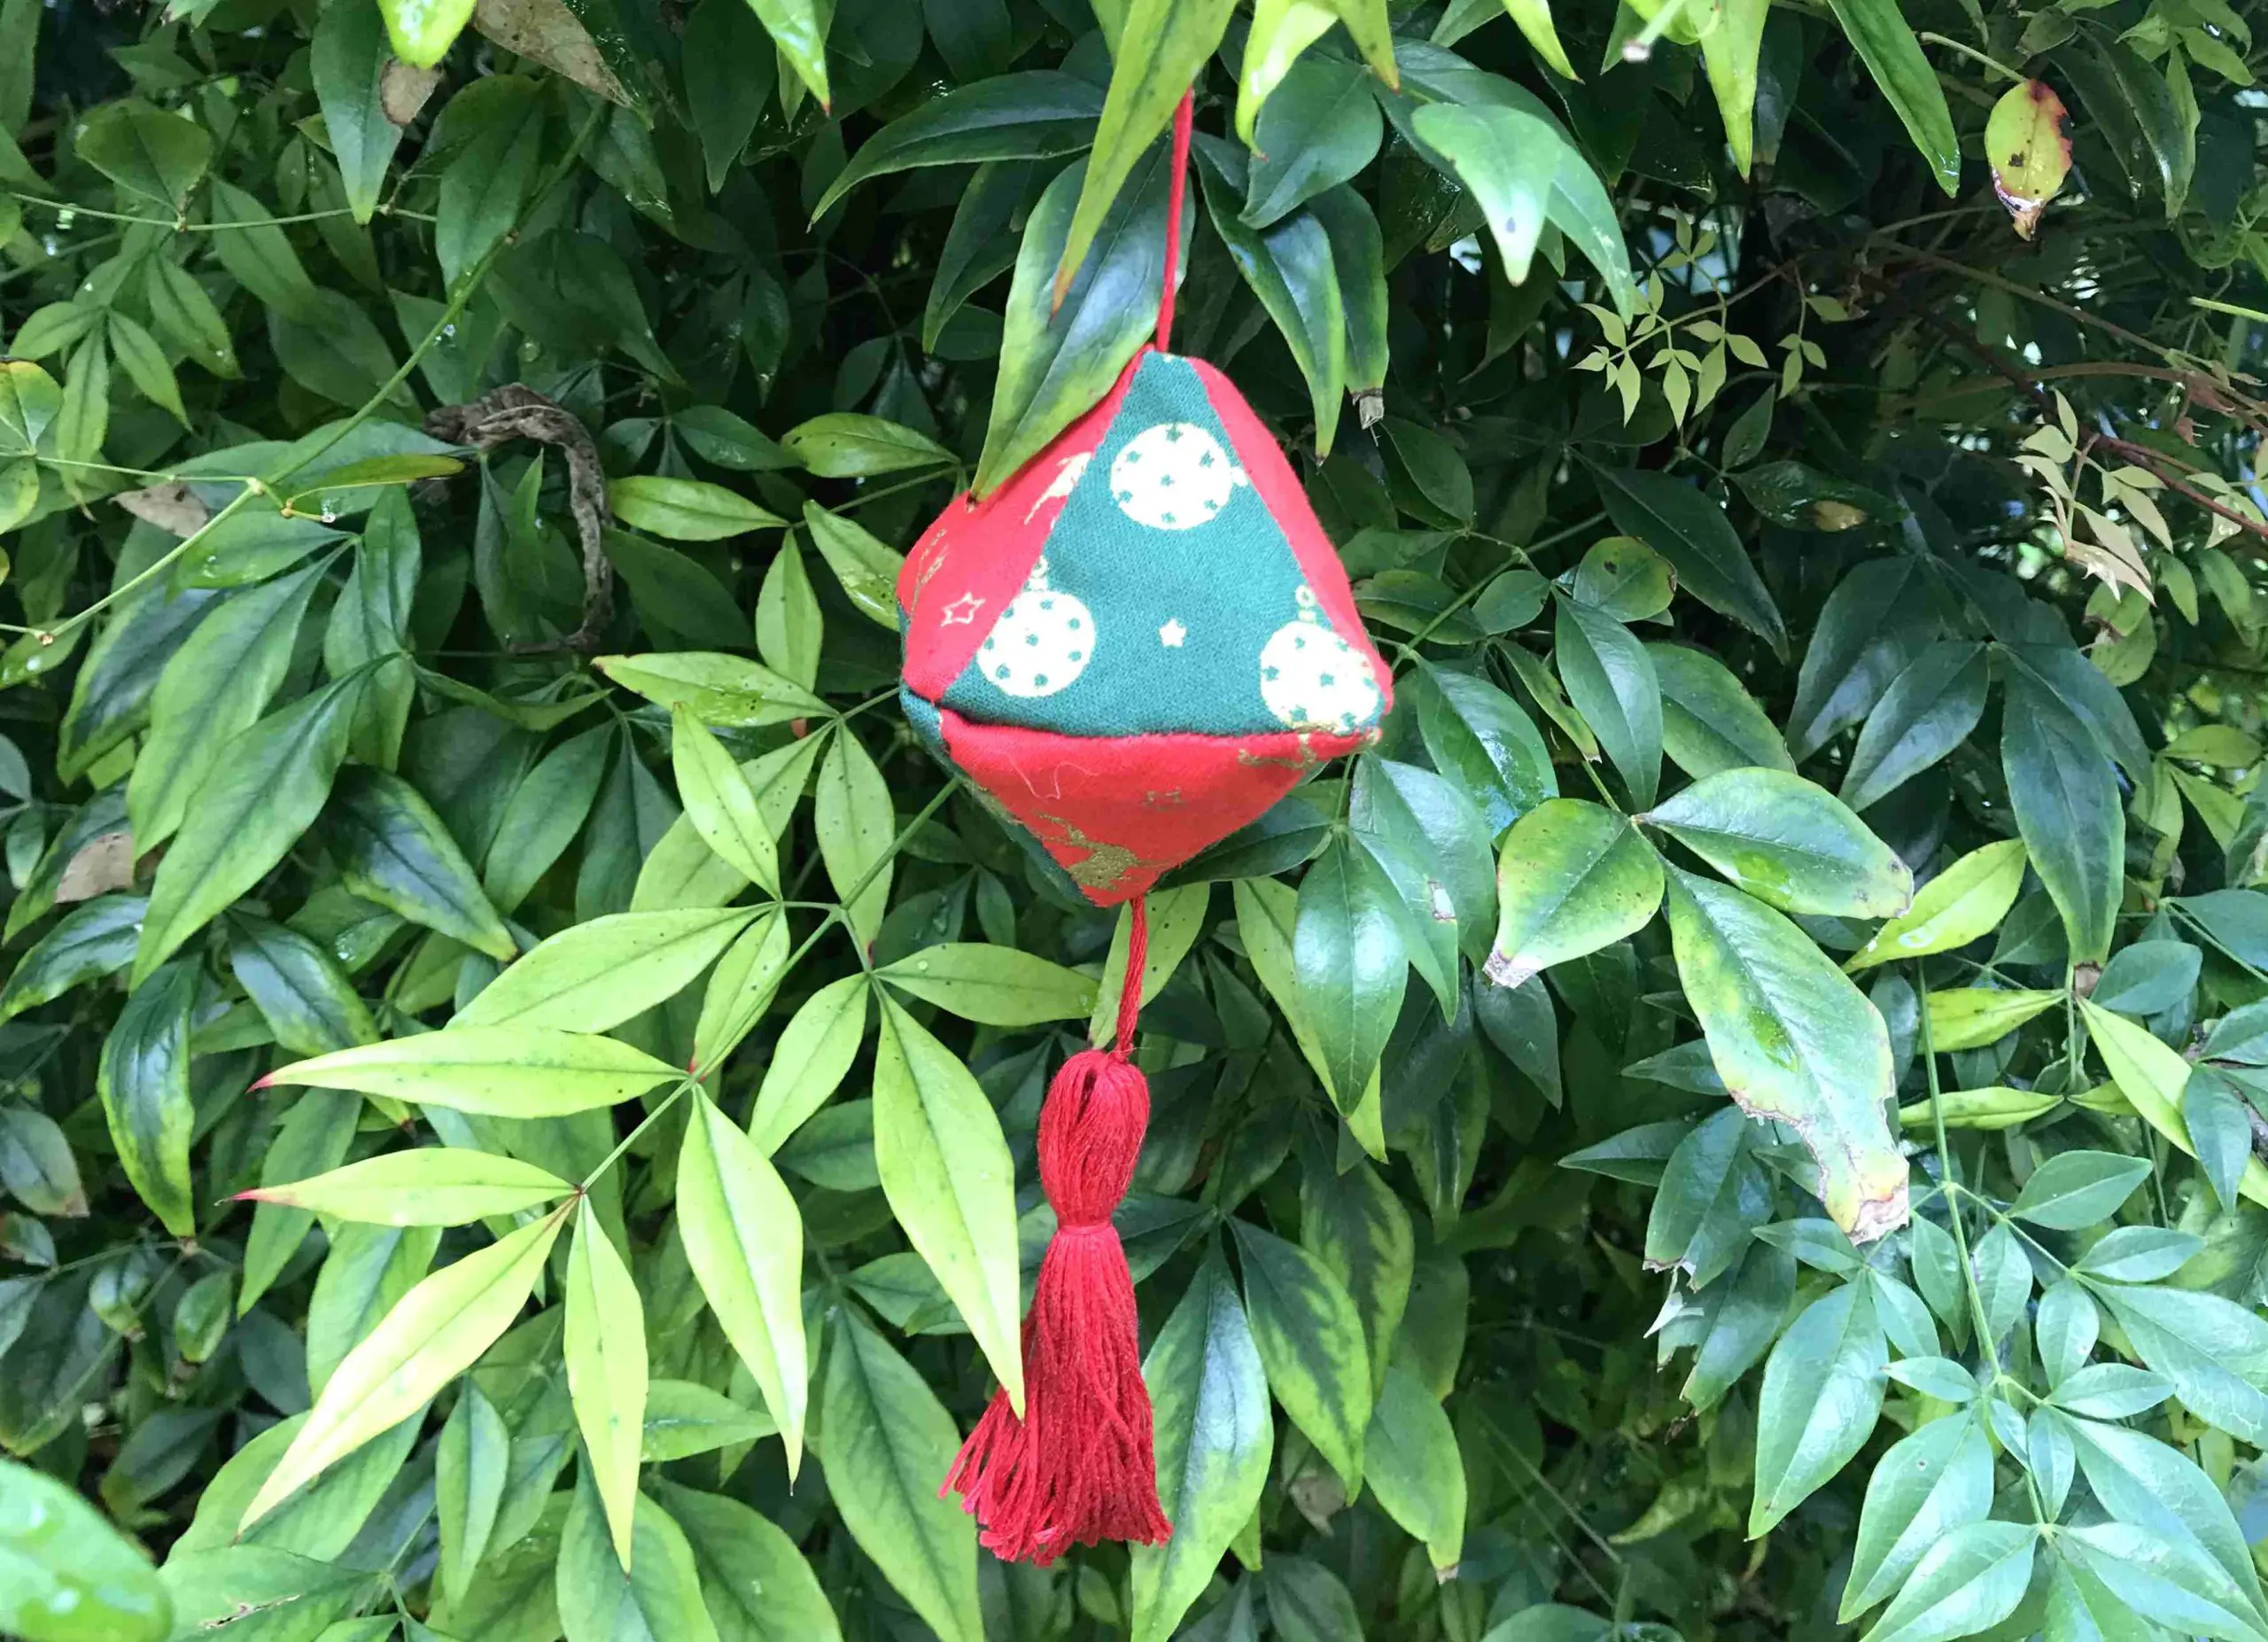
How to Sew Christmas Tree Diamond Decorations – Free Pattern
As an Amazon Associate I earn from qualifying purchases
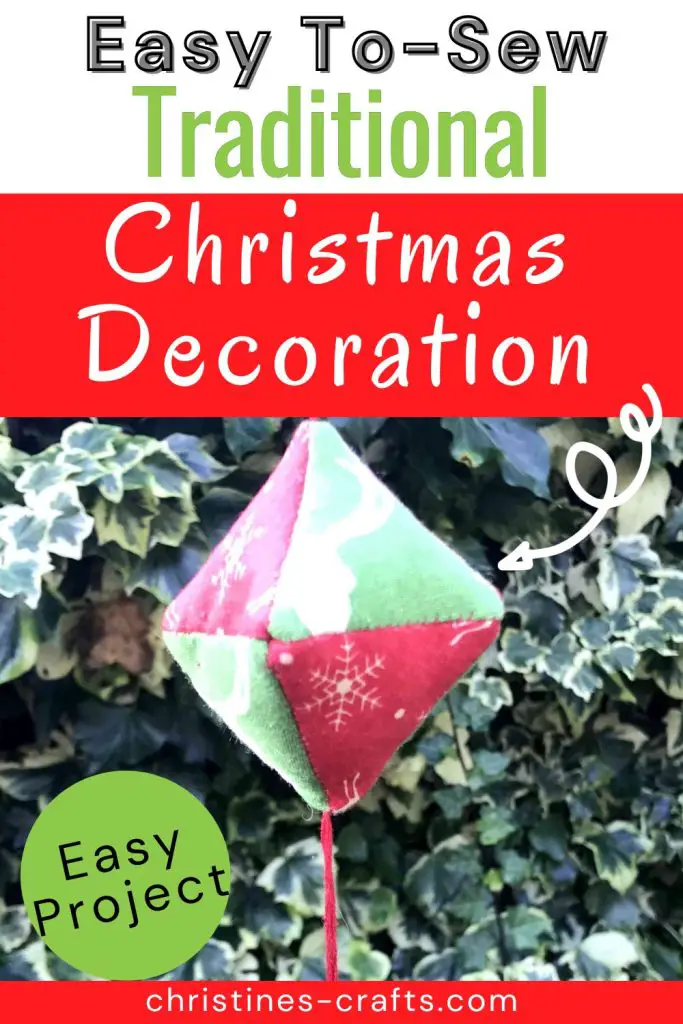
Are you looking for hand sewn Christmas ornaments that are traditional? Then why not try these Christmas hanging diamonds. They are very easy to make using English paper piecing and give a traditional look to your tree.
You could make them in any colours you like and they are a great scrap fabric project. You could make matching Christmas stockings and traditional Norwegian Coronets to hold small gifts on your tree. I love the traditional gold, red and green colours but you could use any to match your holiday decor.
This tutorial is part of the monthly Sustainable Craft Challenge and the theme this month is Christmas. I am joined by so many talented crafters from all around the world to bring you some great inexpensive sustainable craft ideas. All of them are Christmas themed so will brighten your holiday and at the end of this tutorial you will see links to them all so take a look.
You probably already have everything you need to make these so let’s get started.
This page contains affiliate links meaning I earn a little commission if you use those links at no cost to you. I only recommend brands I use and trust.
Supplies you will need:
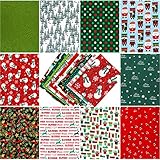
- Fabric (choose whether to use one or two)
- Printable Template
- Thread
- Tassel (full instructions to make your own tassel are here)
- Embroidery thread or ribbon for hanger
- Toy filling (or fabric scraps to fill)


Video Tutorial
This video is also available on my YouTube channel.
Prepare your Fabric Triangles
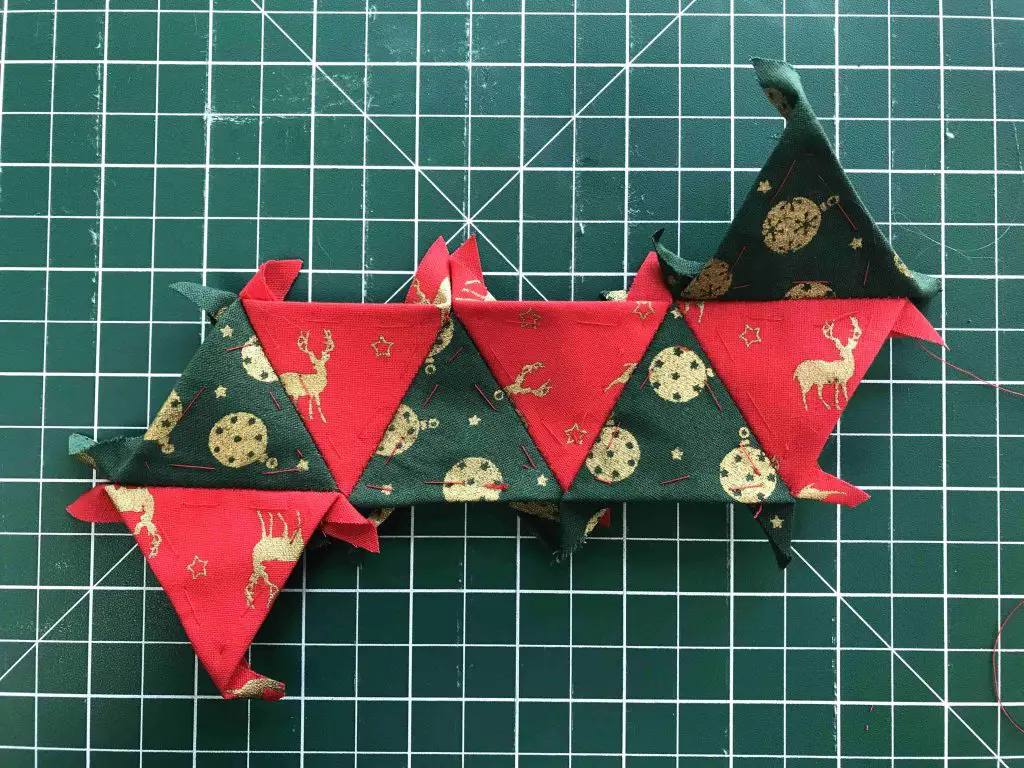
Print off and cut out both pages of the template. The smaller triangles will be your paper pieces and the larger triangles are the pattern pieces for your fabric. You need to cut out 8 fabric triangles. I cut 4 of each pattern to give a nice effect but the choice is yours. You could even make each triangle a different fabric!
Once you have 8 small paper triangles and 8 large fabric triangles it is time to sew the paper triangles to the fabric ones. For each pair simply place the paper triangle onto the centre of the wrong side of fabric triangles. Then fold the edges around the paper and tack them in place, You will be removing these stitches and the paper before you finish the project.
Once you have done all 8 it is time to start assembling your fabric Christmas ornament.
Sew your DIY Fabric Ornaments
Sew triangles together
If you are doing a pattern then decide now what your pattern is and lay the triangles out as per the paper pattern template. I am doing a simple 2 fabric pattern so I am simply going to alternate colours.
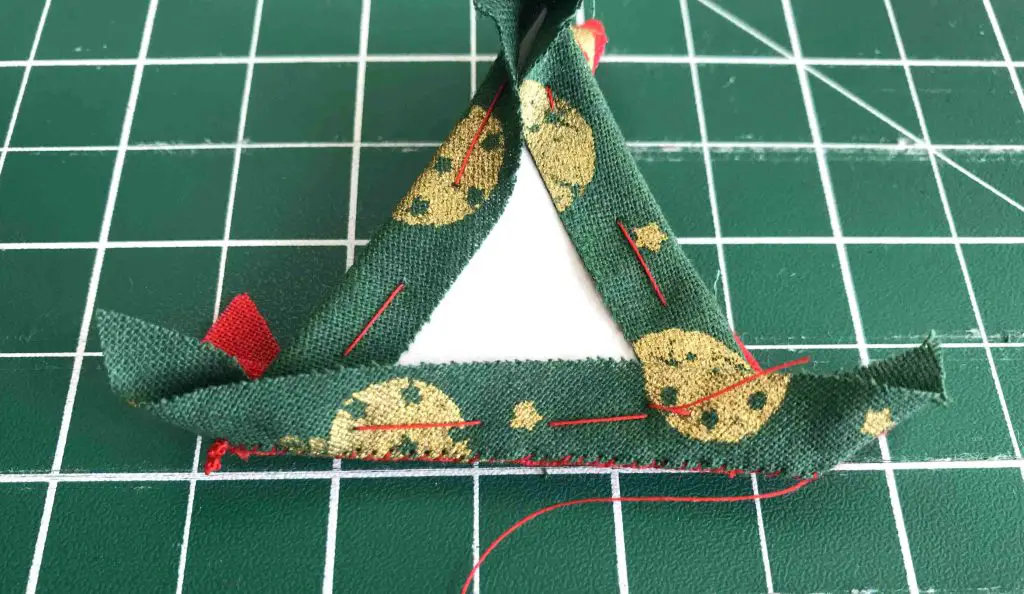
Take 2 triangles and hold them right sides facing. Then sew along one edge to fix the 2 triangles together. Use a whip stitch making sure that your stitches are close together for a good finish. I recommend finishing off your thread (a simple knot) but not cutting it off as you will continue sewing.
Then continue adding triangles in this way until you have sewn all 8 together into the pattern of the paper piece template. You will now have all 8 sewn together but they will lie flat on your table.
Snip off the excess fabric from your points but take care not to get too close to the points as you do not want to expose any raw edges.
Construct the Diamond Shape
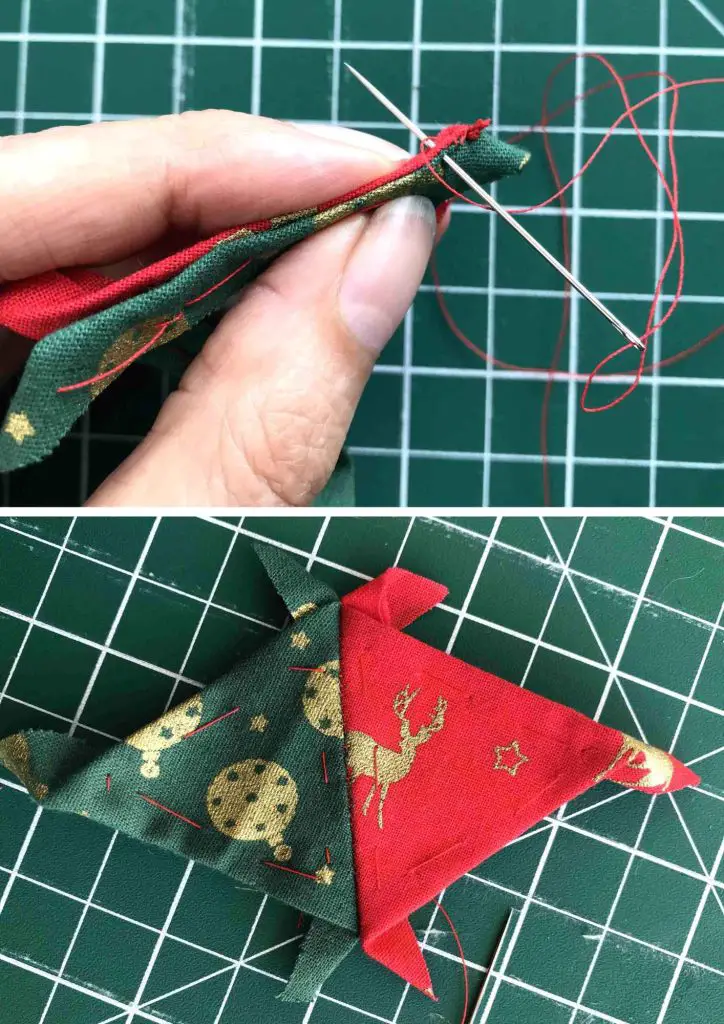
Take the half of the triangles that you want to be the top and wrap them around, right sides facing, so that they meet up. You are forming the top half of your diamond. BEFORE you sew anything you need to insert your hanger. In my case I am using a length of embroidery thread to match my tassel.
Place the hanger inside your shape that you are forming so that it lies on the right side of the fabric. The raw ends should be poking out through the top. I recommend putting a knot into your ribbon or thread so that it does not pull through.
Sew your hanger into place and then sew along the 2 triangles that met up. You should now have formed the top half of your Christmas diamond.
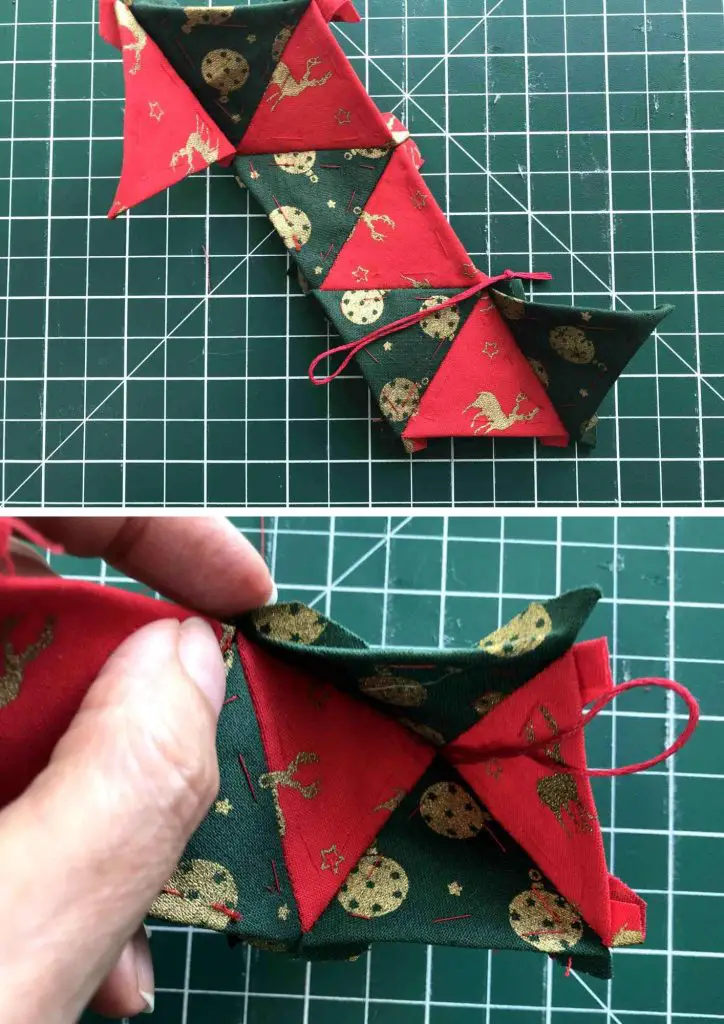
Wrap the remaining triangles around the top half that you have made and sew them on in turn. DONOT sew the final edge to the base of the diamond yet.
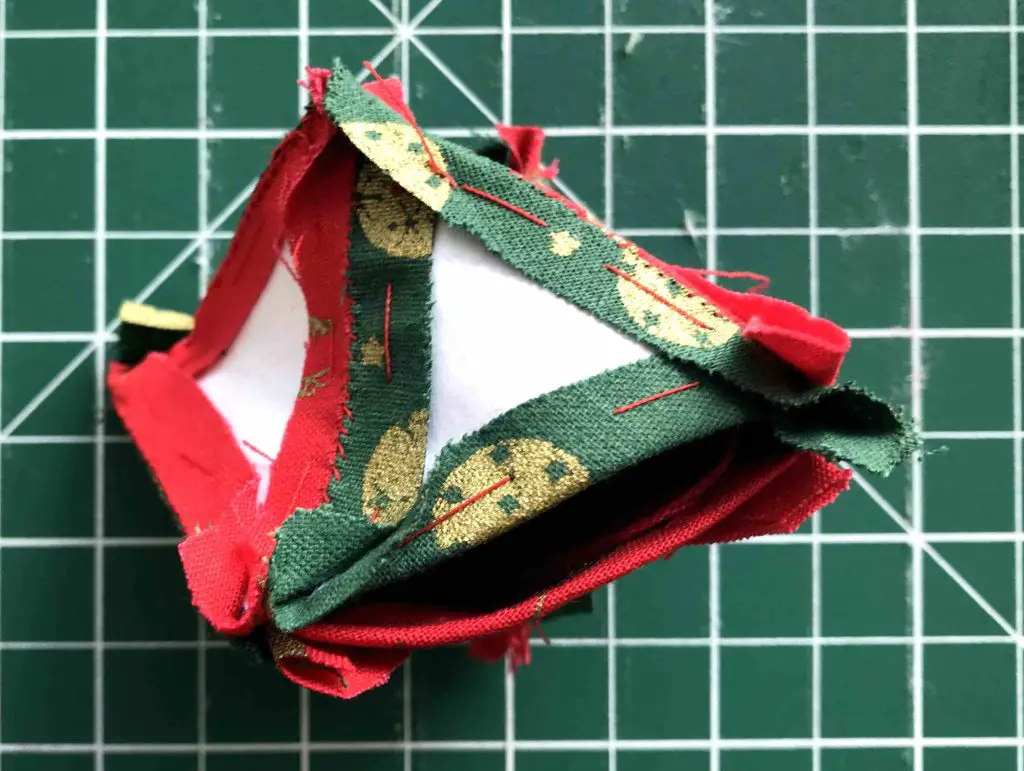
Once you have one seam left to sew that runs down to the base of the diamond you need to stop. Carefully remove all the paper pieces from your triangles. Now, turn the whole diamond the right way out. Take a little time to poke all the corners out so that they look crisp. If your sewing was not too accurate and you do not have crisp corners relax. Mine have varied a lot!
Fill your diamond as much as you want to. I recommend plenty of filling so that your shape stays plump. You also need to insert your tassel into the base of the diamond. Again, make sure there is a knot to stop it pulling through later.
Carefully pin the final seam closed making sure that all the raw edges are enclosed. Use a slip stitch (or ladder stitch) to close the seam making sure that you secure the tassel in place too.
Congratulations you now have a completed DIY elegant Christmas ornament. Hopefully it will be one of many!
More Handmade Christmas Decorations
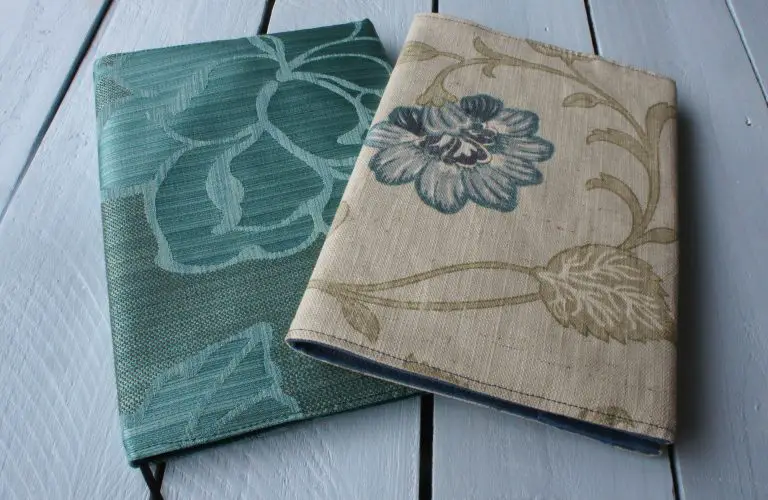
So, if you enjoy making your own Christmas decorations why not make some more that will co-ordinate such as a no sew Christmas fabric ornament, hanging Christmas angel or Fluffy Christmas fabric bauble.
Perhaps cover an entire window with a tissue paper stained glass design.
Or perhaps make some Christmas decorations from old books such as a folded book Christmas tree or a Christmas angel.
As promised, here are all the fabulous Christmas projects included in the November Sustainable Craft Challenge:
- Felt Star and Bead Garland
- End of the Season DIY Rosemary Wreath
- Nature Inspired DIY Christmas Wreath
- Create a beautiful Winter Tree Scenery using Cardboard
- Upcycled Christmas Baubles
- Framing a Quilted Pig
- Jeweled Oyster shell Ornament
- DIY Christmas Snowman From Old Socks
- DIY Christmas Tree String Art
- Christmas Tree Shaped Fabric Pillow No Sew Tutorial
Whatever you make this holiday season I hope that you enjoy it and get to spend it with friends and family. Let us know in the comments below any tips you have for making hand sewn Christmas ornaments.