Fabric Hexagons – How to Make
As an Amazon Associate I earn from qualifying purchases
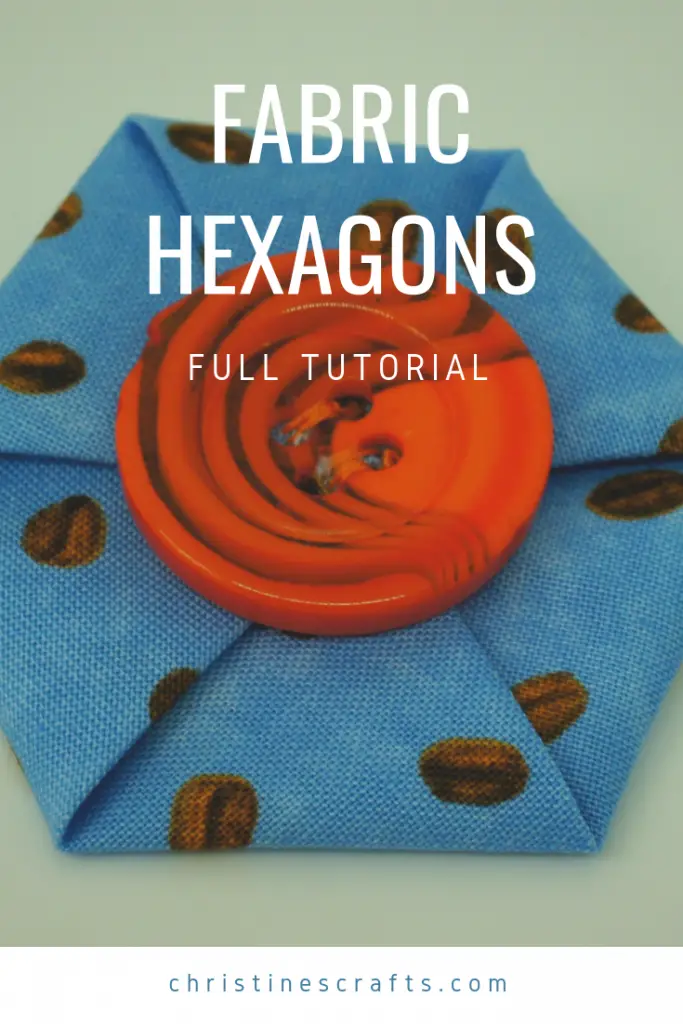
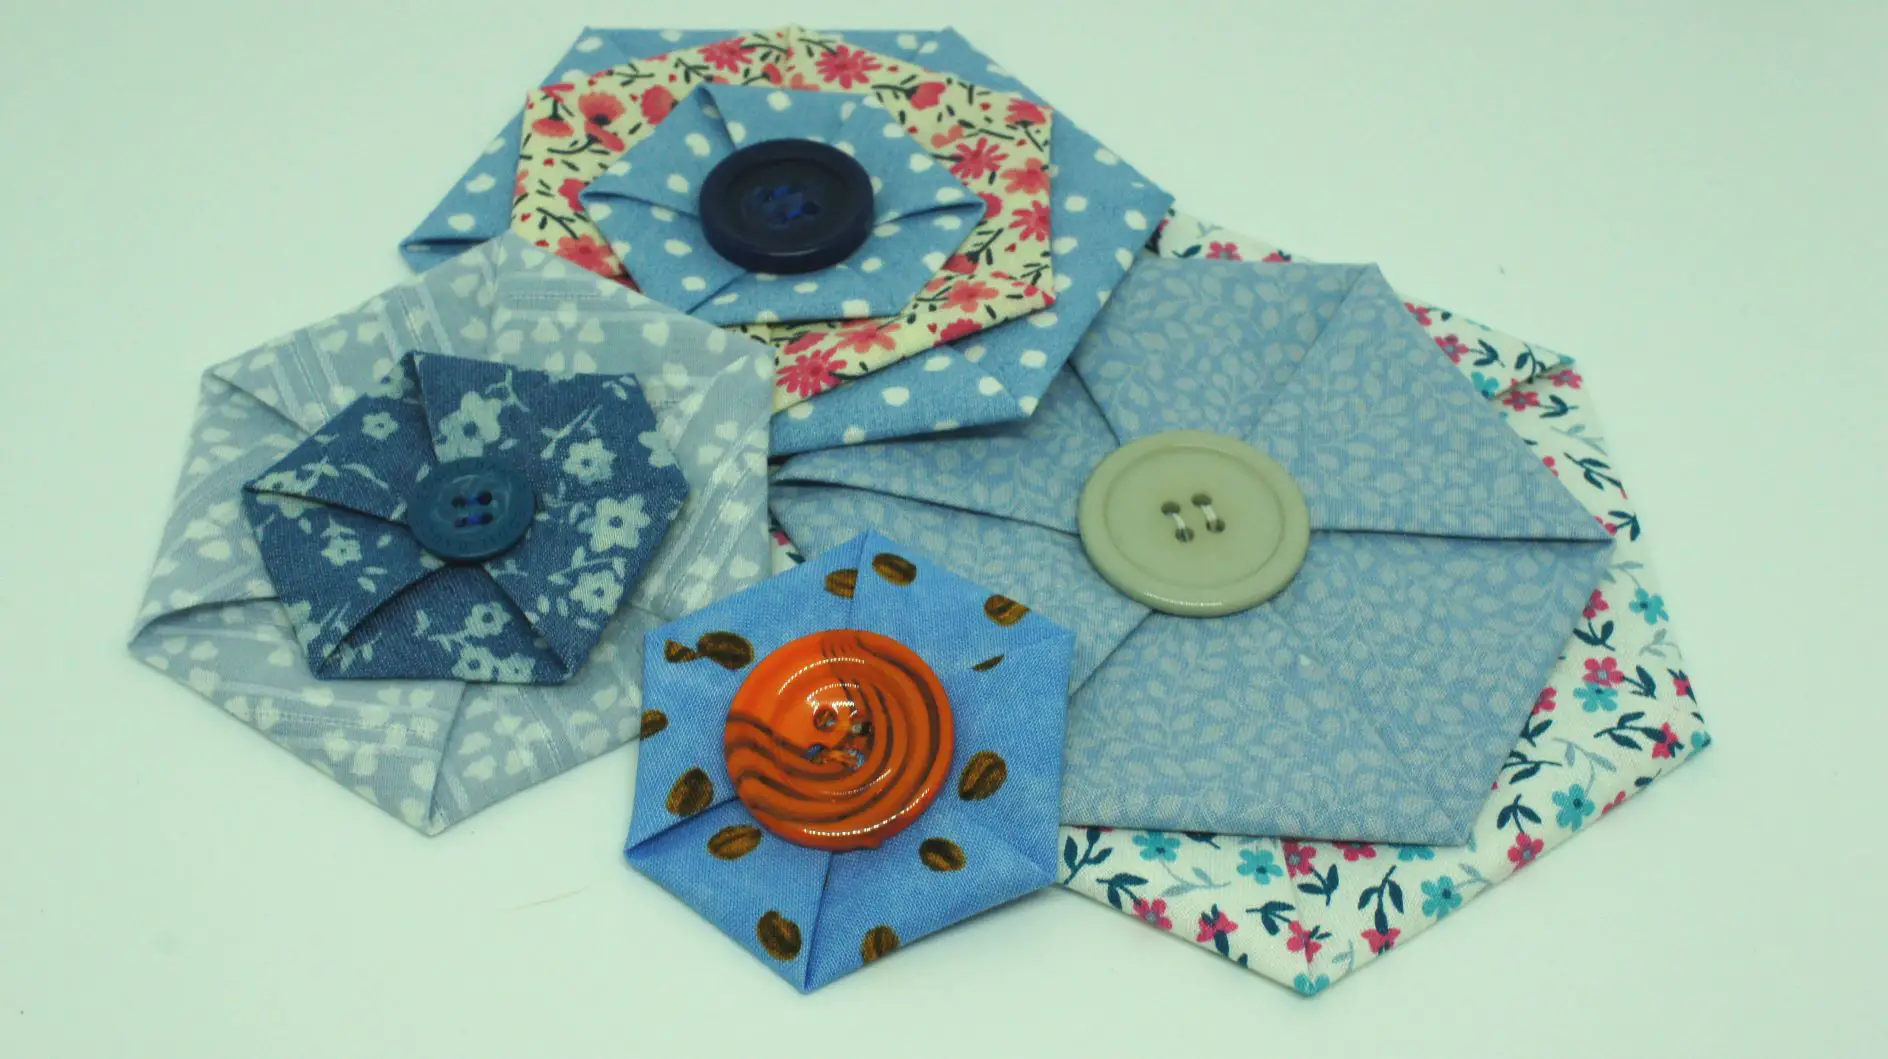
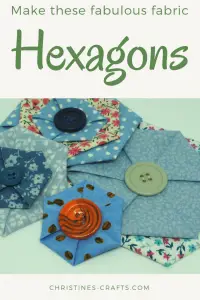
This tutorial shows you exactly how to make gorgeous fabric hexagons with very little sewing. In fact, you could glue the completed hexagon together and do no sewing at all! I have made them in various sizes and used them for a couple of different uses. They could be used as a brooch or to decorate just about anything. How about a cushion cover made from them?
This page contains affiliate links meaning I earn a commission if you use those links at no cost to you. I only recommend brands I use and trust.
You Will Need:
Fabric of your choice (fat quarters are ideal)
A circular template (I used kitchen plates)
Iron
Needle and thread or fabric glue
Video Tutorial
This video is also available on my YouTube channel.
Step 1: Cut out circles
Place your template onto the fabric. Mark the circle. I use an air-erasing fabric marker. Cut out your circle. The following list shows you the diameter of the circle I used and the size of hexagon it produced (all sizes approximate).
Circle Diameter Hexagon Side Length
26cm (10″) 7cm (3″)
22cm (8.5″) 6.5cm (2.5″)
17.5cm (7″) 5cm (2″)
11cm (4.25″) 3cm (1.25″)
The pictures in this tutorial are for the largest hexagon.
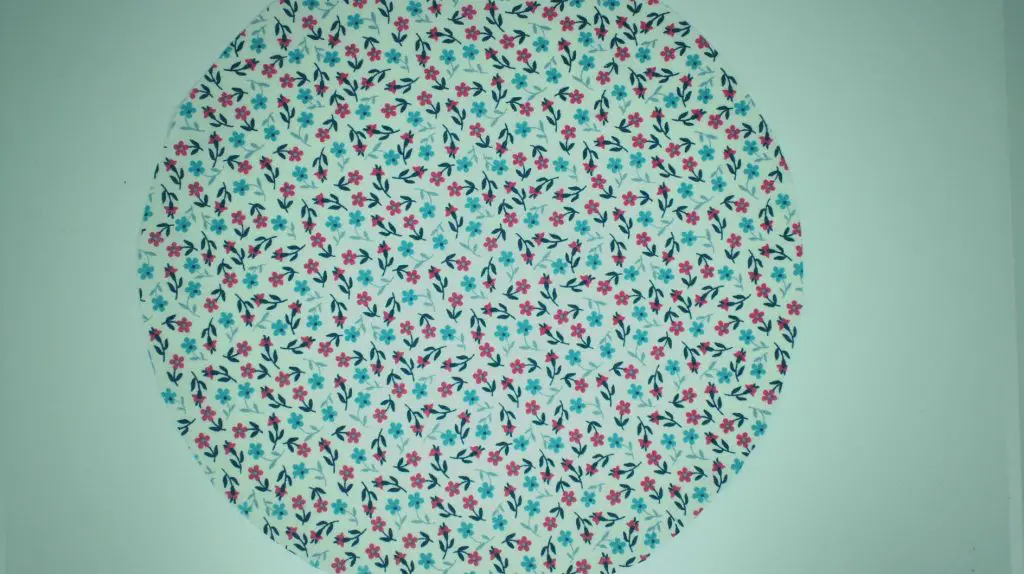
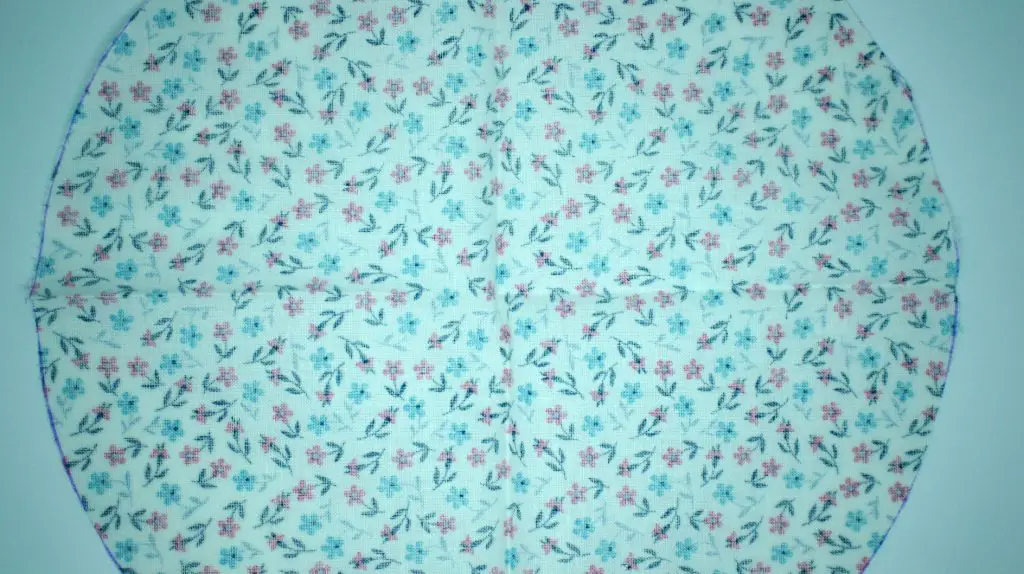
Step 2: Find centre of circle
Find the centre of your circle. You do this by folding it in half and pressing it.
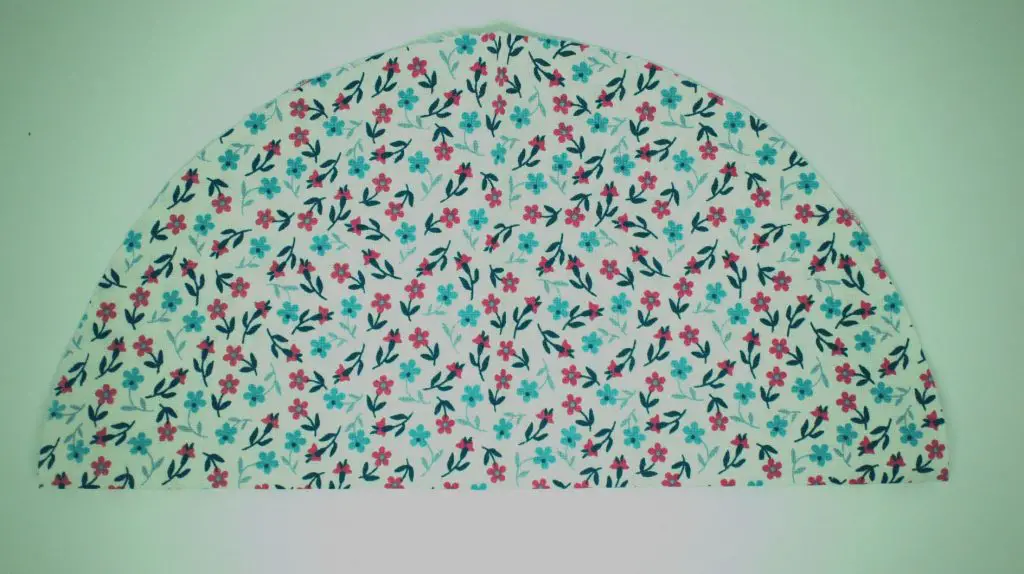
Then fold it in half again (quarter of a circle) and press it again.
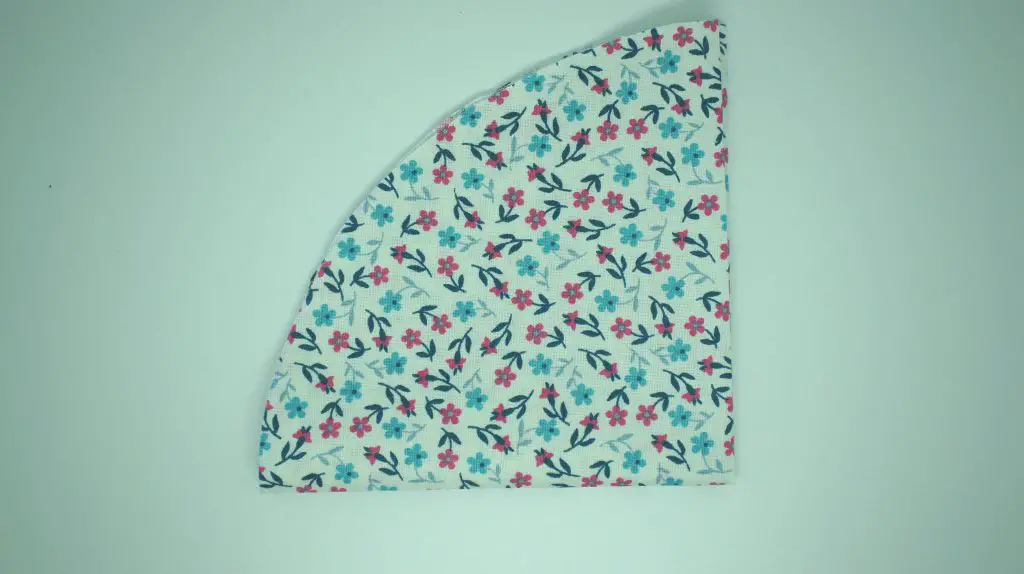
The centre is where the two fold meet and should be clear. If it is not, re-fold the circle and press it again.
Step 3: First Fold
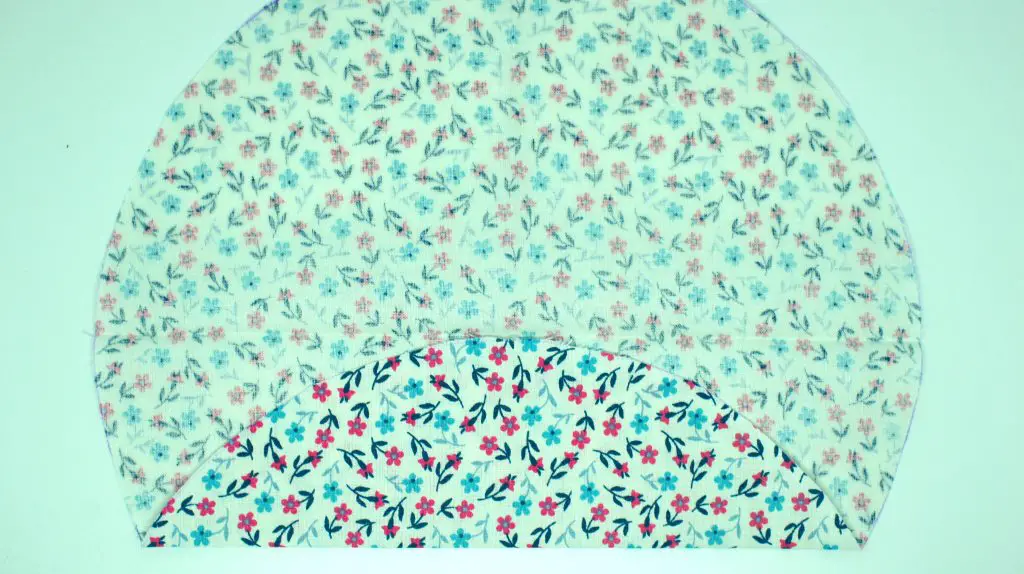
Fold the bottom edge of the circle up to the centre of the circle and press it firmly in place.
Step 4: Second Fold
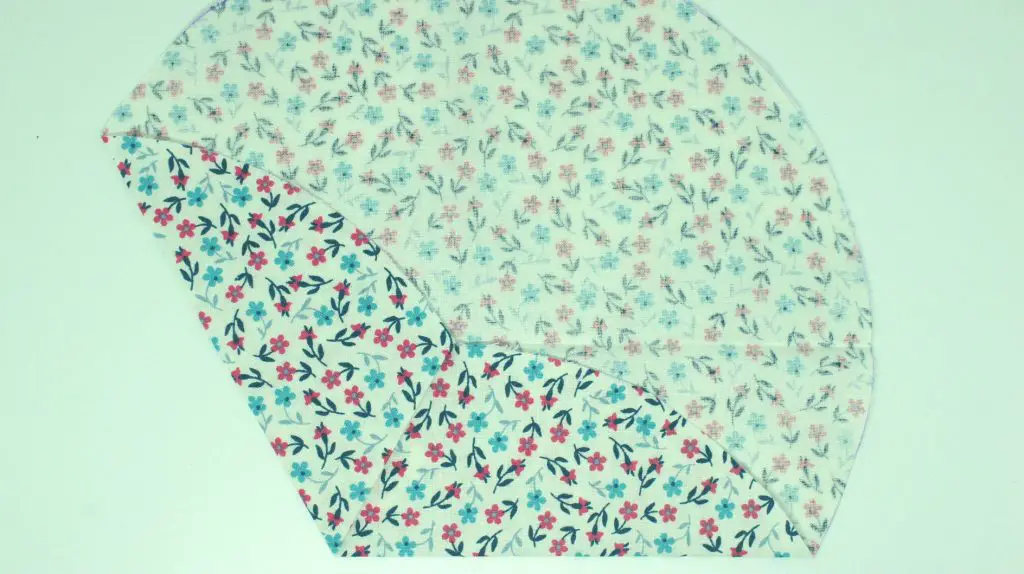
You can now work clockwise or anti-clockwise. I worked in a clockwise direction. Take the point that you have made and fold it up to the centre of the circle. Press it in place firmly.
Step 5: Complete folds
Continuing to work in a clockwise direction, take the new point and fold it to the centre of the circle.
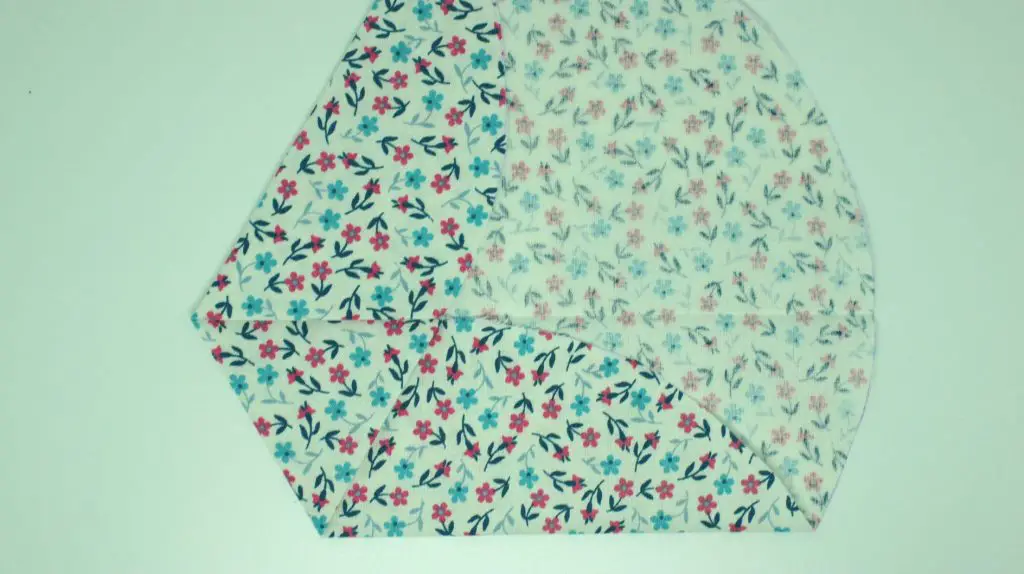
Repeat this process all the way around the circle.
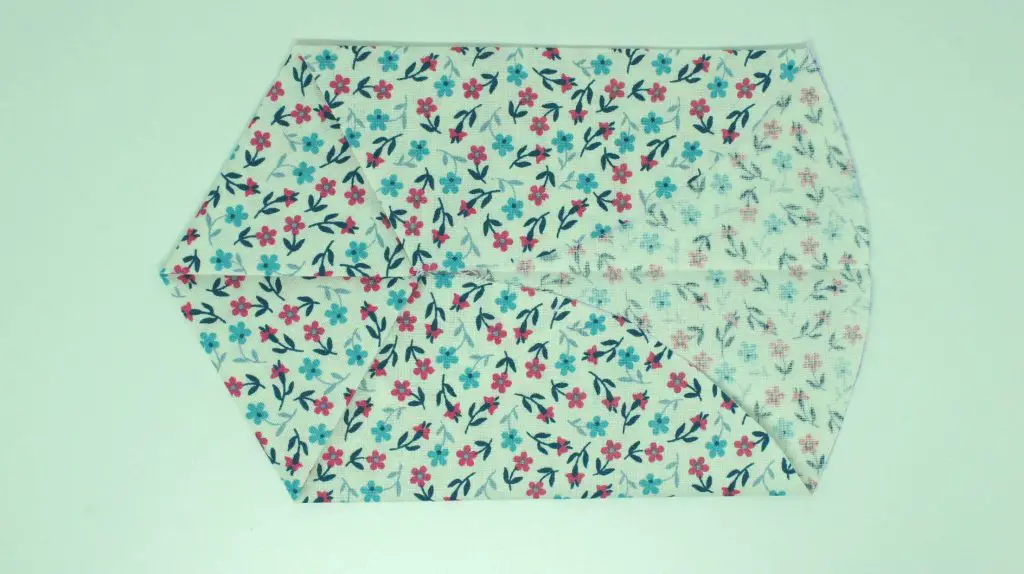
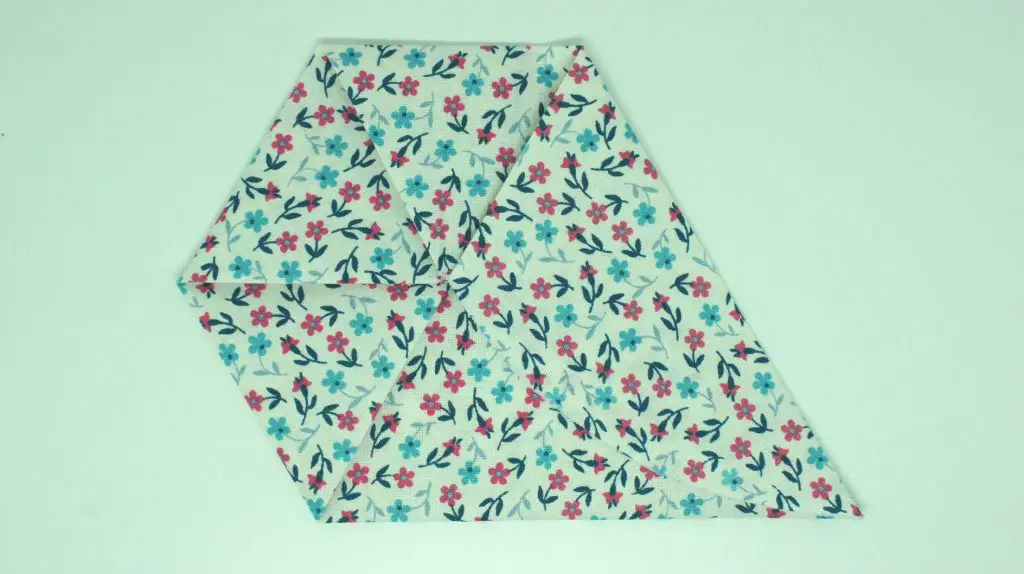
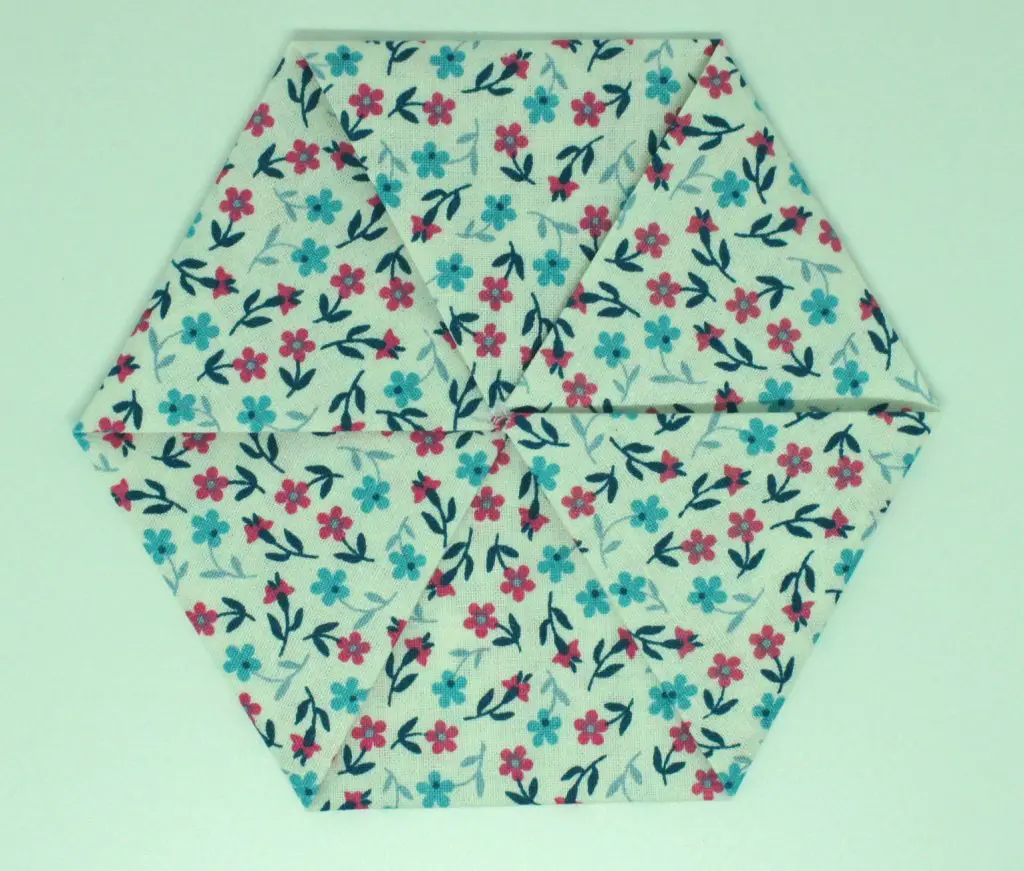
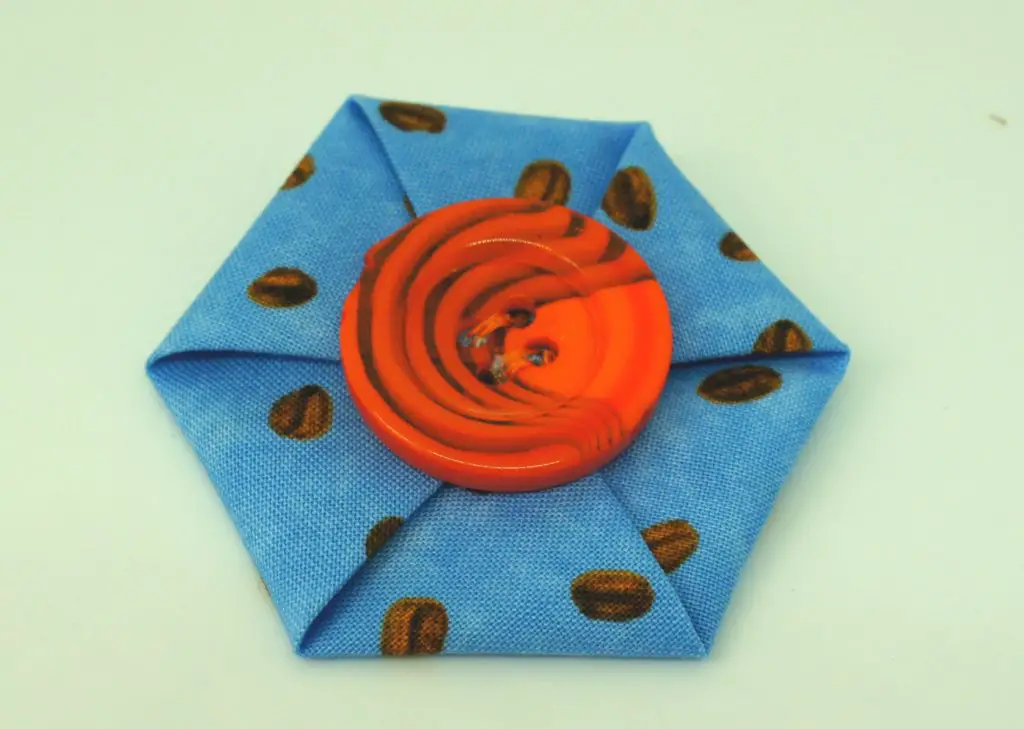
Now you have a hexagon made from fabric. You can glue it in place or sew it in place.
Step 6: Fix in place & create
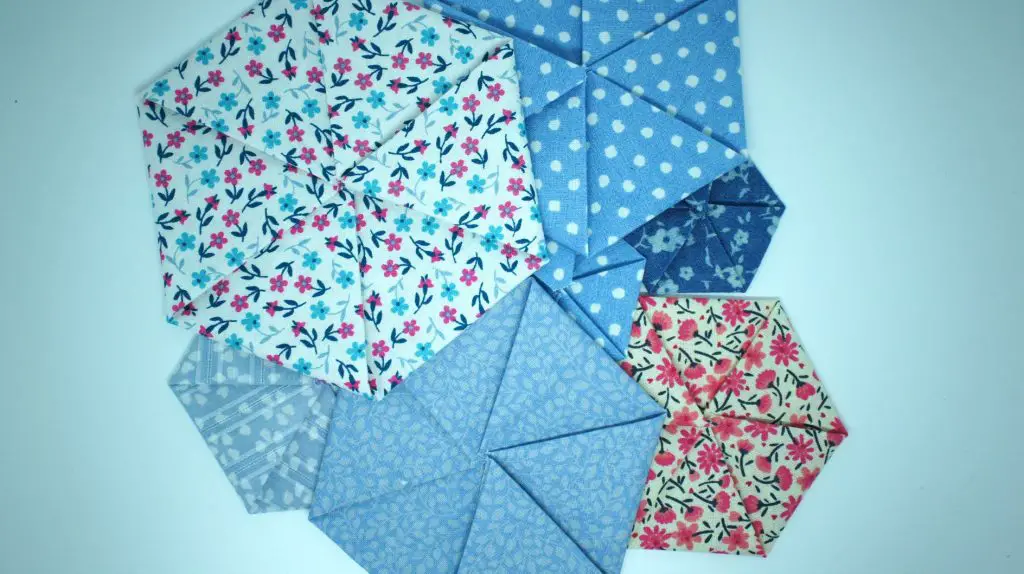
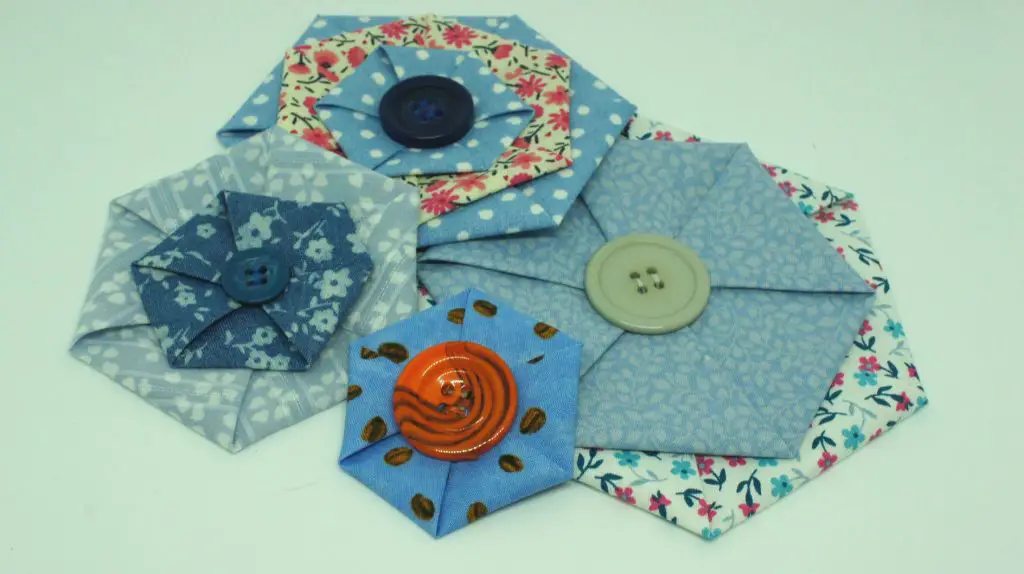
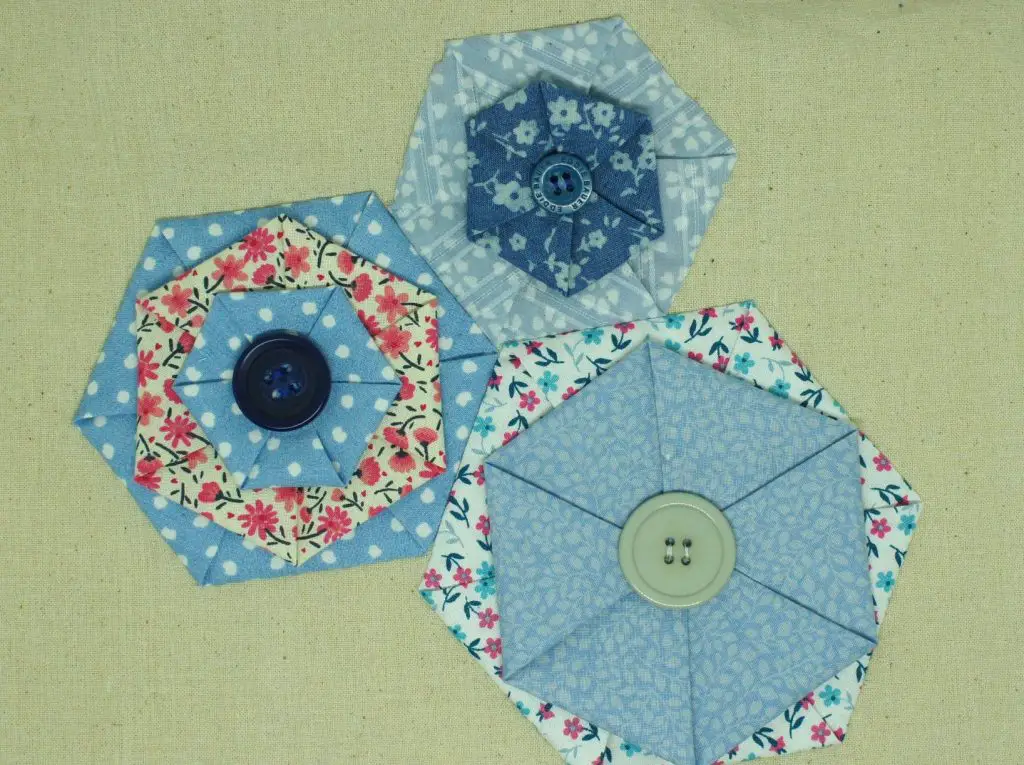
Let the creative juices flow and decide what to do with your hexagon(s). I think that a button in the centre just finishes them off and, of course, it hides my sewing. I made a selection of hexagons from various fabrics in various sizes and then assembled them into my projects.
Summary:
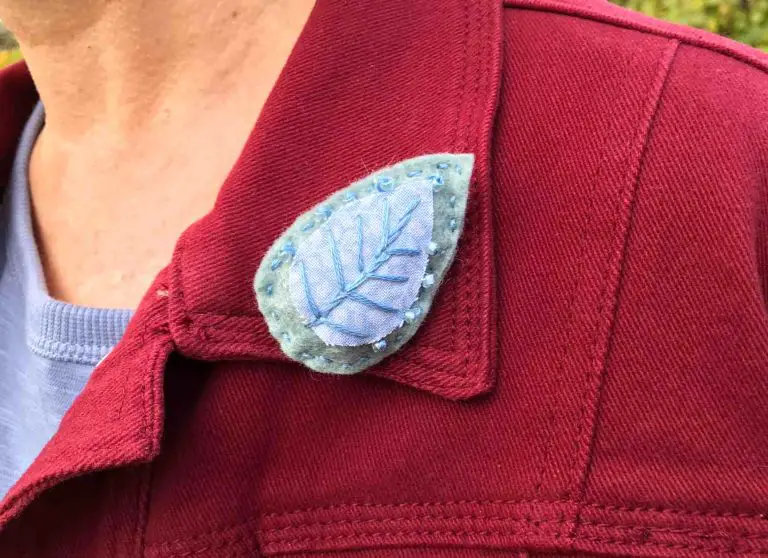
I made a brooch and decorated a simple cotton shopping bag. You can do whatever you can think of and I would be interested to hear how you use your fabric hexagons. Let me know via the comments section below.
You may also like some of my other tutorials:
Tool/ Make-up brush storage roll
Super Easy Tassels
So, remember to pin this tutorial on Pinterest for later!
