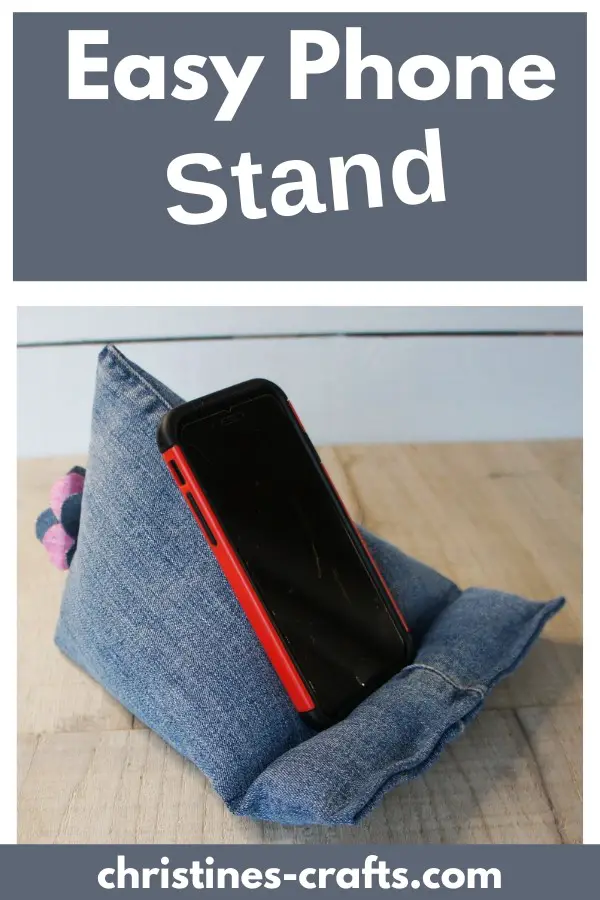
Sew a Stylish Phone and Tablet Stand from old Jeans Quickly and Easily!
As an Amazon Associate I earn from qualifying purchases
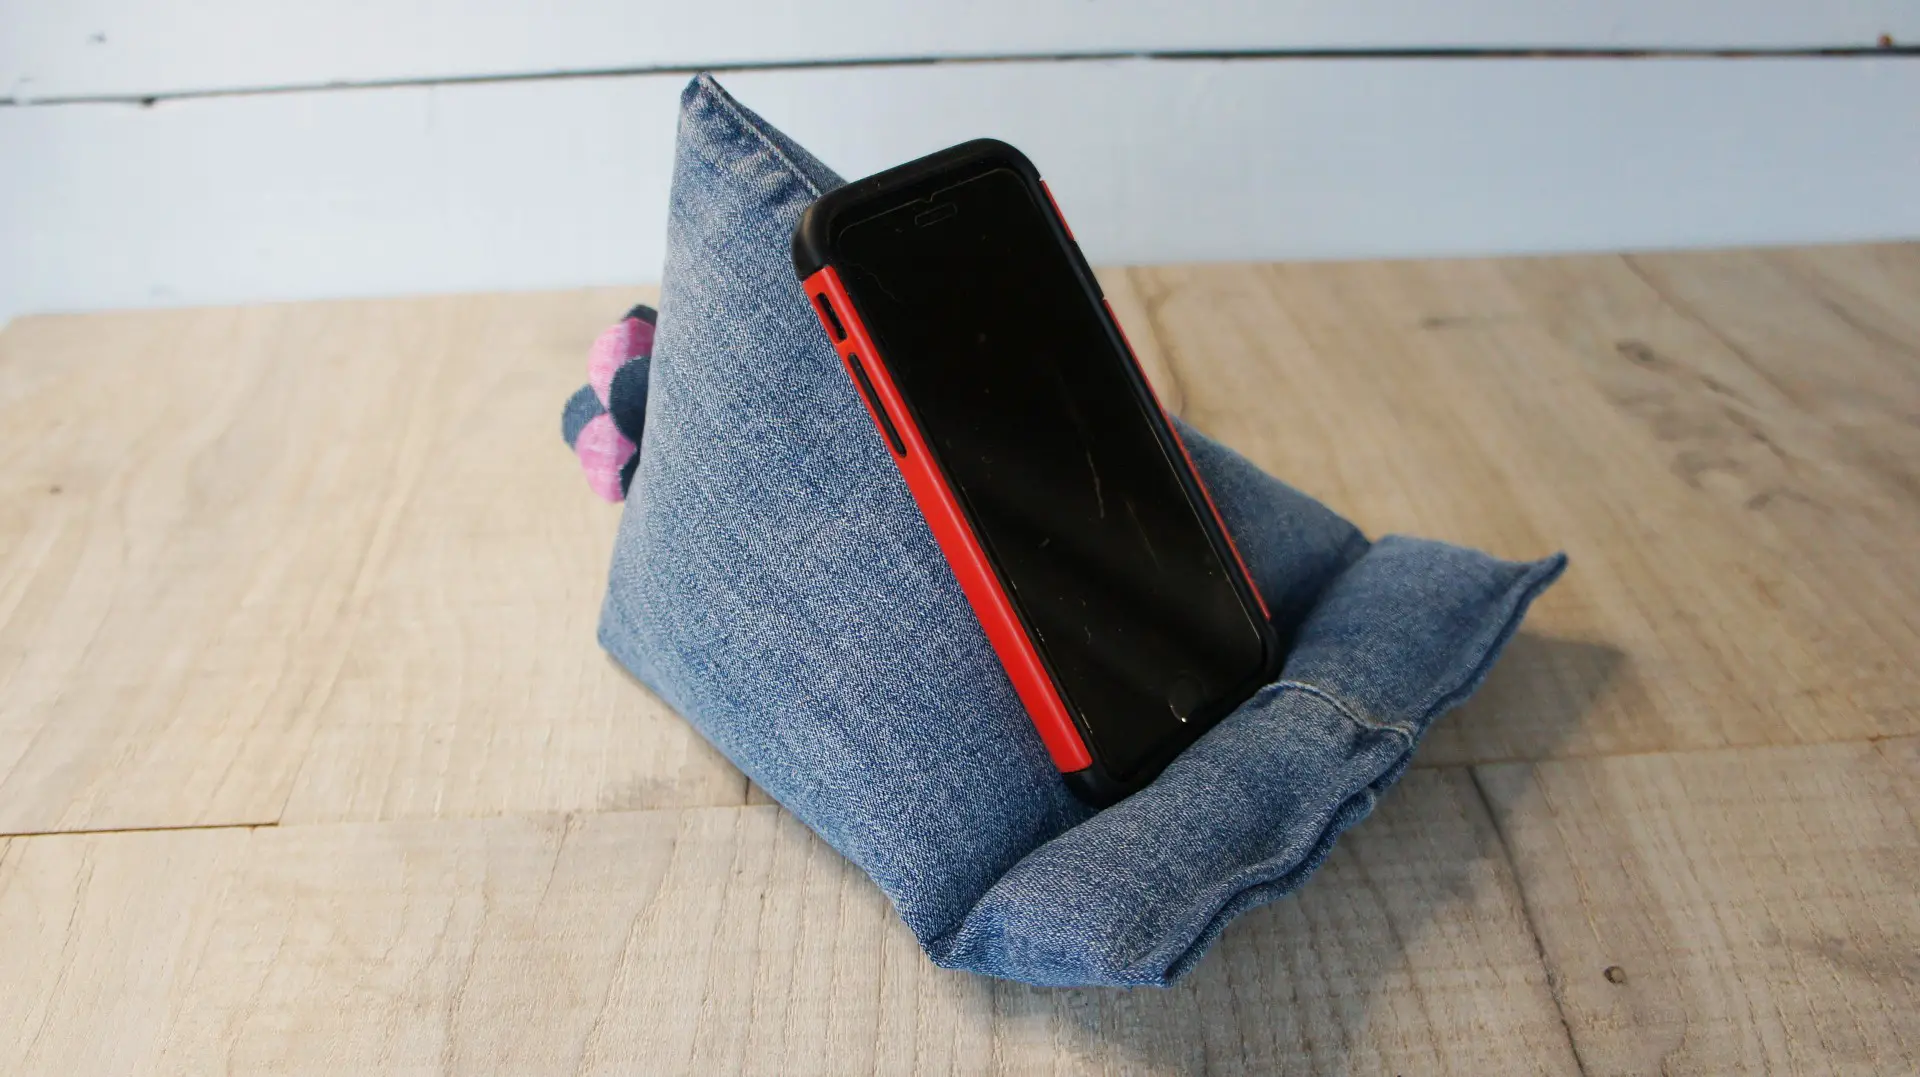
Whether you have a mobile phone, tablet or similar you always get fed up holding it up all the time, particularly if you are watching a video or video calling someone. So, why not sew a tablet stand from the leg of an old pair of jeans?
If you want to use some other fabric that you already have then I will also show you the extra step you need to take first!
If you like watching tutorials then scroll down to the end of the written instructions and watch the video tutorial.
So, no more arm ache for you , make yours today!
You will need:
- Old jeans or piece of fabric 18″ by 14″ (45cm by 35cm)
- Sewing supplies
- Filling Material (toy filling, rice, lentils, dried pulses or beans)
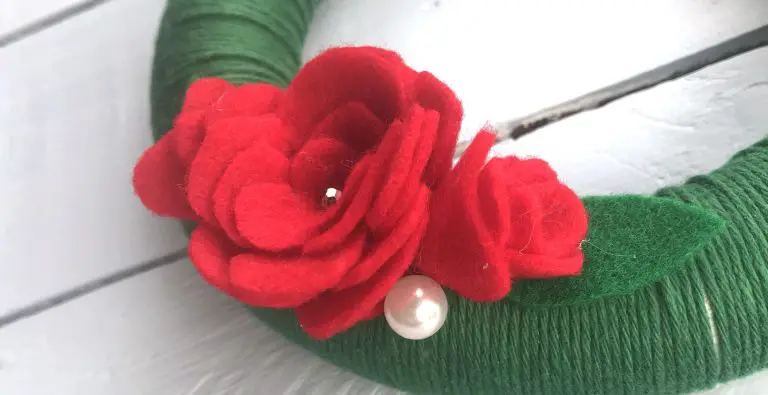
- OPTIONAL – button or similar decoration (denim flowers tutorial)
- OPTIONAL – Cardboard
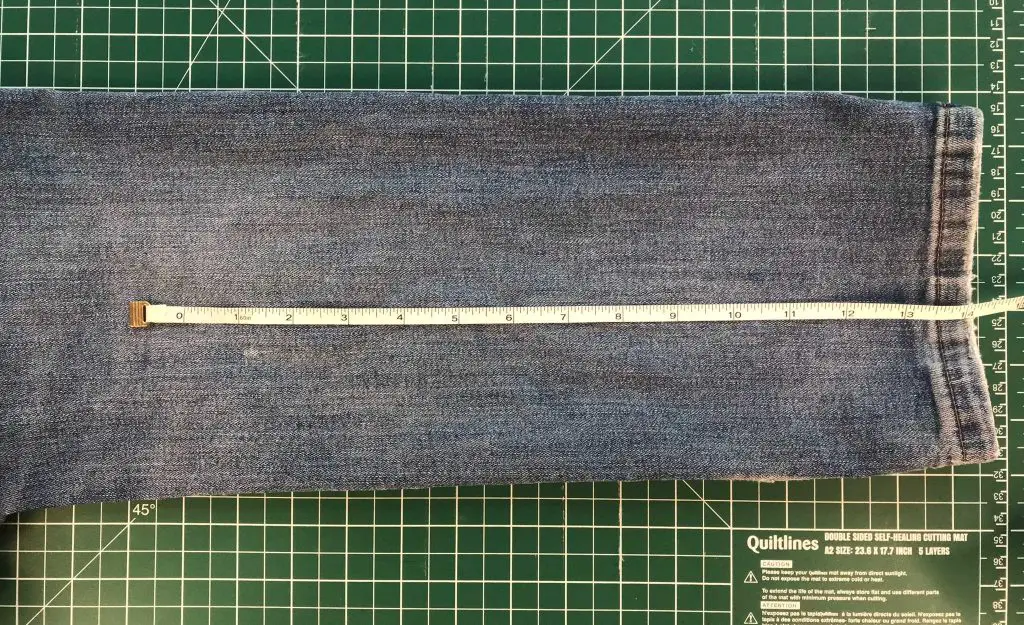
Create a tube
If you are using jeans simply take one leg of the jeans and cut it off 14″ (35cm) from the bottom. The size of your stand will depend on the width of your jeans leg. When laid down flat mine measures 7″ (18cm) across. You now have a tube and skip to the next step.
If you are using a piece of fabric fold it, right sides together, along it’s length so that you form a tube that is 14″ (35cm) long. Pin and sew along that length using a 0.5″ (1cm) seam allowance. You have now formed a tube equivalent to the leg cut from a pair of jeans.
Form the tablet stand pillow shape
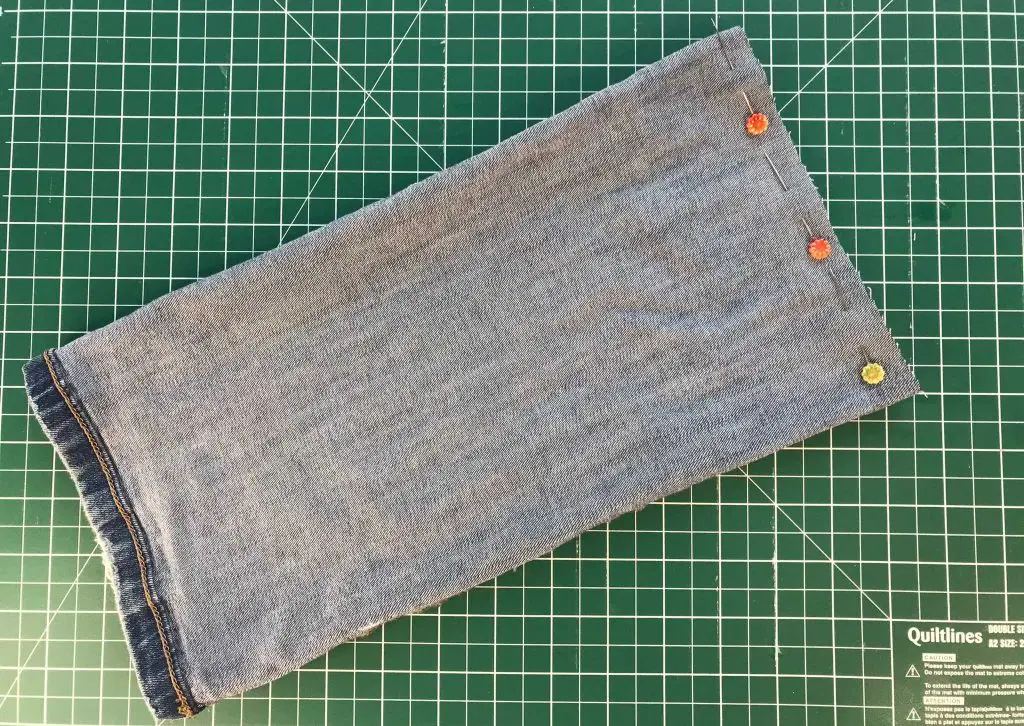
Turn the jeans leg inside out so that the right side is on the inside and lay the jeans leg down so that the 2 seams are at either side of the tube. Take the end of your tube that you cut and pin the two sides together.
Sew along that seam using a 0.5″ (1cm) seam allowance. Trim the corners to reduce bulk.
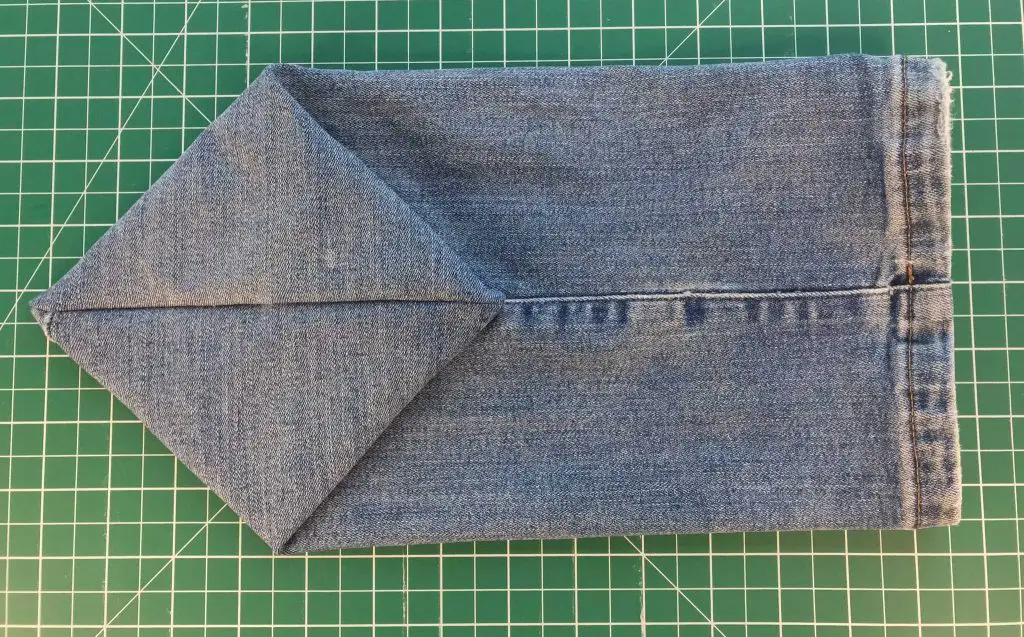
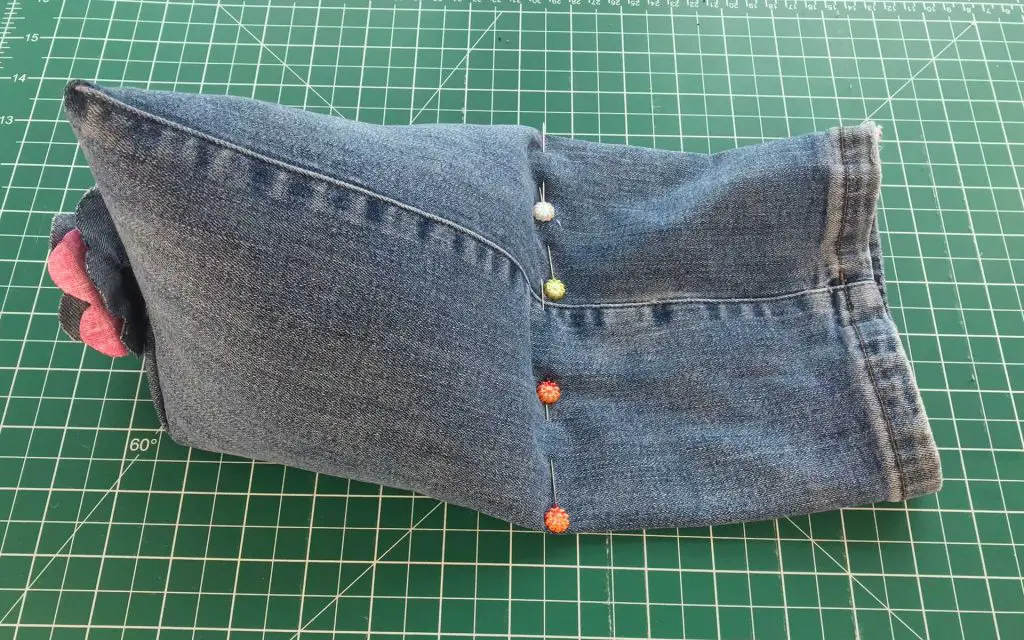
Turn the whole thing the right way out. Lay the tube down so that the 2 seams lie on top of each other in the centre of the tube. Flatten the end that you have sewn so that it forms a diamond, as shown.
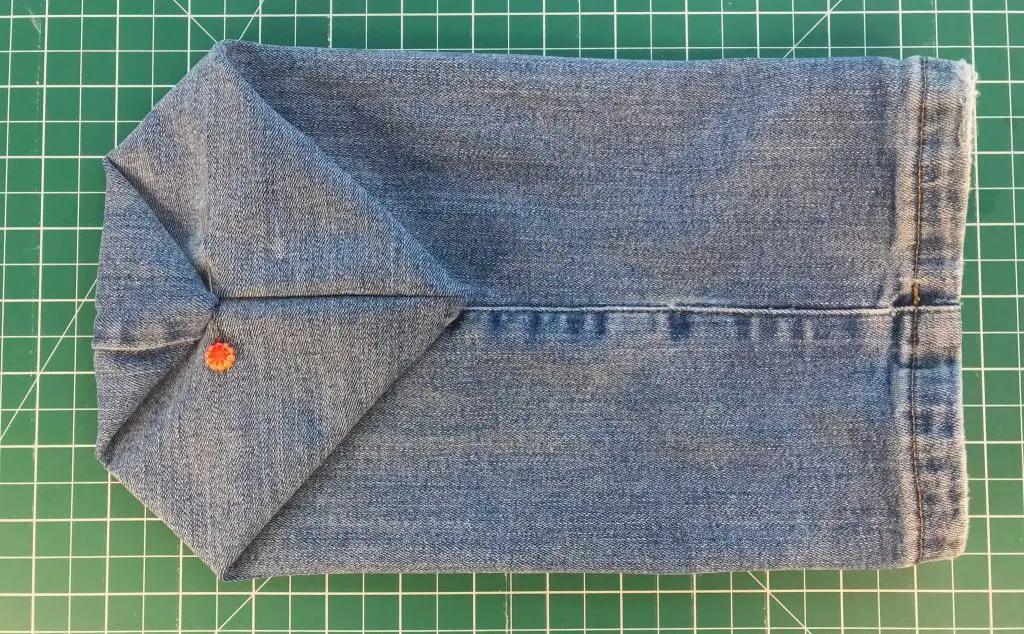
Take the point that is pointing away from the main tube and fold it up into the centre of the diamond that you formed. Pin it in place.
You now need to sew that point in place. BE CAREFUL! Make sure that you only sew through one layer of the tube. I achieve this by putting my non-sewing hand up inside the tube but then you need to be careful not to stab your hand with the needle. Make sure the point is securely sewn.
If you want to add a decoration such as a button or denim flower then now is the time.
Optional Step – Adding a base
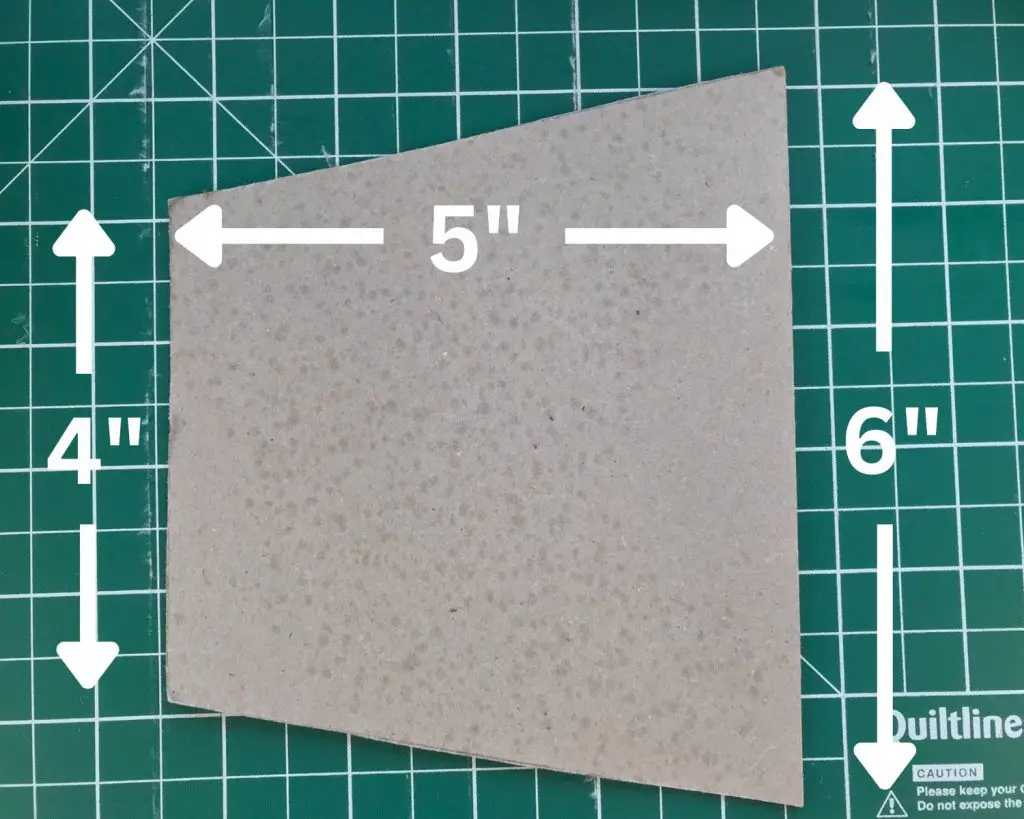
If you would like your tablet pillow stand to have a firm base then you can add a cardboard (or plastic) base. This is completely optional.
If you want to add one then cut a piece of cardboard this shape and using dimensions that fit your ‘tube’. When laid down flat my trouser leg measures 7″ (18cm) across and this is the size of cardboard insert I made.
Filling the Tablet Stand
If you are using an insert place that in your tube first. Then it is time to fill it with your chosen filling. I used some toy filling to cushion the back and then added some rice for weight. I then added more toy filling for a soft rest for the tablet.
Once you think you have enough filling check the shape and make sure that you are happy. Simply keep adding some until it is the shape that you want.
Then pin the tube closed along the edge of the filling. You need to be as close as possible so that you shape is nice and tight. Sew along the seam securing the pyramid shape.
You now have a stand but your tablet or phone will simply slide off.
Complete your tablet stand
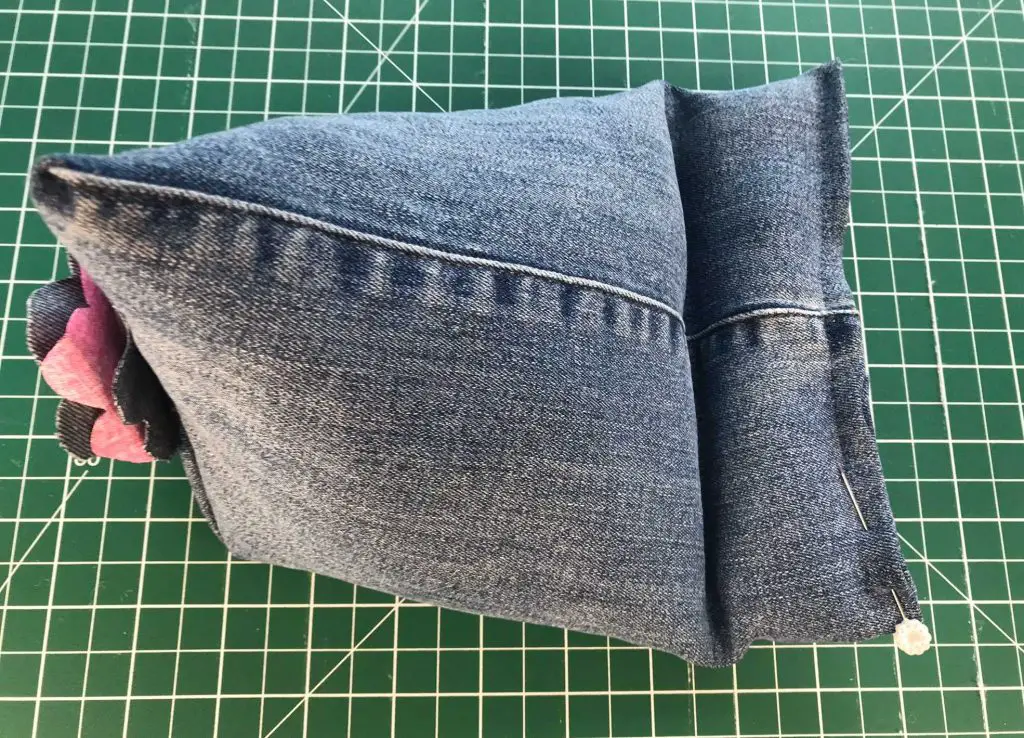
Measure 2.5″ or 3″ from your row of stitches and cut off the excess tube. I have made stands using both measurements and it is a personal preference as to how big you want your ‘lump’ to be.
Then fold the edge in on both sides of the tube and pin them together. This will give you a nice tidy edge. Sew along this edge but make sure that you leave a gap at the end of about 1.5″ to 2″. This is what you will add your filling through.
Fill the ‘lump’ until you are happy with it. Check that your tablet or phone rests nicely on the stand. Then sew up the gap that you left.
Tablet / Phone Stand Video Tutorial
This video is also available on my YouTube channel.
And Finally …
Congratulations on completing your stand for your phone or tablet (or both). I hope that you will find it useful and get reduced arm ache!
If you are looking for more great sewing projects then check out:
- Fleece Mittens in under 30 minutes
- Cute Denim Apron from Old Jeans
- Easy to Sew Makeup Remover Pads
- Scrap busting Hair Scrunchies
- Fabric Covered Notebook
- Visible Mending of Clothes
Whatever you choose to make remember to pin this on Pinterest (and you can follow me there) so that you can find it later.