How to Fold an Origami Crane with Flapping Wings
As an Amazon Associate I earn from qualifying purchases
Would you like to make an origami crane but also make one with flapping wings? Then you are in the right place. All you need is a square of paper and these instructions for a flapping Origami crane and you can make yours right now.
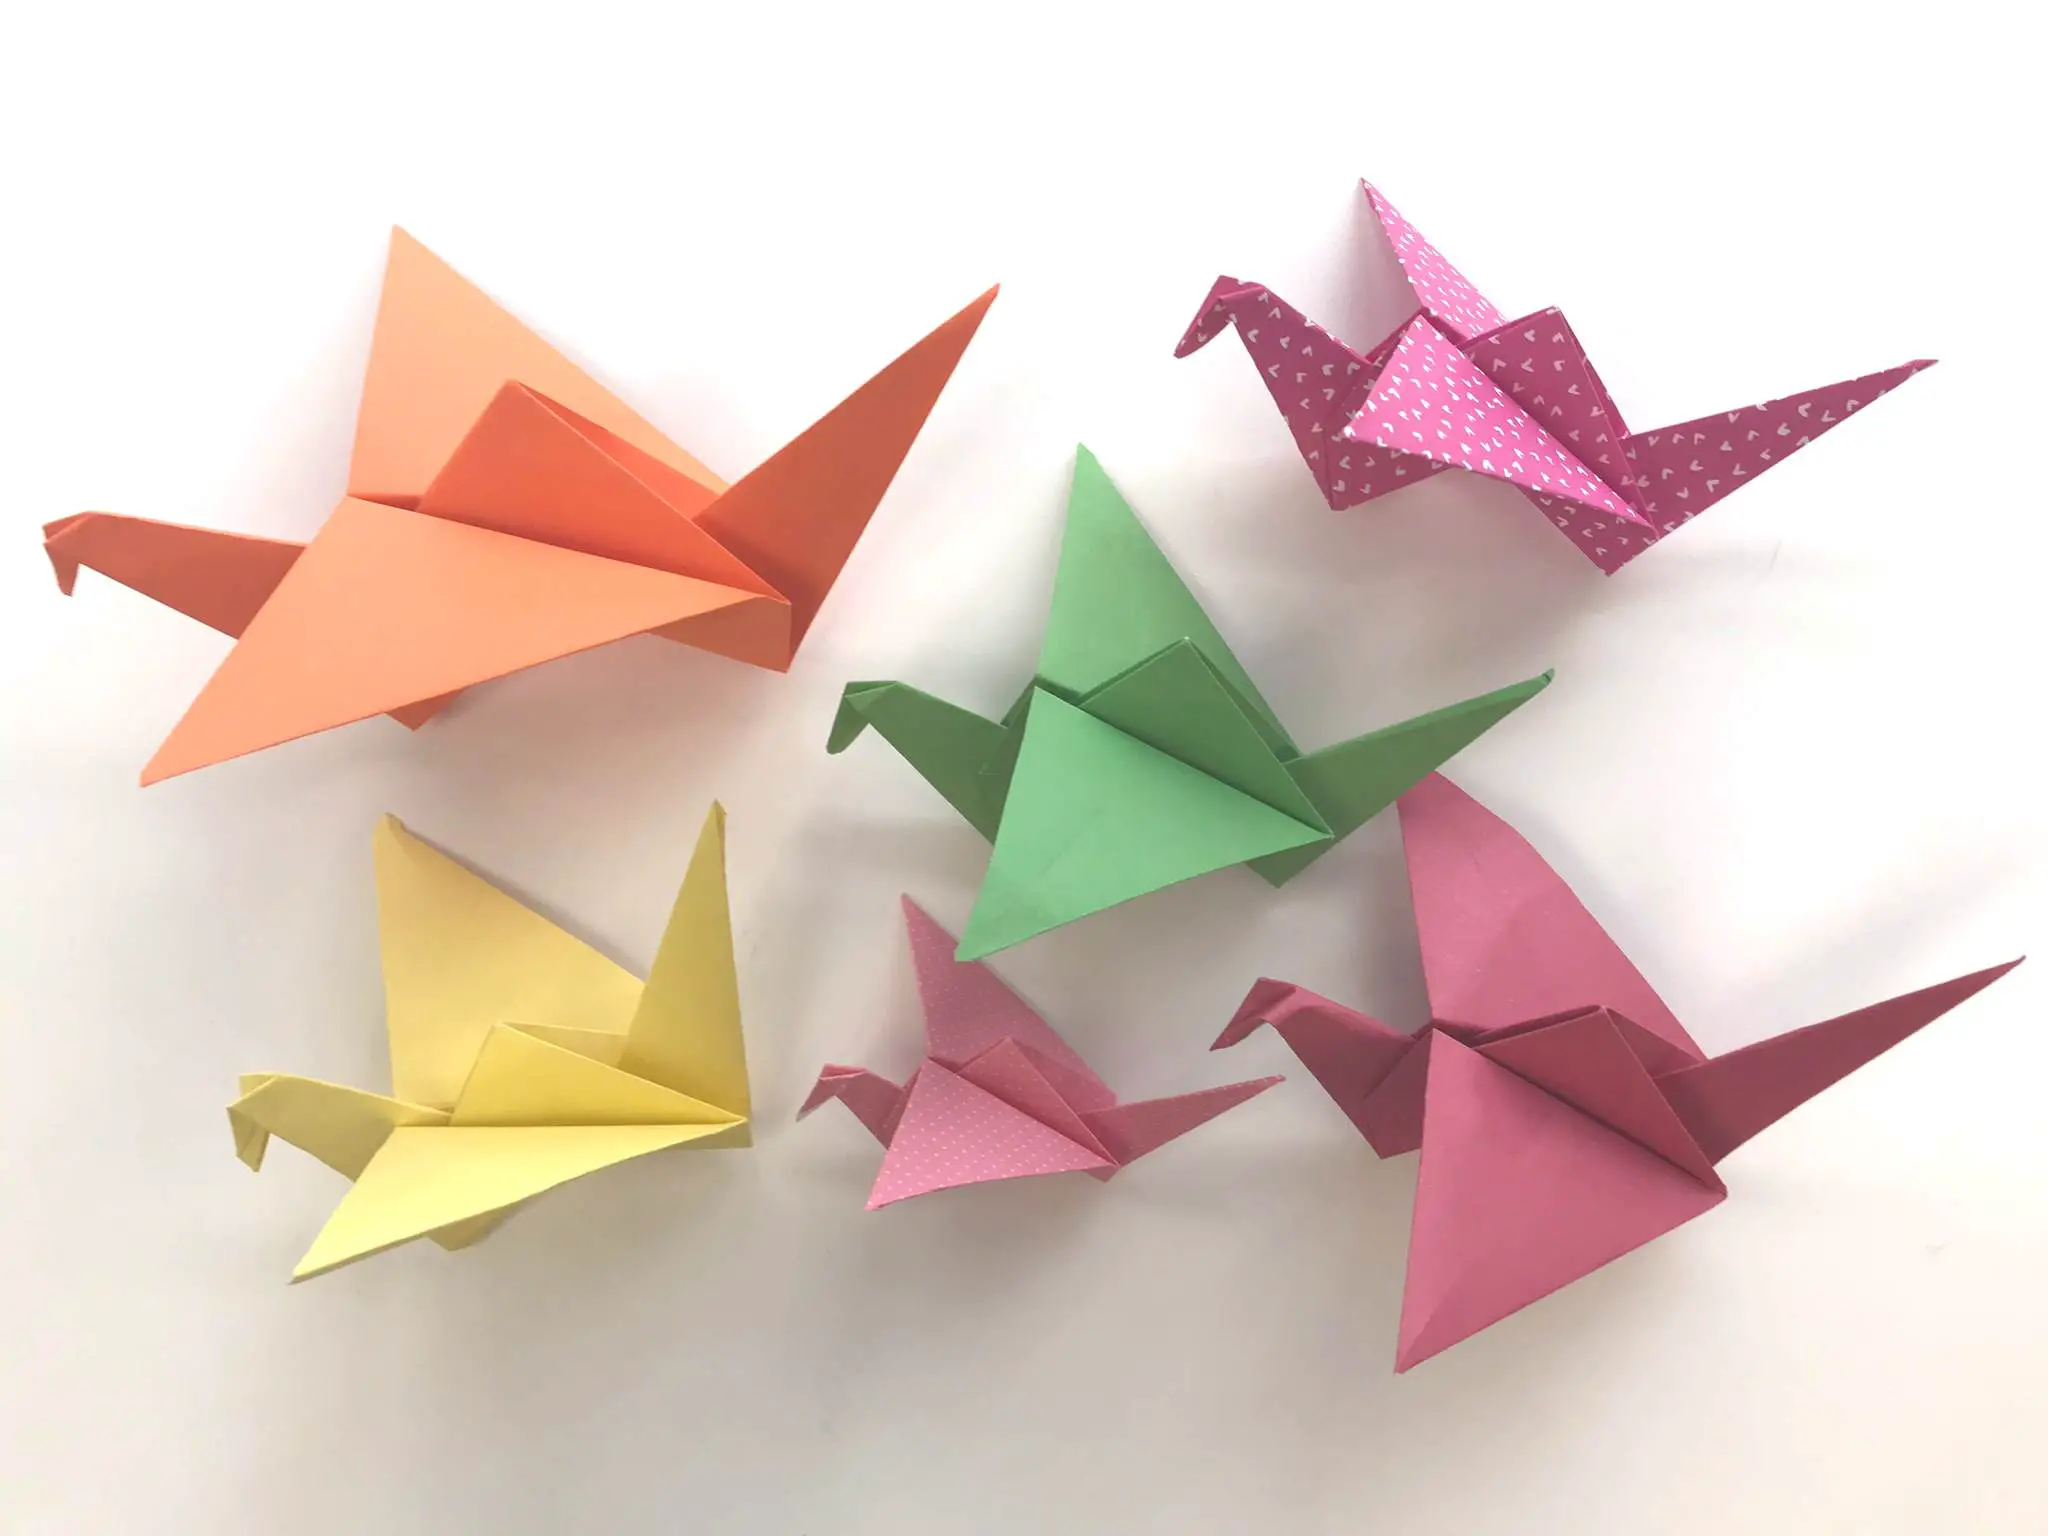
The Origami crane originates from ancient Japanese paper folding traditions, and its legend tells of a thousand cranes granting wishes of healing and longevity. As a result some people craft 1000 Origami cranes. The graceful crane has become a powerful emblem, used in celebrations, memorials, and as a gesture of love and support. No wonder they are so popular.
You can make one simply for the joy of it or to gift to another. Create many a paper crane and make a feature in your home decor or celebration. Great for mobiles or garlands.
If you would like to see some more Origami tutorials then check out my whole selection of them. They range from cute roses to boxes!
So, gather your square of paper, unleash your inner child, and let’s fold a symbol of hope that truly takes wing!
This page contains affiliate links meaning I earn a little commission if you use those links at no cost to you. I only recommend brands I use and trust.
You will need:
- Square of paper (any size but I recommend Origami paper 6″ by 6″)
Origami Tips
- Ensure all folds are accurate
- Press all folds firmly
- Running your fingernail along a crease makes it a sharp crease
- Ensure your paper is the same way round as mine at every step
- If you want to learn some basic origami folds take a look at The Beginner’s Guide to Origami
Origami Crane Video Tutorial
This video is also available on my YouTube channel.
First Basic Folds
Start with a few basic folds to get our basic shape that we will work from. If your paper is only coloured on one side make sure to start with the paper coloured side up, like I have done.
Fold the square in half, corner to corner, to form a triangle. Open the paper back out and repeat with the other two corners. Open the paper back out.
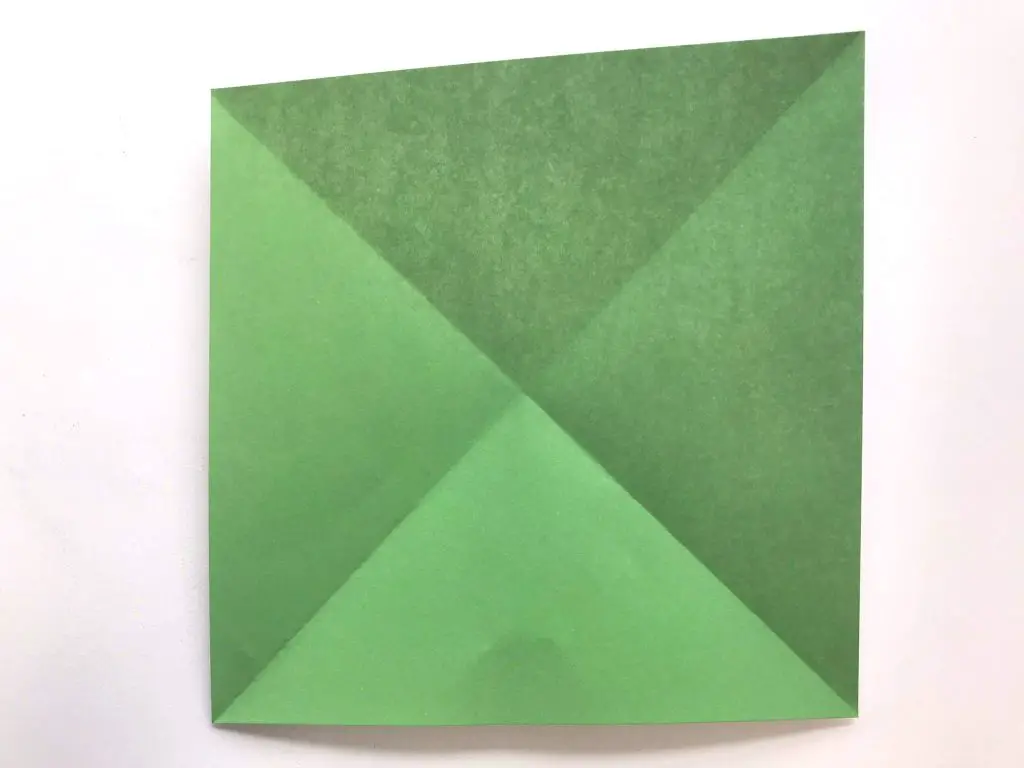
Turn the paper over (this is very important). Now fold the paper in half so that 2 sides meet and you form a rectangle. Open the paper back up and repeat for the other 2 sides. Open the paper back up.
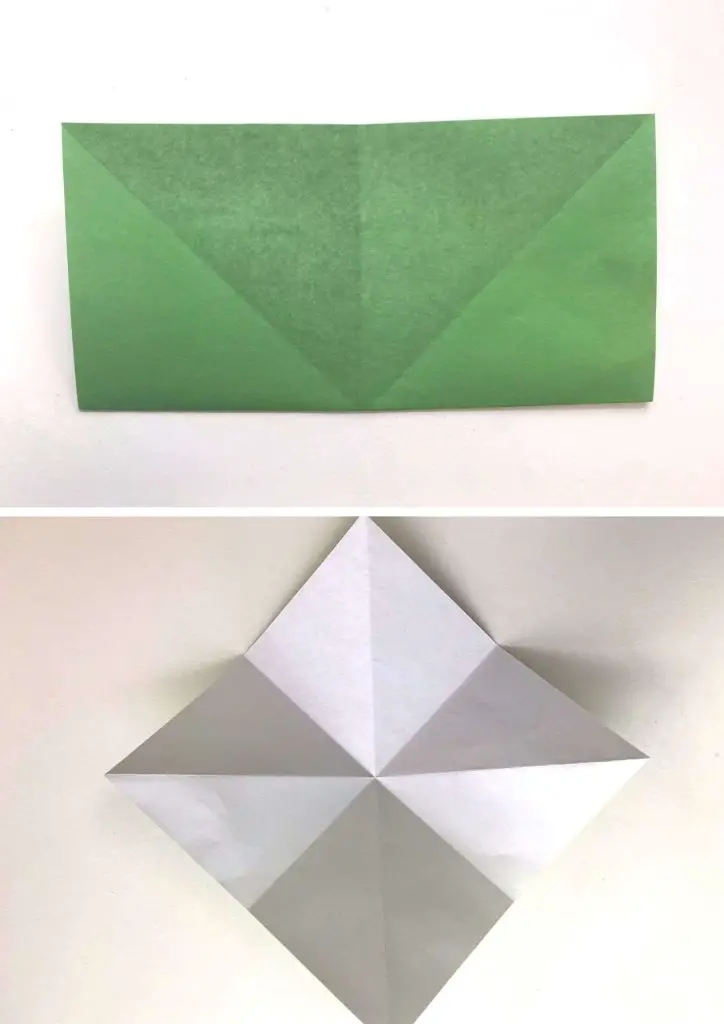
Using the folds that you have made pull the two side points in towards the bottom point and all the paper should naturally fold to form the square shape shown below. If it does not you may have your paper the wrong way up or not have formed your creases well enough. Check your paper looks like mine (above) and if necessary re-do your folds so that they are crisp and strong creases.
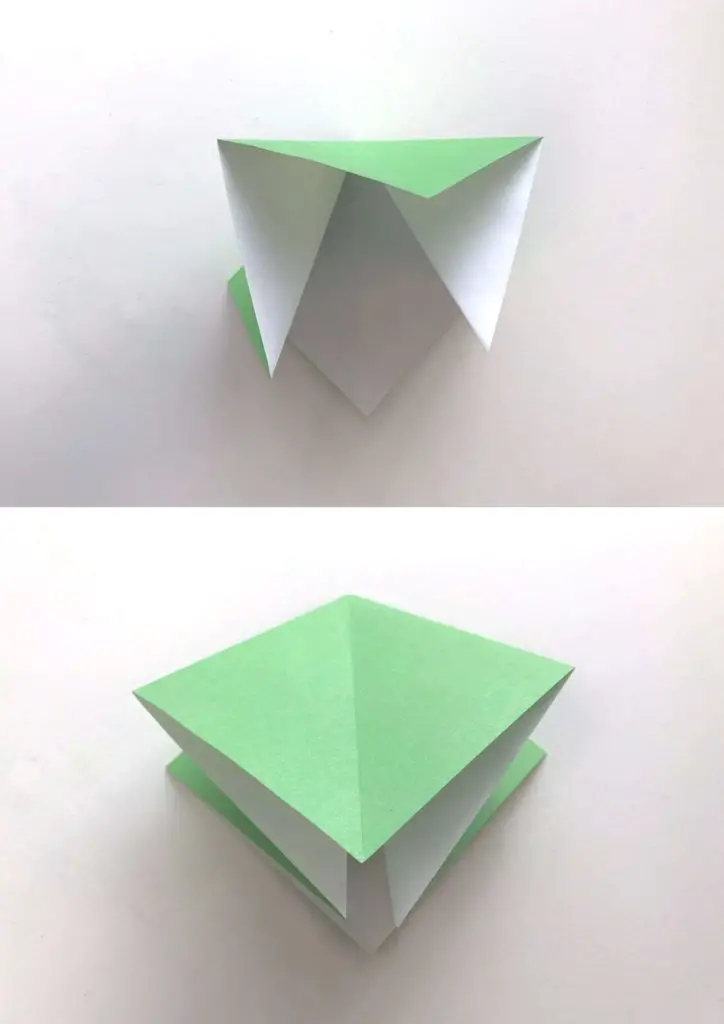
You should now have a square of paper with the opening pointing towards you.
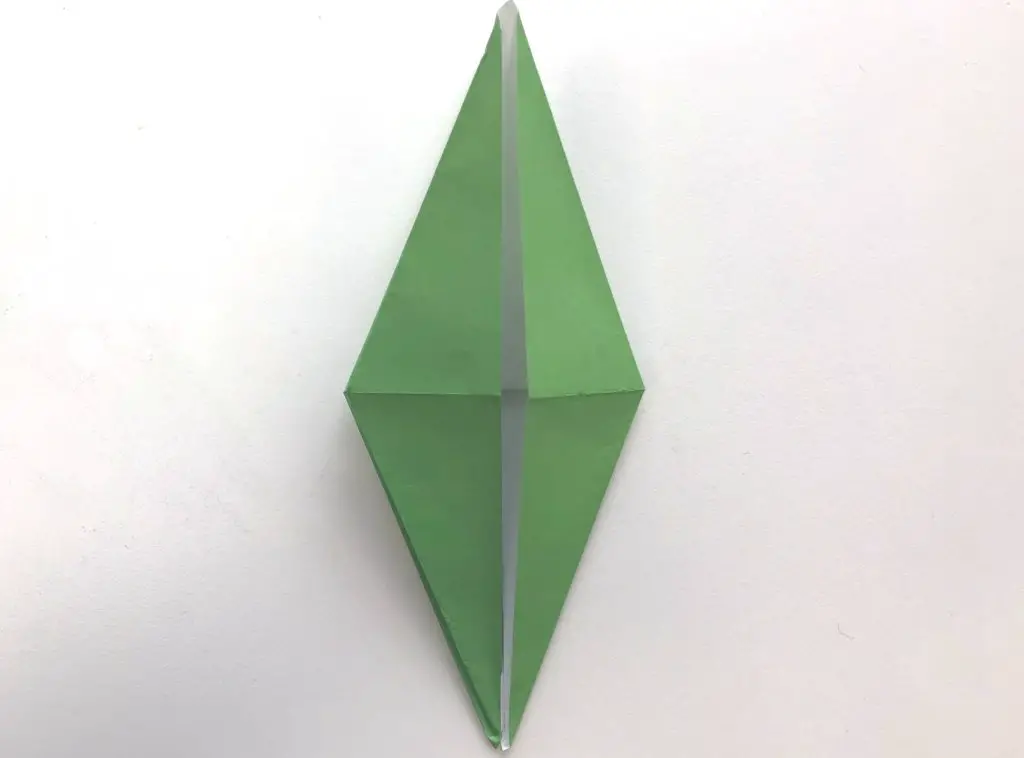
Form the Base for the Crane
Take the right side front point and fold it into the centre fold as shown. Repeat for the left side. Then fold the top point down along the top of the folds you have just made.
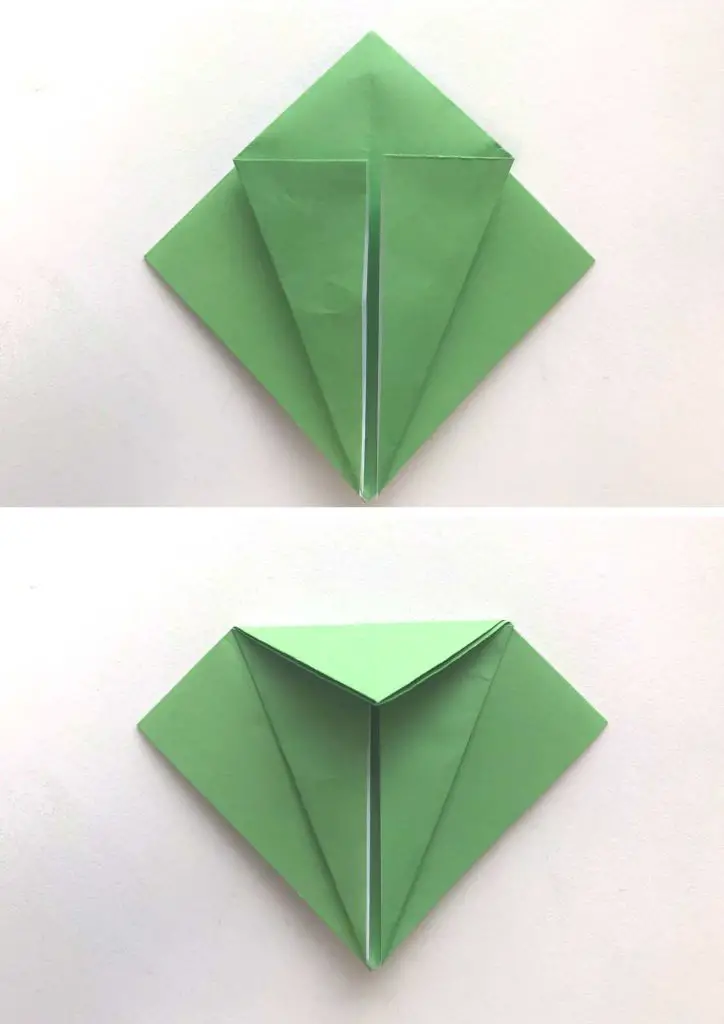
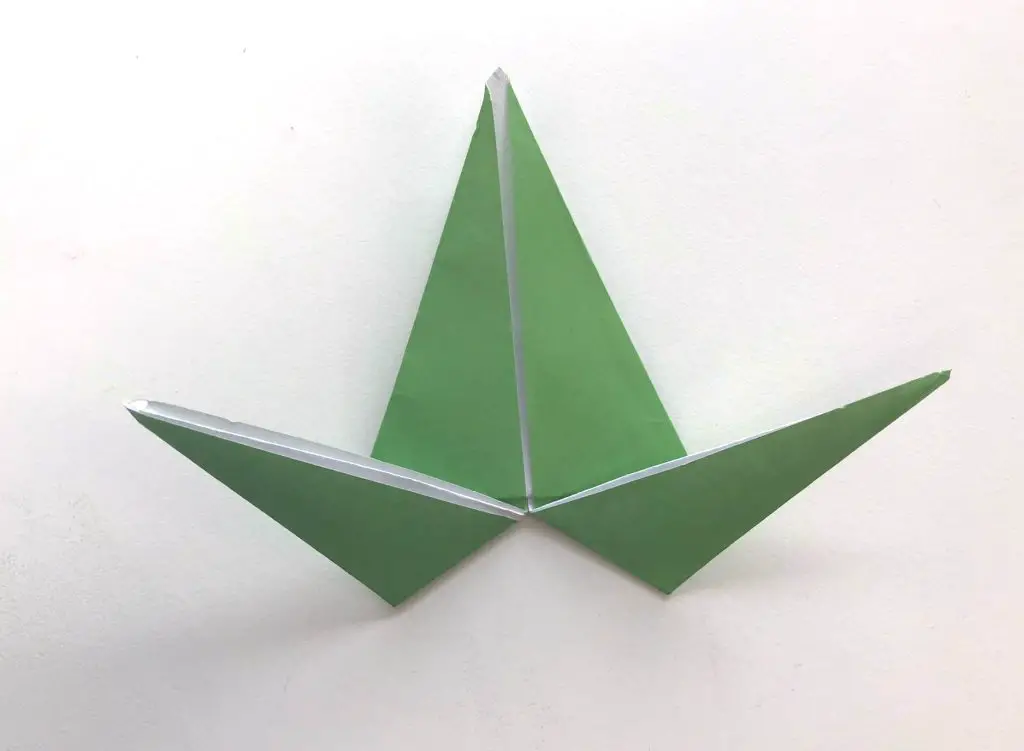
Open those folds back out. Carefully pull up the point from the bottom and, folding along the horizontal crease you made, take the point up to the top of your wok. You will need to fold the sides flat along the creases that you already formed.
Turn the whole thing over and repeat this process so that they lie exactly on top of each other.
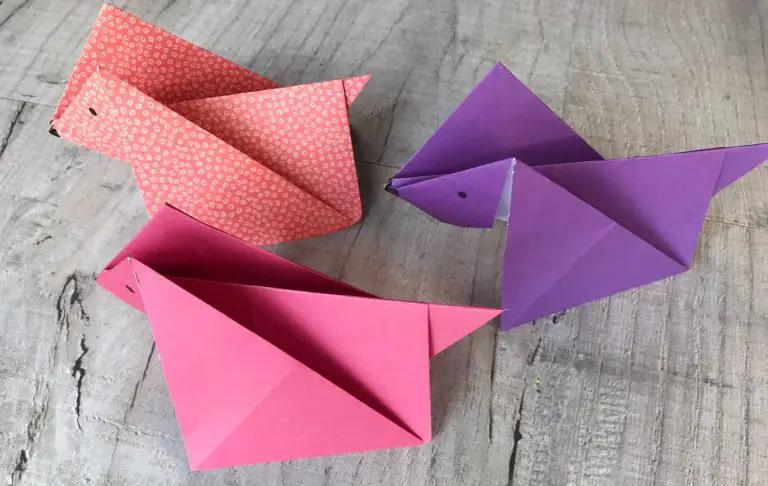
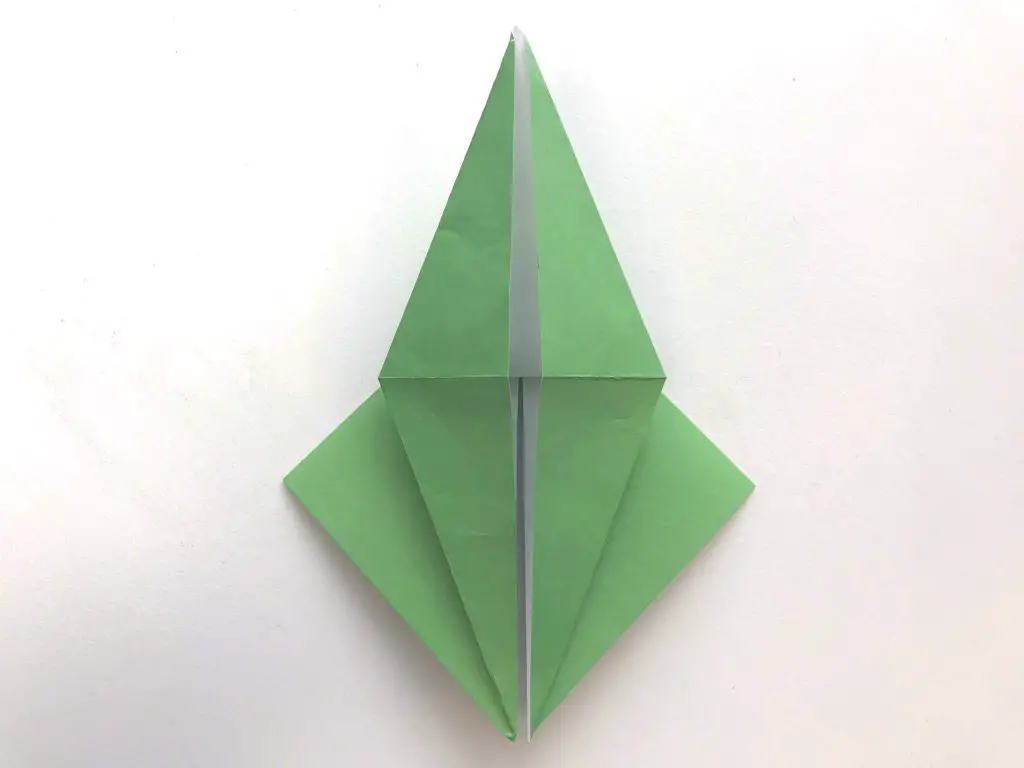
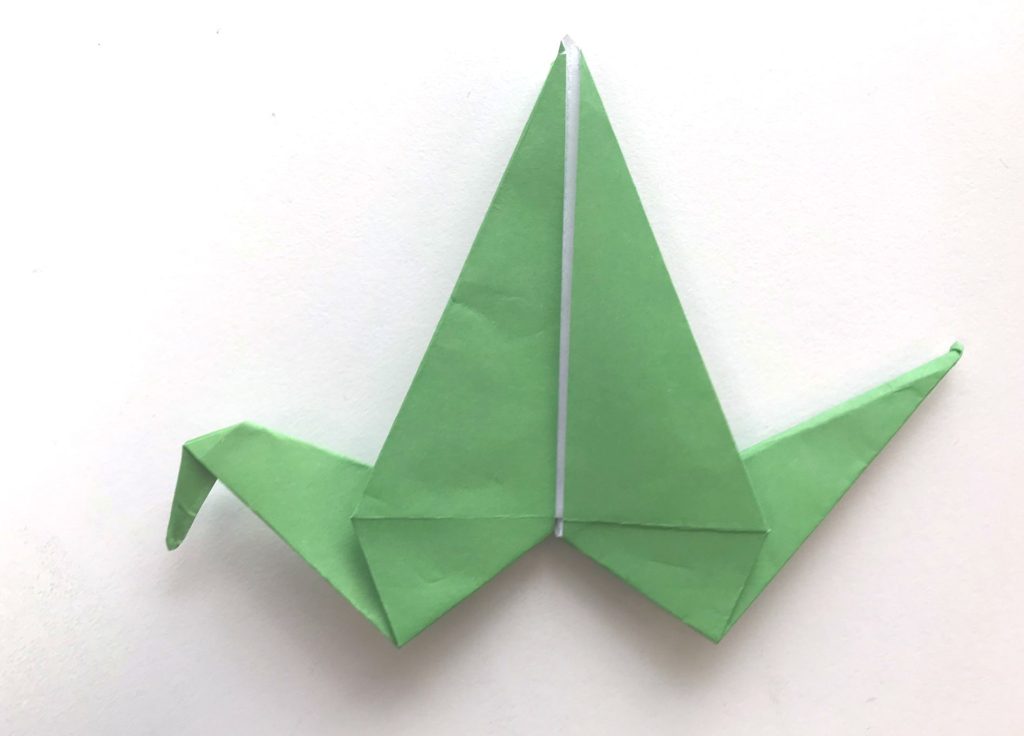
Complete your Origami Crane
In turn, fold the right and left hand bottom points up and out of the side of the diamond. Make sure they are at an angle like mine. Unfold them.
Then turn the whole thing over and repeat the other way. This will make the next step easier.
Open up the right hand side and fold the bottom point up into the space using the folds that you just made. You will be reversing the fold along the length of this point. This will give you the tail (or neck) of your crane.
Repeat for the left hand side.
Choose one point that you made and inverse fold a section at the end to form your head.
Fold each of the wings down at an angle. The angle is up to you but I recommend making sure the end of your fold nearest to your tail is as low as you can make it. This will ensure the flapping motion works well.
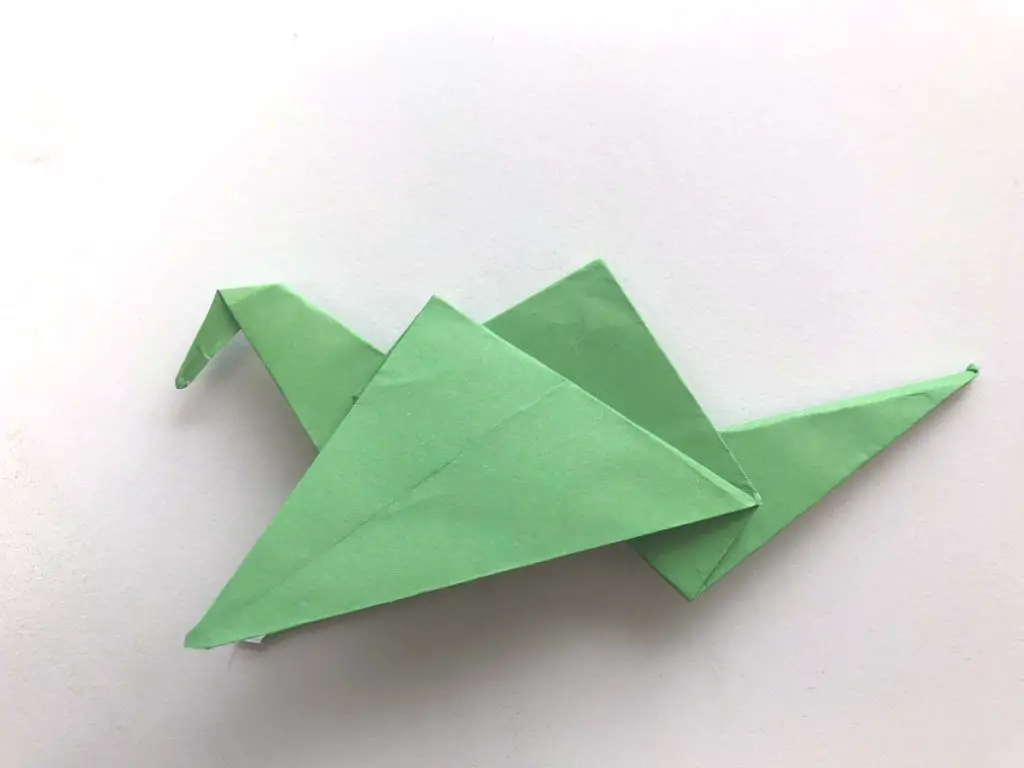
You should now be able to gently pull the tail and the wings will flap. If it is reluctant at all do not just pull. Take time to re-fold any creases that need it and make sure your wings can move freely. If you widen the base of your paper crane it will also stand up.
And next …
Congratulations on completing your first paper folding crane. I am sure it will not be your last one. They really are so quick and easy to make, perhaps you will make 1000 Origami cranes.
If you are looking for more Origami projects then check out my Origami section on this website.
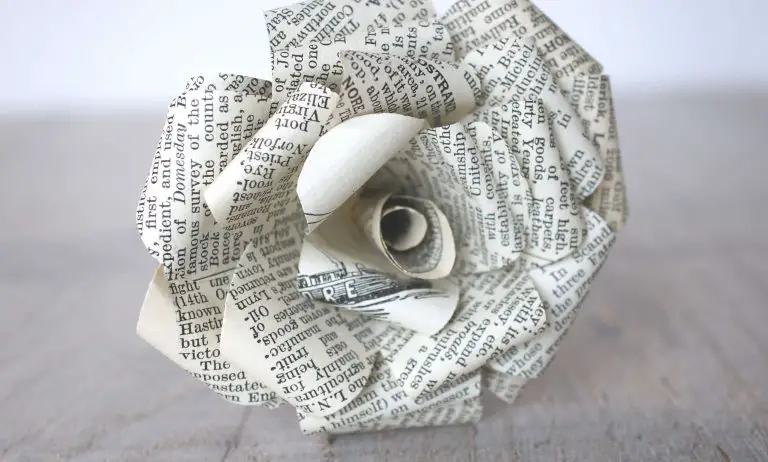
If you would like to try out some other paper crafts then how about making some paper flowers. This is a selection of tried and tested flowers that will delight.
Or perhaps try your hand at some iris paper folding. You can create stunning art and greetings cards with basic supplies.
If you have any suggestions for more Origami that you would like to see on this website then please comment below with your ideas. You can also comment and let me know how you get on with your Origami cranes.
Pin this tutorial to your favourite board on Pinterest so that you can find it again.