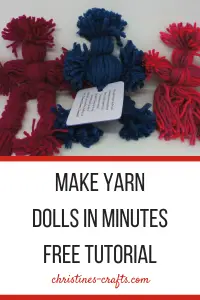
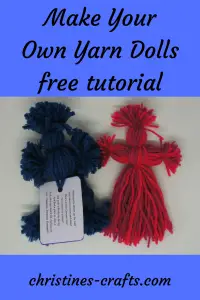
Yarn Doll (Dammit Doll) – How to Make
As an Amazon Associate I earn from qualifying purchases
This page contains affiliate links meaning I earn a small commission if you use those links at no cost to you. I only recommend brands I use and trust.
If you like to watch a craft being done then scroll down to the bottom of this tutorial and watch the video instructions.
What will you need?
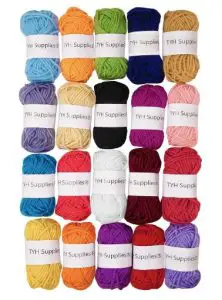
Yarn – any material or thickness – selection of colours from Amazon
Labels (for dammit dolls) – Dammit doll labels
Amazon Links:
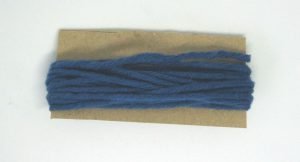
Step 1: Wrap and Cut Yarn
Decide on the size of your doll. The one shown in this tutorial is 17cm (6¾ “). I wrapped the yarn 30 times around a piece of card that was 21cm (8¼ “) wide to achieve that size in the end. It was the back off an old A4 writing pad. The more times you wrap it around the fatter your doll will be.
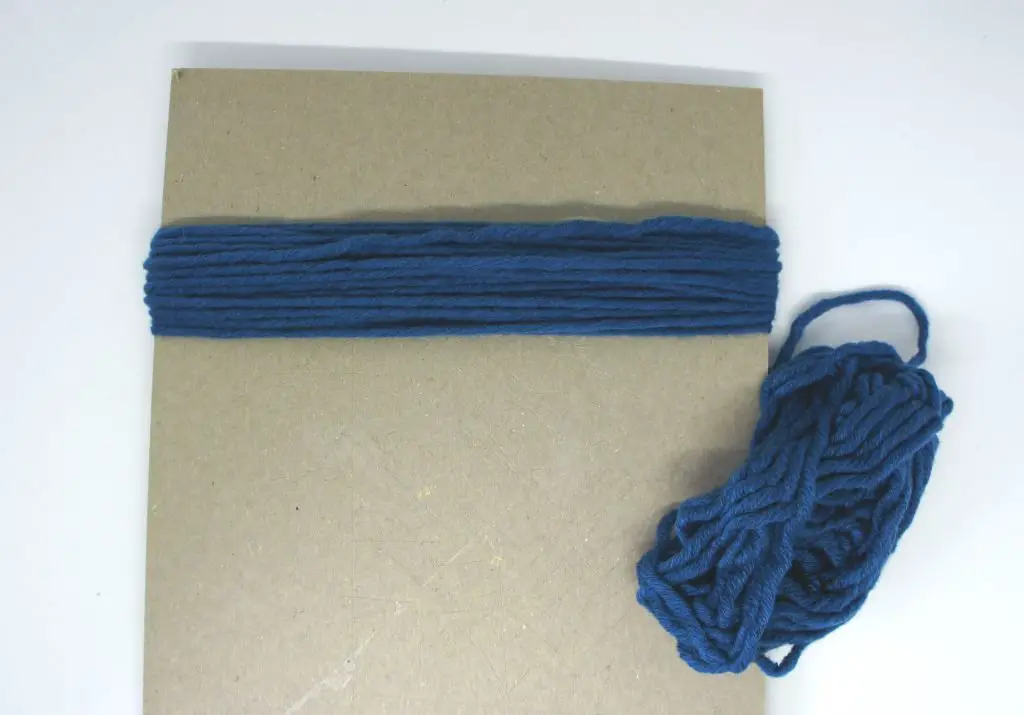
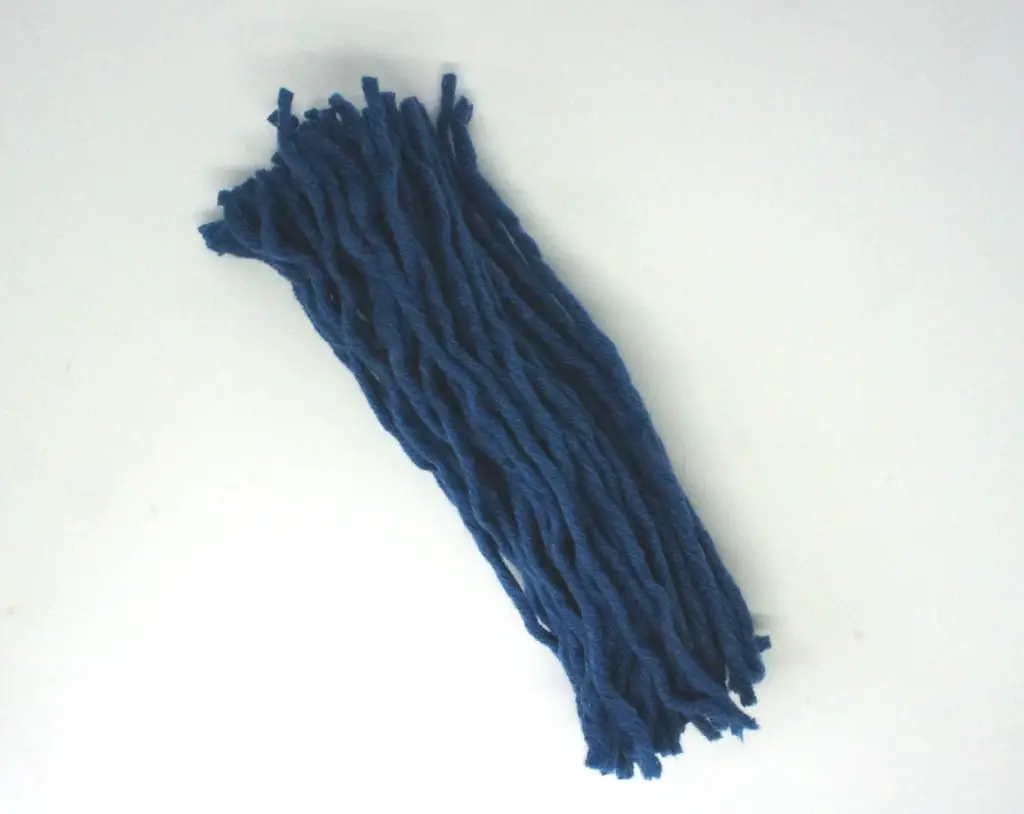
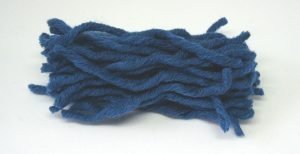
Once you are happy with the amount of times you have wrapped the yarn cut it off the cardboard at either end where it wraps around. This will result in (in my case 60) a bundle of yarn threads.
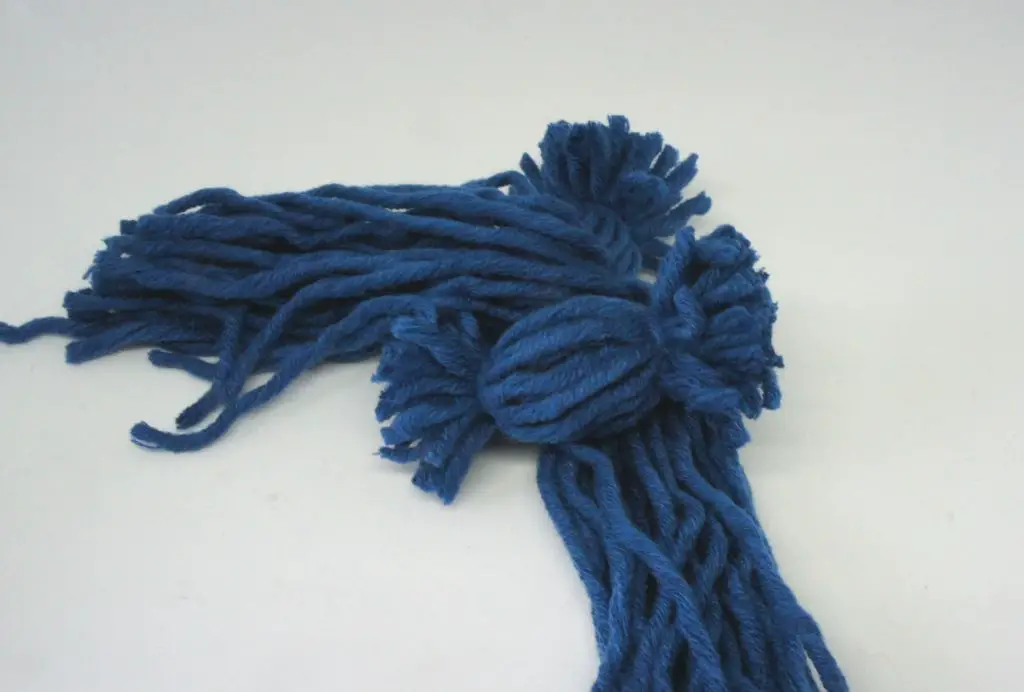
Step 2: Form the hair
Take another length of yarn and tie it around the yarn bundle approximately 2.5cm (1″) from one end. This will form the hair of your doll. Allow the long lengths to lie down in the bundle as extra thickness. This will prevent the knot from being pulled and possibly coming undone.
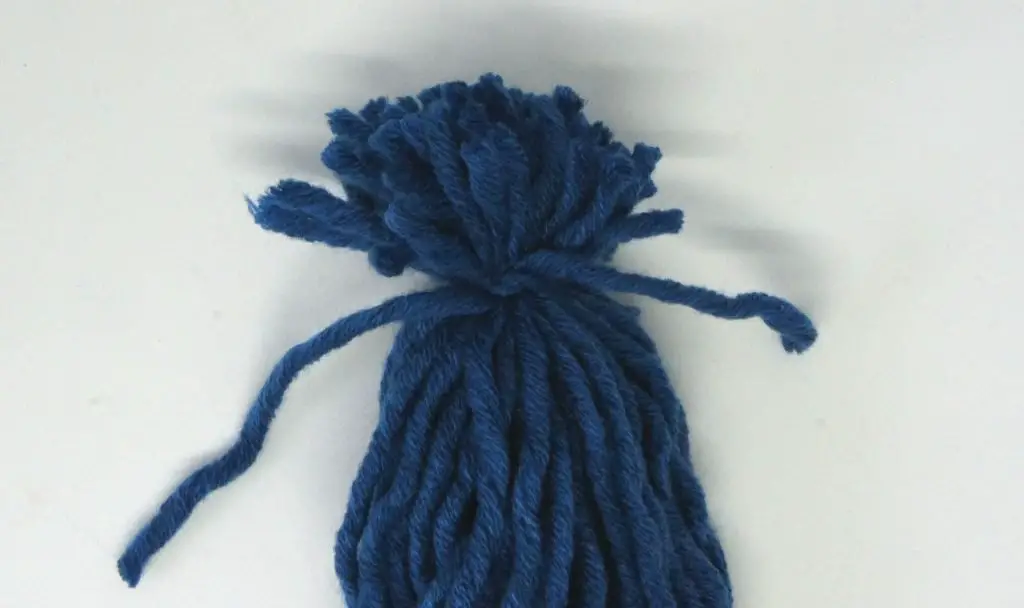
Step 3: Form the head
Approximately 2cm (¾“) from the first tie wrap another yarn length round the bundle, pull it tight and fasten it. This will form the head of your yarn doll.

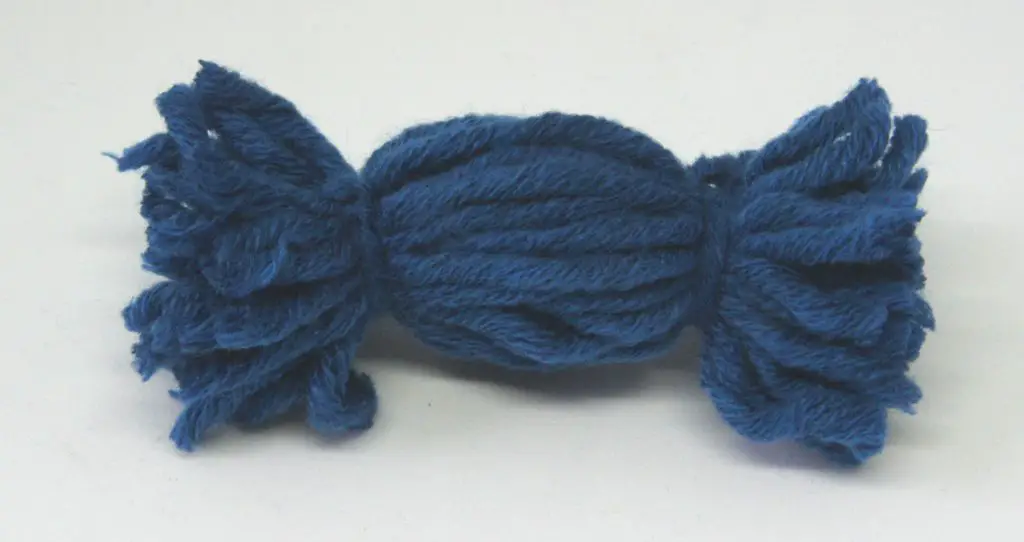
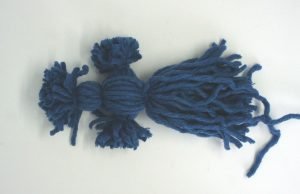
Step 4: Make the arms
You now need to make the arms for your doll. I wrapped some yarn around a piece of cardboard that was 10cm (4″) wide and wrapped it around 20 times. I must say that I think the arms are too short so I recommend making them a bit longer (perhaps 12.5cm (5″)). As for the doll, cut the yarn off the cardboard at both ends and form a bundle.
Approximately 1.5cm (5/8″) in from each end wrap a length of yarn around the bundle, pull it tight and tie it off. You have now formed the hands. Allow the lengths to join the arms.
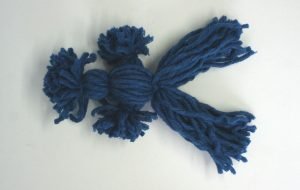
Step 5: Attach the arms
Take the yarn doll and split the largest length of yarn into two approximately equal bundles. Insert the arms as close to the head as possible.
Close the long lengths of yarn over the arms and secure with a new piece of yarn wrapped around the bundle directly below the arms, pulled tight and tied off. This forms the body of the doll. Do not worry if you have some straggly bits of yarn; you can tidy them all up at the end.
Step 6: Legs or skirt?
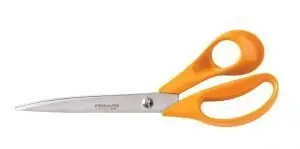
Now you have a decision to make. If your doll is wearing a skirt then you are now finished so simple go around the doll tidying up all the ends. Ideally all the yarns are the same length. I tidied mine up with a pair of sharp dressmaking scissors. This is a pink doll that I made in this way.
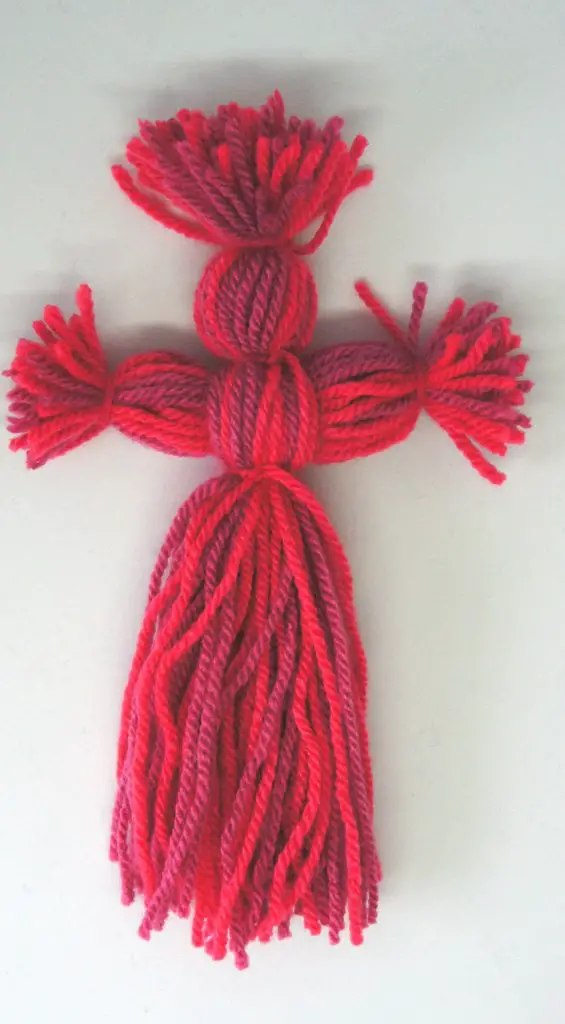
If, however you want your doll to have legs separate the remaining length if yarns into two equal groups. Then for each bundle separate it into 3 equal groups and plait it to form a leg. Approximately 2cm ( ¾”) from the end of the yarn wrap a piece of yarn around the bundle, pull it tight and tie it off. This will hold the plait in place and form the foot. Repeat for the other leg!
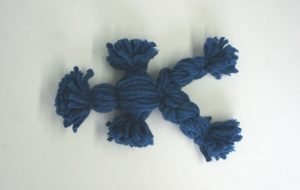
Now trim off any straggly ends and you have completed your yarn doll.

Summary:
You can scale this up or down to make larger or smaller dolls, Experiment with different yarns and different lengths of yarn to make a range of yarn dolls to play with. If you want a dammit doll simply print off a label on thin card, cut it out, punch a hole in it and attach it to the doll using a length of yarn.
If you have any difficulties with lengths of yarn that you have used for tying off not lying flat then use a needle to thread them underneath the knot that you made. This should make them lie flat with the other yarn lengths.
I think they make quirky gifts for all ages but kids really love them so look through your yarn stash and have a go!
If you enjoyed this tutorial then take a look at some of my others:
Make a paper organiser from an old cereal box
How to make a fabric corner bookmark
Make a lavender ‘teabag’ sachet
Bracelets to make in under 30 minutes
8 Spooky and Fun Halloween Craft Ideas for Kids
If you subscribe to this website you will get an update every time I post a new tutorial or article so you need never miss anything. Take a moment to sign up, I would love to have you onboard!
Remember to pin this article on Pinterest for later! You can follow me on there too for lots of great craft ideas.