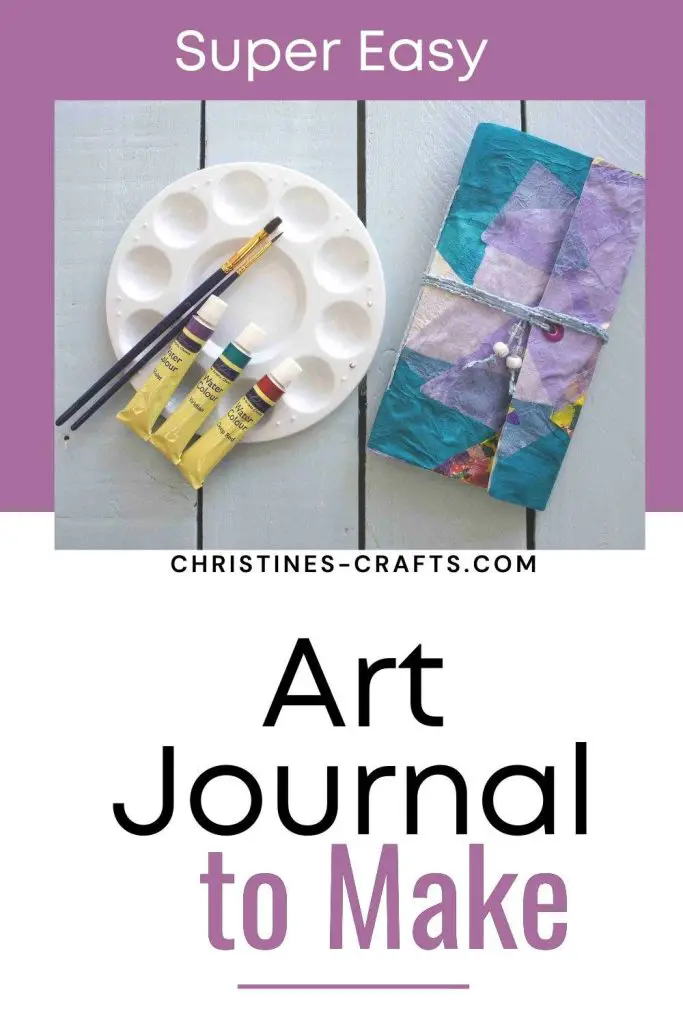
How to Make an Art Journal from Scratch – the easy way!
As an Amazon Associate I earn from qualifying purchases
Do you already use art journals or are you interested in having a go? Here you will learn how to make your own DIY art journal from scratch. They are fabulous items to work on and to keep forever. Whatever your reason for keeping an art journal one of these journals will always delight.
They are also great to gift to people to create their own art journaling journey. They fasten closed so are idea for taking out and about with you and capturing things as you see them or think about them.
I must confess that I am no artist and yet I love making them. Perhaps it is the wraparound cover that I love. I use fabric paper that I make. If you want to make some check out that fabric paper tutorial here. So let’s get started.
This page contains affiliate links meaning I earn a little commission if you use those links at no cost to you. I only recommend brands I use and trust.
Supplies you will need:
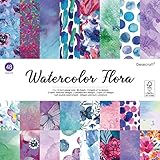
- Card or similar for cover (I have used fabric paper)
- Paper for Pages ( I used watercolour paper)
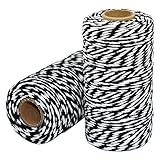
- Twine or similar for sewing together
- Beads for fastening
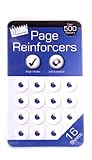
- Hole Reinforcers


Video Tutorial for Art Journal
You can also find this video on my YouTube channel.
Prepare your Art Journal Cover
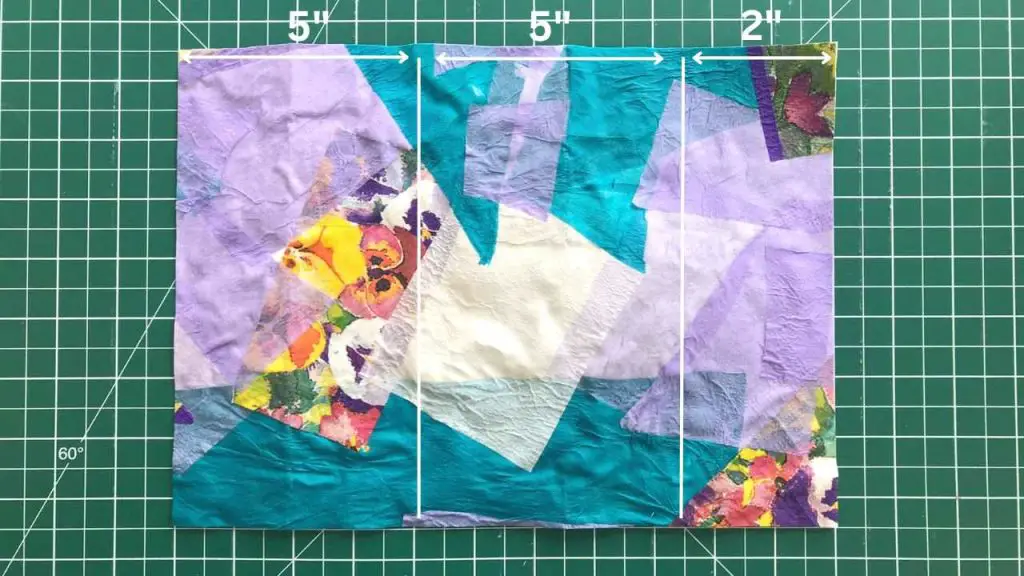
Cut out your card or fabric paper so that it is 12″ wide and 7″ tall. NOTE: If you want a space above and below your pages you will need to cut your cover 8″ tall. This is totally a personal preference thing. I have made both.
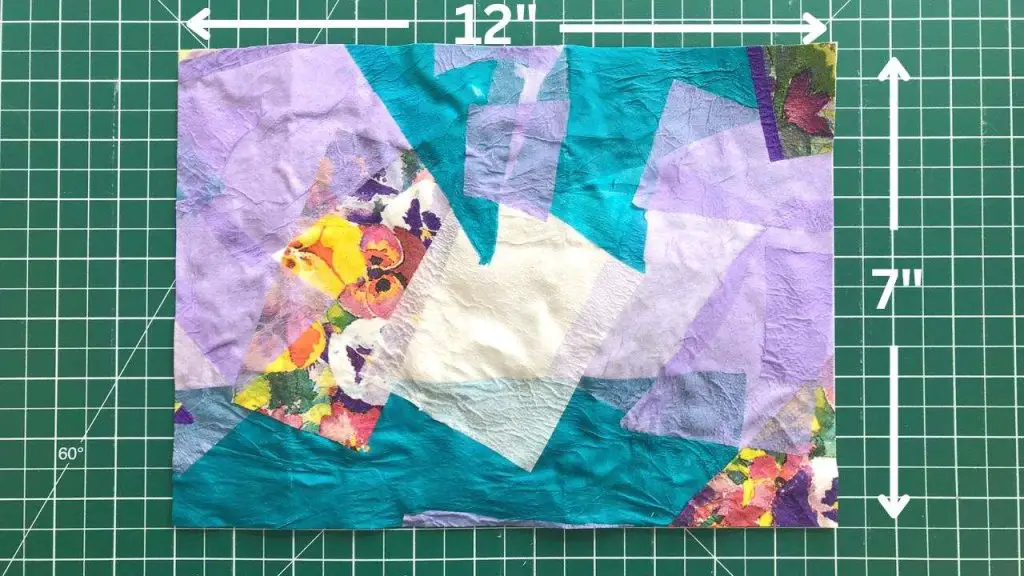
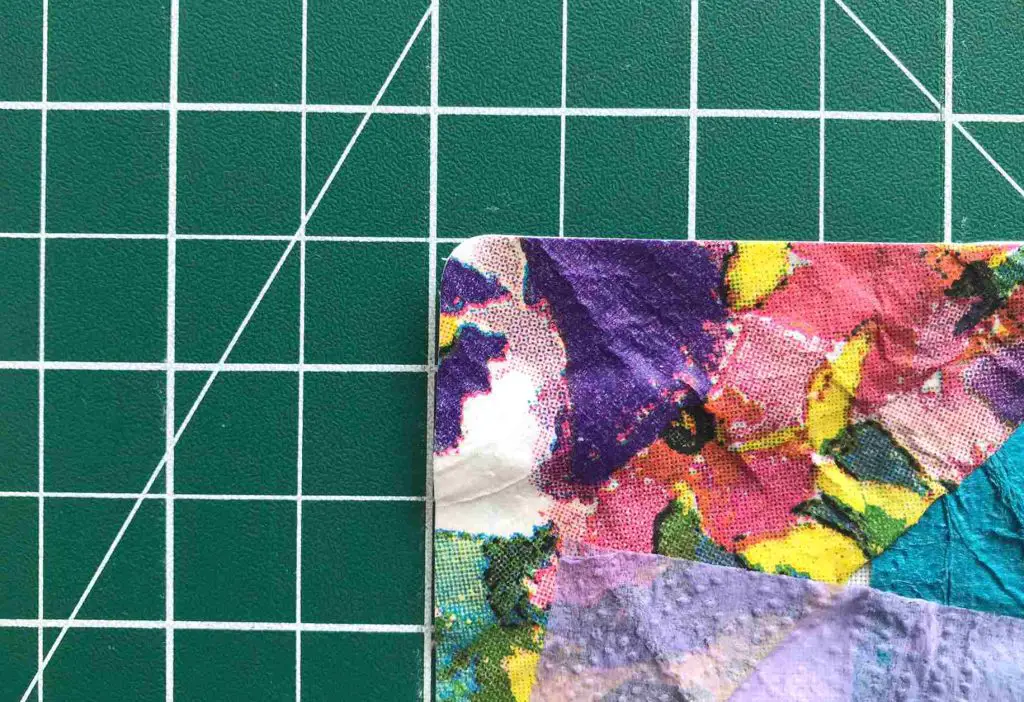
If you want rounded corners on your art journal then now is the time to clip them. I used a simple clipping tool to round mine as I just think it makes a great finish. If you do not have one don’t worry, you don’t need to clip them or you could simply use scissors.
Place your cover right side up with the side that you want to be the fastener at the right. Your design should be upside down! This is particularly important if your cover has a right and a wrong way up! Mark the cover as shown and score it carefully so that it folds well along those lines. Now, the cover will never fold tightly along these lines so you do not need to fold them and press them but it is important that your journal naturally folds where you want it to.
Simply fold along these lines so that you can clearly see them and the journal naturally fold there.
Prepare your Art Journal Pages
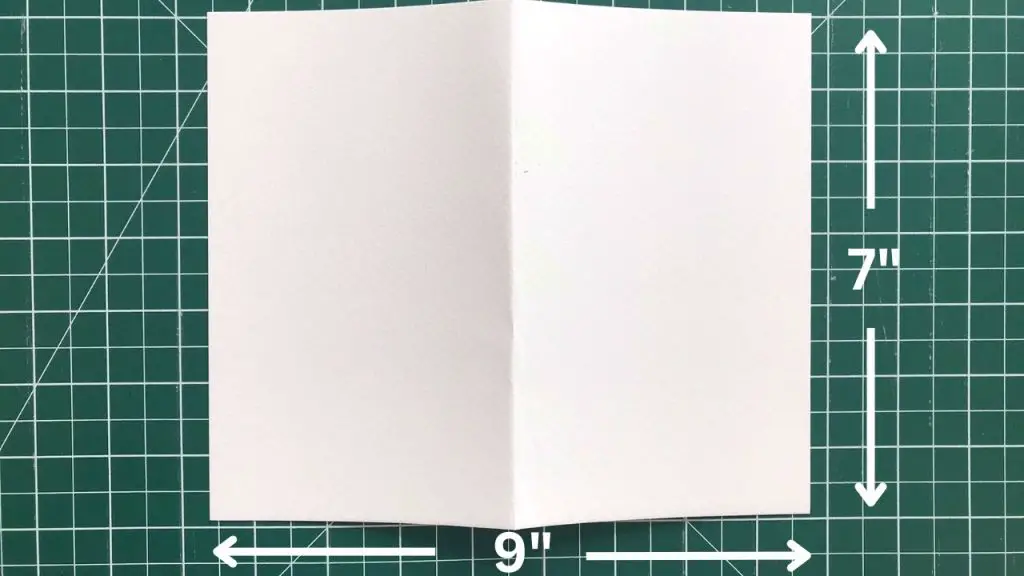
Cut out your pages for your journal. These should be 9″ wide by 7″ tall. I included 2 signatures in my journal and each one had 4 pages in it plus an outer page made from scrapbook paper. You could try to include 3 signatures or perhaps 5 pages in each if you want a more substantial art journal. Experiment!
A signature is a collection of pages nested inside each other to create a section of the journal.
I used watercolour paper as it is substantial and will be great for any art I try to include but you can use whatever paper you have or want to work with.
Score and fold along the centre of each page as shown. Then build your signatures whatever size you have chosen.
Sew your Pages / Signatures into your Art Journal Cover
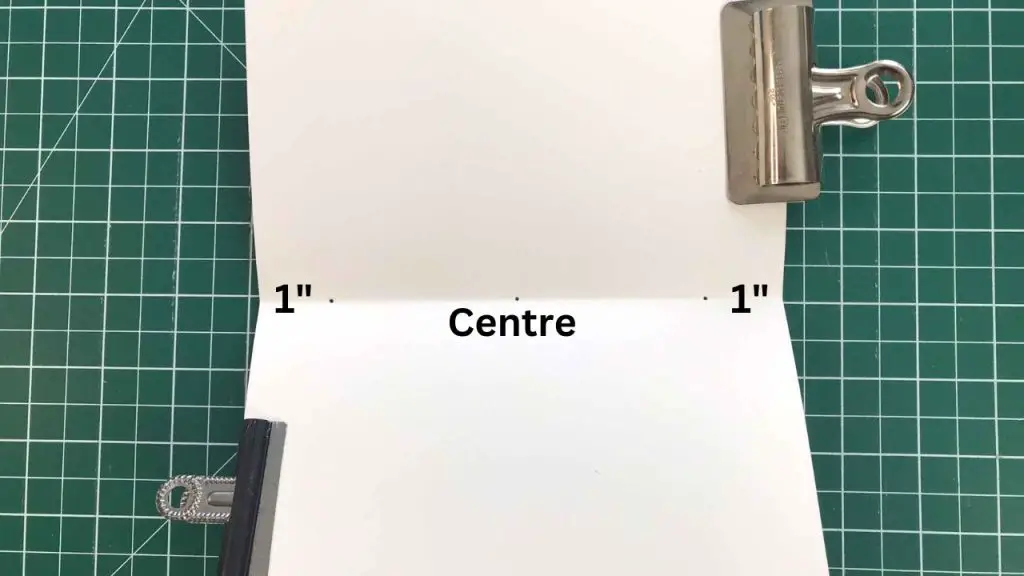
Don’t panic when you see the word sew, it is really easy and I am going to walk you through it. Firstly, take one of your signatures and mark it along the centre as shown. You are marking the centre of the fold and 1″ from either end.
Now, make holes where you have marked making sure that you go through all the layers. You will see that I have clipped my pages together to make sure that the holes are in all the pages in the same place.
I used a large embroidery needle and wiggled it about in the paper to enlarge the hole. A pokey tool for papercrafts is ideal. Whatever you use, take care!
Then, repeat this for the cover BUT remember that you need the holes to line up with the holes in the signatures so they must be in the centre and 2.5″ away from the centre. Plus you must do 2 sets of holes for the 2 signatures. Let me explain –
I appreciate that it is difficult to see on my picture below. You want to mark two lines, one either side of the original fold line that you scored. These should be 1/16″ on either side of it so that they end up 1/8″ apart. If you are doing 3 signatures then yours should be on the fold and 1/8″ on either side.
Then mark your holes in the centre of each line and 2.5″ away from the centre on either side. Then make these holes carefully too.

Now you are ready to sew your signatures into your art journal cover. You are going to use a pamphlet stitch which I assure you is incredibly easy. Take a length of your twine and thread it onto your needle. You don’t need a really long length, as you will see.
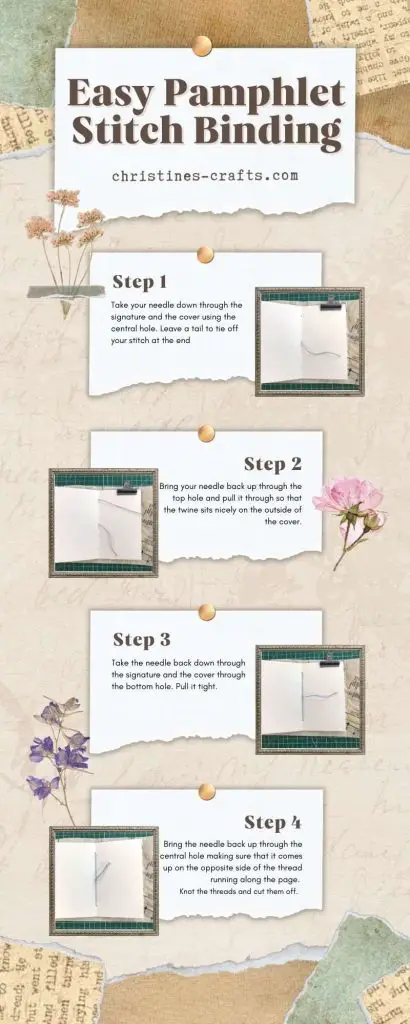
Refer to the following infographic for pictures. Take your needle down through the signature and the cover using the central hole. Leave a tail to tie off your stitch at the end.
Bring your needle back up through the top hole and pull it through so that the twine sits nicely on the outside of the cover.
Take the needle back down through the signature and the cover through the bottom hole. Pull it tight.
Bring the needle back up through the central hole making sure that it comes up on the opposite side of the thread running along the page.
Knot the threads and cut them off.
Repeat this process for your other signature(s). Then you will have a journal.
Create a Fastening for your Art Journal
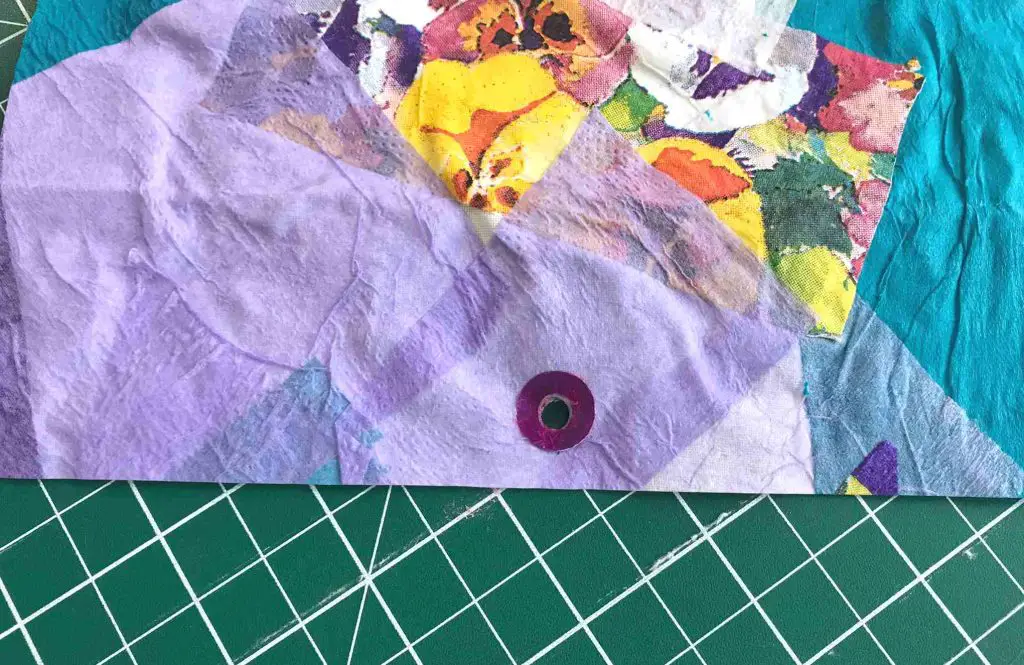
On your fastening edge of your cover (the section that you measured as 2″ wide) mark the centre with a small pencil mark. Place a hole reinforcer on that mark a small way in from the edge. If you want a coloured ring then simply colour it in with an ink pad or permanent marker before affixing it.
Then punch a hole inside the ring. Add another hole reinforcer to the inside of the cover. These should ensure your cover does not tear in use.
Cut a length of twine to act as your fastening thread. Make sure it wraps 4 times around your journal and has some spare to make your fastening ends (with beads on). Always better to have too much than too little at this point.
Fold it in half, feed the folded end through the hole and then pass the ends through the loop. This will secure the twine to the journal. Wrap the two ends around the journal twice and then clip them in place with the journal closed. Thread the beads onto the ends of the twine and knot them in place. Trim off any excess twine.
Now you can secure your art journal by feeding the beads under the twine that is wrapped around the journal.
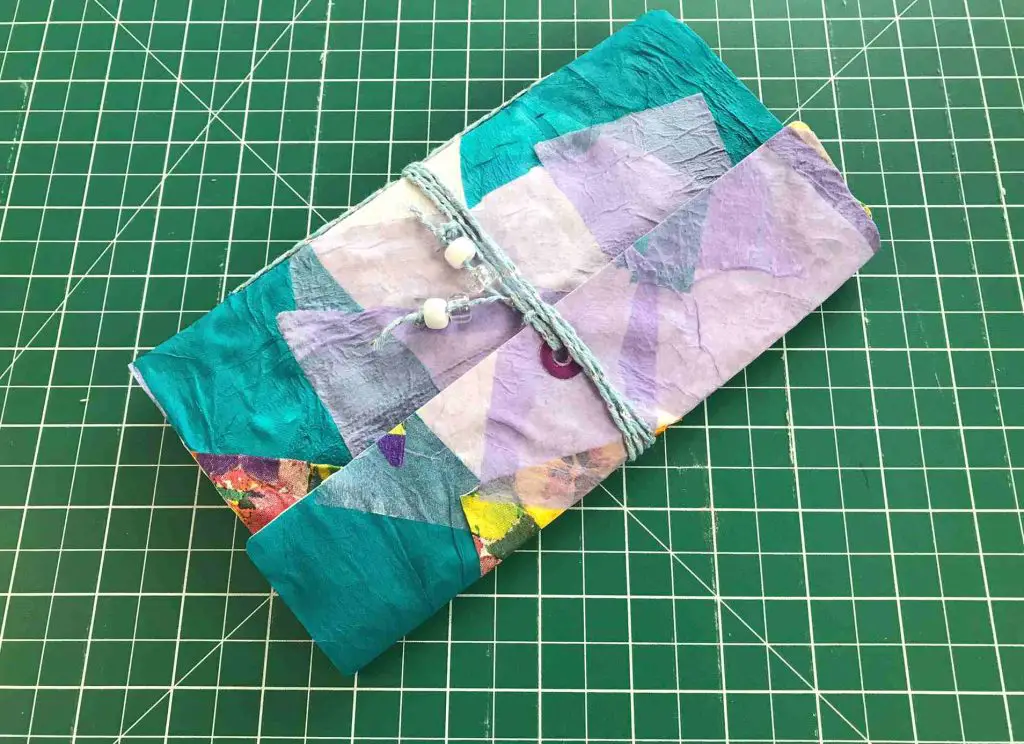
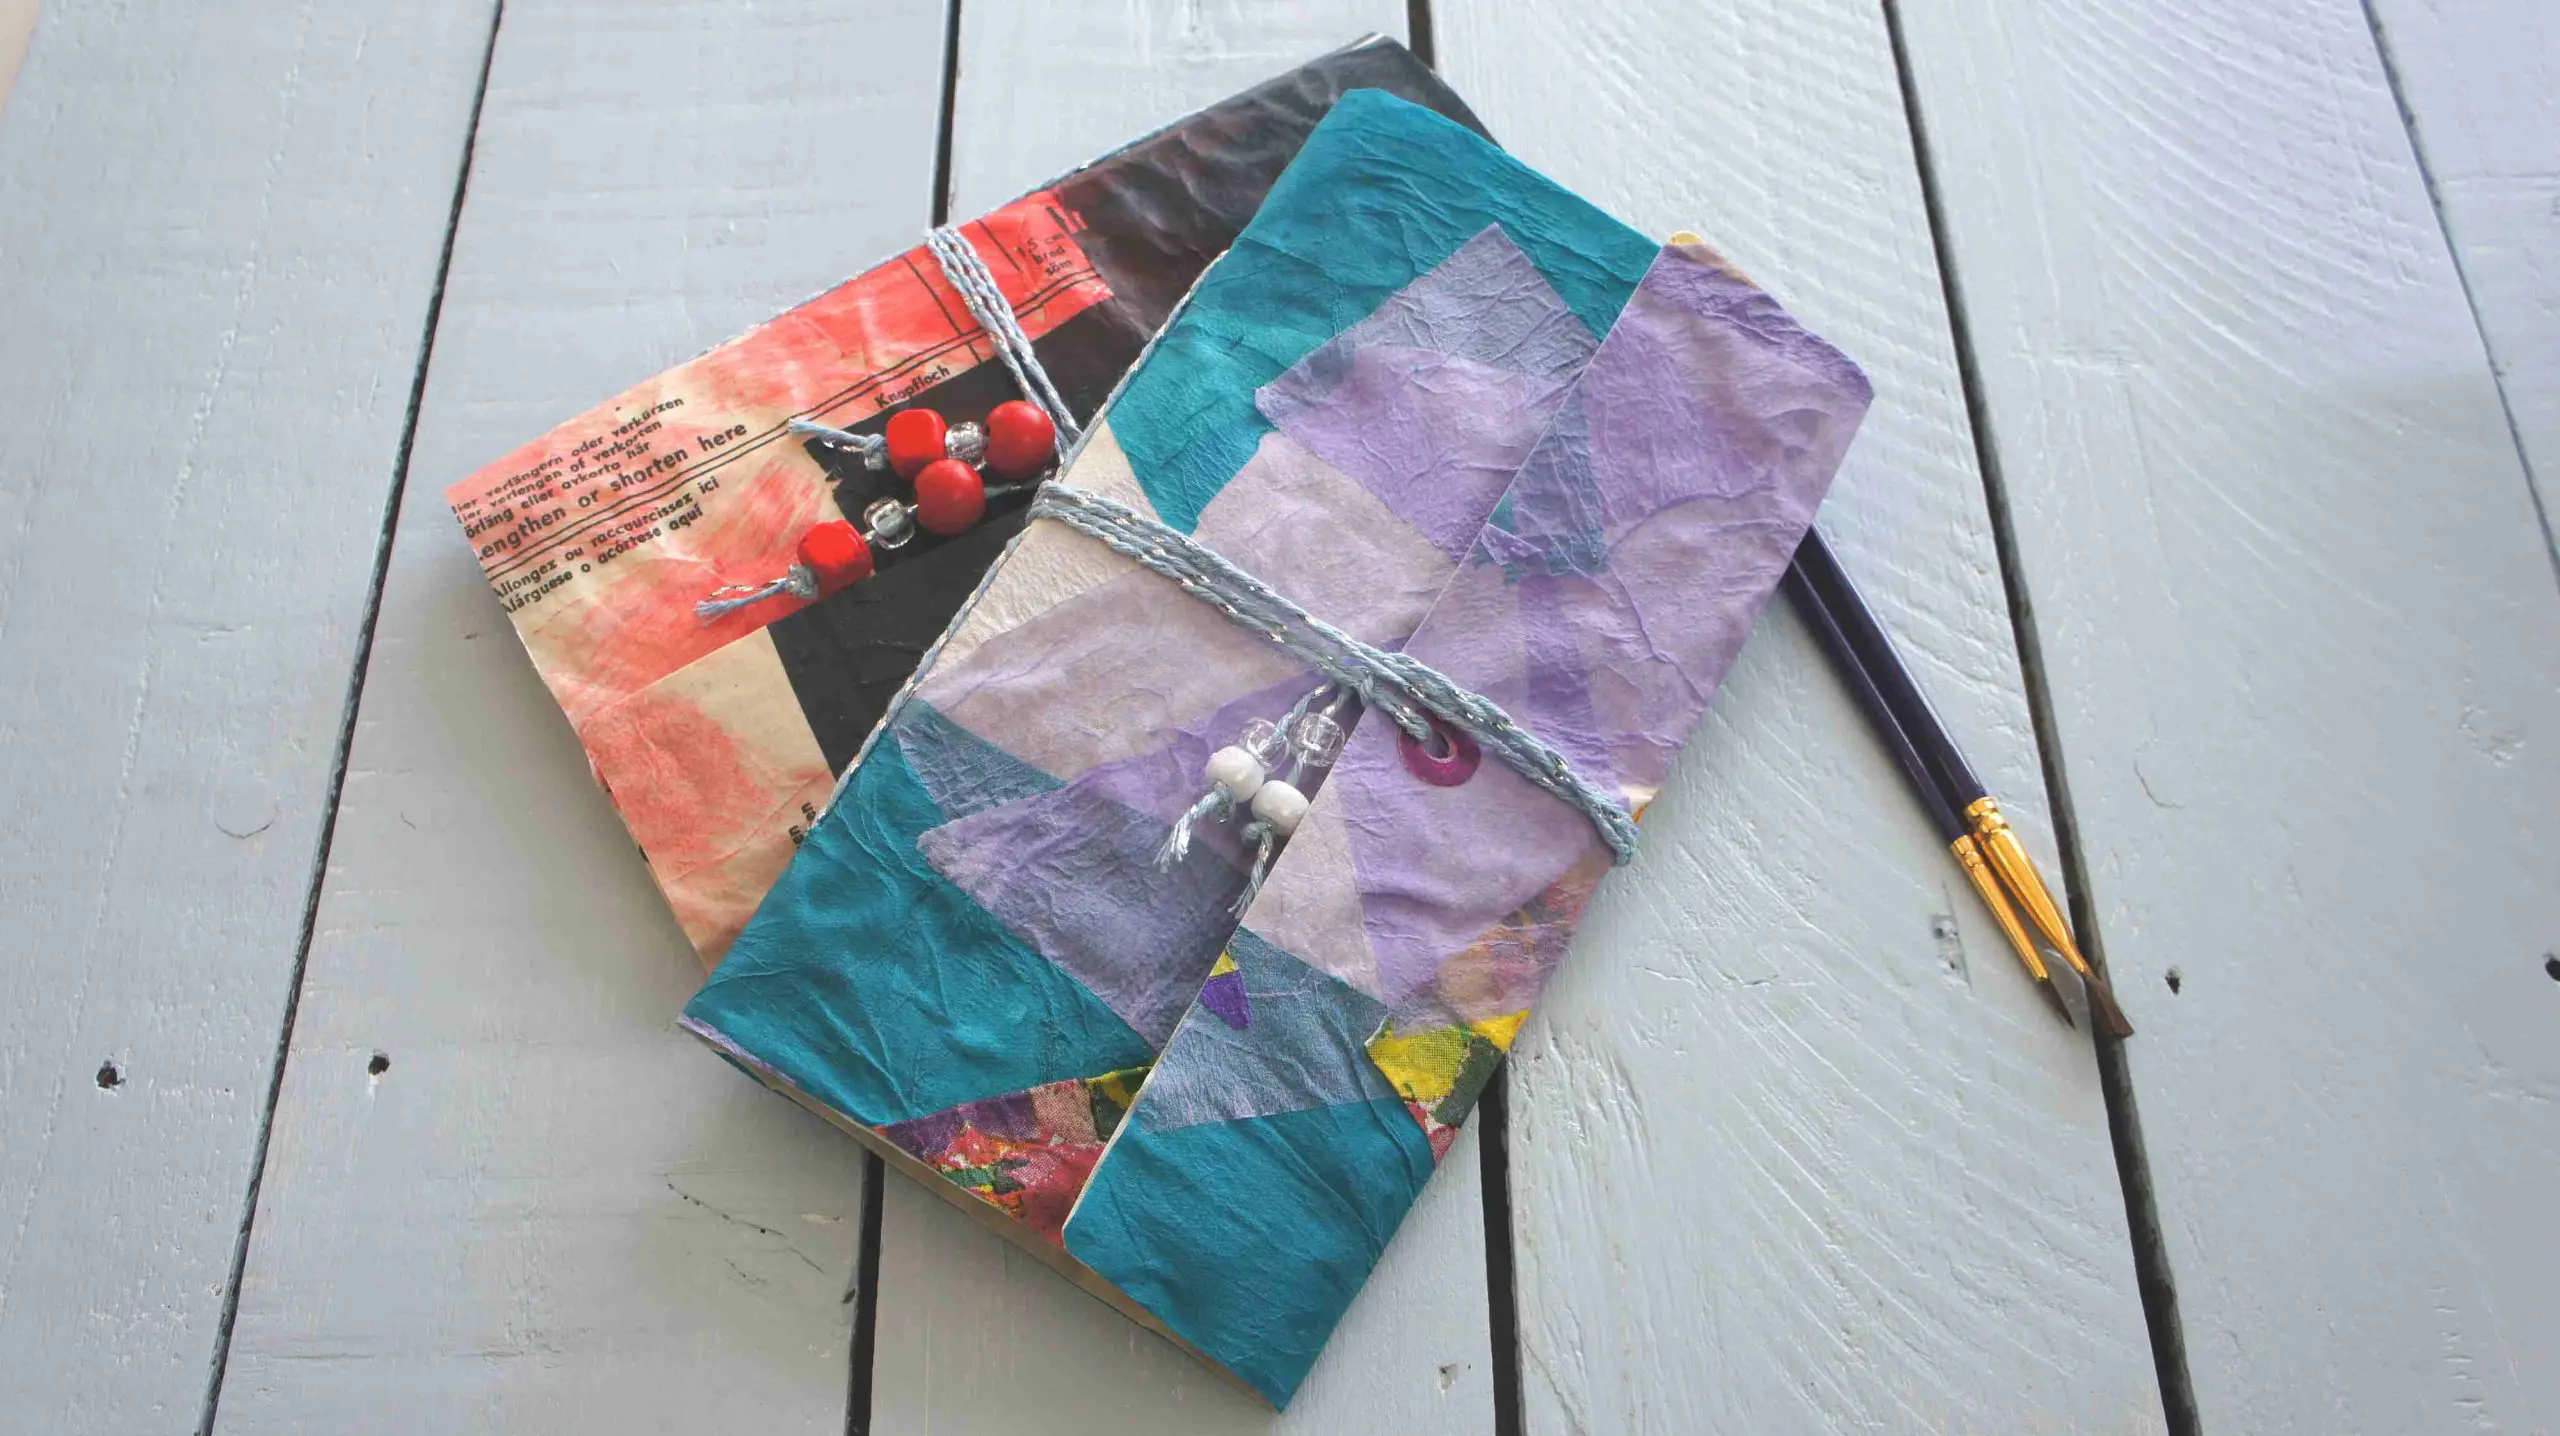
Congratulations you have made your DIY art journal. Enjoy filling it with all your creations.
And now …
There are lots of different types of journals and journaling and one is junk journaling. If you want to know how to make one from an old book then check out my tutorial.
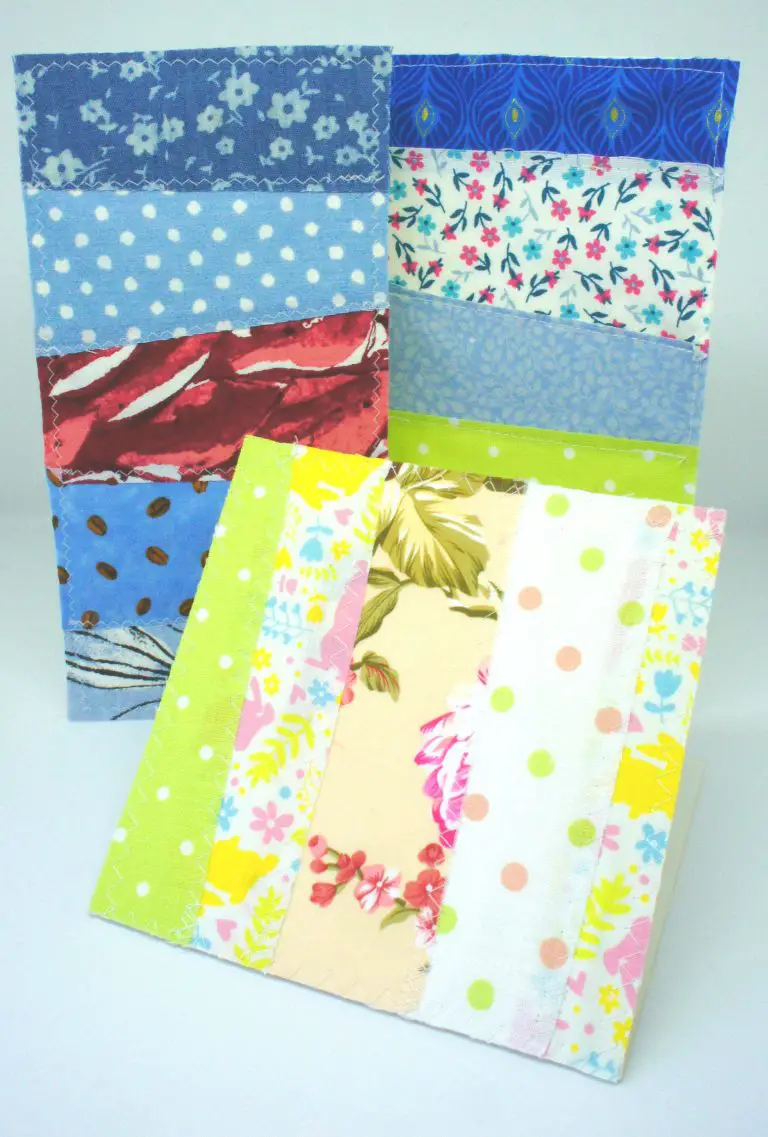
You might also like some cute and super quick and easy pocket notebooks. These are great for travelling, gifting and fundraising.
If you want some cute envelopes made out of book pages to go in your journal then you can make those too!
If you are looking for a new way t create art how about trying acrylic pour painting. It is so much fun but rather messy!
However you decide to journal enjoy it and please let us all know in the comments below so that we can learn from you.