DIY Hair Towel Wrap: Step-by-Step Guide and Free Pattern
As an Amazon Associate I earn from qualifying purchases
Whether you call it a hair towel wrap or a hair turban towel wrap we can all agree that they are great practical additions to the bathroom. Do you want a hair towel wrap that really dries your hair well but does not cost a fortune? Well, make your own DIY hair wrap from whatever you have available. They are obviously great made from toweling or microfibre fabric but you can always use an old t-shirt or whatever you have available.
In this guide I will show you exactly how to make a hair towel wrap. There is also a free pattern for you to download to help you make yours. This is a hair towel wrap with a button that is designed for an adult head and long hair. You can always make it smaller if you want to.
This is yet another fabulous item I am making out of my old toweling robe. The others are all on this site for you to enjoy. You can make a fabric soap holder to use in the shower or bath or how about some reusable make up wipes to clean off your make up and contribute to saving the environment.
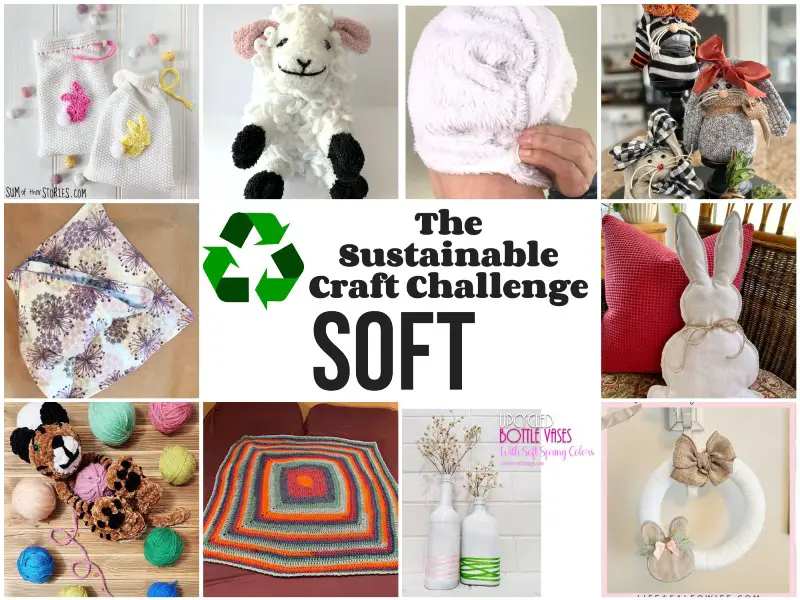
This tutorial is part of the monthly Sustainable Craft Challenge and I am joined by so many talented crafters from all around the world to bring you some great inexpensive sustainable craft ideas. This month’s theme is ‘Soft’ and at the end of this tutorial you will see links to them all so take a look.
Let’s get started.
You will need:
- Toweling or similar (28″ by 25″ minimum) Old towels or robes are great for re-use
- Downloadable pattern or make your own up
- Button
- Small piece of elastic
- Sewing supplies
- Scissors and sticky tape
Video Tutorial for Hair Wrap
Prepare your fabric & Elastic
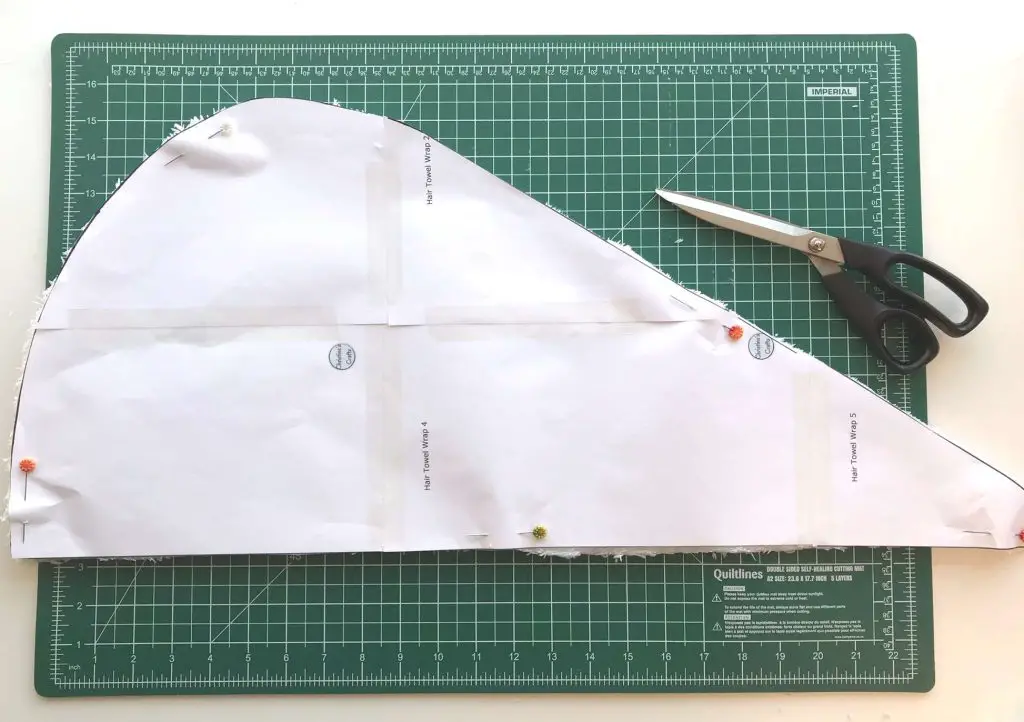
Download the printable pattern. Cut out the pieces and stick them together so that the pieces overlap enough to line up. NOTE: I printed them out full size on A4 paper and the length of the pattern is 27″ and the width of the pattern (at its widest) is 12″.
You can make it larger or smaller to suit your needs but this is a generous size that is easy to fasten when you are using it.
Place your pattern piece onto a double layer of fabric. Pin it on and cut around it. A seam allowance is included in the pattern piece.
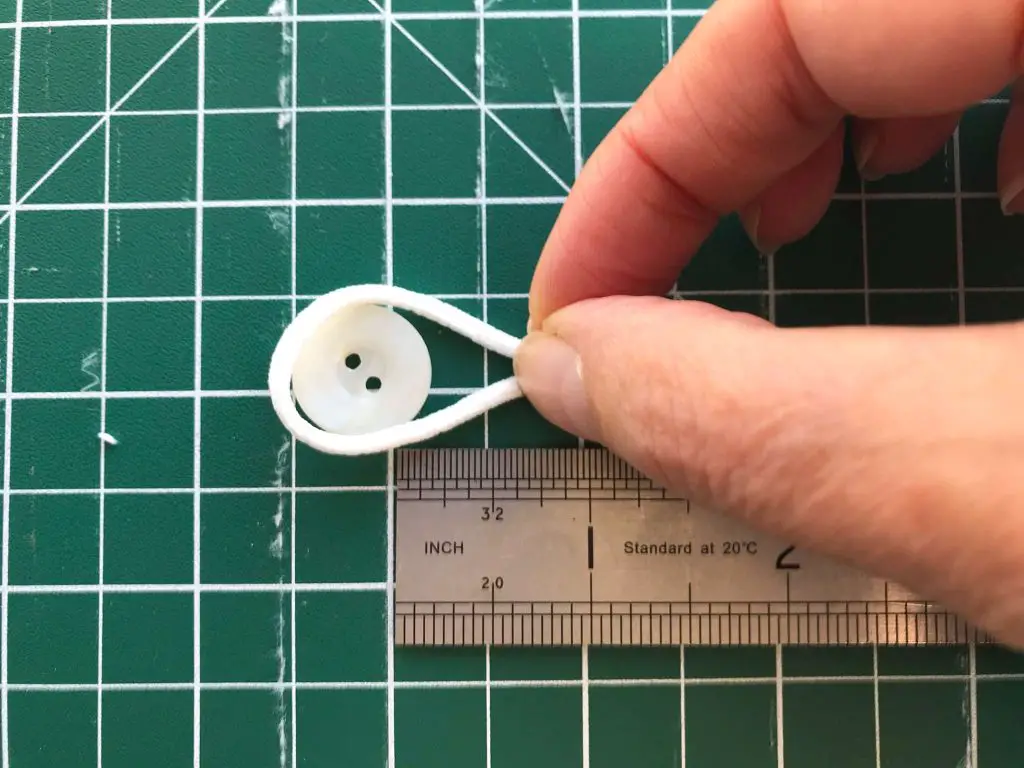
You need to cut a piece of your elastic that will be long enough to go around your button and fasten into your seam. My button is 3/4″ across and my elastic is 3″ long. Too long is okay as you can always trim it. Too short means that you will always struggle to fasten the button with your wet hands!
I didn’t state what elastic to use as it does not matter – use what you have. If you are buying some for this project choose a thin elastic like mine as it is easy to use around the button.
Sew your Hair Towel Wrap for Long Hair (or short)
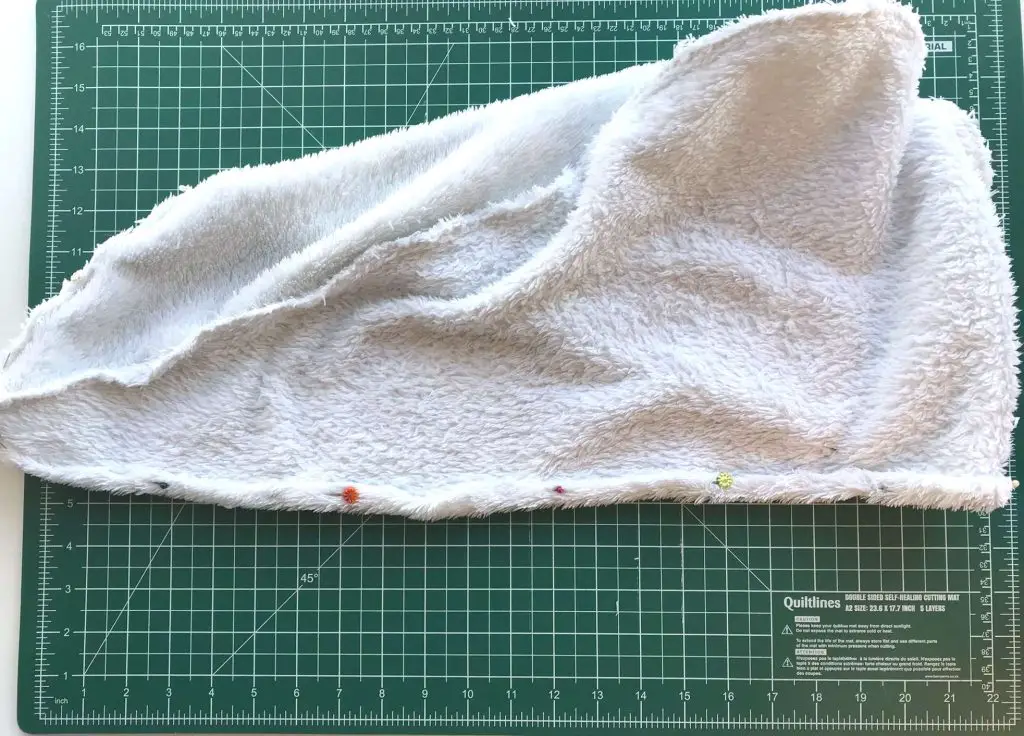
Place your two pieces of fabric on top of one another. If you have a right and wrong side of your fabric make sure that the right sides are facing each other.
Pin around the curved edge of the hair towel wrap. You are also going to pin along the short end but you must include your elastic. Fold your elastic in half and then insert it between your two layers of fabric. Make sure that the loop is inside the wrap and that the ends stick out through your pinned seam. Pin the two layers together trapping the elastic. Clips can be useful here to trap the elastic – you don’t want it wandering!
I recommend placing the elastic approximately 0.5″ up from the bottom so that the ends will be trapped inside the hem.
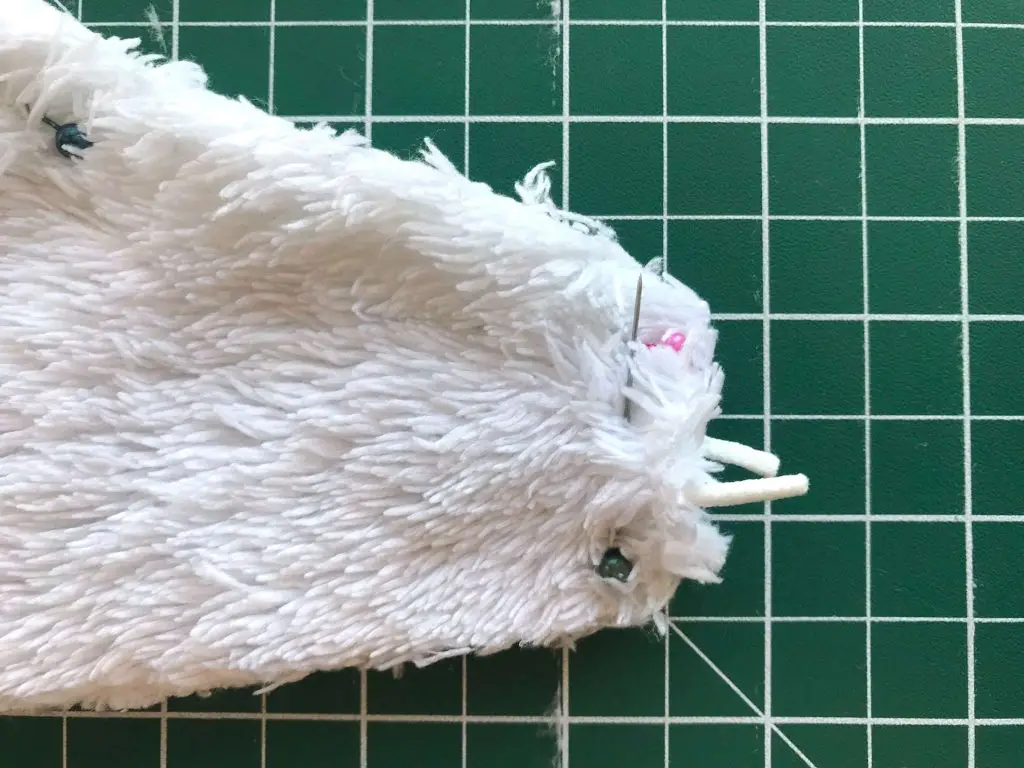
Before sewing check that your elastic loop is the right size by pushing the button through it. You want it to pass through relatively easily but not drop straight through. A little bit of stretch of the elastic should be needed. Sew around the edge that you have pinned including the short straight end with the elastic in it. I recommend sewing over the elastic a couple of times to make sure that it is secure.
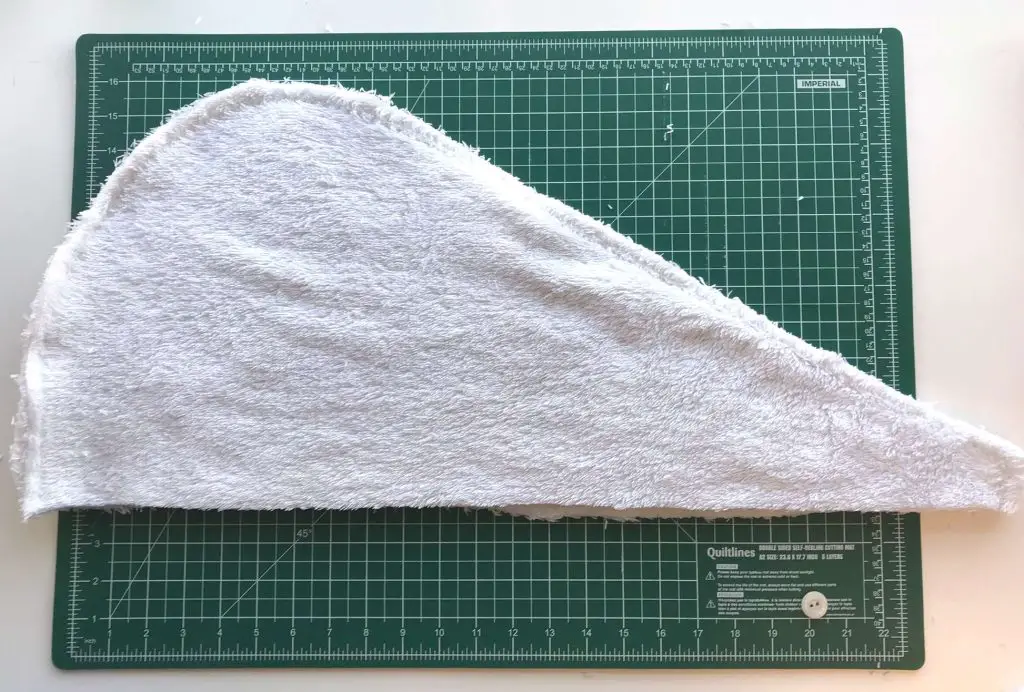
You need to neaten the edge that we have left raw at the moment. You may have seen a lot of hair wraps that put elastic along this edge. I do not because I find that they can be a bit tight on my (admittedly large) head and it is not necessary.
So, simply turn up a small hem. Mine is half an inch and is only a single hem as toweling gets rather thick when you have 3 layers. If, however, you are using a thinner fabric you may want to do a double hem with each layer being quarter of an inch.
Sew around the hem to secure it.
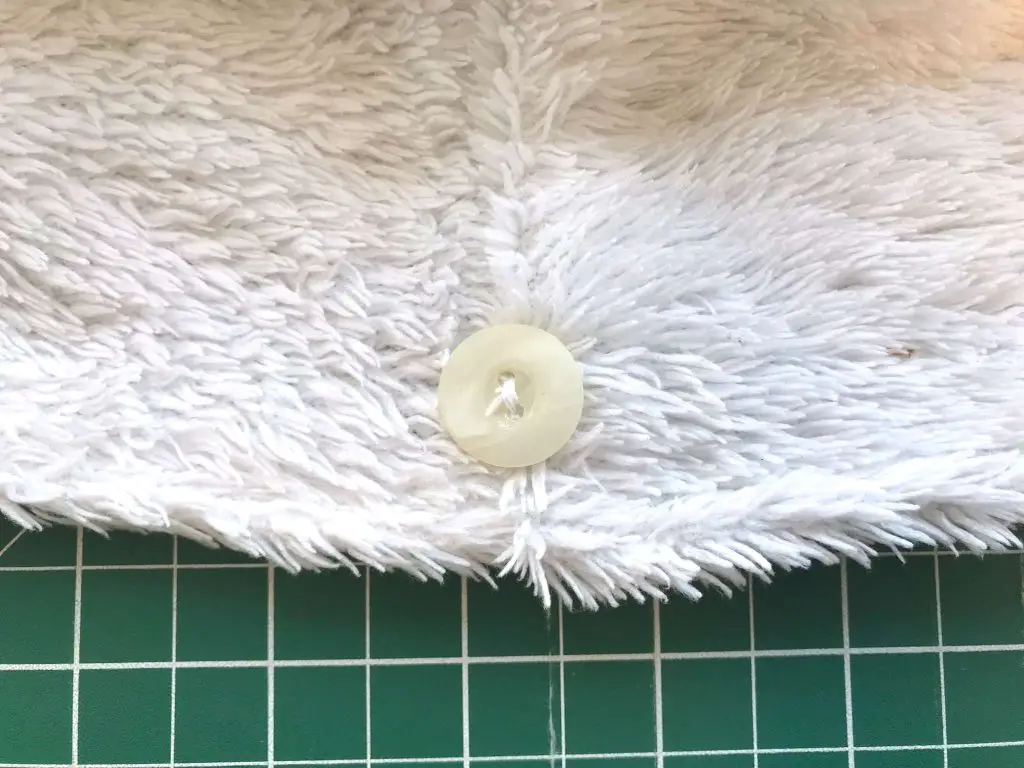
All that is left to do is to sew on the button. It goes on the opposite end to the elastic so that large curved end on the outside. I recommend about three quarters of an inch up from the bottom of the hem. That seems to work really well.
Make sure that it is secure.
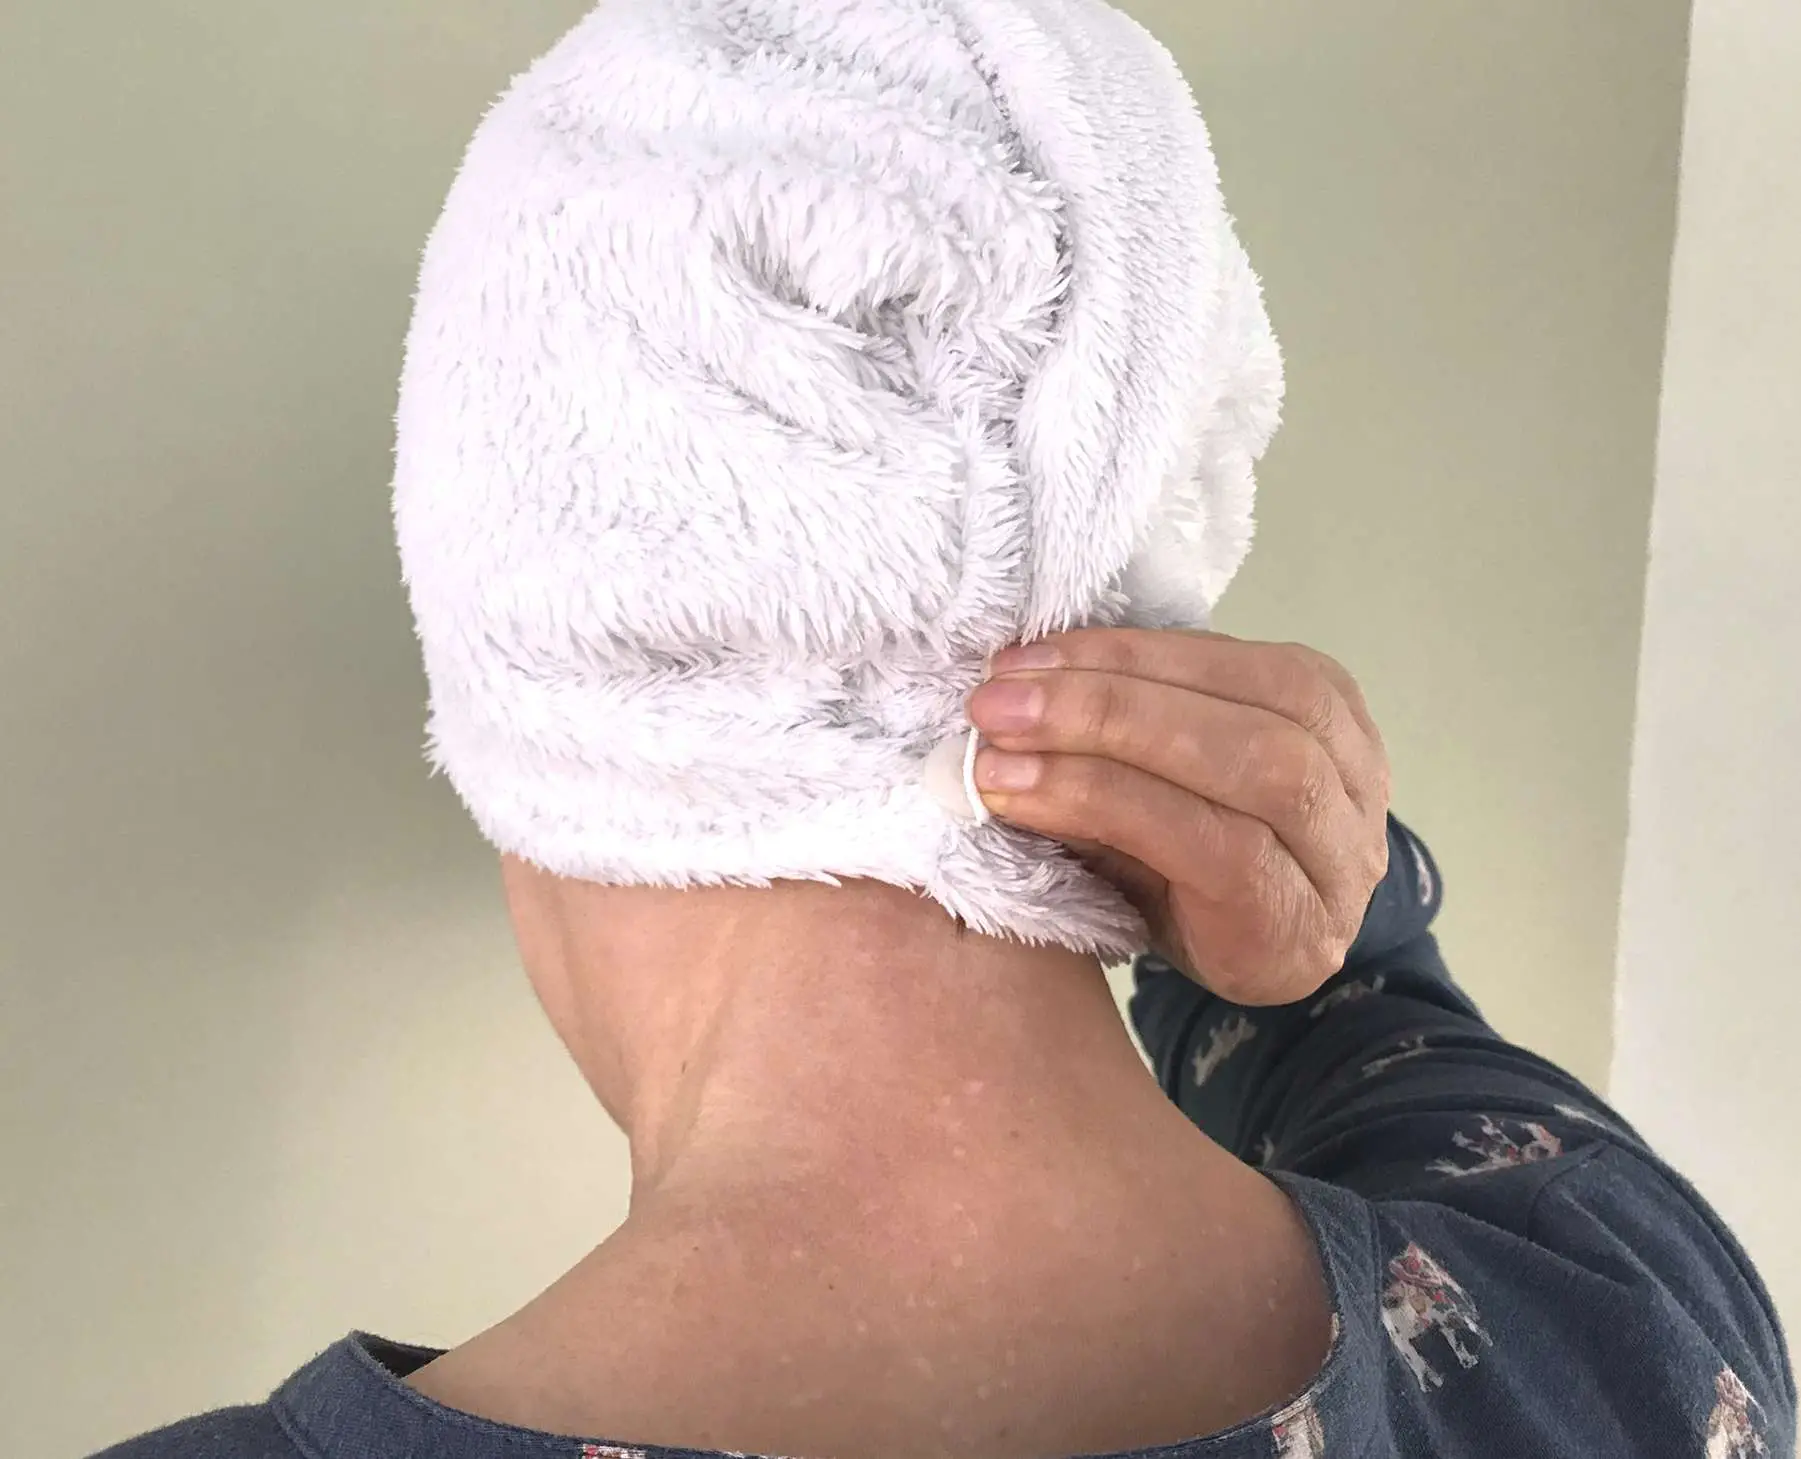
How to use a Hair Towel Wrap
Congratulations you have finished your DIY hair towel wrap and you can now use it. I have added in hear a pictorial tutorial for using your wrap in case you have never used one before.
Simply tip your head over, place the wide part of the towel wrap with the button on it at the back of your head so that the rest drops forward over your hair. Now wrap the towel around your hair and flip it back over your head. Loop the elastic around the button and it should be secure.
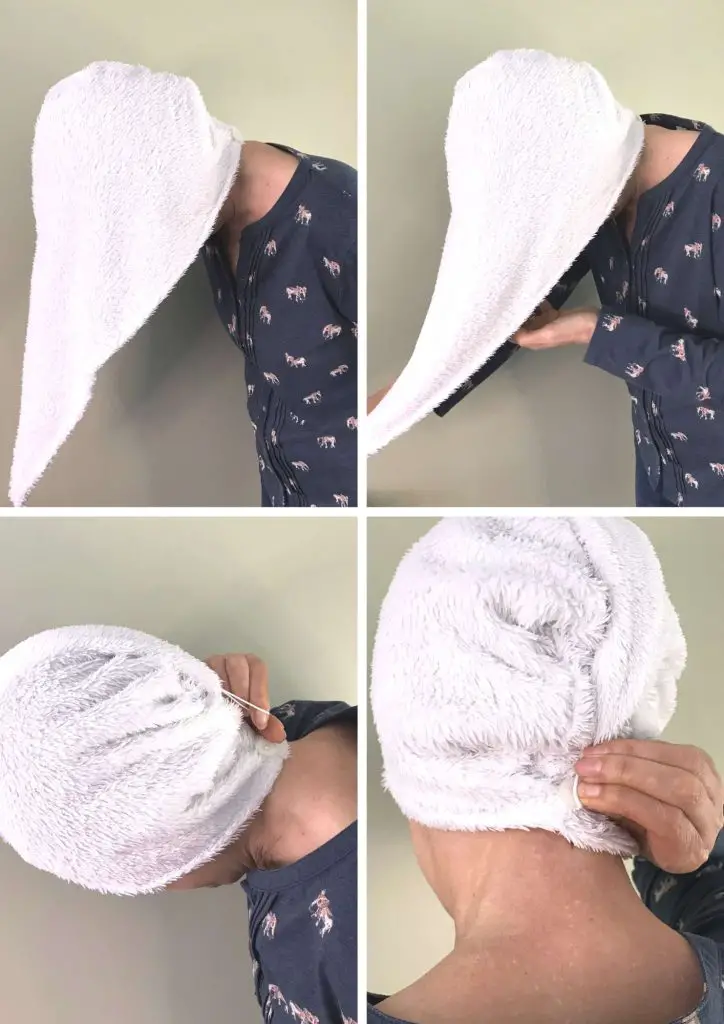
Leave it on for a while and your hair will no longer be dripping and it will be much drier without rubbing it and damaging it.
And then …
Don’t stop there – why not create lots of great items for you and your home?
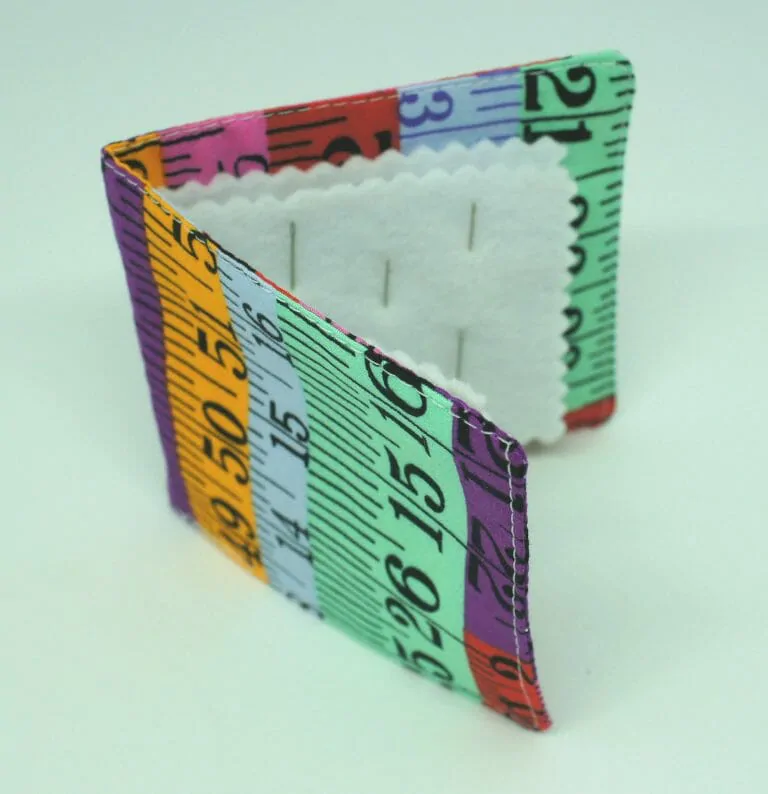
Here are a few ideas for you. At the top of this article I mentioned make up remover wipes and a soap saver bag. But, how about making a few other items from household objects. A Makeup bag to go with your other items is surely a must.
A mobile phone or tablet stand is so useful and really saves your aching arm so why not make one out of an old pair of jeans.
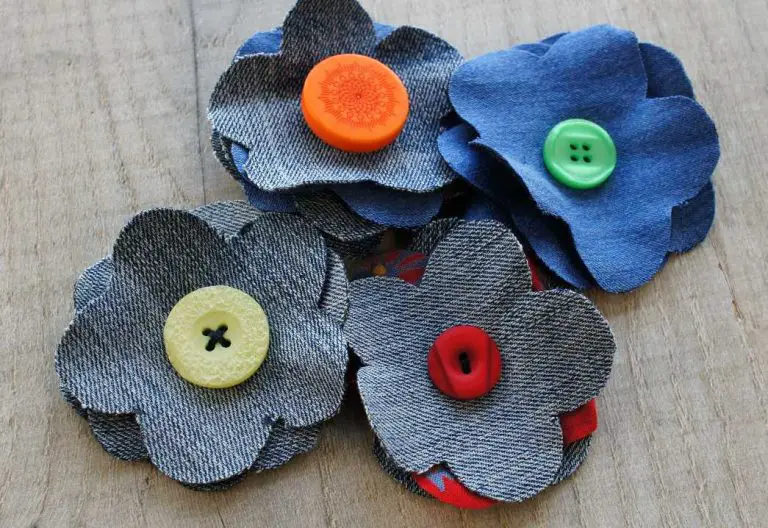
Perhaps you could do with some scrunchies for your hair. Well, why not make your own from fabric scraps or old clothes?
Or what about a super easy draught excluder? Cut your energy bills and feel warmer this winter.
A great way to cut down on your single use plastic usage is to make your own beeswax wraps.
Whatever you decide to make enjoy making it and using it. Let me know in the comments below what you make and how much you like it.
Sustainable Craft Challenge
For more fabulous sustainable craft tutorials on the the theme of ‘soft’ take a look at:
Upcycled Sweater Easter Gift Bags
Loopy Yarn Lamb Treat Jar
DIY Sock Bunnies
DIY Cozy Weighted Warmer
No Sew Drop Cloth Bunny Pillow
Crochet Tabby Cat
Stash Buster Blanket
Upcycled Bottle Vases With Soft Spring Colors
Farmhouse Chunky Yarn Wreaths for Spring
Give them a visit and see what great soft items you could make today!