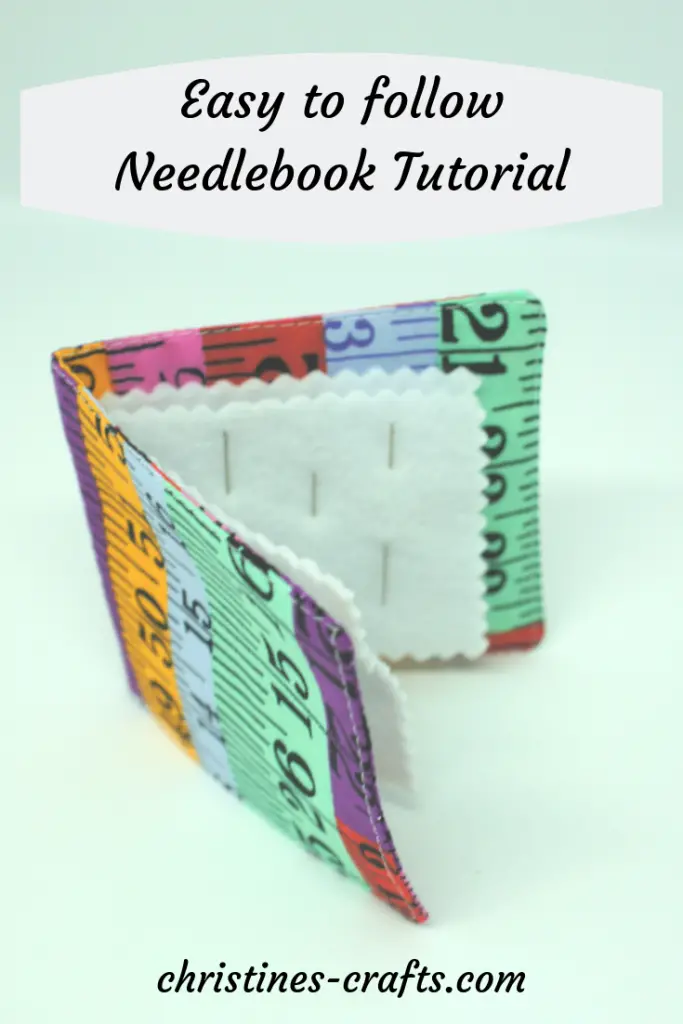
Make your own Simple Needlebook
As an Amazon Associate I earn from qualifying purchases
This page contains affiliate links meaning I earn a small commission if you use those links at no cost to you. I only recommend brands I use and trust.
If you like to watch a craft being done then please scroll down to the bottom of the written instructions and watch a video tutorial of me making a needlebook.
You will need:
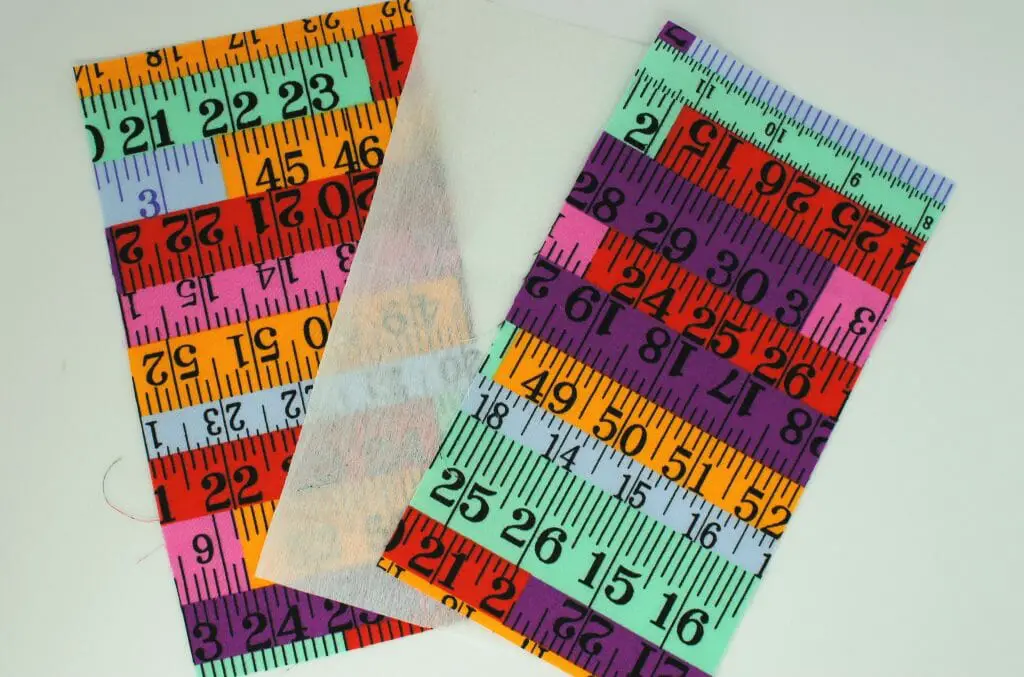
Fabric – 2 pieces 18cm x10cm (7″ x 4″) – Great craft for fat quarters like these from Amazon
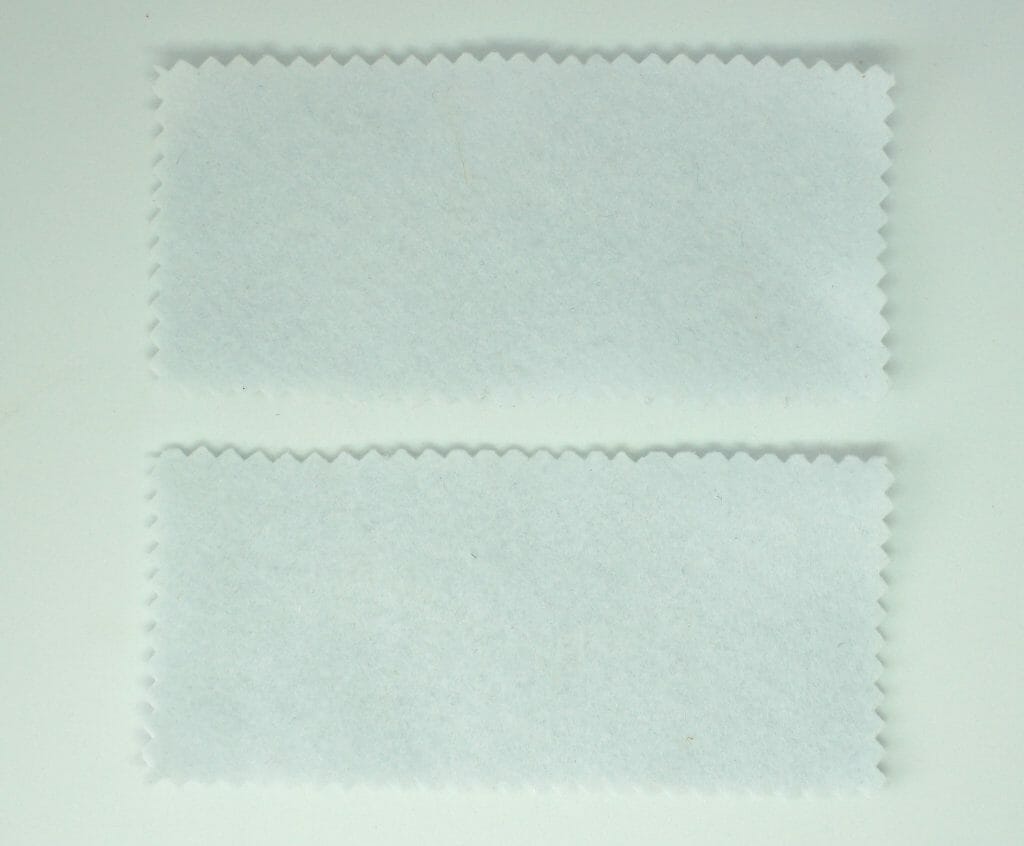
Felt – 2 pieces 13cm x 6cm (5″ x 2¼”) [Cut with pinking shears if you want a decorative edge]
Iron-on Interfacing – 1 piece 18cm x10cm (7″ x 4″)
Sewing supplies


Step 1: Make outer cover
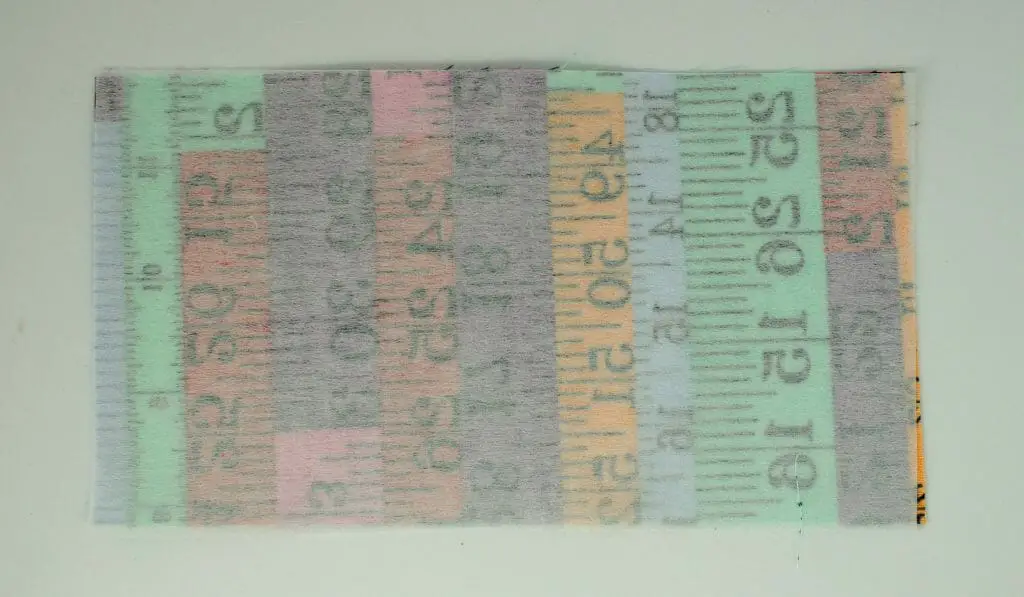
Iron the interfacing onto the reverse side of one of the pieces of fabric.
Then pin the two pieces of fabric together with right sides facing.
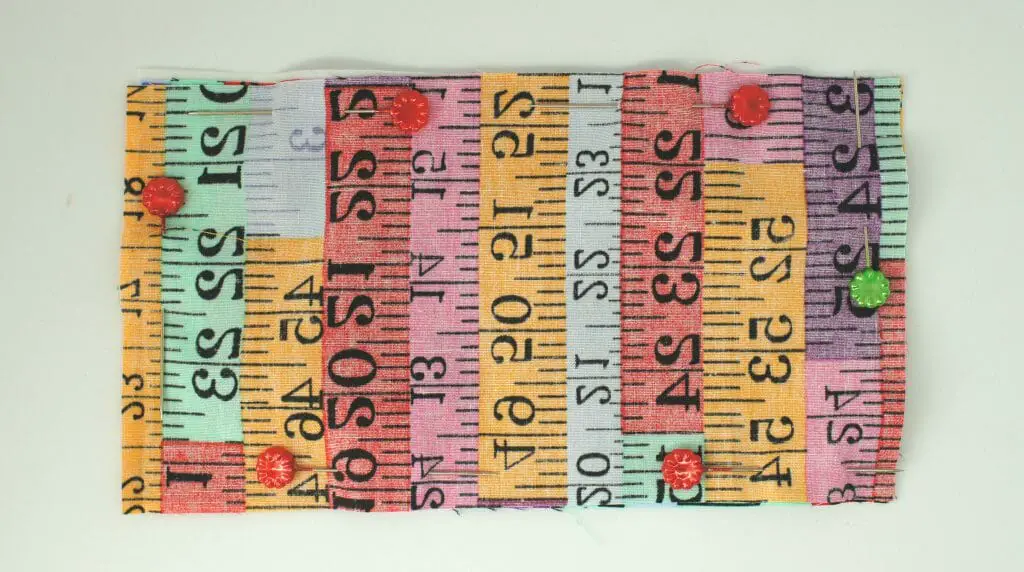
Sew around the outside of the pieces of fabric approximately 1cm from the edge. Make sure that you leave a gap in the stitching large enough to turn the the fabric out to the right side.

Clip off the corners outside the row of stitching.
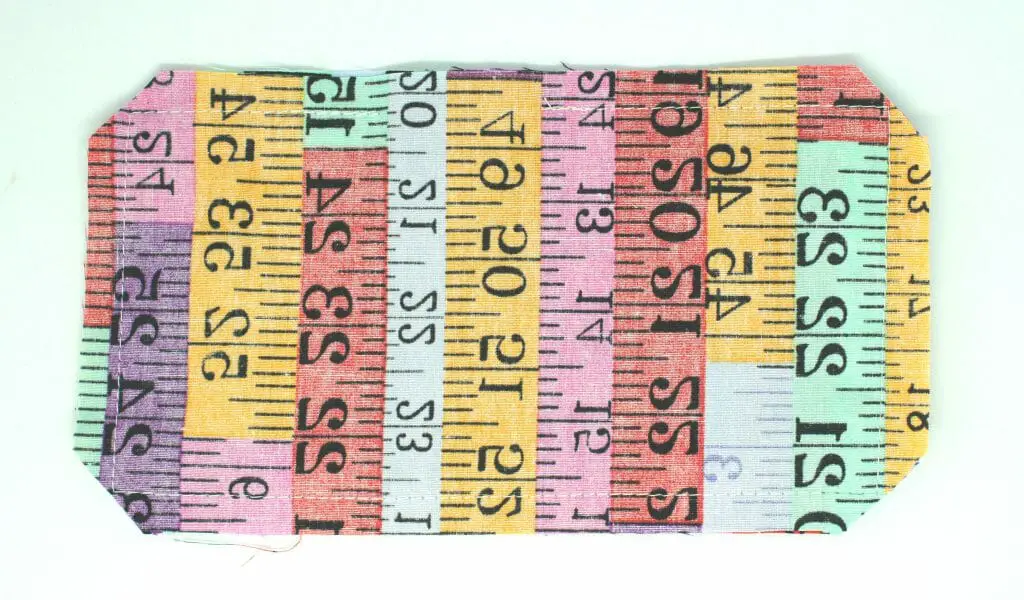
Turn the article right side out and press it ensuring that the opening is pressed closed. Sew a row of top stitching around the outside of the fabric. This will work decoratively on the fabric and will close the gap that you left open to turn it out.
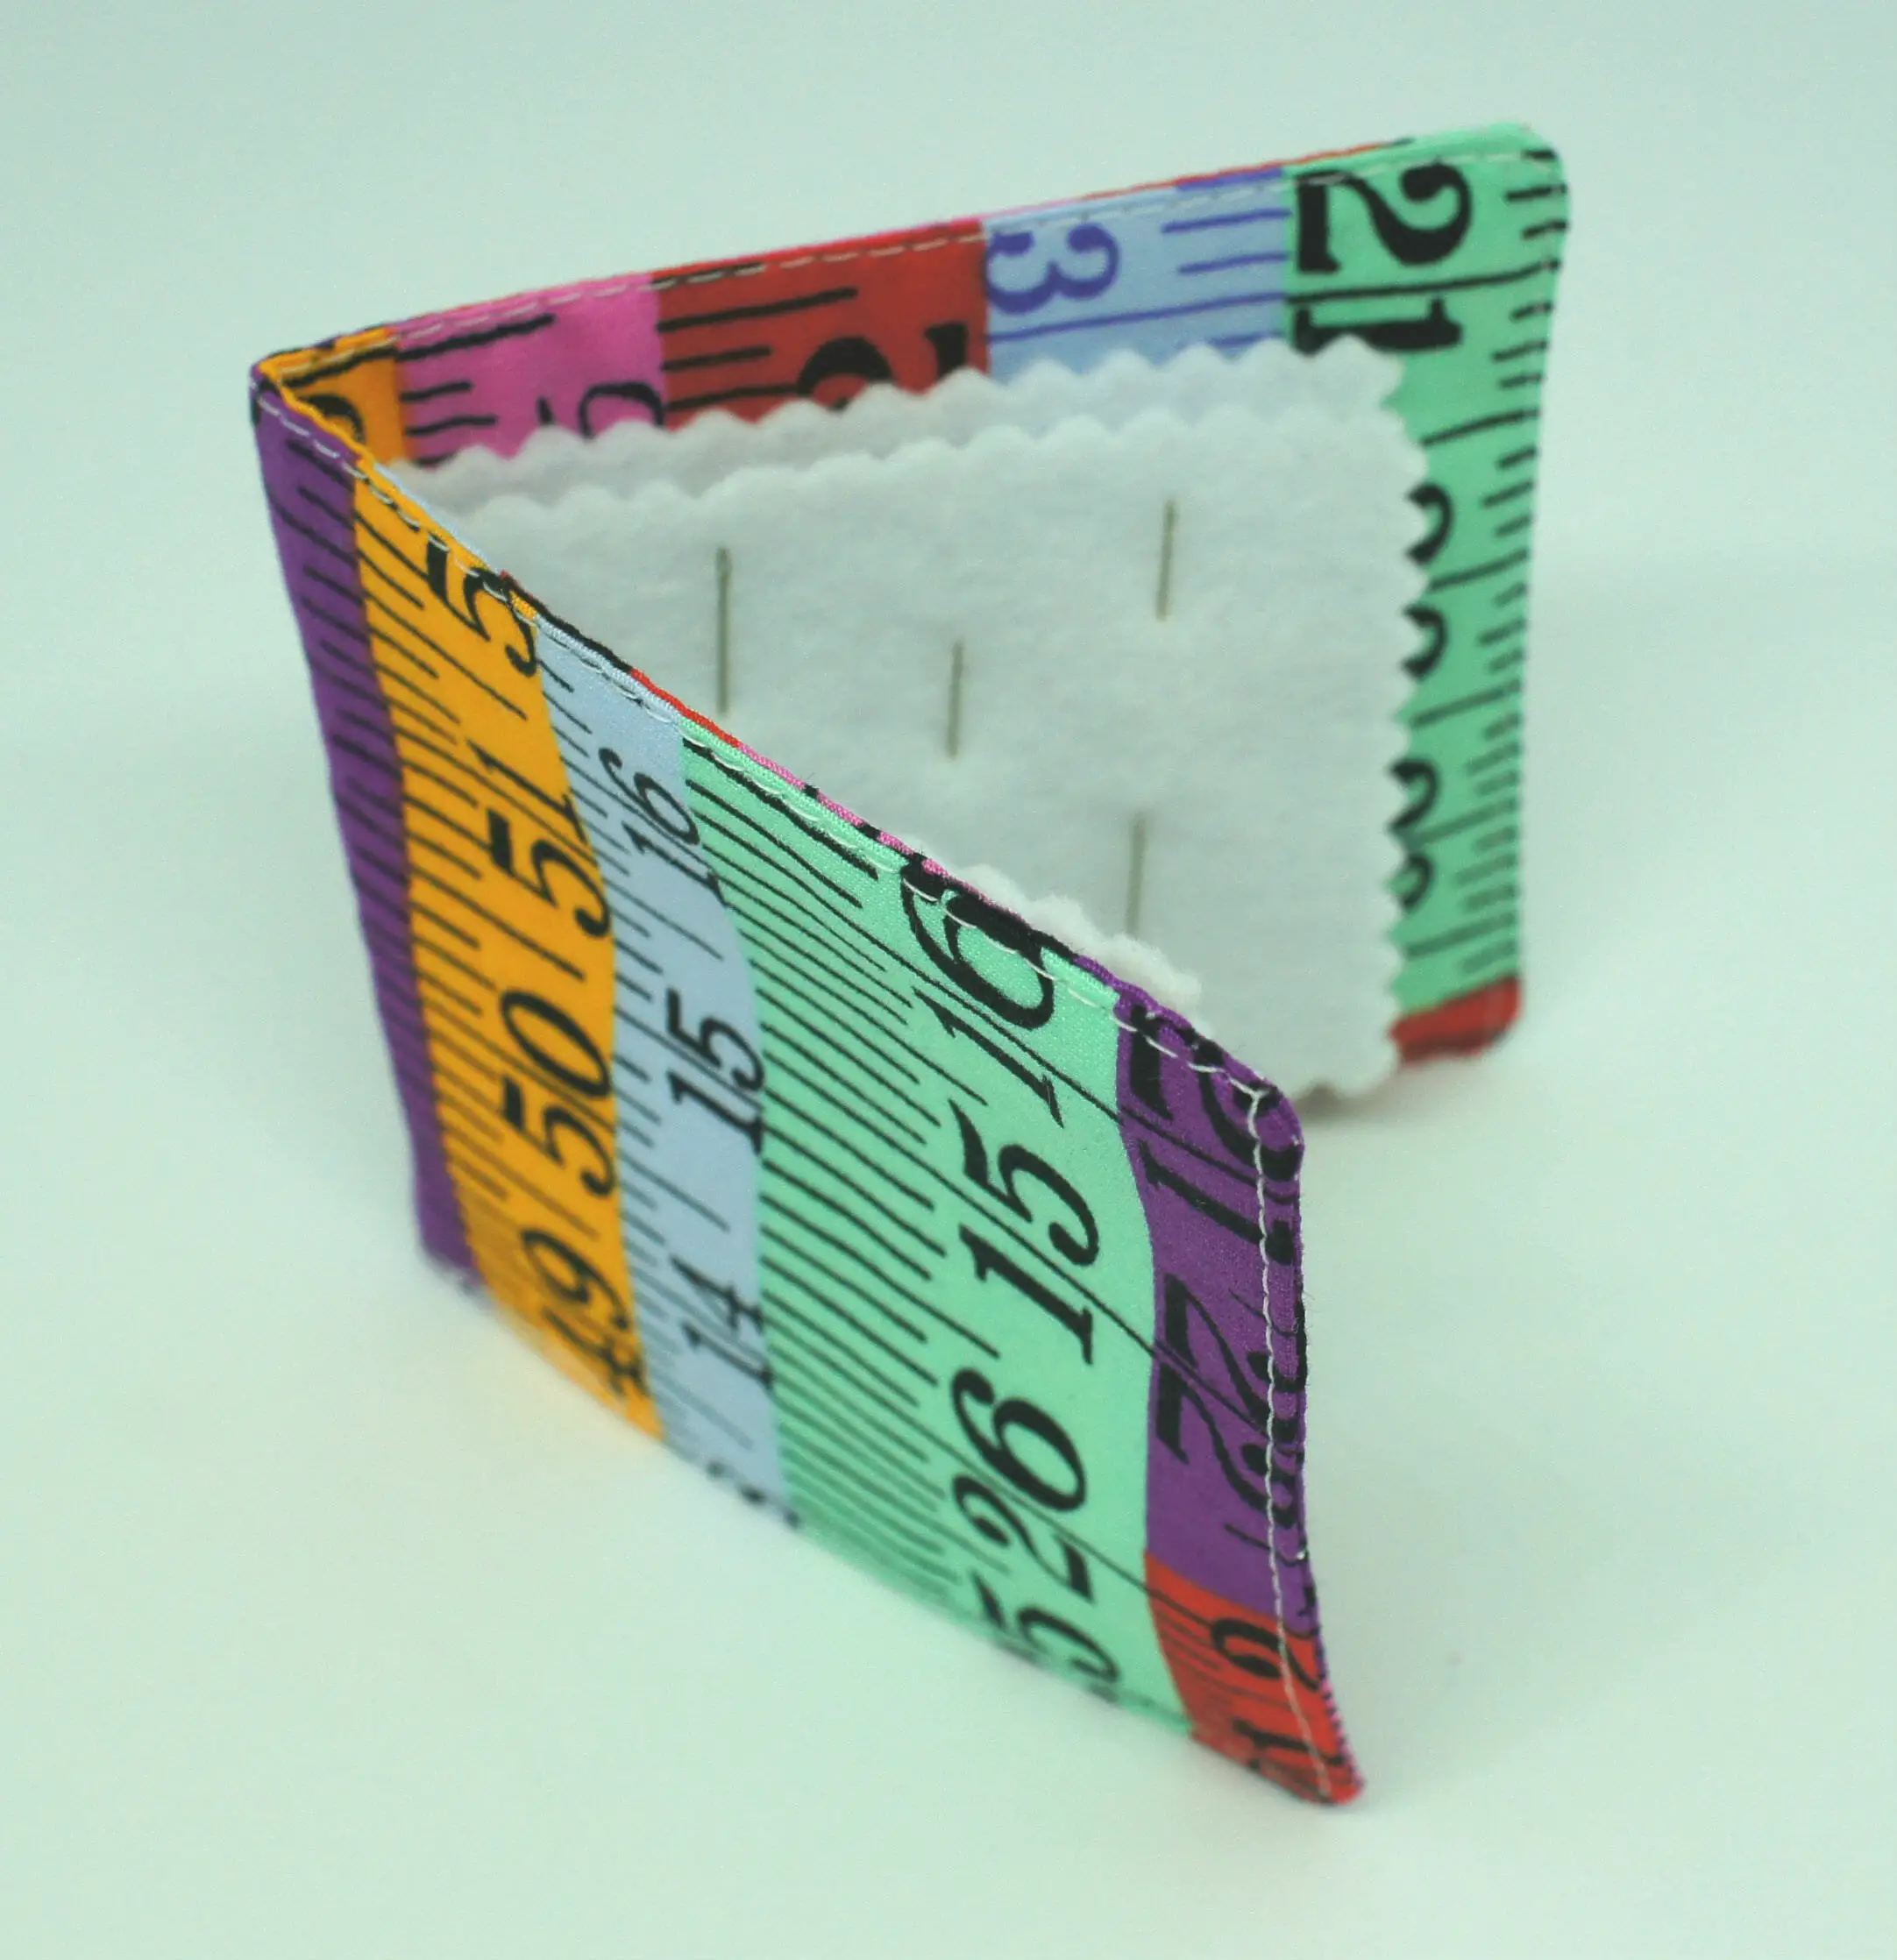
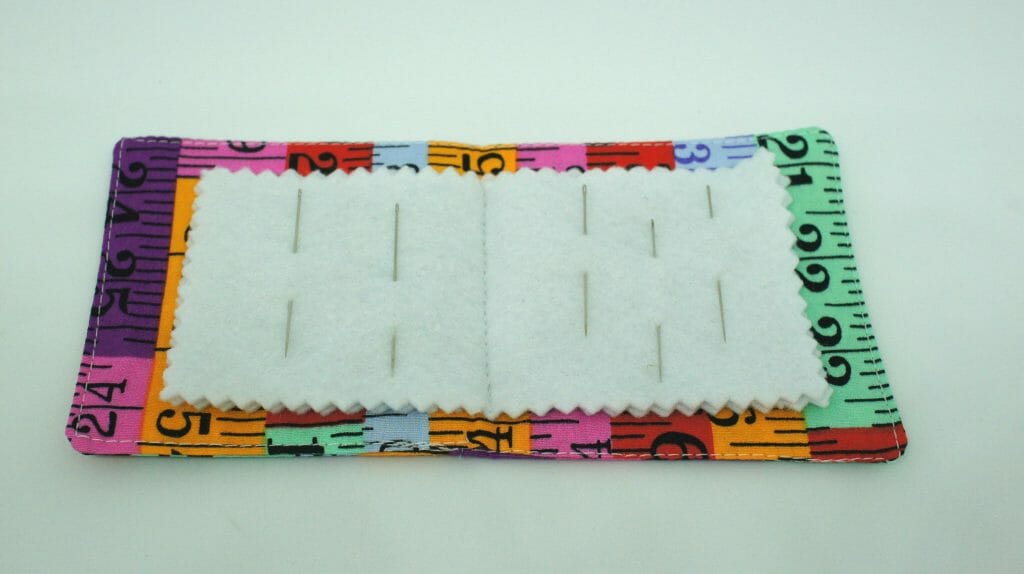
Step 2: Attach felt pages
Mark the centre of the fabric needlebook and the centre of the felt pieces. I marked the needlebook by folding it in half and pressing it. Place the felt pieces onto the fabric needlebook and line up their centres. Pin them all together.
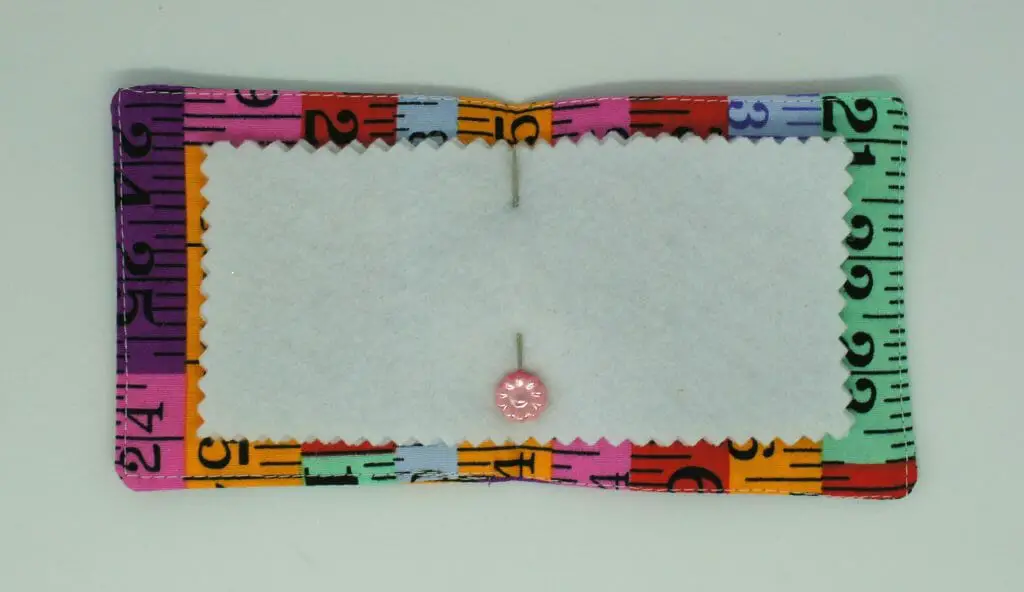
Sew along the line that you have pinned.
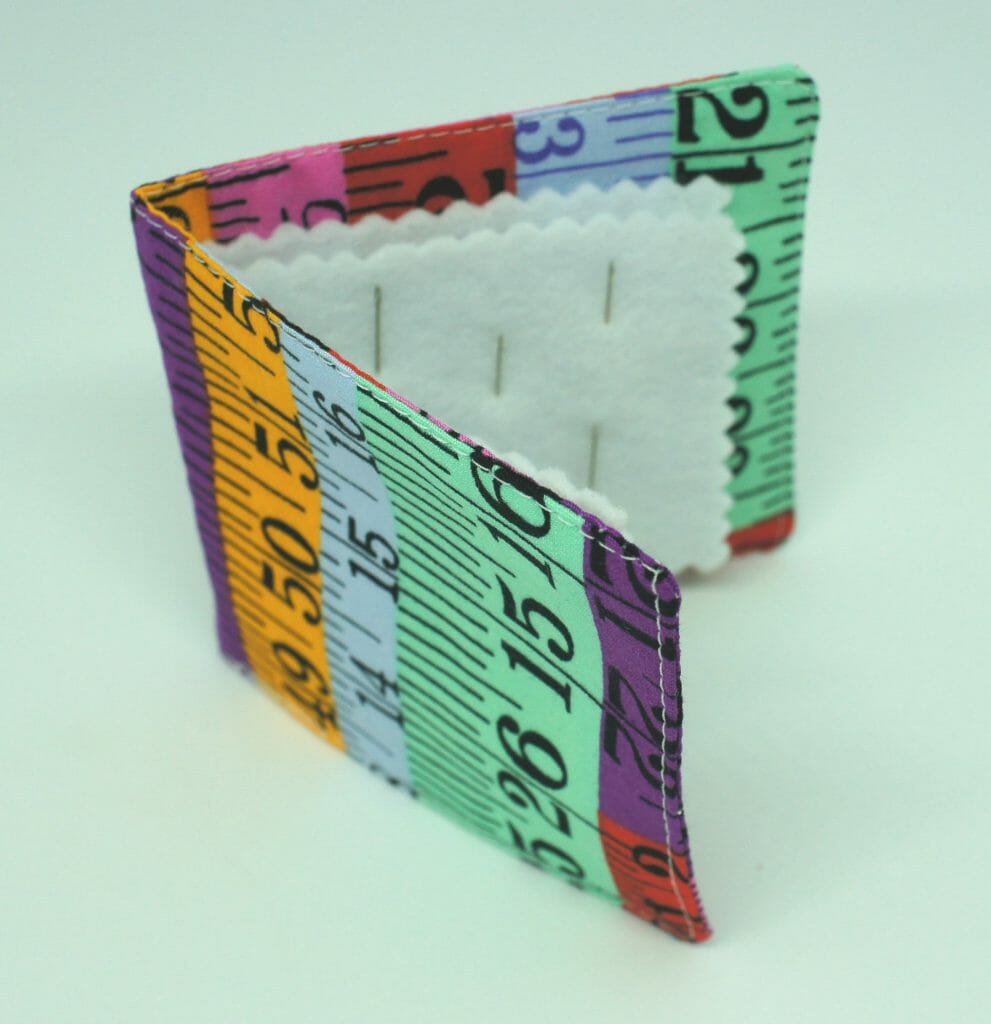
That is it! You have finished your needlebook! So simple!
Video Tutorial for Needlebook Case
Needlebook Adaptations
The easiest adaptation is to simply add more layers of felt so that you can store more needles in your needlebook. Just be careful not to add too many and struggle to sew it (or close the book).
You can also make a fastener either by attaching a press stud fastening to both halves or incorporating a button and strap arrangement like I did here on the teabag wallet.
You could also play around with the dimensions to make it as large or as small as you need. I simply suggest that you need a small gap around the felt so that it does not protrude beyond your pretty fabric needlebook cover.
You could also make the outer fabric as decorative as you like. Perhaps embroider a personal name or message for a friend.
Let me know in the comments section below what adaptations you decide upon.
Remember to pin this tutorial for later and remember the rest of the series and some of my other free sewing tutorials:
How to make a pincushion (that sharpens your pins)
How to make a fabric corner bookmark
Super Easy No Sew Victorian Pin Cushion