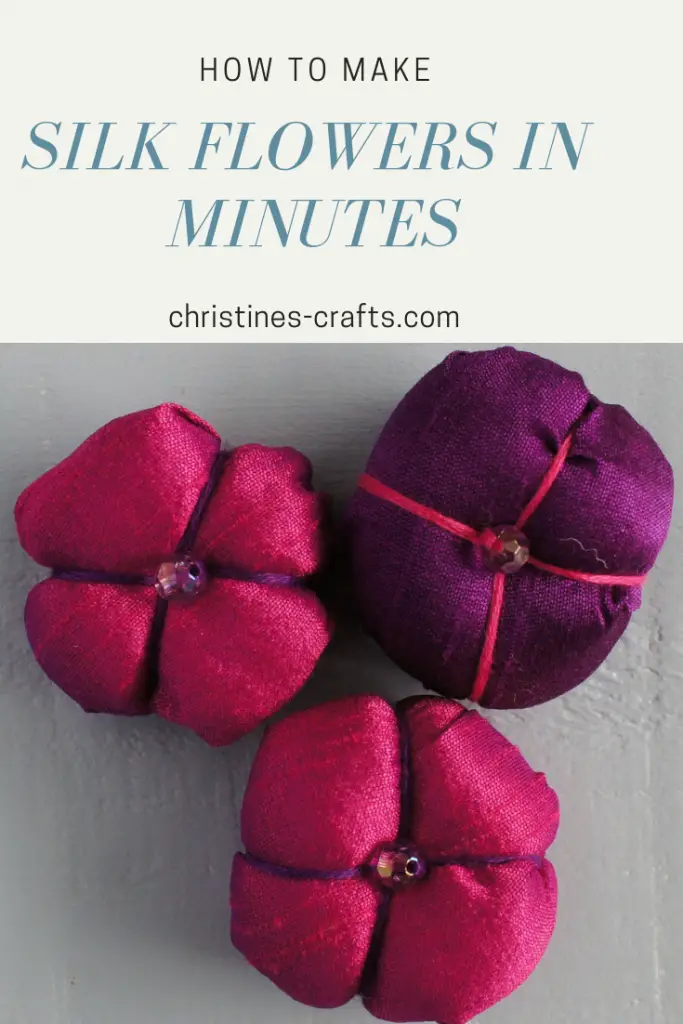
Silk Ball Flowers – Make Your Own
As an Amazon Associate I earn from qualifying purchases
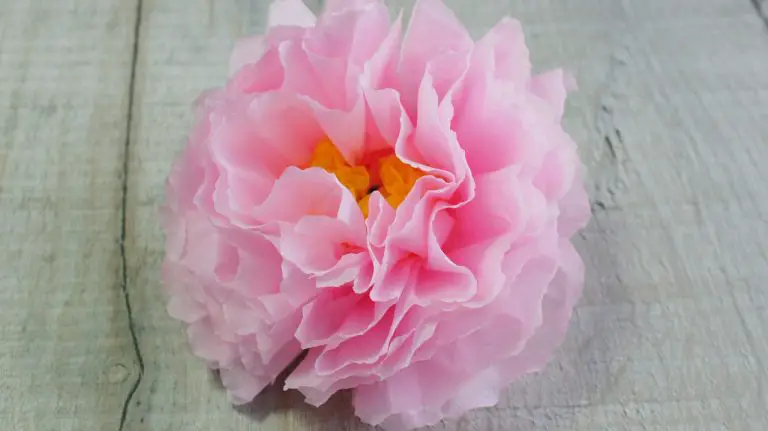
These adorable little silk ball flowers are ideal for accessorising so many items. They can be sewn or glued onto bags, hairslides, clips and many more. They are quick and easy to make and I have really enjoyed making them. It is quite relaxing, not too fiddly!
This page contains affiliate links meaning I earn a small commission if you use those links at no cost to you. I only recommend brands I use and trust.
You will need:
Silk fabric (or you could make these with other soft, thin fabrics)
Embroidery thread (matching or contrasting)
Toy filling/stuffing (really small amount)
Small bead
Needle
Air erasable pen (or similar)
A round template approximately 15cm (6″) in diameter (I used a plastic cooking bowl)
Video Tutorial
This video is also available on my YouTube channel.
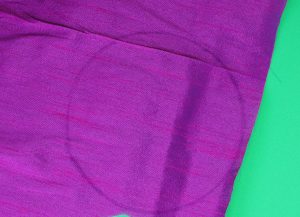
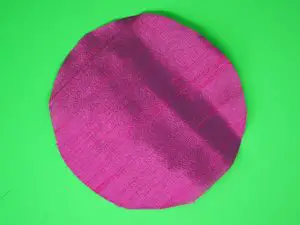
Step 1: Cut out your circle
Place your circular template onto your silk and draw around it. Then cut out your circle.
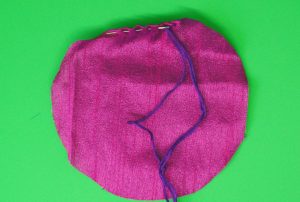
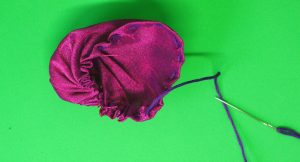
Step 2: Sew around the circle
Thread your needle with a long length of your embroidery thread. Fold a small hem around the circle and sew it in place. Make sure your thread is secure as you will be drawing it up.
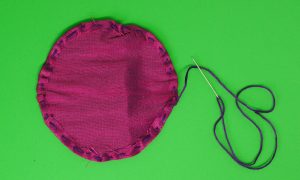
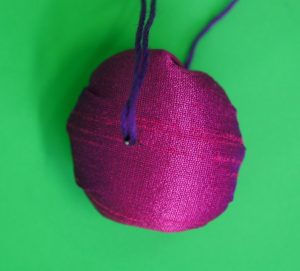
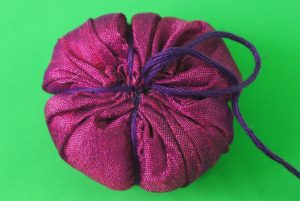
Step 3: Stuff and fasten off the circle
Draw the hem up to make a shape that you can put stuffing in. Put stuffing into the ball that you have formed.
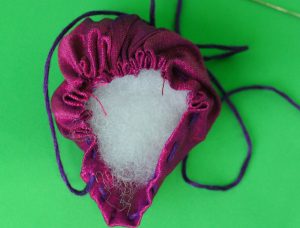
Once you are happy with the shape complete drawing up the hem to form a ball. Fasten off the thread but do not cut it off.
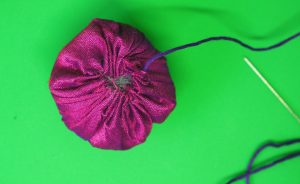
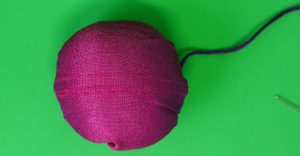
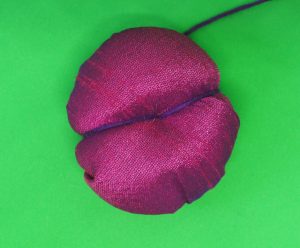
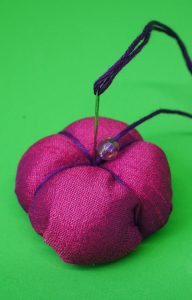
Step 4: Form the petals
Take the thread around the outside of the ball and push it down through the centre of the top of the ball and back out of the bottom of the ball. Draw it tight.

Repeat this process and make sure the thread wraps around the opposite side of the ball.
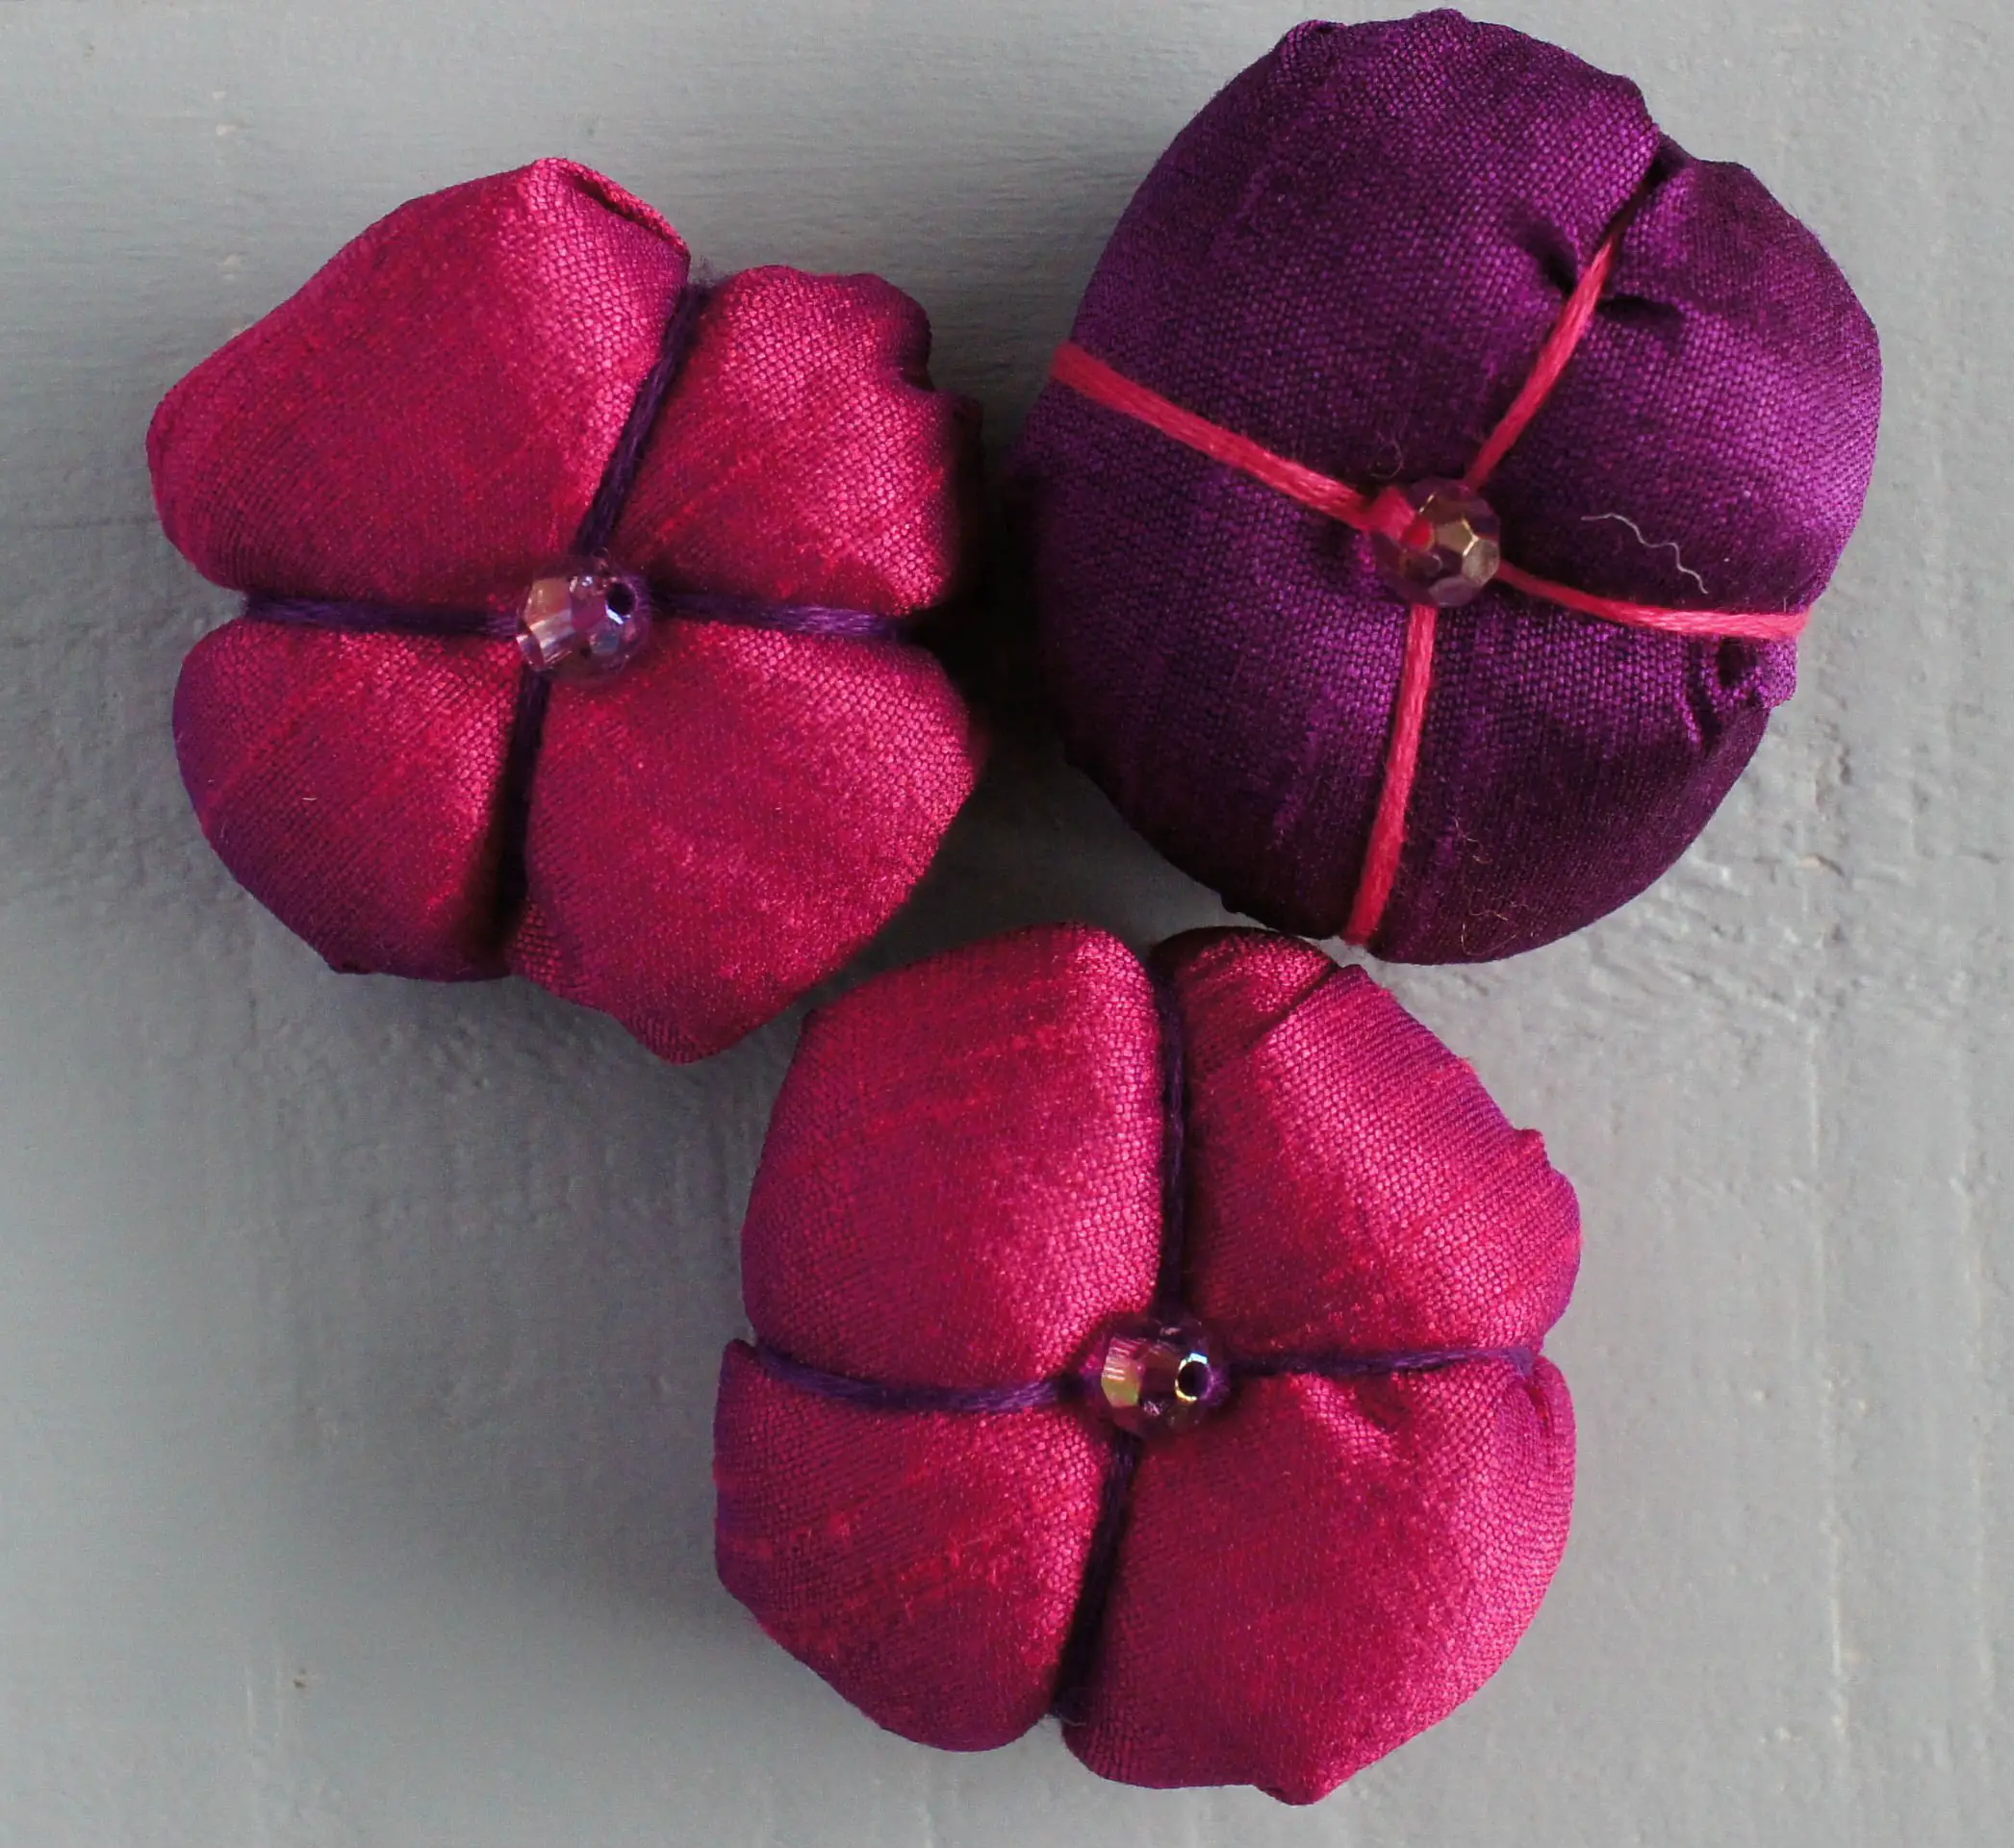
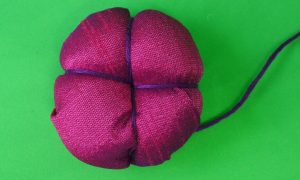
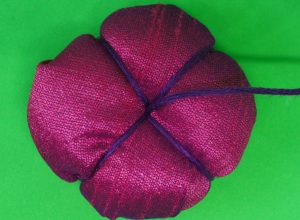
Repeat this process twice more to form four ‘petals’. Secure the thread but do not cut it off. If you want more petals simply complete this step more times.
Step 5: Add a bead
Push the needle back through the ball so that it comes out where the threads meet on the top of the ball. Thread the bead onto the needle. Push the needle back through the ball where the threads meet.
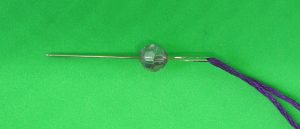
Fasten off the thread and cut it off.
Summary
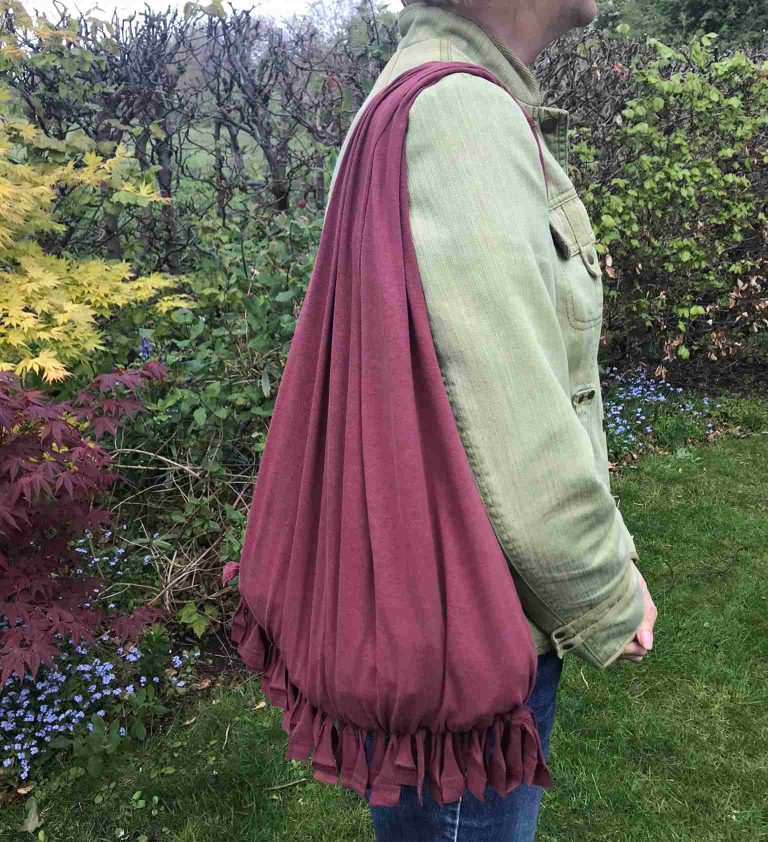
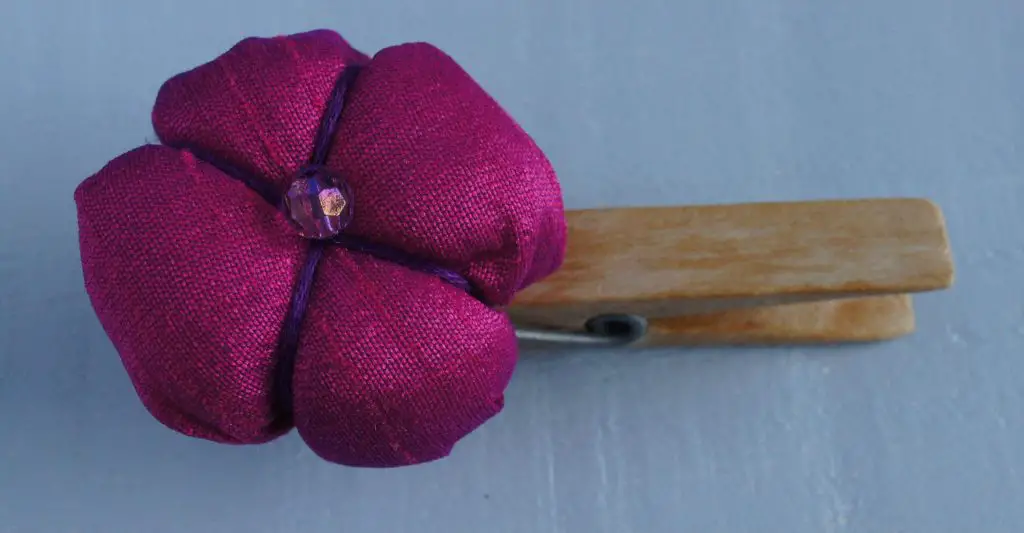
So, now you have a completed silk ball flower and how quick was that? Now you can attach it to anything you like. Here are some I made.

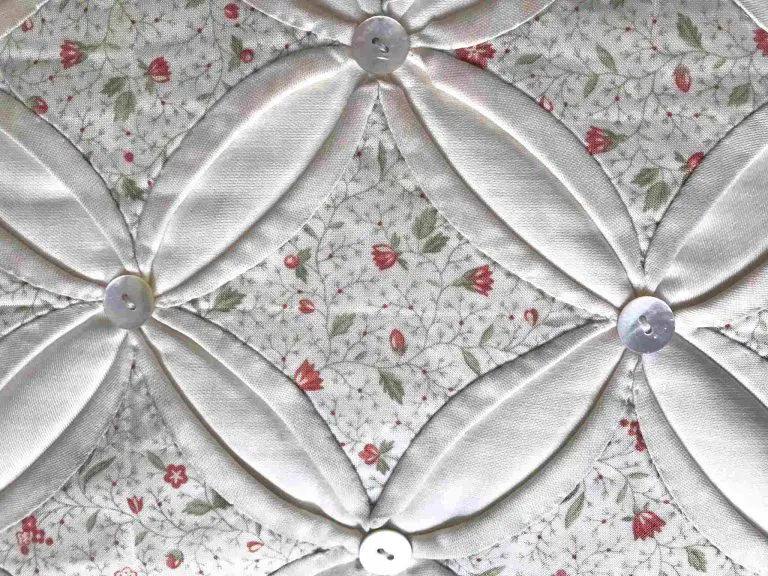
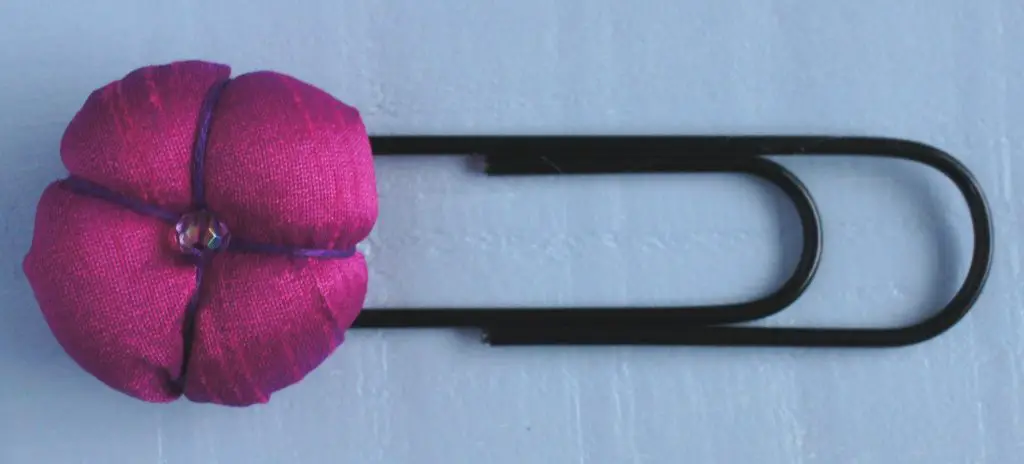
Project Ideas:
Here are a couple of projects I used my silk ball flowers for – great for keeping all those papers tidy:
This video is also available on my YouTube channel.
If you like making your own flowers then take a look at my other articles:
- Shabby Chic Denim Flowers
- How to make magazine flowers
- Top 5 paper flower tutorials
- How to make fabric flowers
- Make a fabric corner bookmark
- Upstyle your Jeans with Buttons
- Yoyo Flowers from fabric scraps
Good luck with your silk ball flowers and let me know what you use yours for in the comments section below.
Remember to pin this post on Pinterest for later!