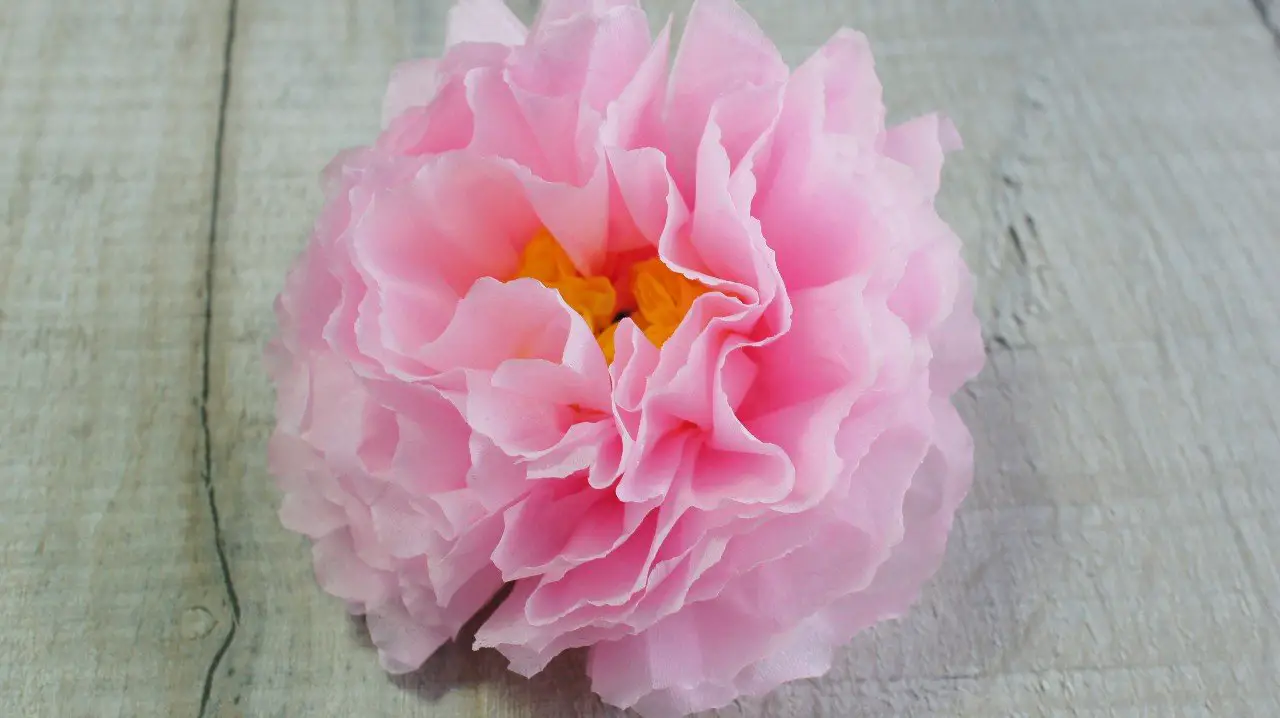
How to Make Tissue Paper Peony Flowers
As an Amazon Associate I earn from qualifying purchases
Tissue paper flowers are so pretty and so easy to make. Why wouldn’t you want lots of different kinds for different rooms or events? They make great gifts and also great centrepieces in your home. These tissue paper peony flowers seem really detailed yet they are still just as easy to make as the simple tissue paper flowers you can see here.
There are just a couple more steps in these ones but they are no more complicated. I have called them peony flowers because they remind me of peonies but perhaps you would call them something else. If you have a different flower in mind let me know in the comments section at the bottom of this tutorial.
Tissue paper crafts are great as they are so inexpensive and you can get the kids involved too! DIY tissue paper flowers are a great craft activity for the whole family.
This page contains affiliate links meaning I earn a small commission if you use those links at no cost to you. I only recommend brands I use and trust.
You will need:
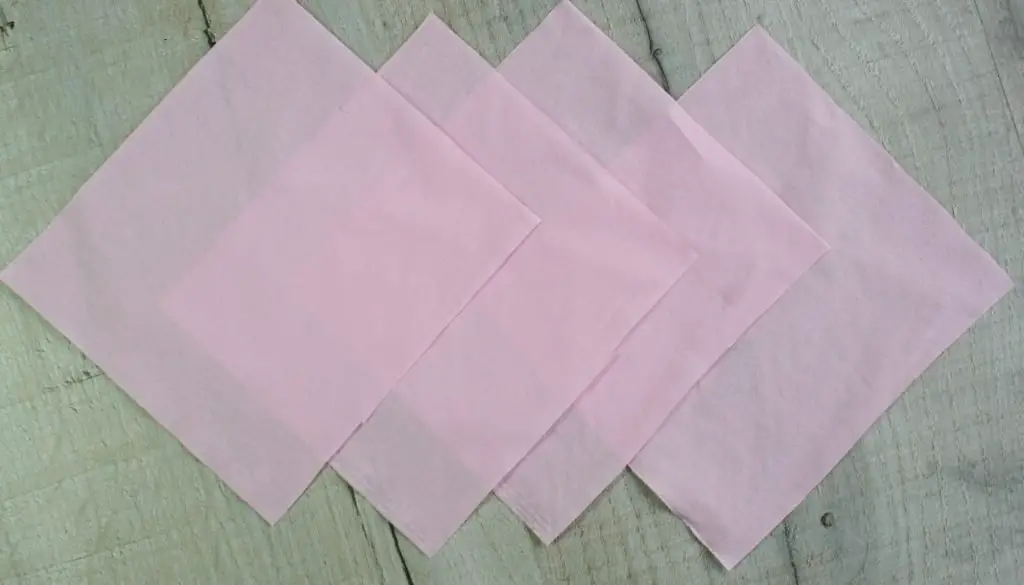
Pink tissue paper or paper napkin
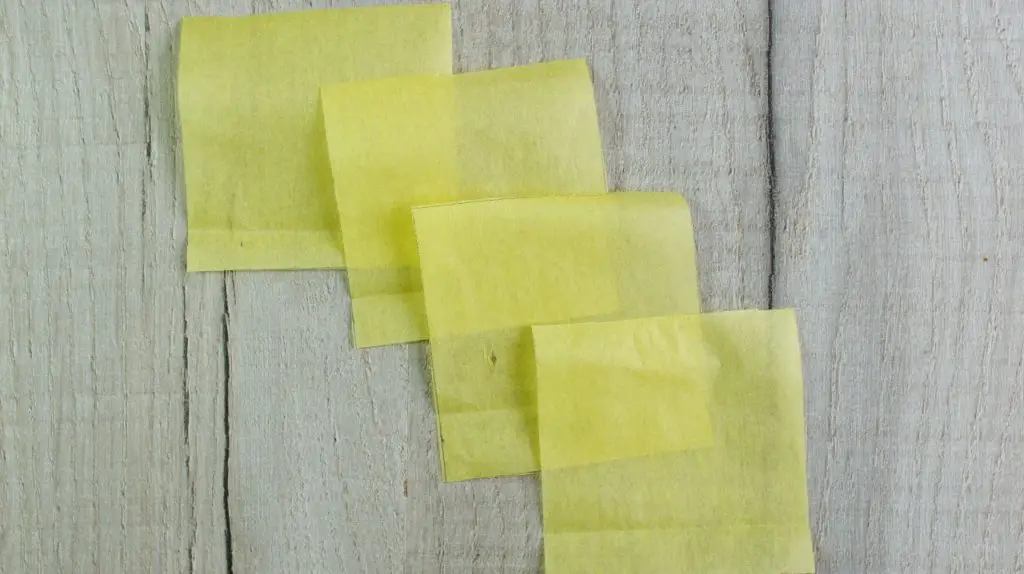
Yellow tissue paper
Craft Wire or Florists Wire


Video Tutorial for Tissue Paper Peony Flowers
This video is also available on my YouTube channel.
Cut out Your Tissue Paper Squares
To make your peony flowers you will need to cut out your squares of tissue paper. It depends what you use as to how many you need. I will explain.
If you are using tissue paper from a craft shop then you need 8 squares of pink.
If you are using a paper napkin or tissue then you need 4 squares as each one is 2 ply (has 2 sheets)
The sizing is up to you but if you go too small your flowers will be hard to make. My pink squares are 5″.
You will also need 4 squares of yellow tissue paper. Mine are 2.5″ square.
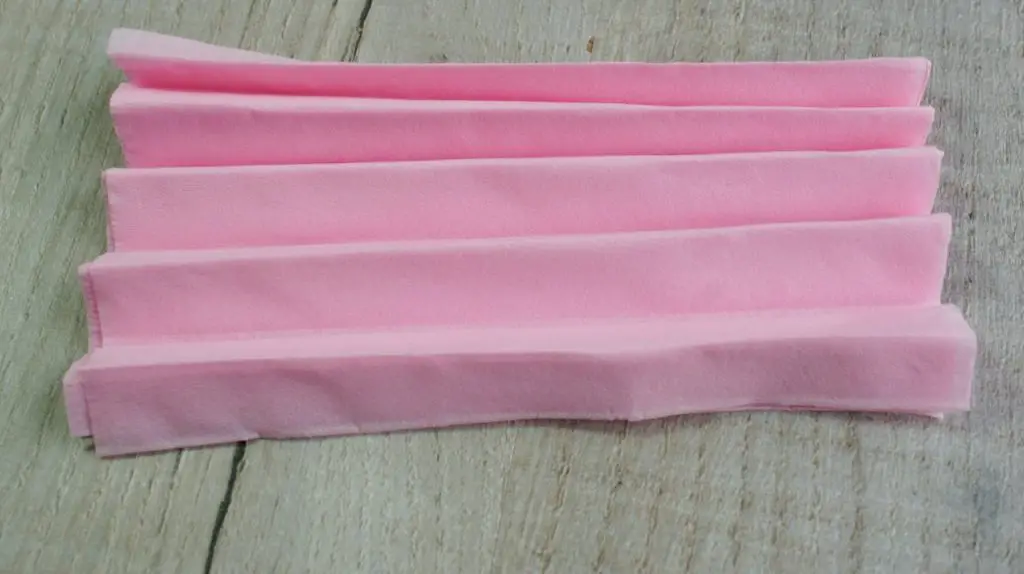
Fold your Squares
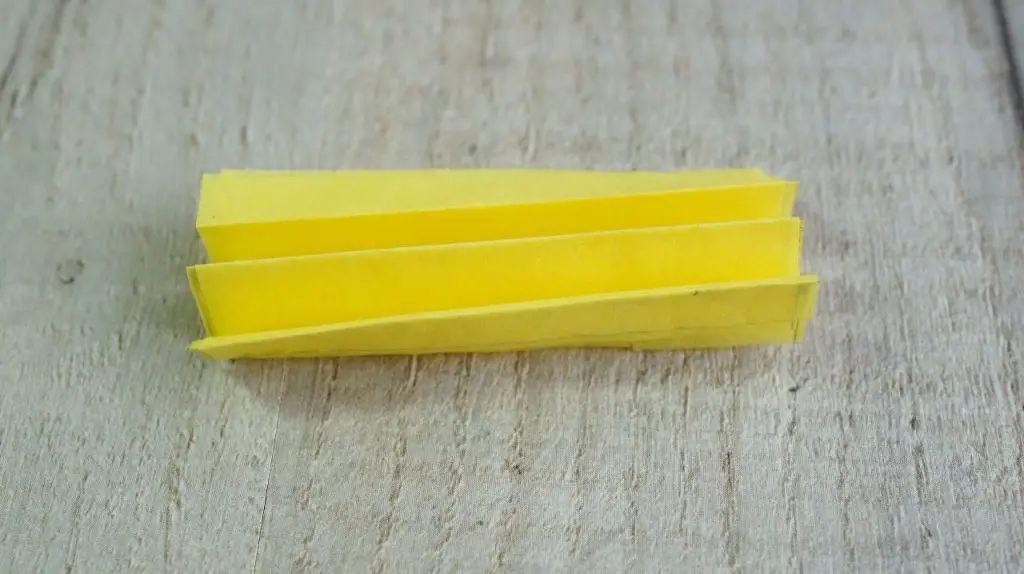
Now take your yellow squares and lay all your squares directly on top of each other. Starting at one side fold a small amount of paper over.
Then turn the squares over and repeat so that you fold the same amount over again.
Turn the squares over again and repeat. Keep going until you have folded all the tissue paper as shown in the picture below.
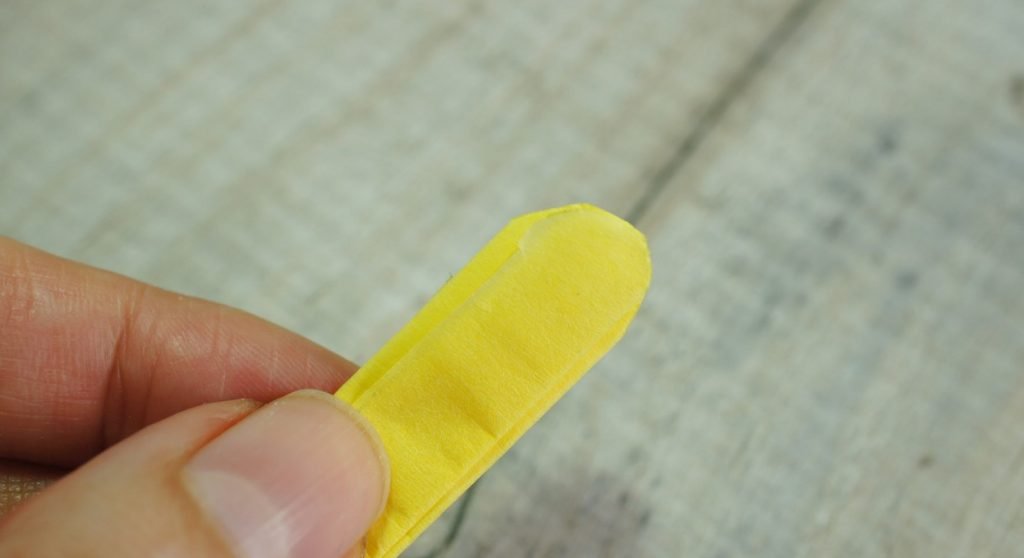
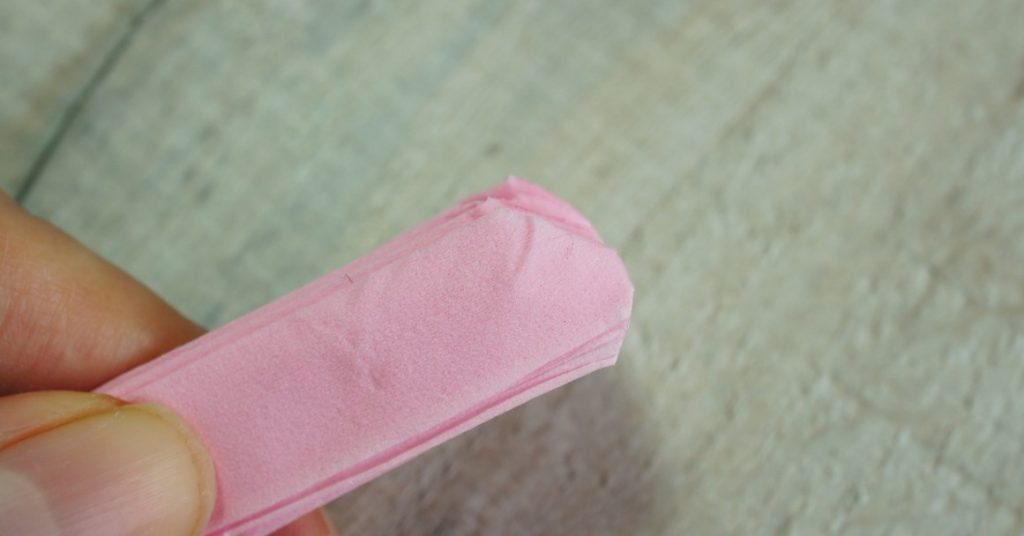
Now press the folds closed and cut a curve around both ends of the folds as shown below. This gives you a nice finish on the centre of the flower.
Now repeat this process with the pink squares.
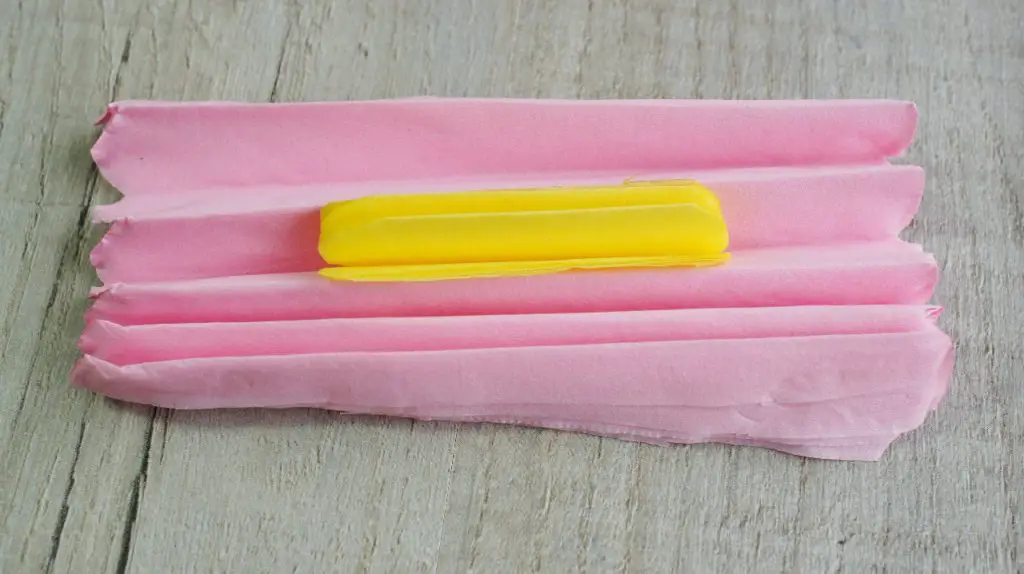
Assemble the Peony Tissue Paper Flower
Place the yellow squares that you have folded and trimmed in the centre of the pink squares as show in the picture below. Make sure that they are lined up in the centre so that you get an even flower.
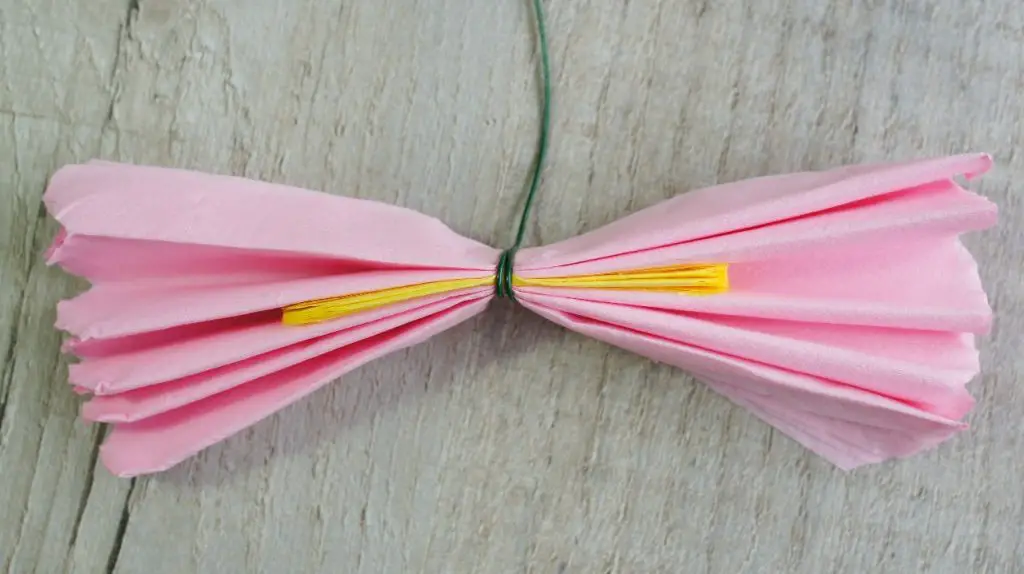
Now wrap your wire around the centre of all the folds. You are sandwiching the yellow tissue paper in the centre of the pink tissue paper. An easy way to make sure that you are in the centre of the folds is to fold them in half and place your wire onto the fold. If you use a long piece of wire it will form your flower stem.
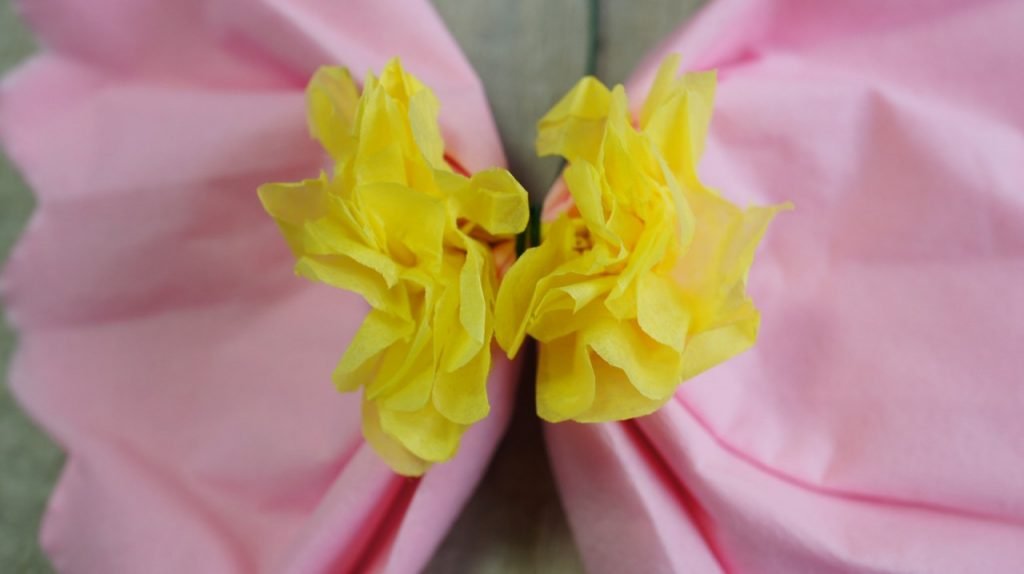
‘Fluff up’ the Yellow Tissue Paper Flower Centre
Now is the time to form the yellow flower centre by fluffing up the petals. On one side of the flower take the top layer of yellow tissue paper and pull it up so that it stands up away from the rest of the tissue paper. This will now form a petal. Repeat for the other layers.
Repeat the whole process for the other half of the flower centre. NOTE: Just the yellow tissue paper at this point.
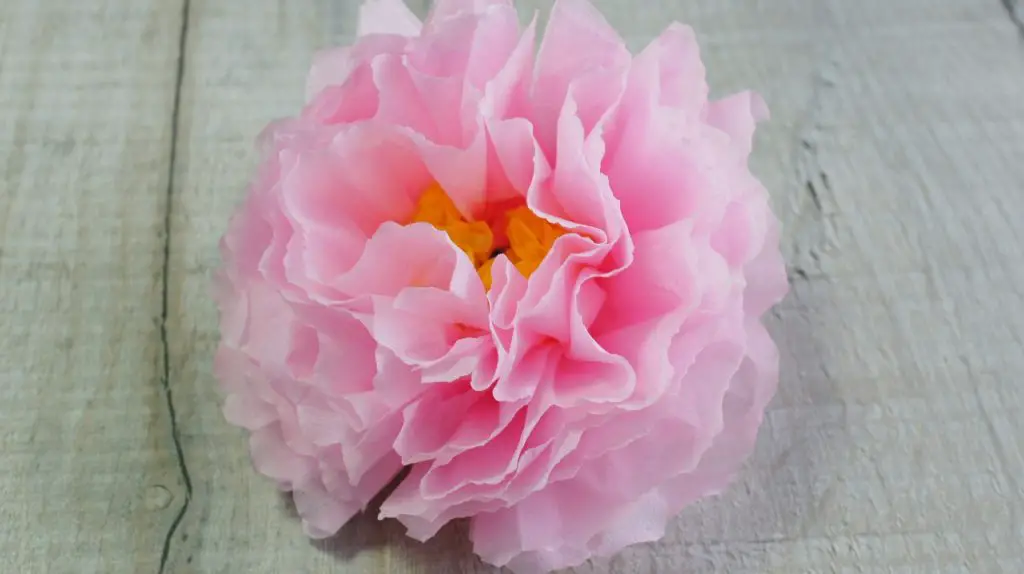
‘Fluff up’ the Pink Tissue Paper Flower Petals
Now you need to repeat everything you just did with the yellow tissue paper but on the pink paper. This will form the pink petals and finish off your flower. Adjust your yellow and pink petals until you are happy with the result.
Notes for Tissue Paper Peony Flowers:
You should now have a fully formed tissue paper peony flower and be able to make many more of them. Perhaps make a bouquet as a gift for a loved one or a bunch to go in a pretty vase in a living space. Shake up the colours and make them to match your decor. You could make really bright flowers that stand out and make a bold statement.
I hope that you have realised how easy tissue paper flower making is but if there are any problems with your flower maybe this will help:
If your flower is larger on one side than the other it just means that you didn’t get your wire in the middle but no-one will probably notice!
If your flower is too large or too small simply have another go with different size tissue paper squares. You can also try having a larger or smaller centre to your flower by varying the size of yellow squares compared to the pink squares.
If your tissue paper peony flower gets a little squashed in storage you can always fluff up the petals again and get it looking pretty.
As you are looking to make flowers I recommend that you check out the following tutorials as alternatives:
- Gorgeous Paper Flowers from old Magazines
- Collection of Paper Flower Tutorials
- Upcycle an old T-shirt into Fabulous Fabric Flowers
- Book Page Roses
I hope that you have found some fabulous flowers to make but if you need more inspiration you can follow me on Pinterest .